Two Easy DIY Wood Crate Bookshelf Ideas
Like the rustic look of wood crates as a bookshelf? Here are two ways to make an easy DIY wood crate bookshelf.
Crate shelves are a great option for a rustic look. In this first makeover, I added a floral decoupage paper to make them rustic and pretty.
Rustic and floral can be a beautiful combination.
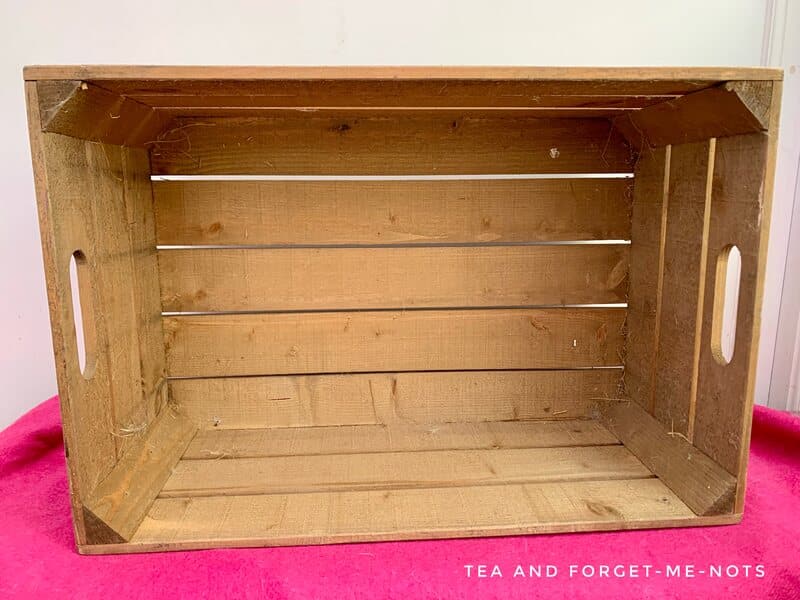
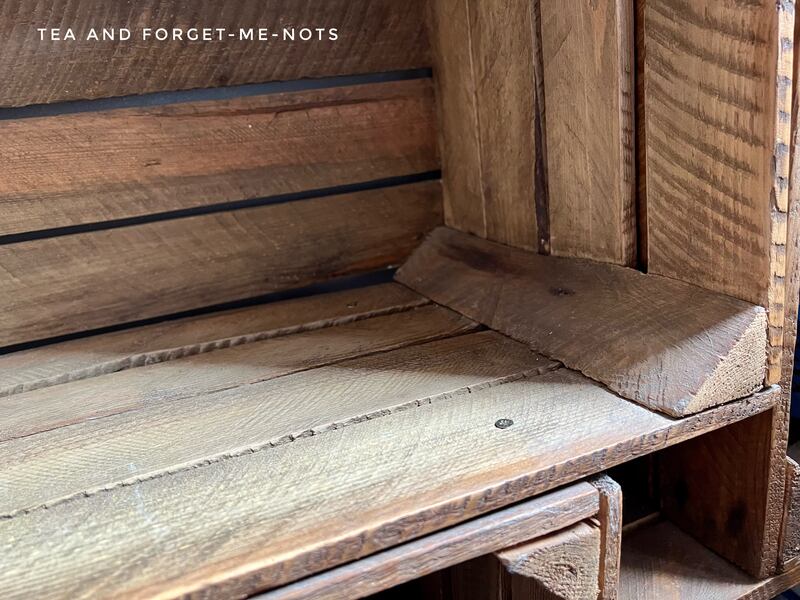
To start, I bought unfinished wooden crates. Unfinished means that they haven’t had a sealer coat such as varnish to protect them.
The ones I bought were originally used as fruit crates. A wine crate would work well too.
The great thing about crates like these is that after some preparation work, they’re already a storage solution. They’re good to go.
But I wanted to go the next step and create a unique rustic shelf. Or, more specifically, a DIY wood crate bookshelf.
This post may include affiliate links so you can easily find the products I love and use myself. If you purchase these products, I may earn a small commission at no extra cost to you.
International Bloggers Club
This month’s International Bloggers Club (IBC) challenge is Get Organised.
The IBC is a group of creators from all over the world. We challenge each other every last Monday of the month to make something using a common theme.
You’ll find my friends’ ideas at the bottom of the post. Please check them out before you go.
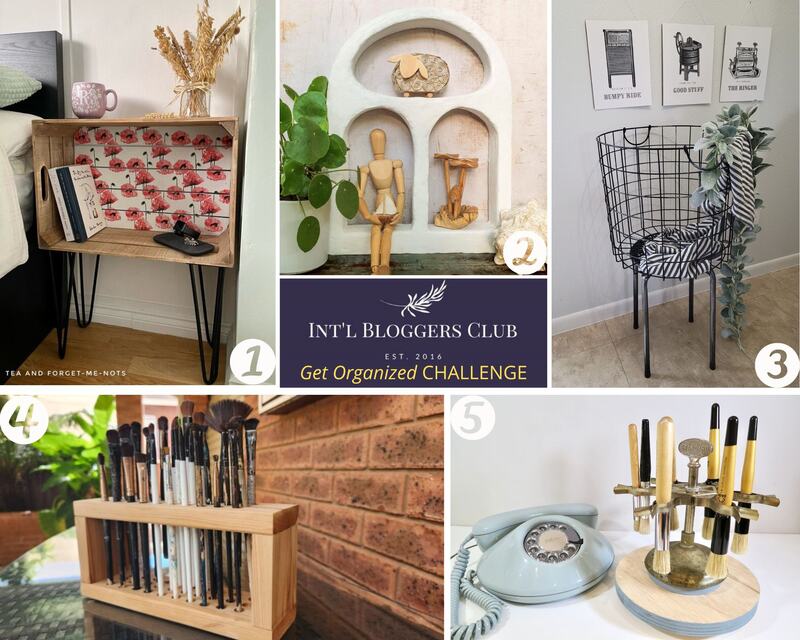
First DIY Wood Crate Bookshelf
How to prep rustic crates to use as furniture
The most important thing to do when using unfinished crates as furniture is to sand and clean them. This gets rid of any dirt or rough edges brought in from the outside.
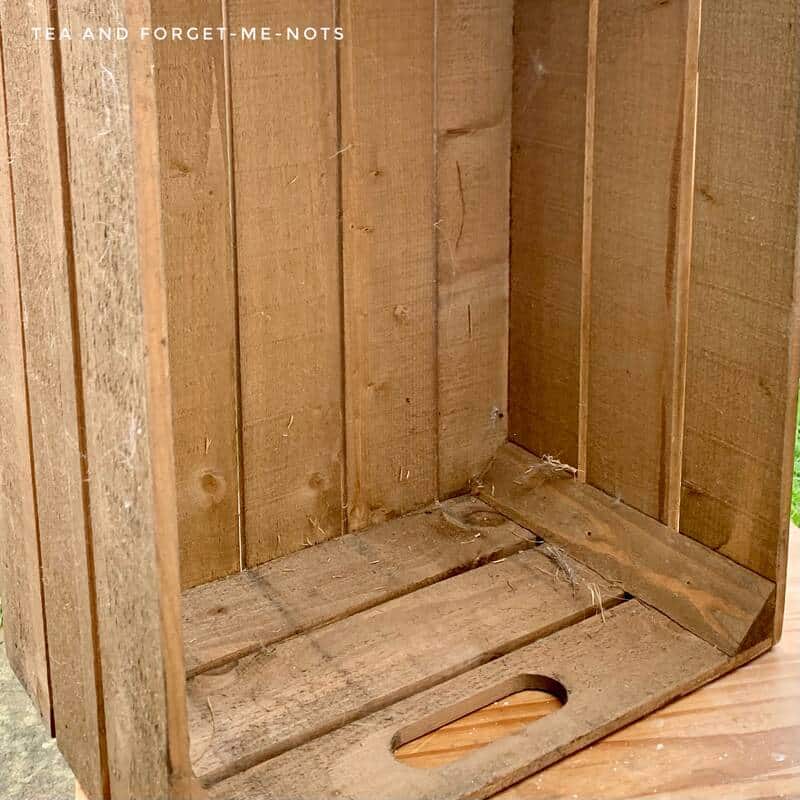
Of course, if you have bought wood crates from Home Depot or home improvement stores, then the finish should already be smooth. They’re unlikely to sell something not in a usable or safe condition.
I used sand paper on the crate first to give it a smooth finish. That way I didn’t have to worry about getting splinters while cleaning the wood.
I used 180 grit sandpaper and an orbital electric sander to take off the rough surface. You might want to maintain the rustic vibes but if the surface isn’t smooth then books or clothes will snag on it.
If you have any writing or a logo on the crate, this is the time to remove it if you want to. You might want to keep it for the original feature. But if it’s ugly or uninteresting, you can sand through the ink to remove it.
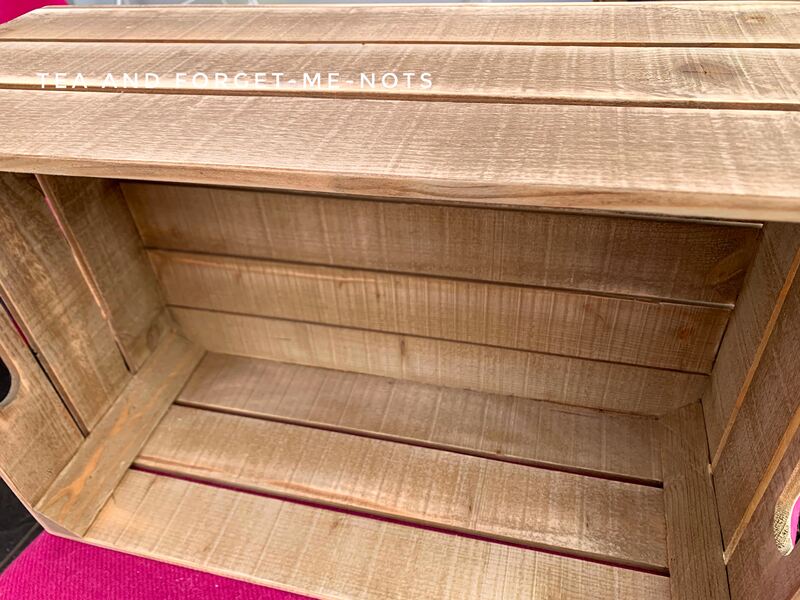
Next, I cleaned the small wooden crate. I used Sugar Soap and a lint-free cloth and made sure to remove any dirt and cobwebs. This is an important step to make it nice to have in your home.
As this got the wood wet, I left it to dry overnight before continuing.
How to decorate rustic crates – step-by-step instructions
If you don’t like the colour of the crates that you’re naturally left with, you can now paint or use wood stain on them.
Whichever you choose, if either, you should paint or stain in the direction of the grain of the wood.
You can use wood conditioner to get a more even finish before applying stain. And you should wipe off any excess stain before continuing for a beautiful finish.
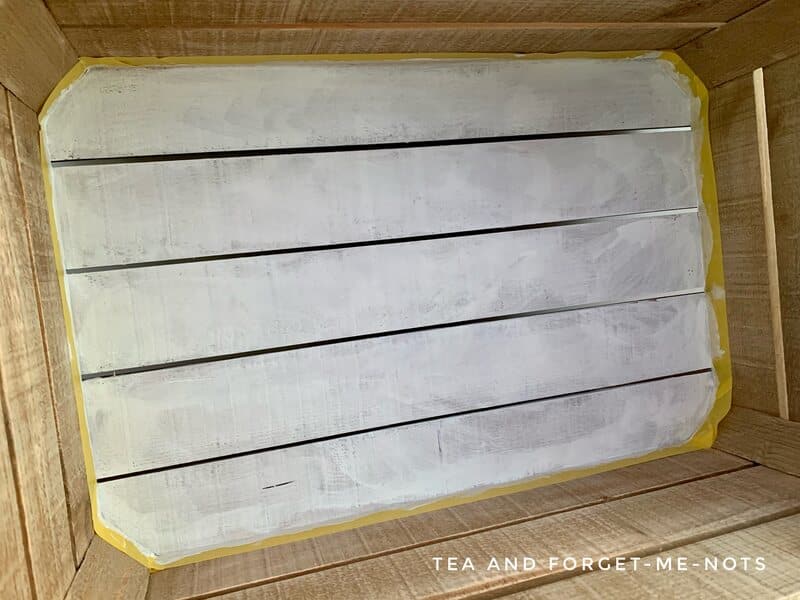
I chose to add floral decoupage to the back of my crate. So it was important to paint the back white. If you don’t paint the surface white, the decoupage will only be as vibrant as the colour of the object it’s on.
I decoupaged onto natural wood on this clock makeover and it gave a stunning finish.
It’s a good idea to tape the edges with Frog Tape to get a straight line where you want to paint. I painted the back with a white chalk paint.
I removed the Frog Tape before the second coat of paint dried. That’s the best time to remove it, whilst it’s still wet. If you remove it when it’s dry then it’s more likely to pull the paint off.
If I had taped off all of the sides of the crate then I could have used spray paint to be even faster. However, it already didn’t take much time.
Curious about what brushes I recommend? Here are the best brushes for each job.
Want to know 23 great DIY tools? Send me the list!
How to apply decoupage paper to the crate bookshelves
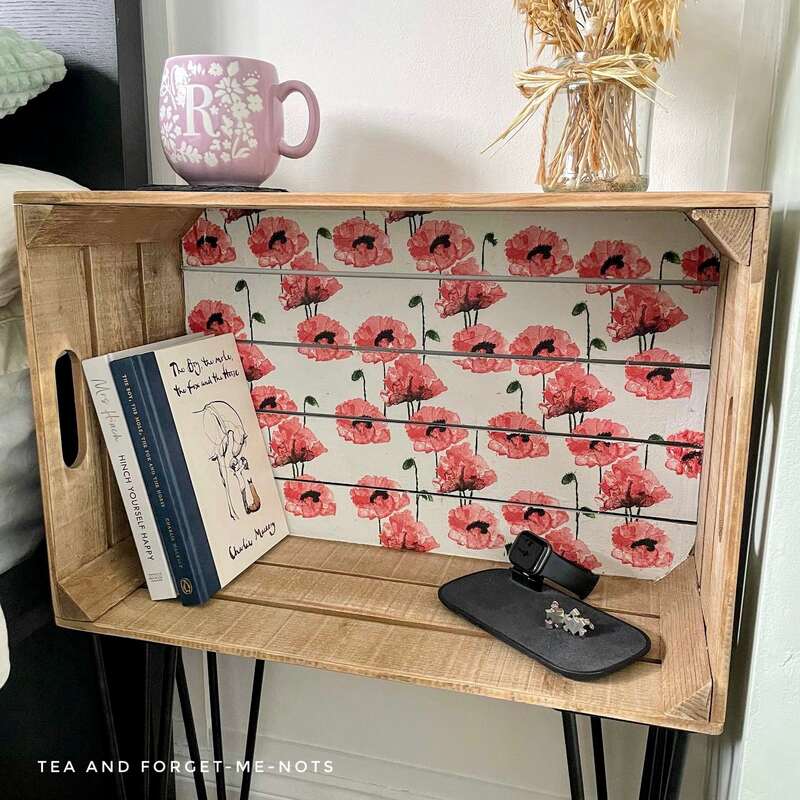
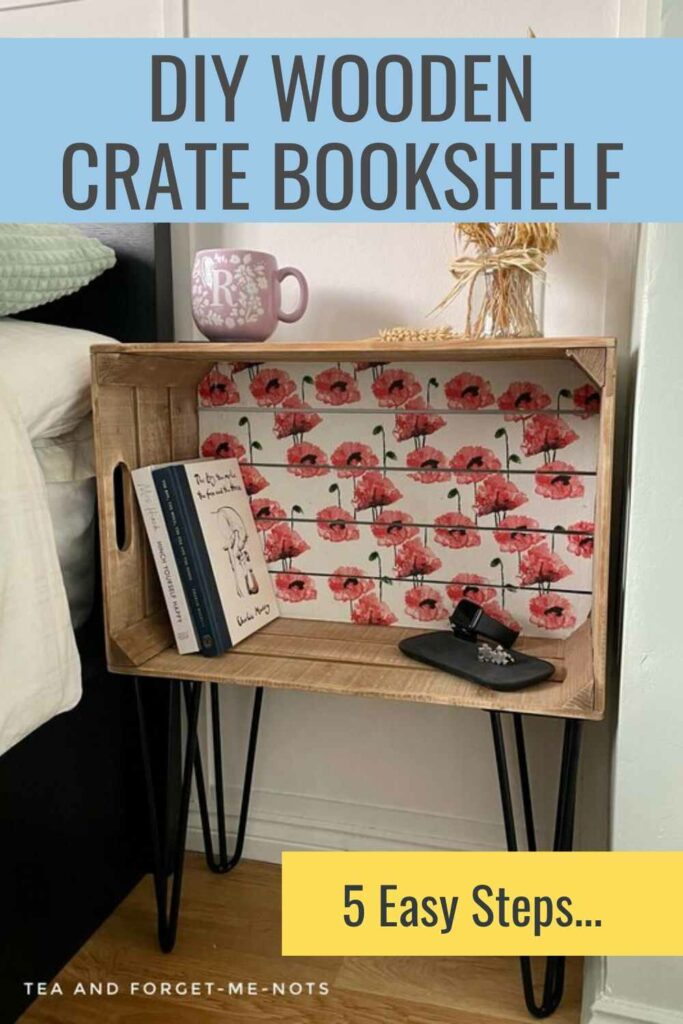
I used poppy napkins for the decoupage paper for this crate bookshelf.
Napkins have two or three layers of paper but you only need the layer with the image on it. So I peeled away all of the layers other than the one with the pattern.
A great way to blend the napkin paper into the surface is to gently tear around the edge of the pattern. If you leave the napkin with solid sides, the straight lines make it more noticeable.
I tore the napkins into the rough layout where I wanted poppies so that they would cover the back of the crate.
There are several ways that you can apply decoupage paper. For this fun DIY project, I covered the painted area of the crate with one layer of PVA glue. PVA glue is also known as wood glue or school glue.
I then applied the pieces of napkin and added another layer of PVA glue to the top.
A great idea is to use cling film or saran wrap on top of the napkin when smoothing it out. This makes it easier to move the paper, as it doesn’t stick to you.
Once the napkins dried, I added another layer of PVA glue as a sealer.
Here’s how I created a rustic shelf out of pallet wood.
How to add legs to a rustic crate
Then I needed to make this a functional bookshelf. You have the choice of adding legs or attaching this to the wall.
I added four hairpin legs to each corner.
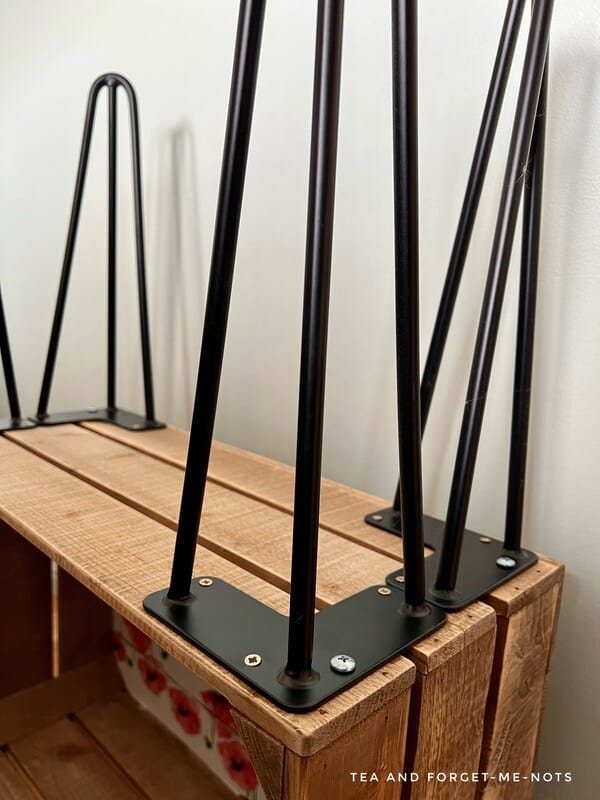
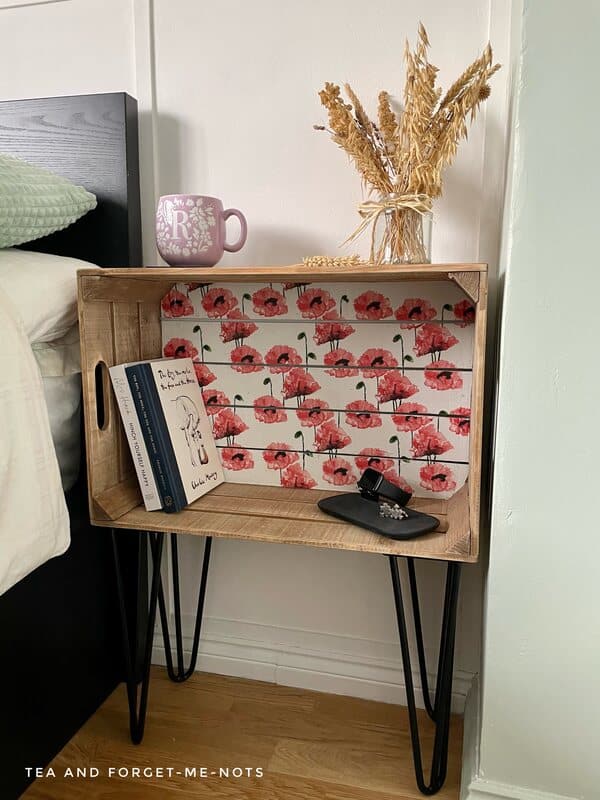
I chose 36cm (14 inches) high ones to make the crate a convenient height to use as a bedside table. The perfect place to have a bookshelf. And this was the right size for the small space next to the bed.
To attach the legs, I turned the crate upside down. And I used screws to secure them in place.
You could also choose shorter legs to give a more boho feel, closer to the floor.
If you flipped the crate so the back was on the top, this would work as an unusual coffee table.
It’s a great project for some quirky room decor. You can easily match it to the style of your room depending on how you finish it.
And if you don’t want to do much to it, then it also doesn’t take a long time.
The beauty of this wooden crate shelf is that it’s the perfect fit for my space. It doubles as a bedside table or end table.
If you have a small space. like me, you should check with a measuring tape that it will fit before you start!
Like the natural wood look? You might enjoy these wooden craft DIY projects to make as gifts.
DIY Wood Crate Bookshelf Design Two
This project starts the same way as the poppy bookshelf above. I sanded and cleaned the crates to make them safe to have in my home.
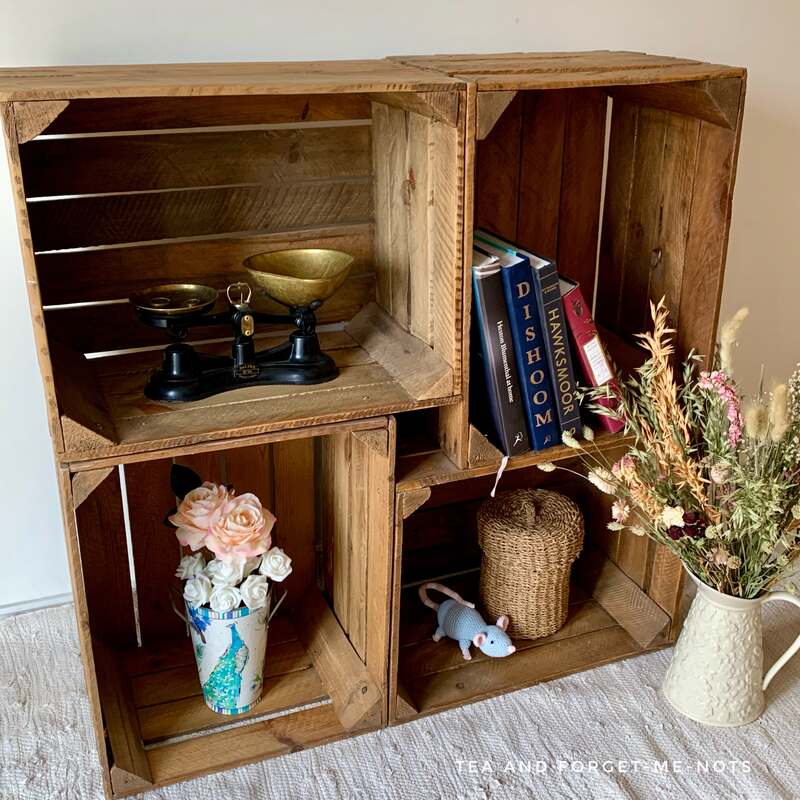
For this project, I wanted to create a larger storage space. So, I created a shelving unit made up of a number of crates.
There are several different configurations you can do to create the shape you like. If you use crates of different sizes you might want to plan out the design on paper first.
I chose to make a square shape made up of 4 crates. Both the bottom row and top have one crate placed vertically and one horizontally.
I connected the crates together with wood screws. I used 1 1/2 inch screws.
How to use fruit crates for storage
The bottom shelf is particularly good for heavy items as it’s directly on the floor. You need the extra durability if you might place things like books on them.
You might want to assemble them in the new home that it’s going to be in as it has a large footprint when fully put together.
It’s a great solution for extra storage space. And you can use the top crates to place additional things such as a clock or lamp.
If you didn’t want them placed on the floor or with legs, you could securely attach them to the wall. That avoids it from taking up space on the floor. It might be a good choice in a kids’ room.
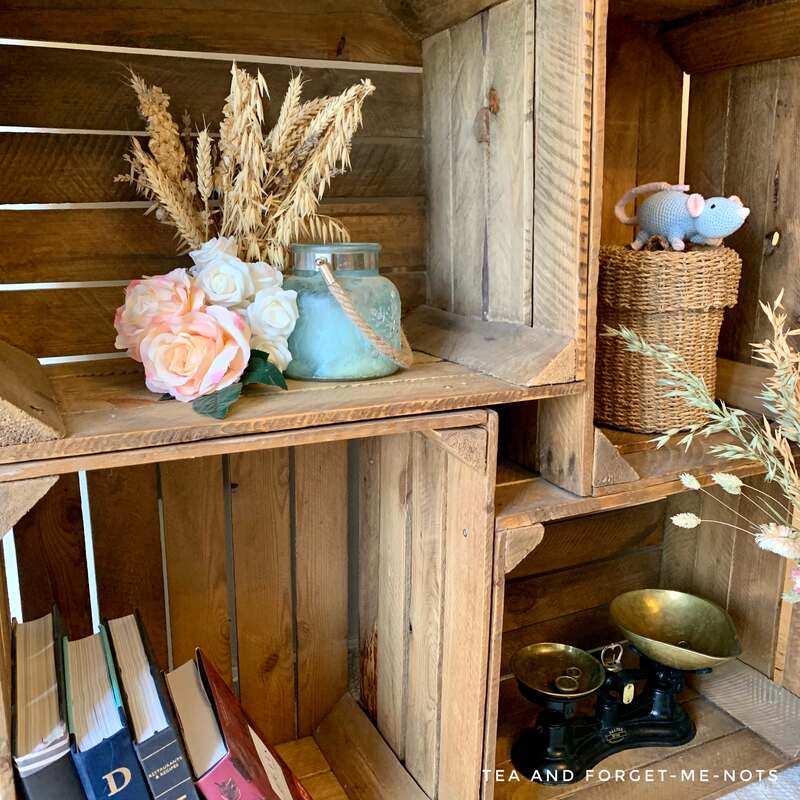
I can picture this in a craft room filled with wool and other craft supplies. I’ve also used it for board games as it has so much height in each vertical crate.
These can be small projects but will have a big impact. It’s the perfect way to reuse actual crates and create something unique.
There are so many choices for how you could design a storage solution like this. What style would you go for with your own wooden crate bookshelf?
Interested in home decor? Find out more here.
Pin it for later – DIY wood crate bookshelf
More ideas for getting organised…
There are a lot of wonderful ways to help you get organised. And my friends at the International Bloggers Club share just a few of them here.
Here you’ll find paintbrush holders, unique shelves and something creative with a laundry basket! There’s a little bit for everyone.
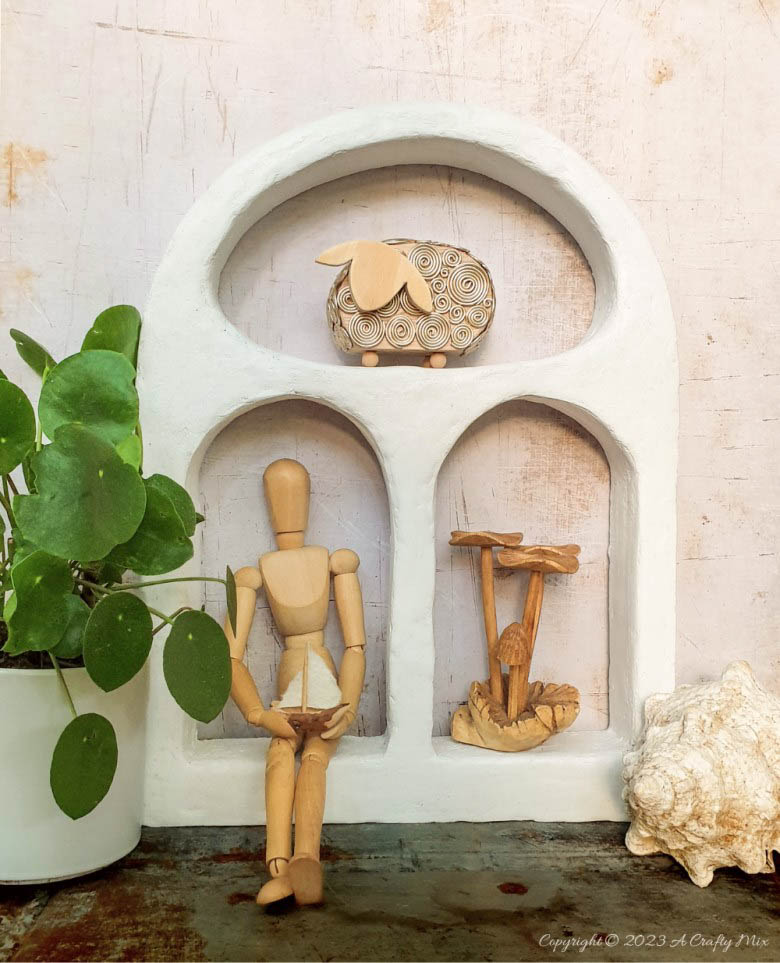
Concrete Shelves by A Crafty Mix
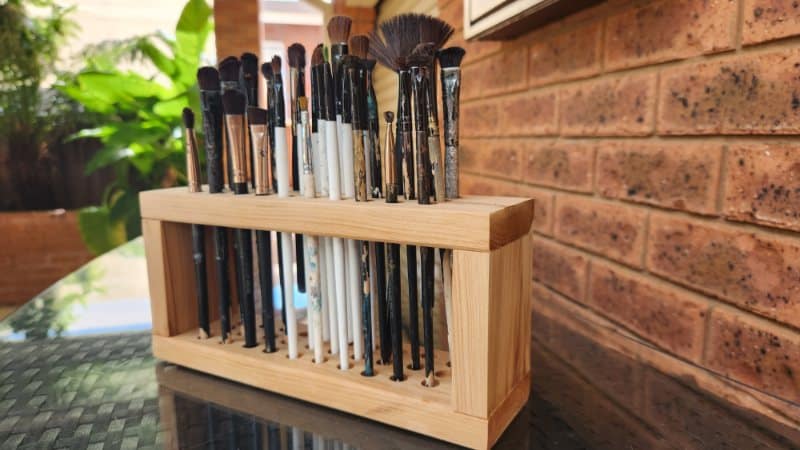
Paintbrush Holder by Unique Creations by Anita
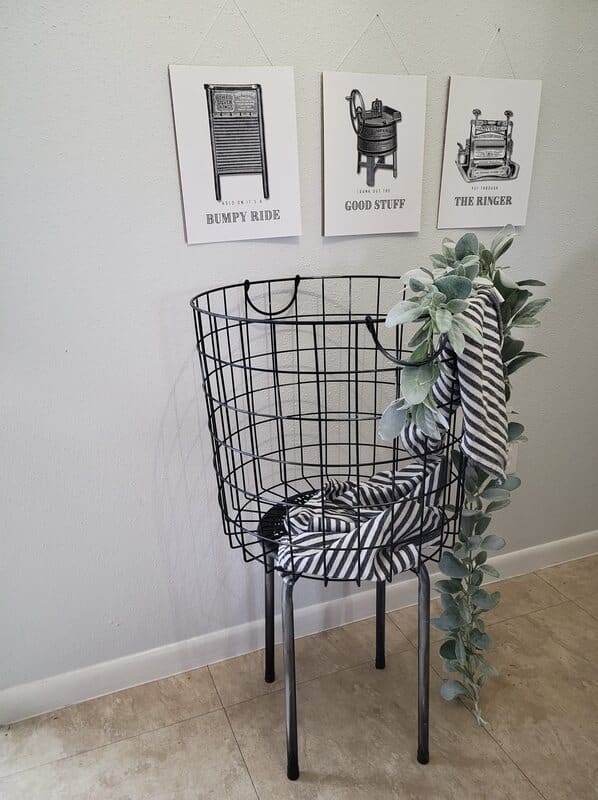
Vintage French Laundry by Fifth Sparrow No More
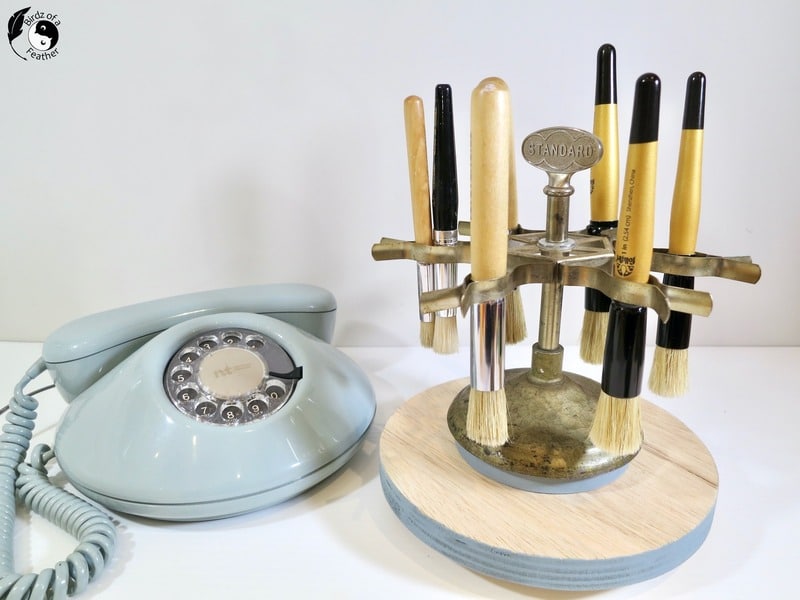
Wooden Paintbrush Holder by Birdz of a Feather

Hi there! I'm Rachel Bowyer, a passionate DIY enthusiast with a knack for transforming the old into something beautifully new. With a deep love for furniture painting, refinishing, and the art of crafting. I've been documenting my DIY projects and restoration journey since 2018. I specialise in techniques like decoupage, stencilling, and decor transfers. Join me as we explore the world of creativity and home improvement, one project at a time.
I love this idea so much, Rachel. Not only is it a brilliant way to create a side table, but there’s just sooooo much space for the tower of books I have on my bedside table and, if I’m honest next to the table too.
Haha, thanks Michelle. I wouldn’t consider this the only bookshelf necessary in that case!
Beautiful work Rachel! You did such a great job prepping it, I didn’t realize it was old lol! Those poppy napkins look amazing as a background.
Thanks Sara. I mean I don’t know how old but certainly used!
This is a really greater repurpose of a crate, I love the rustic look and your choice of paper was spot on. I must say I am also a huge fan of the crates put together in the group as a storage option.
Thanks, Anita. They’re quirky but I love them.
These projects are an awesome way to use old crates in new ways. Great work!
Thanks, Kristin
This is a great idea and love the paper inside the crate back.
Thanks so much, Cindy.
Rachel, I love your ideas for upcycling and using crates for storage! Adding legs and paper gave the crate a whole new life! Great job! Thanks for the inspo, pinning now!
Thanks so much, Donna.
Such a cute idea! I love the legs you used!
Thanks Dara, they’re great legs!