How to Make a DIY Coat Rack With Shelf | Repurposed Ladder
In need of a coat rack with a shelf DIY but don’t want to buy the normal, boring options? Here’s a great idea repurposing a ladder.
What can you use to make a DIY coat rack shelf?
A ladder. It has two inbuilt shelves when it’s turned on its side. And is easy to add coat hooks to turn it into a coat rack.
I made this coat rack with shelf DIY using a ladder with just 5 supplies.
- ladder
- coat hooks
- shelf brackets
- wall plugs
- screws
This was a great, affordable option as I already had four of the materials.
This post may include affiliate links so you can easily find the products I love and use myself. If you purchase these products, I may earn a small commission at no extra cost to you.
Easy DIY Coat Rack Video

How to make a coat rack with shelf DIY | repurposed ladder
So why did I create a coat rack out of a ladder? Well, firstly, I had a problem. And that was because I didn’t have anywhere to store my coats near my front door.
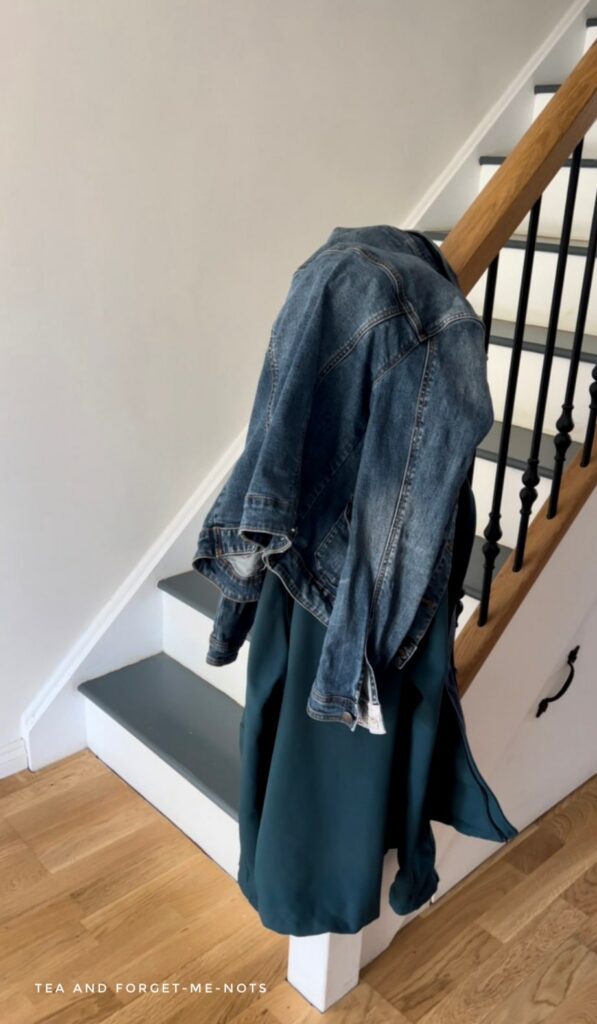
In fact, I kept them on the stairs. But that looked messy.
I looked for a cute, affordable and easy way to display coats. But I didn’t find anything that fit the bill.
I used this small ladder for staging in finished furniture photos occasionally. But otherwise, I didn’t use it as a ladder. The ladder came as two long ladders joined together and this was just one-quarter of that.
Plenty more of the ladder left to use for the original purpose.
If you saw the recent accident that I had with a can of paint, you’ll know why this ladder is partly orange. I loved that and all the other colours that were on it. Many not even from me having owned it.
I didn’t want to lose that character. So I did barely anything to change the ladder.
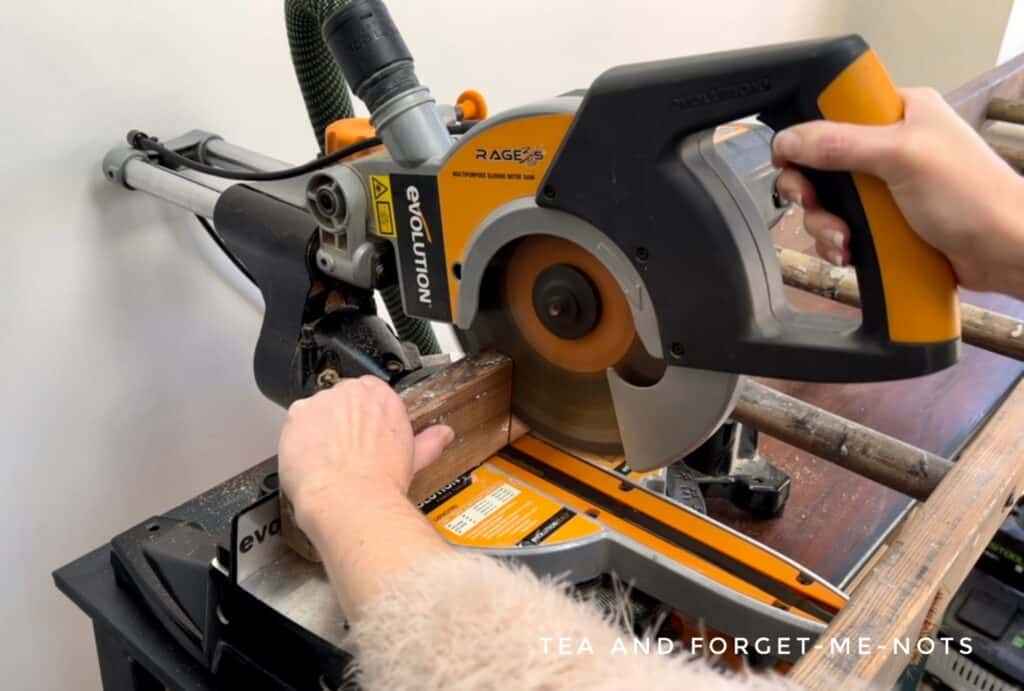
But from where I had cut the ladder in half, I did want to shorten the legs to create a symmetrical coat rack in the wall space that I had. I used a tape measure to check where the cut lines would go to ensure that the legs would be equal on both sides.
I made the straight line cuts with a mitre saw. A circular saw would work well for this if you have clamps and are working alone.
I’m keeping the extra pieces of wood for another woodworking project.
Then I hand sanded the rough edges smooth in the direction of the wood grain. It’s less gentle but using an orbital sander is probably the easiest way of tidying up the ends.
How to turn a ladder into a coat rack
I only had gold hooks to work as the coat holders. I didn’t think gold would work well with the rustic look of the ladder.
Originally, I bought the gold hooks when I repurposed this old CD rack.
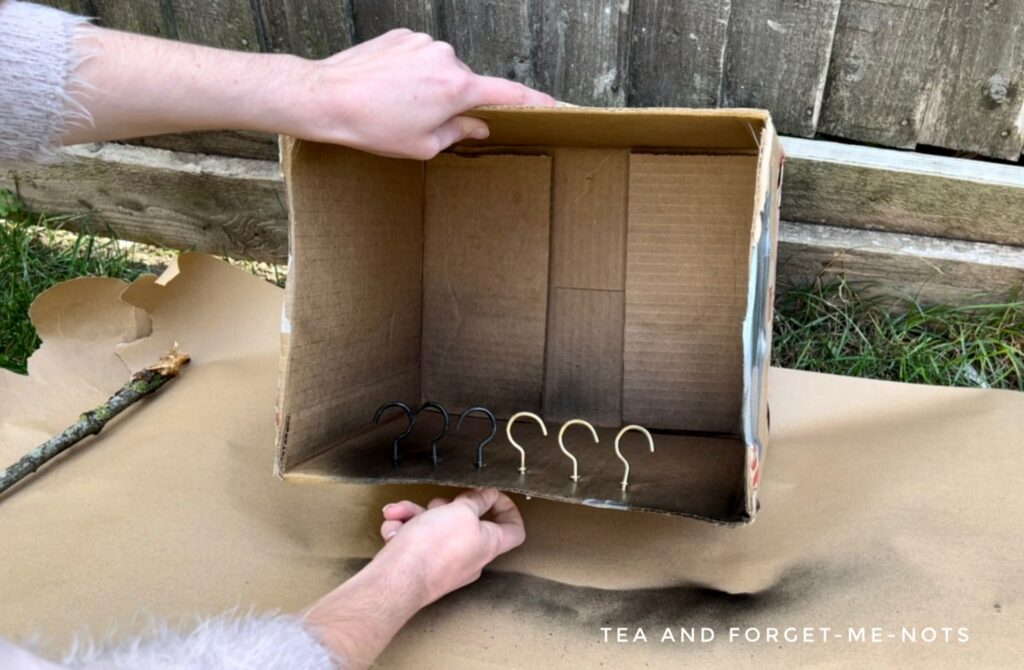
So the first thing I did was spray paint them with black matte paint. This gave them a look like industrial hooks.
I did this by poking them through a cardboard box. The great thing about this was that I could turn them around from the bottom to spray the other side at the same time. Rather than them laying flat and having to wait for one side to dry.
This was the only painting in this super simple project.
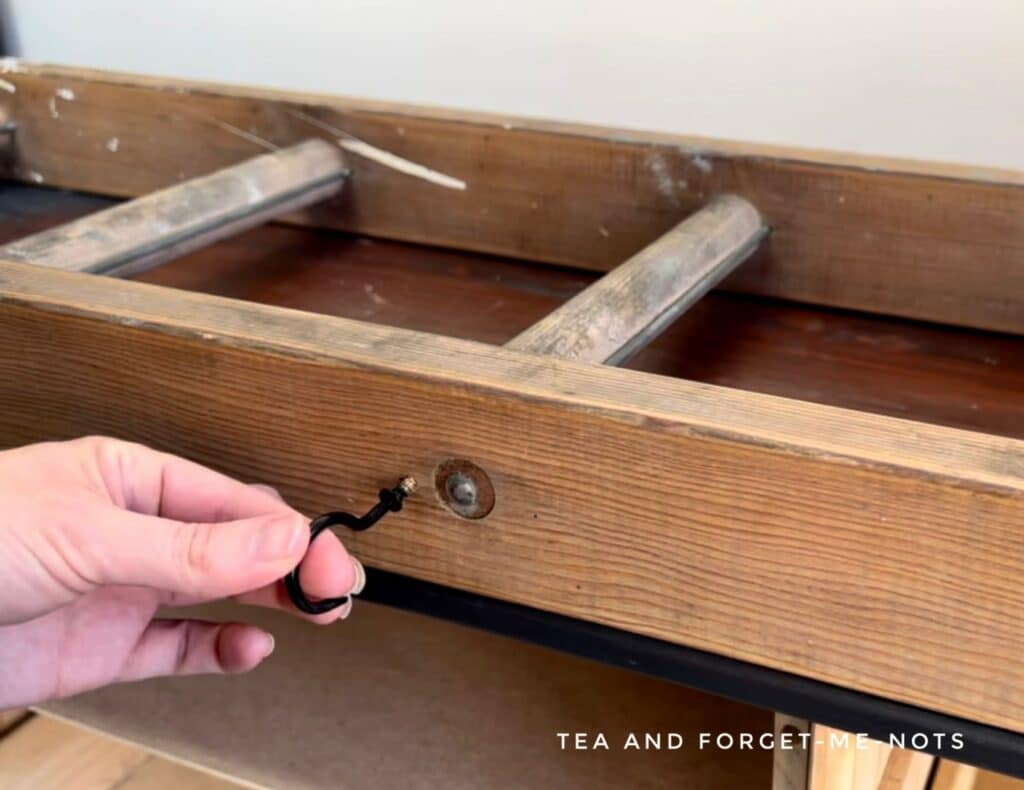
Then to attach them I made pilot holes with the power drill into the bottom shelf of the ladder. I made sure that the drill bit was smaller than the hooks.
Then I simply twisted the hooks into the screw holes. The hooks were evenly spaced where the rungs of the ladder met the bottom shelf.
Fortunately, it didn’t matter which was the front or back of the coat rack. So I chose the side with the more interesting look.
How to attach a DIY coat hanger to the wall
With the ladder now a coat rack frame, it was time to attach it to the wall.
The only extra cost I had for this easy DIY project were the wall brackets. I bought two alcove shelf brackets. I got mine from Wickes (similar to Home Depot).
One important thing to me was to minimise the visibility of the brackets.
These shelf brackets were the perfect horizontal supports. These were the right size because they are only visible on the underside of the ladder and not on the wall itself.
Firstly I used a measuring tape to check that the ladder was the right distance away from the adjacent wall.
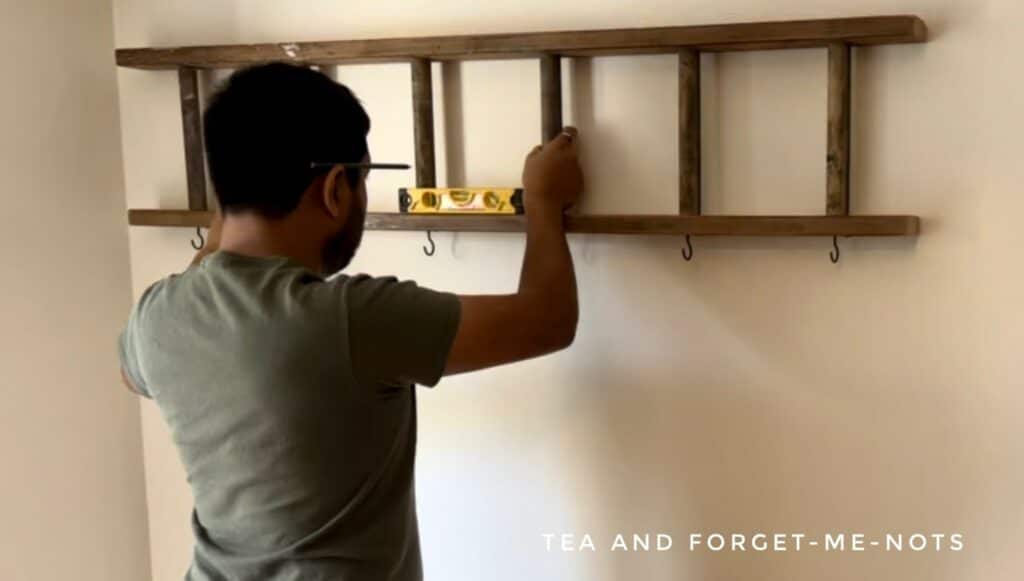
The next step was to make sure that the ladder was straight. This is a two-person job.
I had a handy helper to hold the ladder. Then put a spirit level on it to check that it was straight. Next, I used a pencil to draw a line under the top shelf of the ladder, approximately where the brackets would go.
Where to drill into the wall
I made sure neither bracket was above the plug socket in the wall. Even so, you have to check that it’s a safe location.
So, I used a stud finder to check if my pencil marks were in stud locations. Wall studs are often a good location for hanging heavy things.
Although this wood coat rack was quite light. With wet coats added to it, the weight could increase significantly.
One of the most secure ways you can attach something heavy to the wall is with a French cleat. Here’s how I used one for a huge DIY IKEA mirror.
With the brackets in the right place, it was time to drill pilot holes in the walls. I used a cordless drill to make the holes. And inserted a wall plug (known as wall anchors in the US).
I then attached the brackets with wood screws. The ones for the wall were especially long screws.
Now another two-person job. Time to attach the ladder to the brackets. These holes attached the ladder to the bracket on the underside of what is the top shelf of the DIY coat rack.
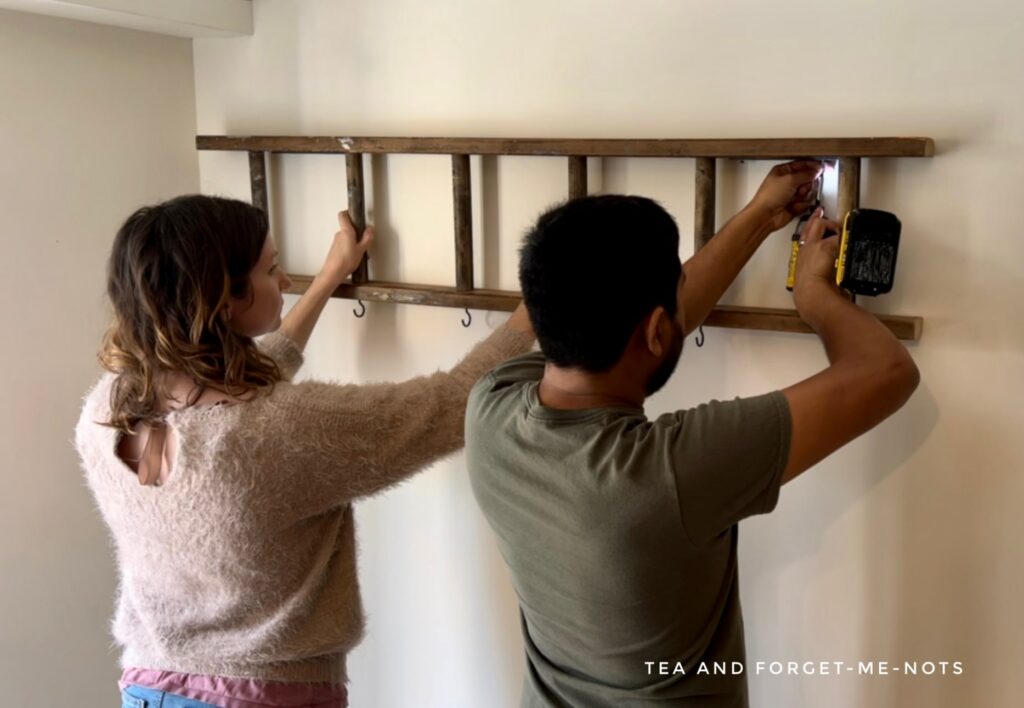
So you need one person to keep the ladder tight to the wall and the other to drill holes.
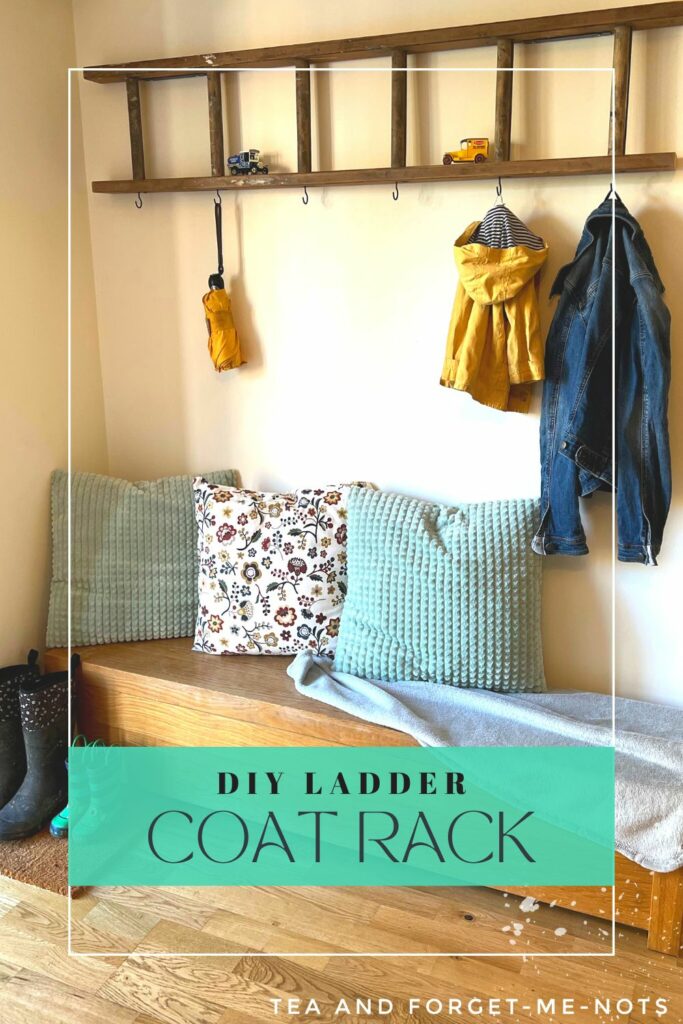
The perfect coat rack DIY
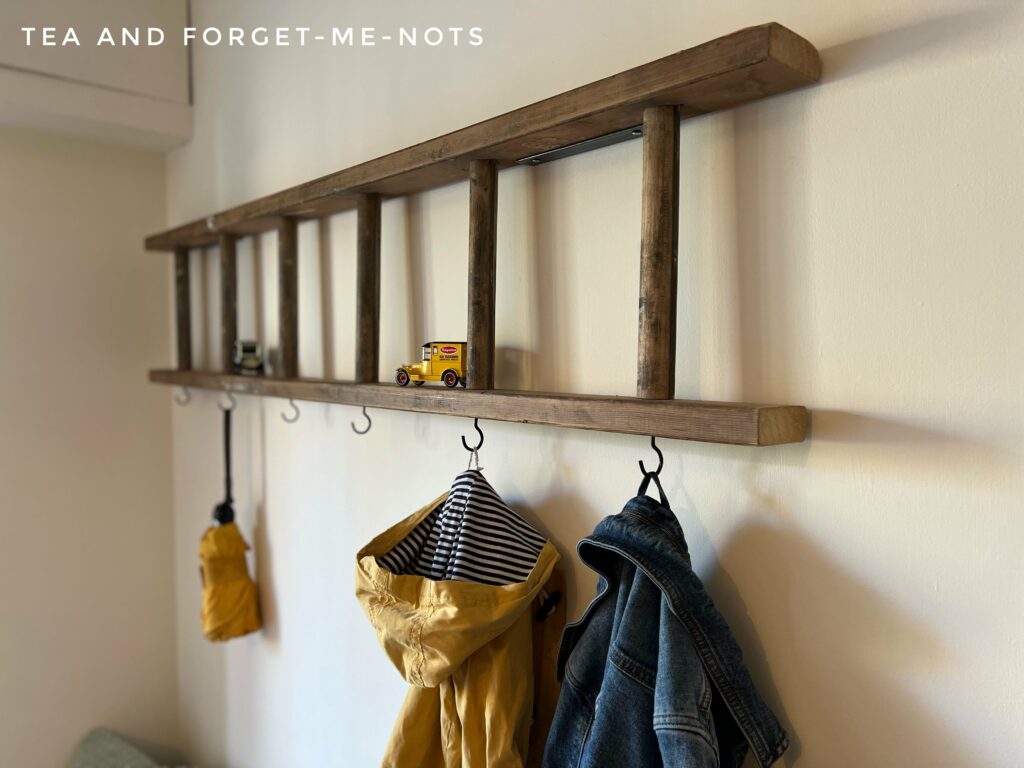
And that’s the finished product.
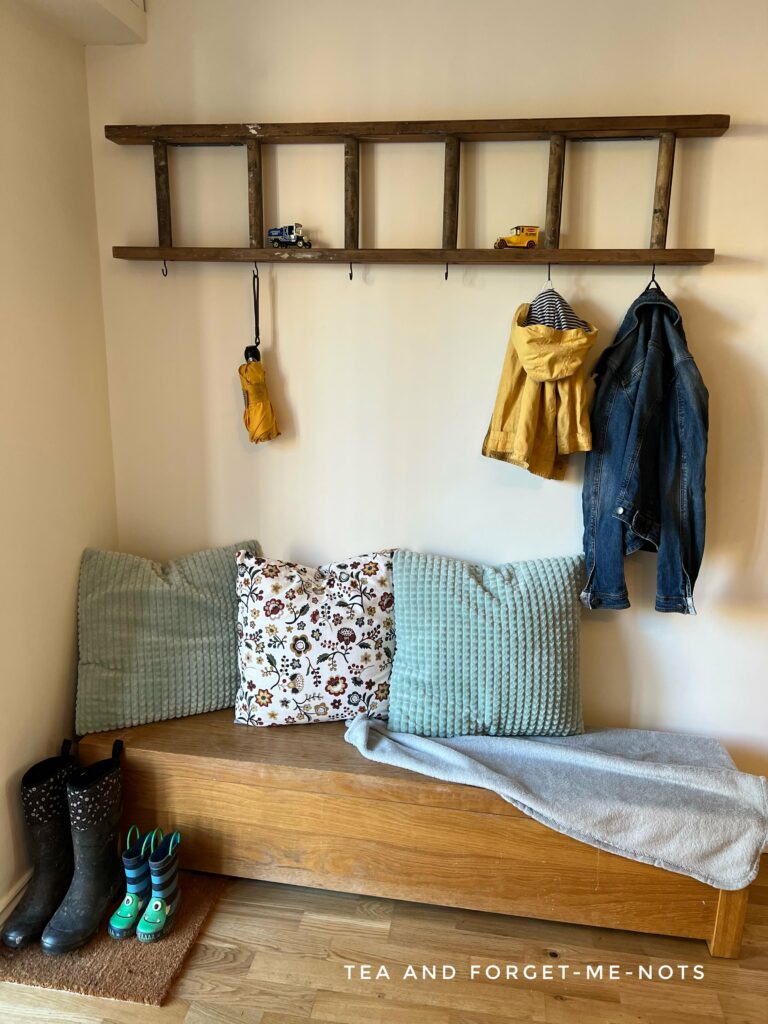
For me, the perfect coat rack DIY. A wall coat rack with a ready-made storage shelf. I added some vases and toys for decoration but you could add books or photos in between the rungs too.
I paired this with a blanket box as a seating area. A good use of space and the perfect piece for my small house.
It’s a great project to make an interesting coat rack. If you have a lack of storage space or don’t have coat closets, why not make it into a feature instead?
Here’s a feature I made out of an old cabinet door!
For a similar style with an even more rustic look, you could nail holes for the coat holders. Or for a pretty version, you could paint it white and keep the screw hooks gold.
The whole thing took probably one hour of work. Most of which was securing the coat rack shelf into the wall.
I love the look of the project. And I have a great idea for the scrap wood that I will use to make more DIY projects.
Watch it come to life in the quick YouTube video!
Repurposing is the best way to make the most of items you have a great idea for. You can see the rest of the projects where I repurpose items here.
Pin it for later – DIY coat rack with shelf

Hi there! I'm Rachel Bowyer, a passionate DIY enthusiast with a knack for transforming the old into something beautifully new. With a deep love for furniture painting, refinishing, and the art of crafting. I've been documenting my DIY projects and restoration journey since 2018. I specialise in techniques like decoupage, stencilling, and decor transfers. Join me as we explore the world of creativity and home improvement, one project at a time.
This is such a cute idea! You are so creative! I love that you made a cozy seating area underneath it! Now you have the perfect space to hang jackets and take your shoes on and off! Pinning it now!
Thanks, Donna, yes I think the seating area pulls it all together.
It does!
When we moved into our house there was an older ladder I wanted to keep, but my hubby gave it away!! Wish I had it to make a coat rack like this!!
Ah, we live and learn. Maybe the next person did!
This is such a great idea!
Thanks, Elizabeth!
This is such a great idea! I love to repurpose things like this too!
Thank you, yes it’s always more satisfying when you do too!
Rachel this is so clever, and it looks wonderful. I really like it!
Thanks, Maria
This is such a great idea. Love the ladder.
Thanks!
Hi Rachel. This is such a good idea and I wish I’d seen it sooner! We are just putting up a long shelf in a small utility room and I like the idea of using hooks (like the ones you have used here) underneath the shelf to hang coats. It means that we do not have to drill into the wall again for the coat hooks. My question is whether the hooks are secure enough to hold adult coats. I’m not a DIY person and I’m concerned that the weight of a coat might just pull the hook off. Thank you for any advice. Claire
Hi Claire, yes they hold at least a couple of adult coats with no problem. It’s our main coat rack and works hard!