Wait Until You See This Cool Industrial DIY IKEA Mirror
IKEA is a great place for upcycling hacks. Here’s how to create an industrial DIY IKEA mirror without the price tag.
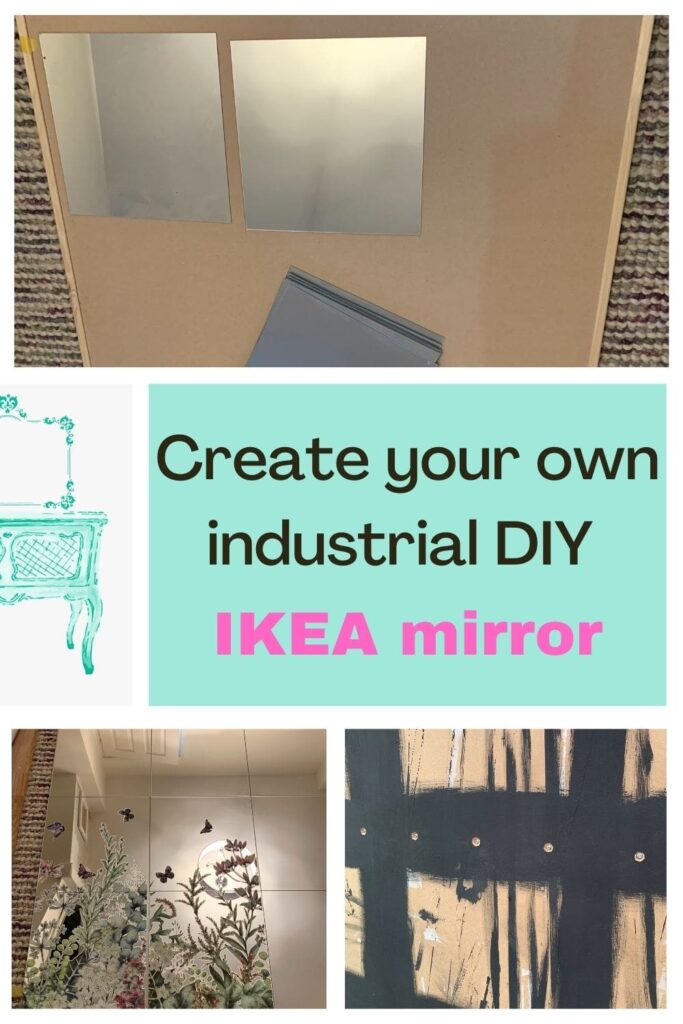
DIY industrial mirror supplies
15 IKEA LOTS mirrors, wood trim, chalk paint, and wax. I also used a Z bar to securely attach the mirror to the wall.
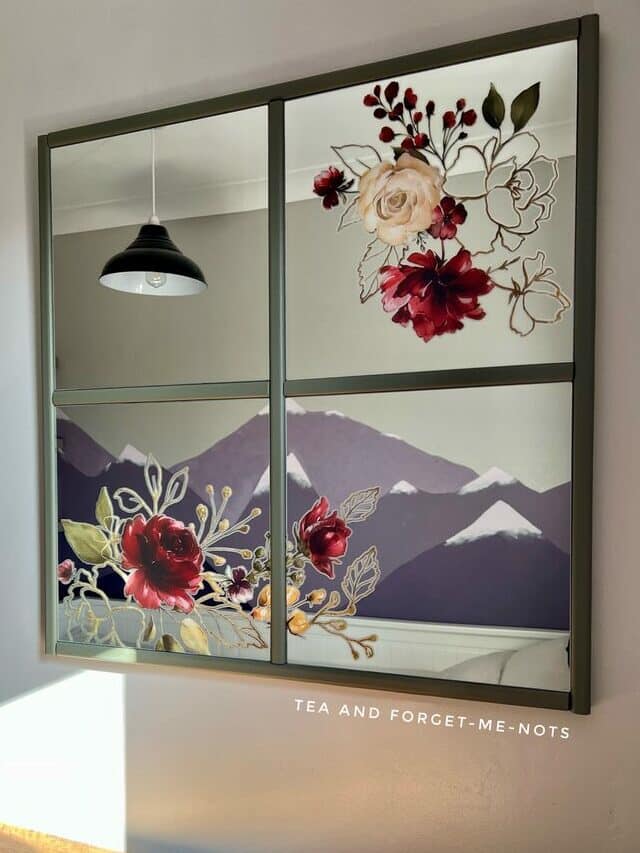
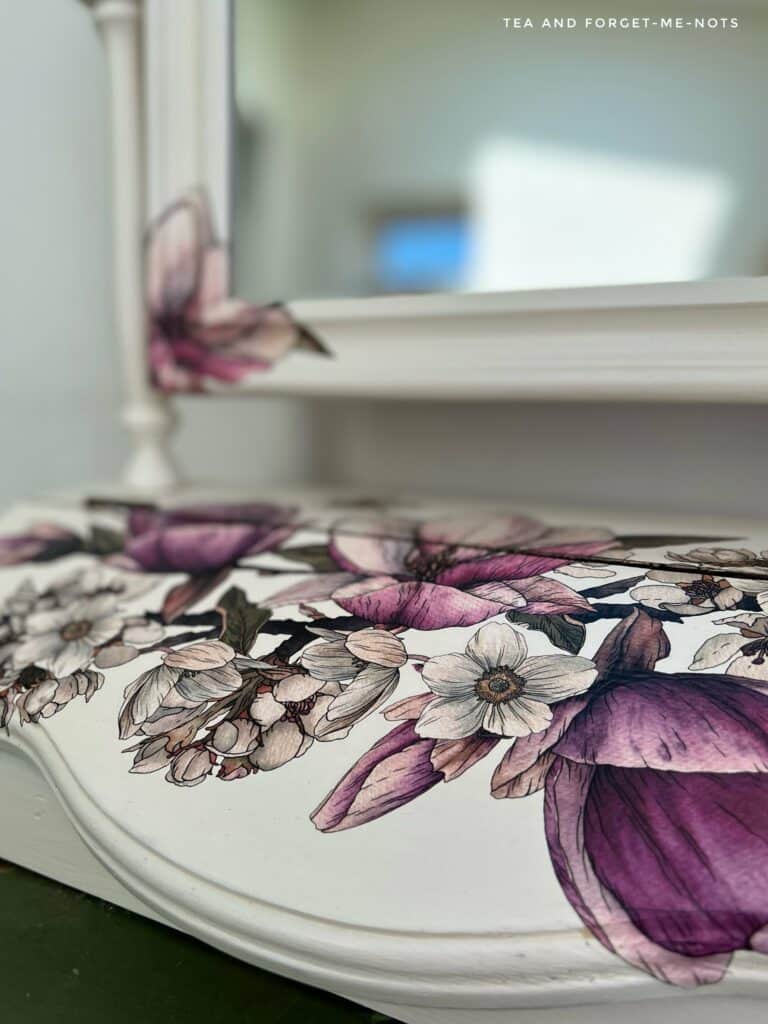
And for a bonus feature, I used (an optional) furniture transfer. Hokus Pokus makes some amazing transfers. The one I used is called Marvelous Gardens.
Check out my fastest-selling project using a transfer!
How to make a DIY grid mirror
To start, I needed to work out what size mirror I could make. There was a limitation because the backing board had to fit in my car.
I bought four packs of IKEA LOTS mirrors. Which are square mirrors. About 30cm wide.
So I calculated what width backing board I needed for a row of mirrors, plus the wood trim in between each mirror.
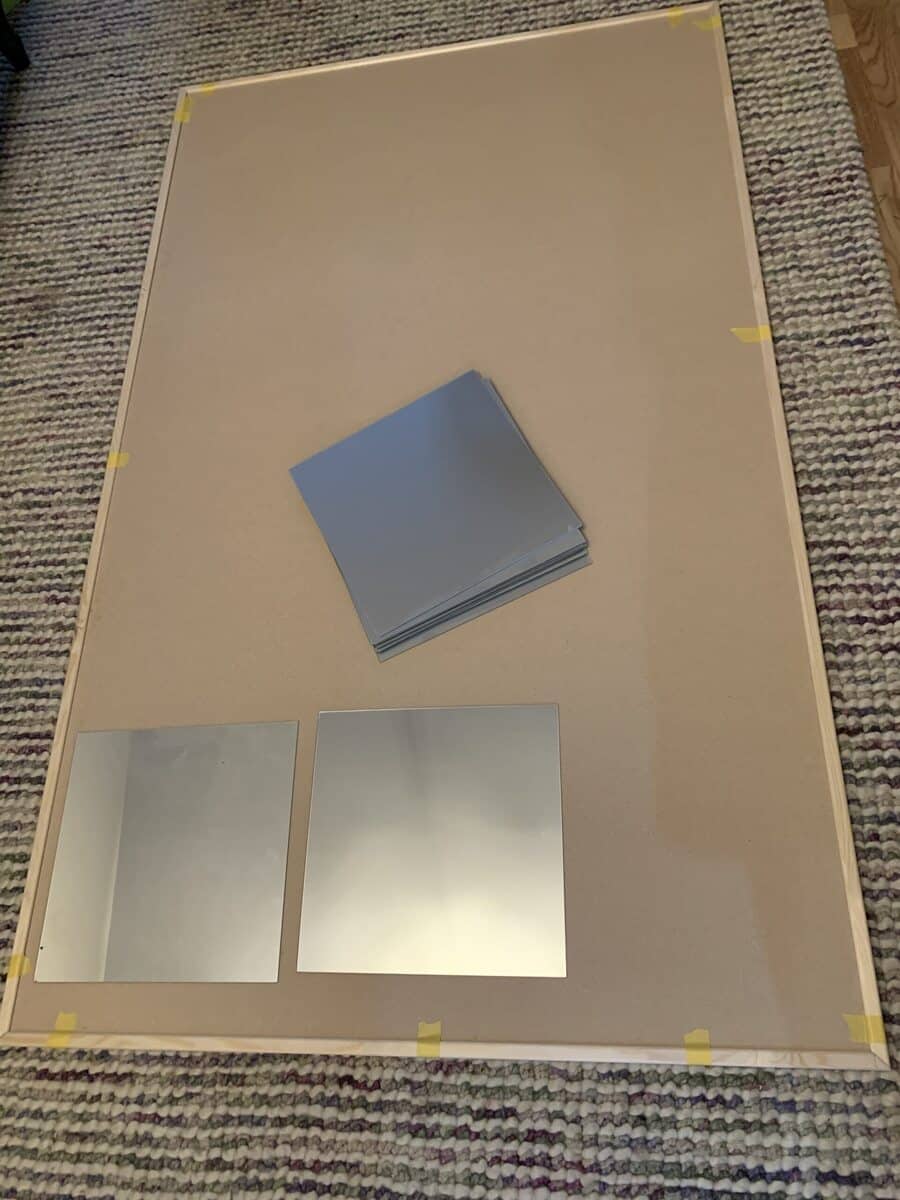
I had the DIY shop cut an MDF board to size. Enough to have a 3×5 grid mirror.
Another option would have been to use plywood boards. They tend to be stronger so would be a good choice for a giant mirror.
But MDF is smooth. This means that it doesn’t have a rough edge and is good for painting.
This is the largest piece I’ve managed to fit into my car, just!
How to create the mirror grid with wood trim
I needed 18 pieces of trim to create the grid.
For the outer edges of the wood frame and two vertical pieces for the dividers, I used six long pieces. For the horizontal dividers between the mirrors, I used 12 pieces, which were the width of each LOTS mirror panel.
Want to know 23 great DIY tools? Get the list!
I cut them to size and sanded the edges where I had made the cuts.
Then I painted one side of each piece in grey chalk paint. I needed a couple of coats for good coverage.
The hardest part was finding space for all of them to dry. In fact, I used the backing board as a drying rack which is why it got so messy!
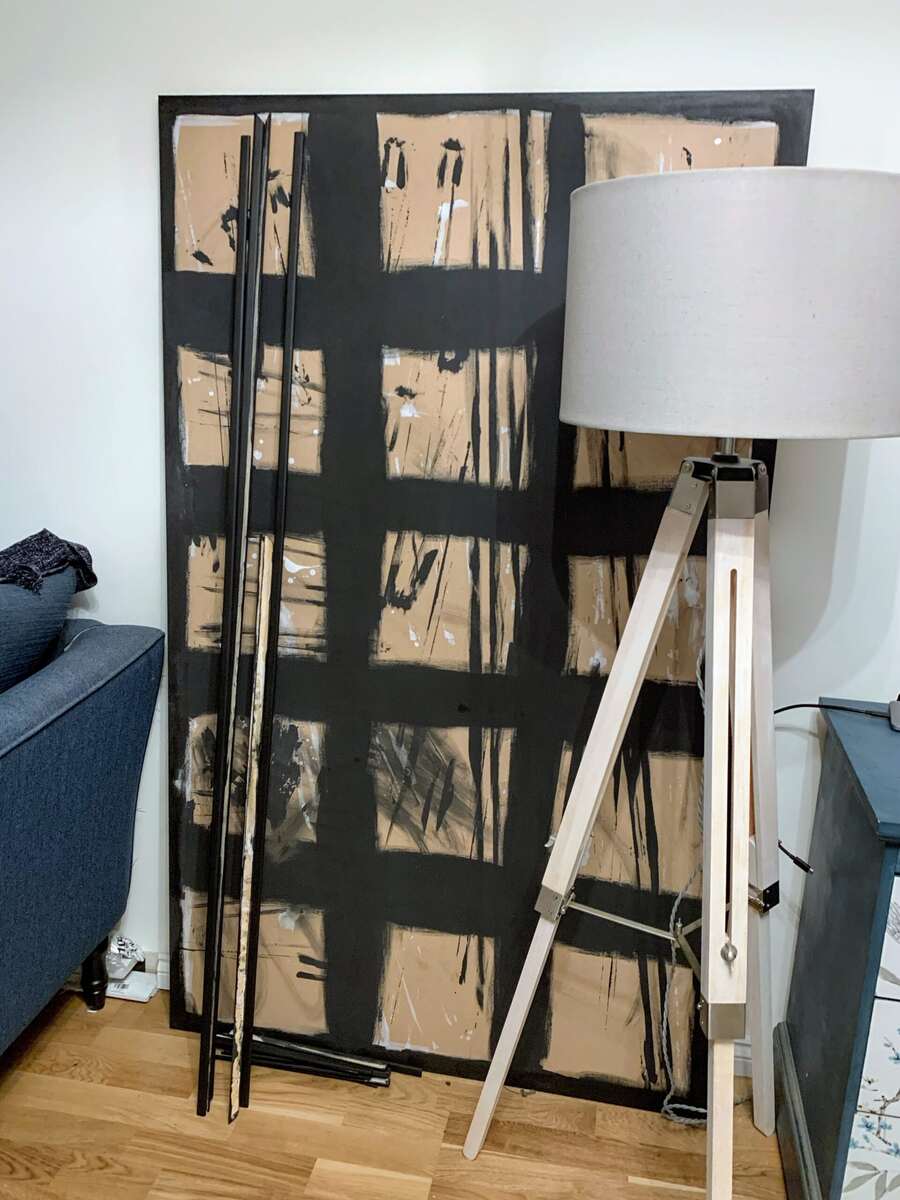
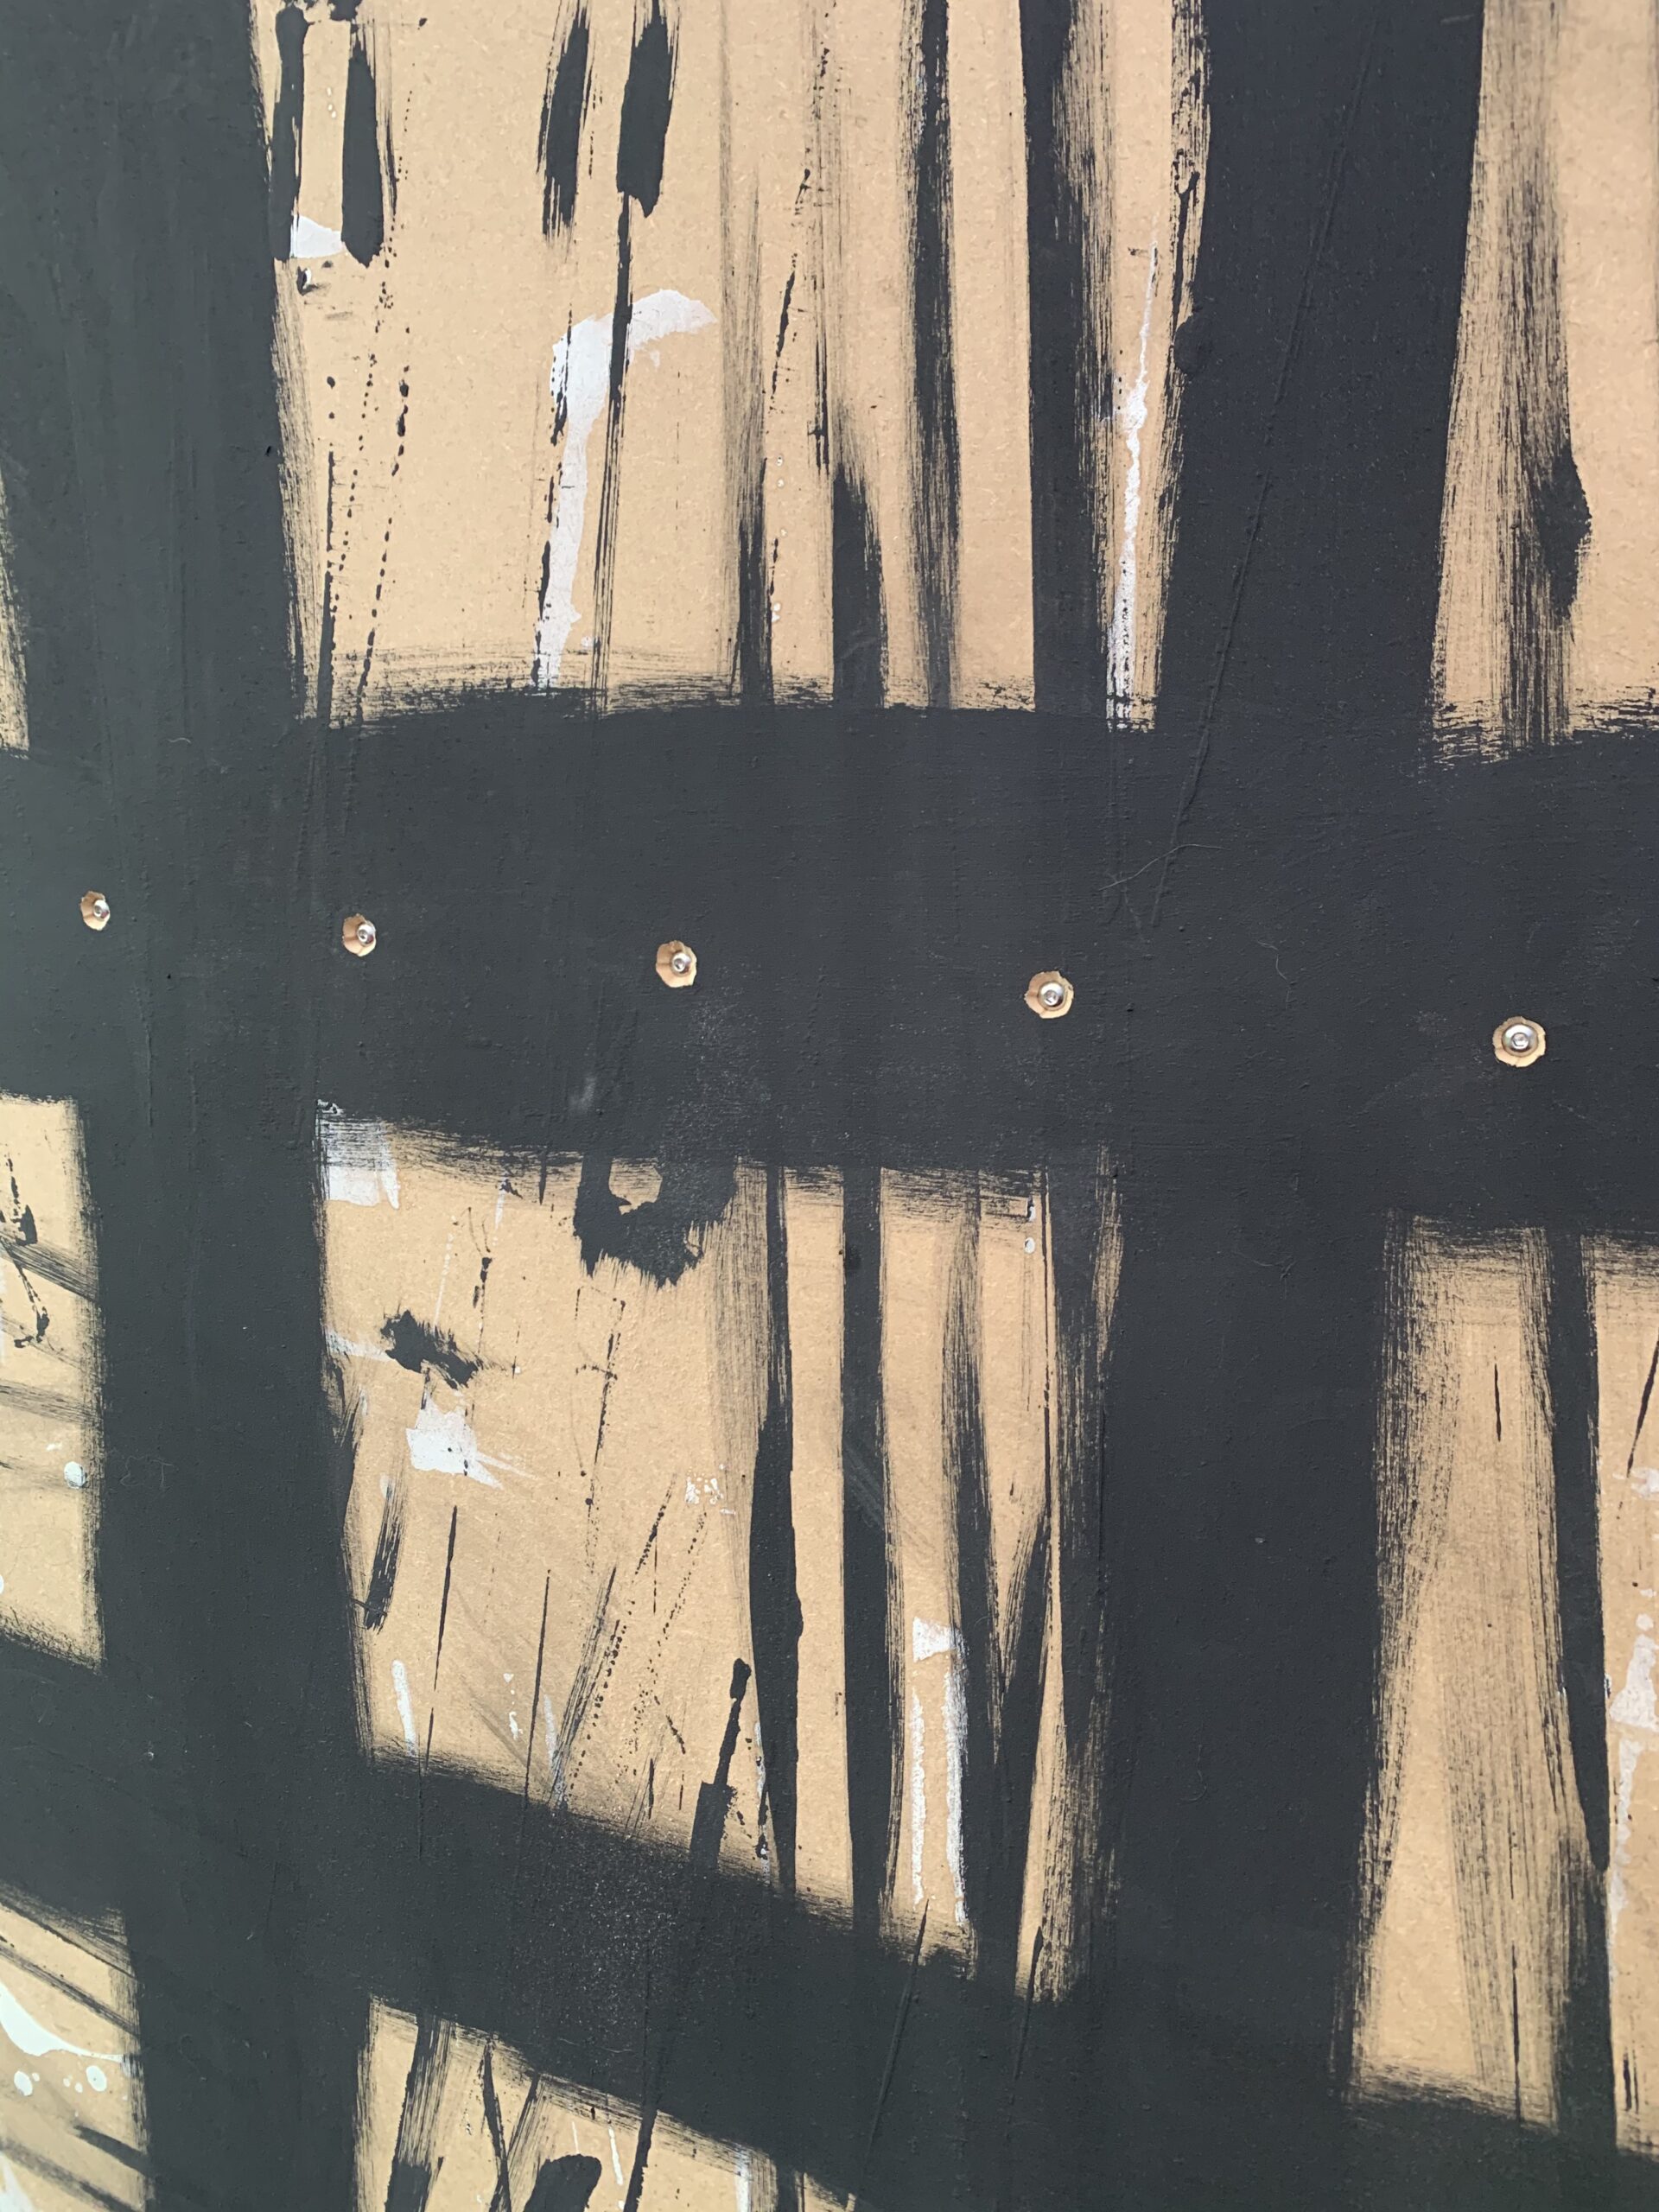
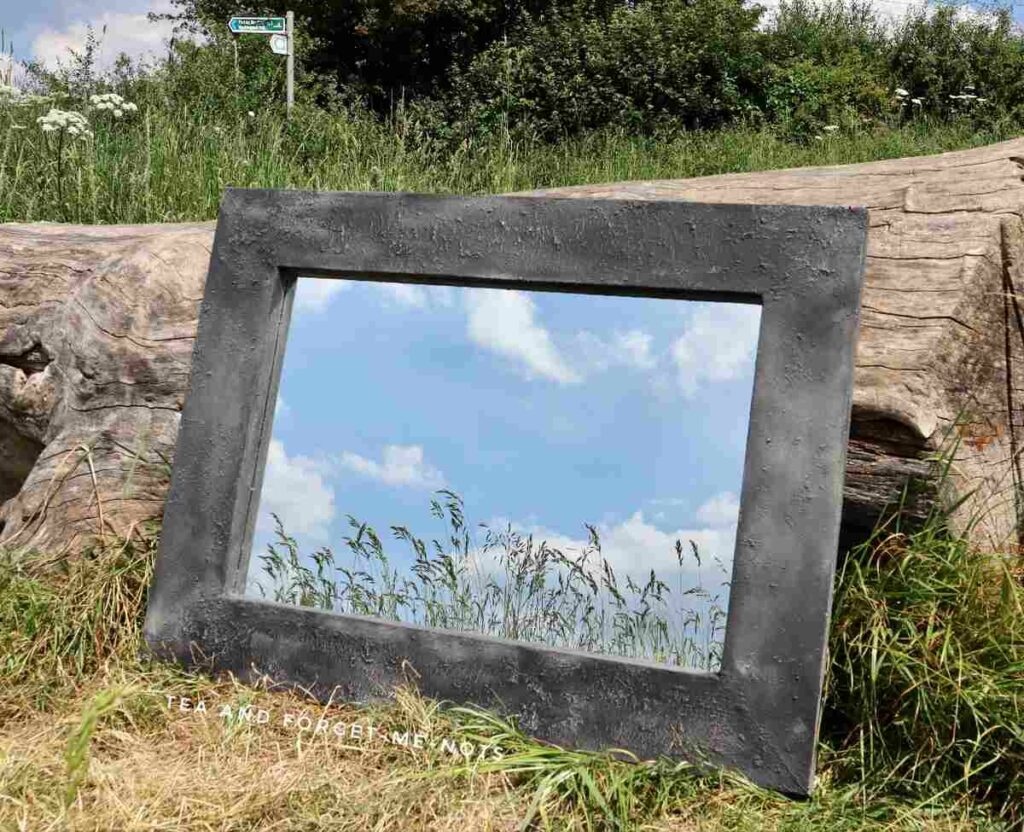
Even though I used plain wood trim, I added black wax to it. There was a big difference with wax on it. It gave the wood a much richer colour.
Here’s what a difference black wax can make over a light colour.
Finally, I painted thick lines where the mirrors would meet on the MDF board in charcoal grey. This was to avoid any brown MDF board showing through if the mirrors weren’t perfectly in line.
For the next step to create the grid mirror, I used wood glue to attach the outer frame. This is what makes it really look like an industrial-style mirror.
I didn’t use a nail gun so that I wouldn’t get holes in the trim which I would need to cover later.
I wasn’t sure whether to assemble the mirrors from the middle or an edge. So, I decided based on which would be the easiest to fix if my measurements were off.
Here’s my best friend, Pixel, inspecting the work. She approved.
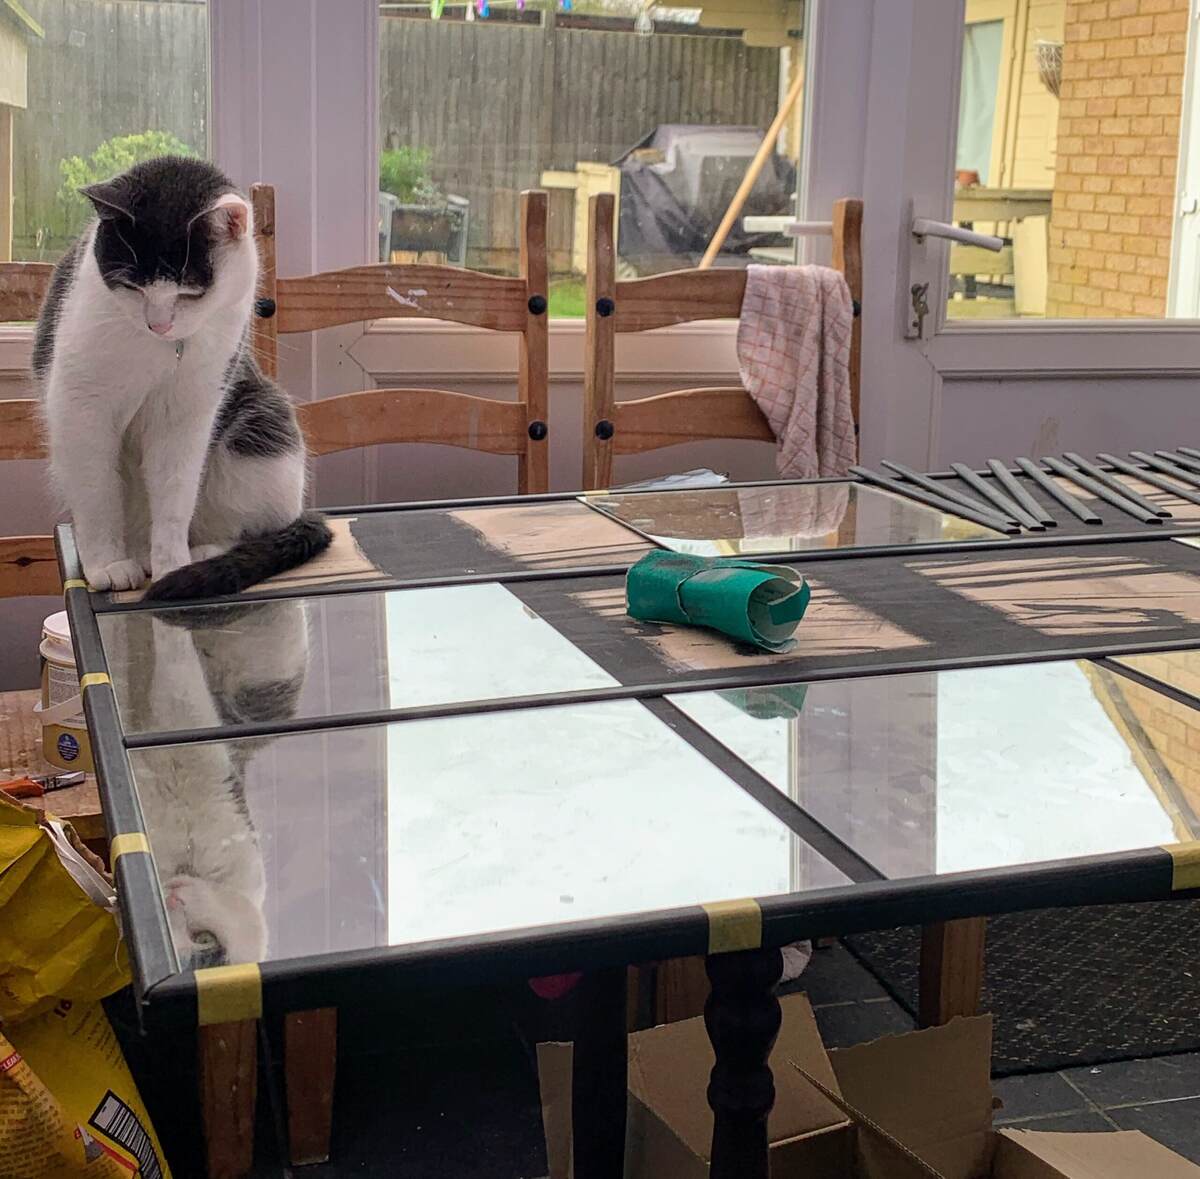
I decided to start in the top corner. Even so, it did end up with a couple of mm gap.
Probably based on the extra width added by the coats of black paint and wax. So, with a little sanding and rejigging the mirrors, it finally pieced together.
Once the grid fitted perfectly, I glued in the individual panel mirrors.
The IKEA mirrors came with sticky tape to attach them. But I used mirror adhesive (similar to Liquid Nail). It’s a great way to ensure extra security.
How to add a furniture transfer to a new or old mirror
You attach a furniture transfer with a ruler-like tool. Simply rub each part of the image until it’s no longer attached to the backing sheet. You can see when it has transferred because the colour dulls slightly.
I applied the transfer before the mirrors were in the grid so that I didn’t have to avoid the trim between the panels. When you have such a big transfer, it’s easier to have as flat a surface as possible to work with.
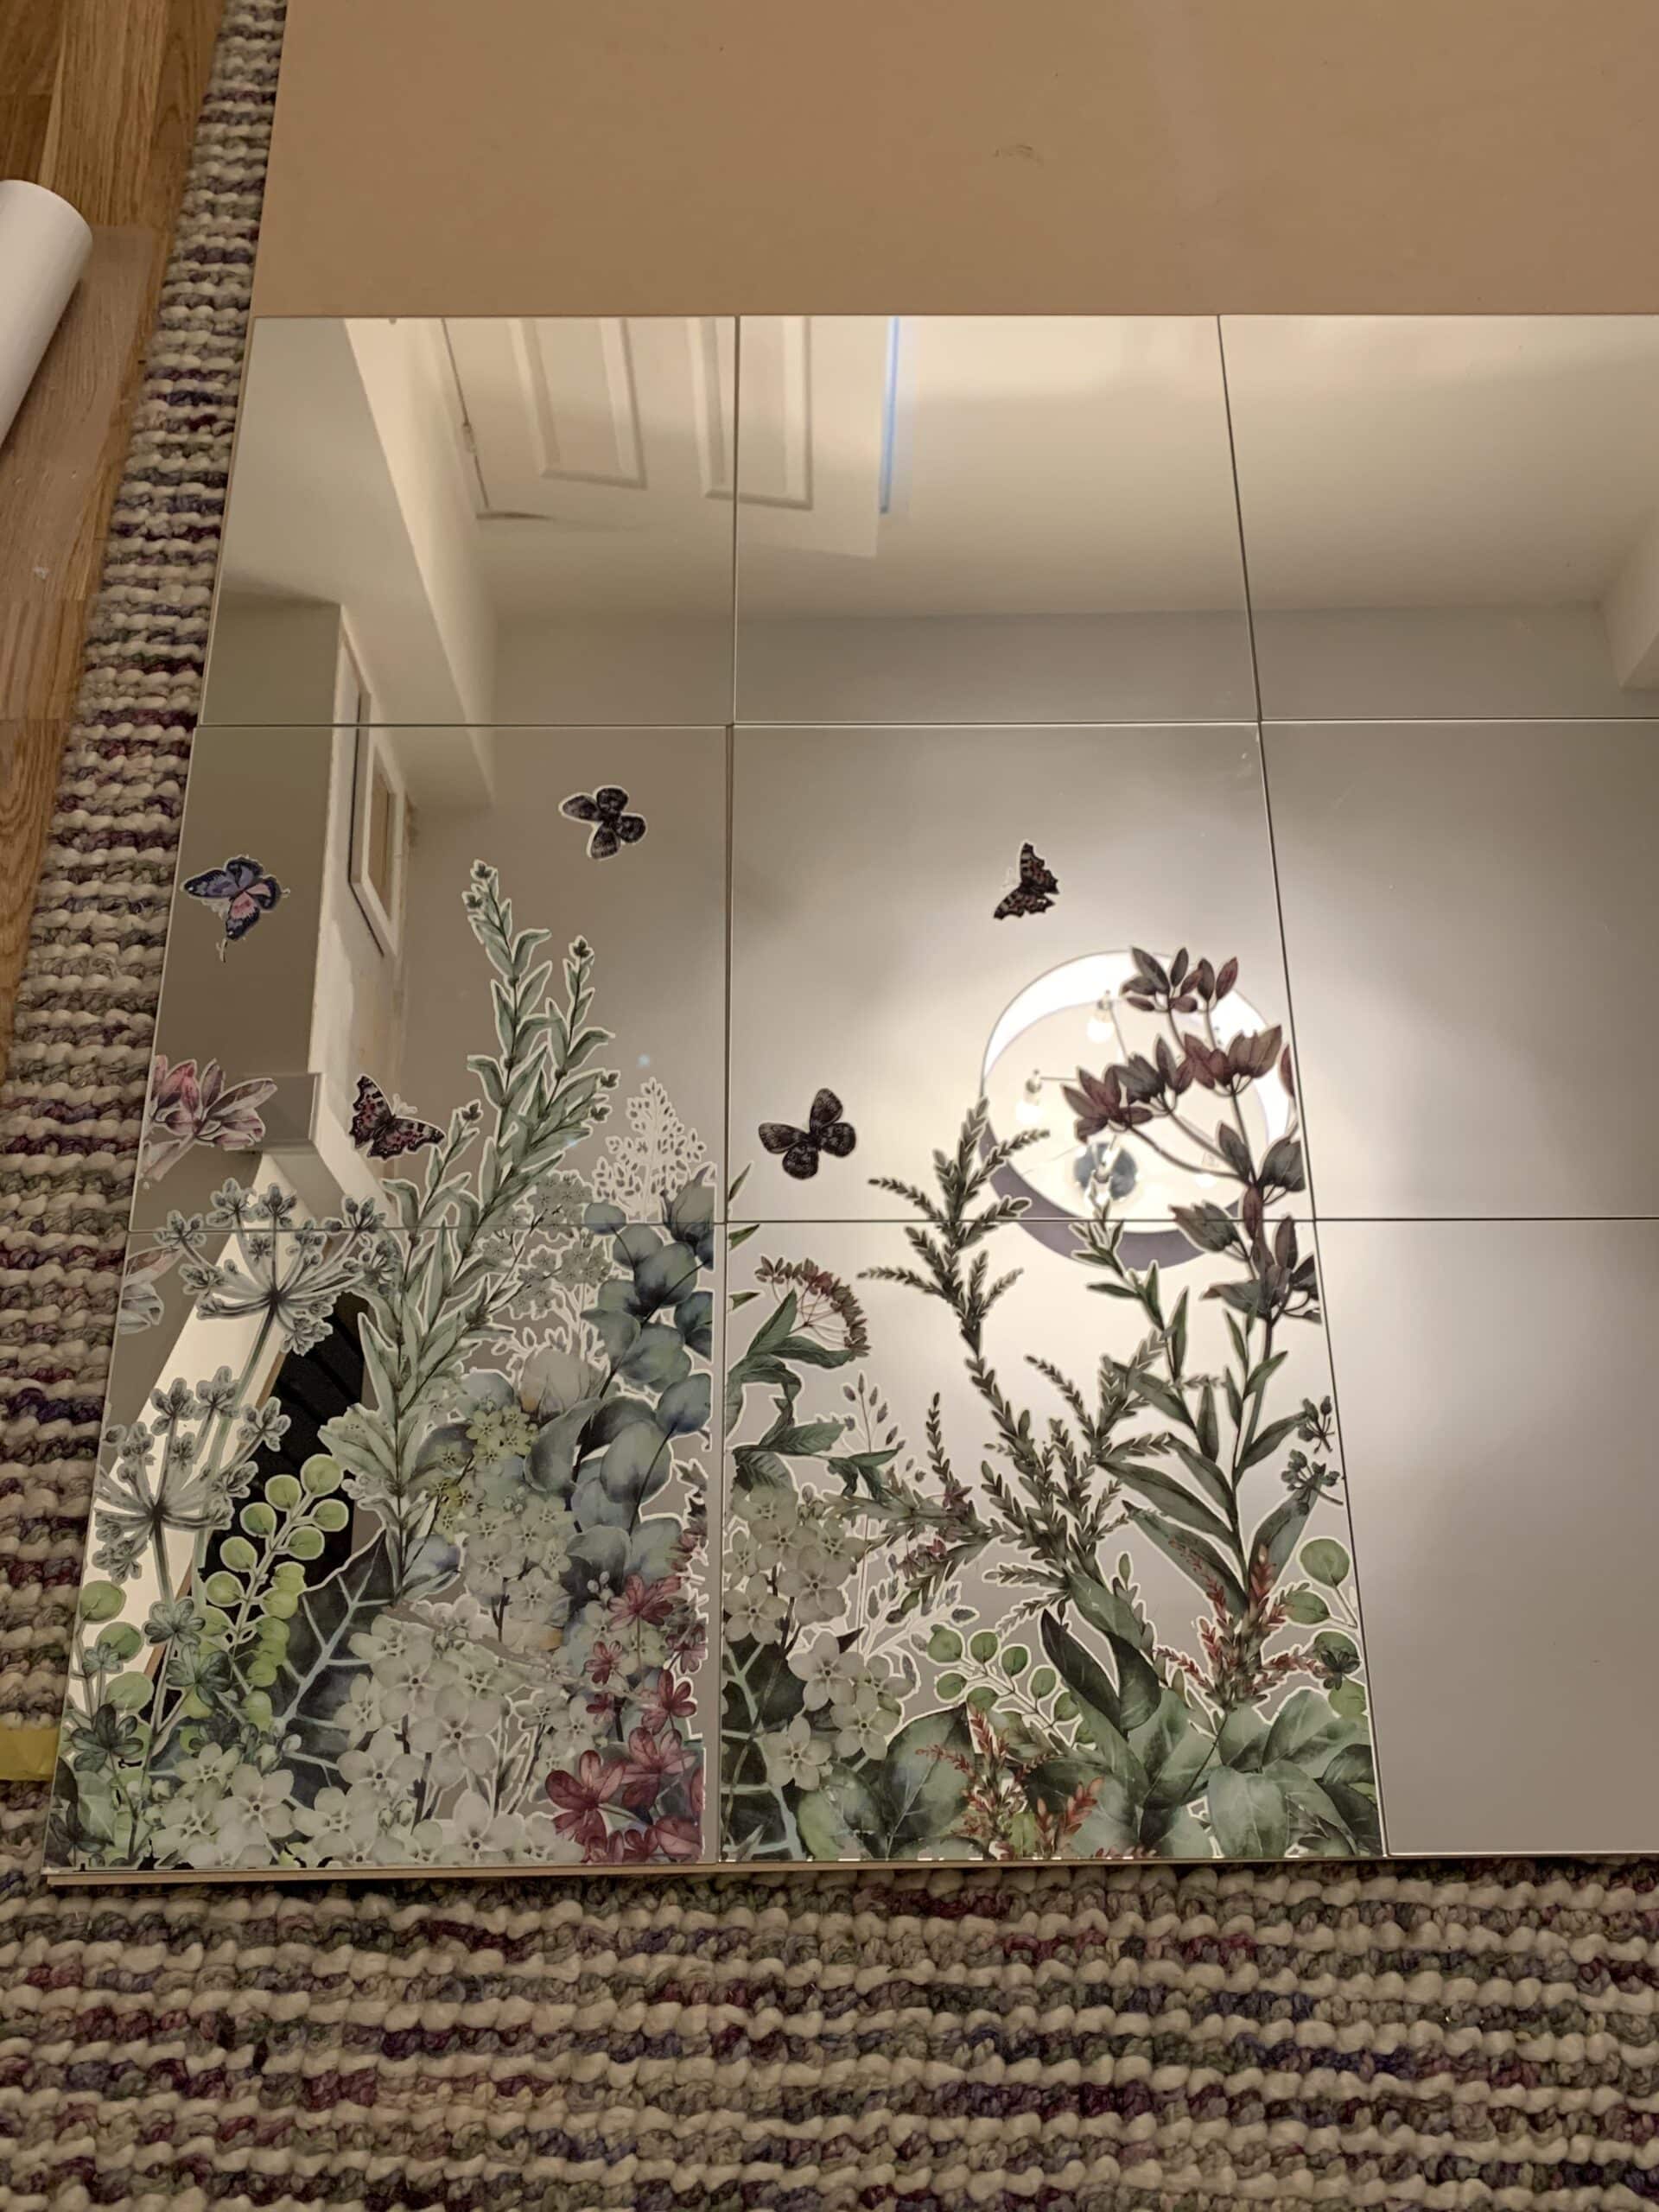
It took about an hour to stick it all down. If you have a rougher surface than a mirror, it can take many hours to apply a furniture transfer.
How do you hang the IKEA mirror hack?
A Z-bar is one of the most secure ways of attaching a heavy mirror to a wall. It’s also called a French Cleat.
A D-ring is a popular way to secure lighter mirrors. But depending on the size of your mirror, a D ring won’t be strong enough.
I screwed one-half of the Z bar to the MDF board before the mirrors were attached. The hook part of the z-bar is on the back of the frame.
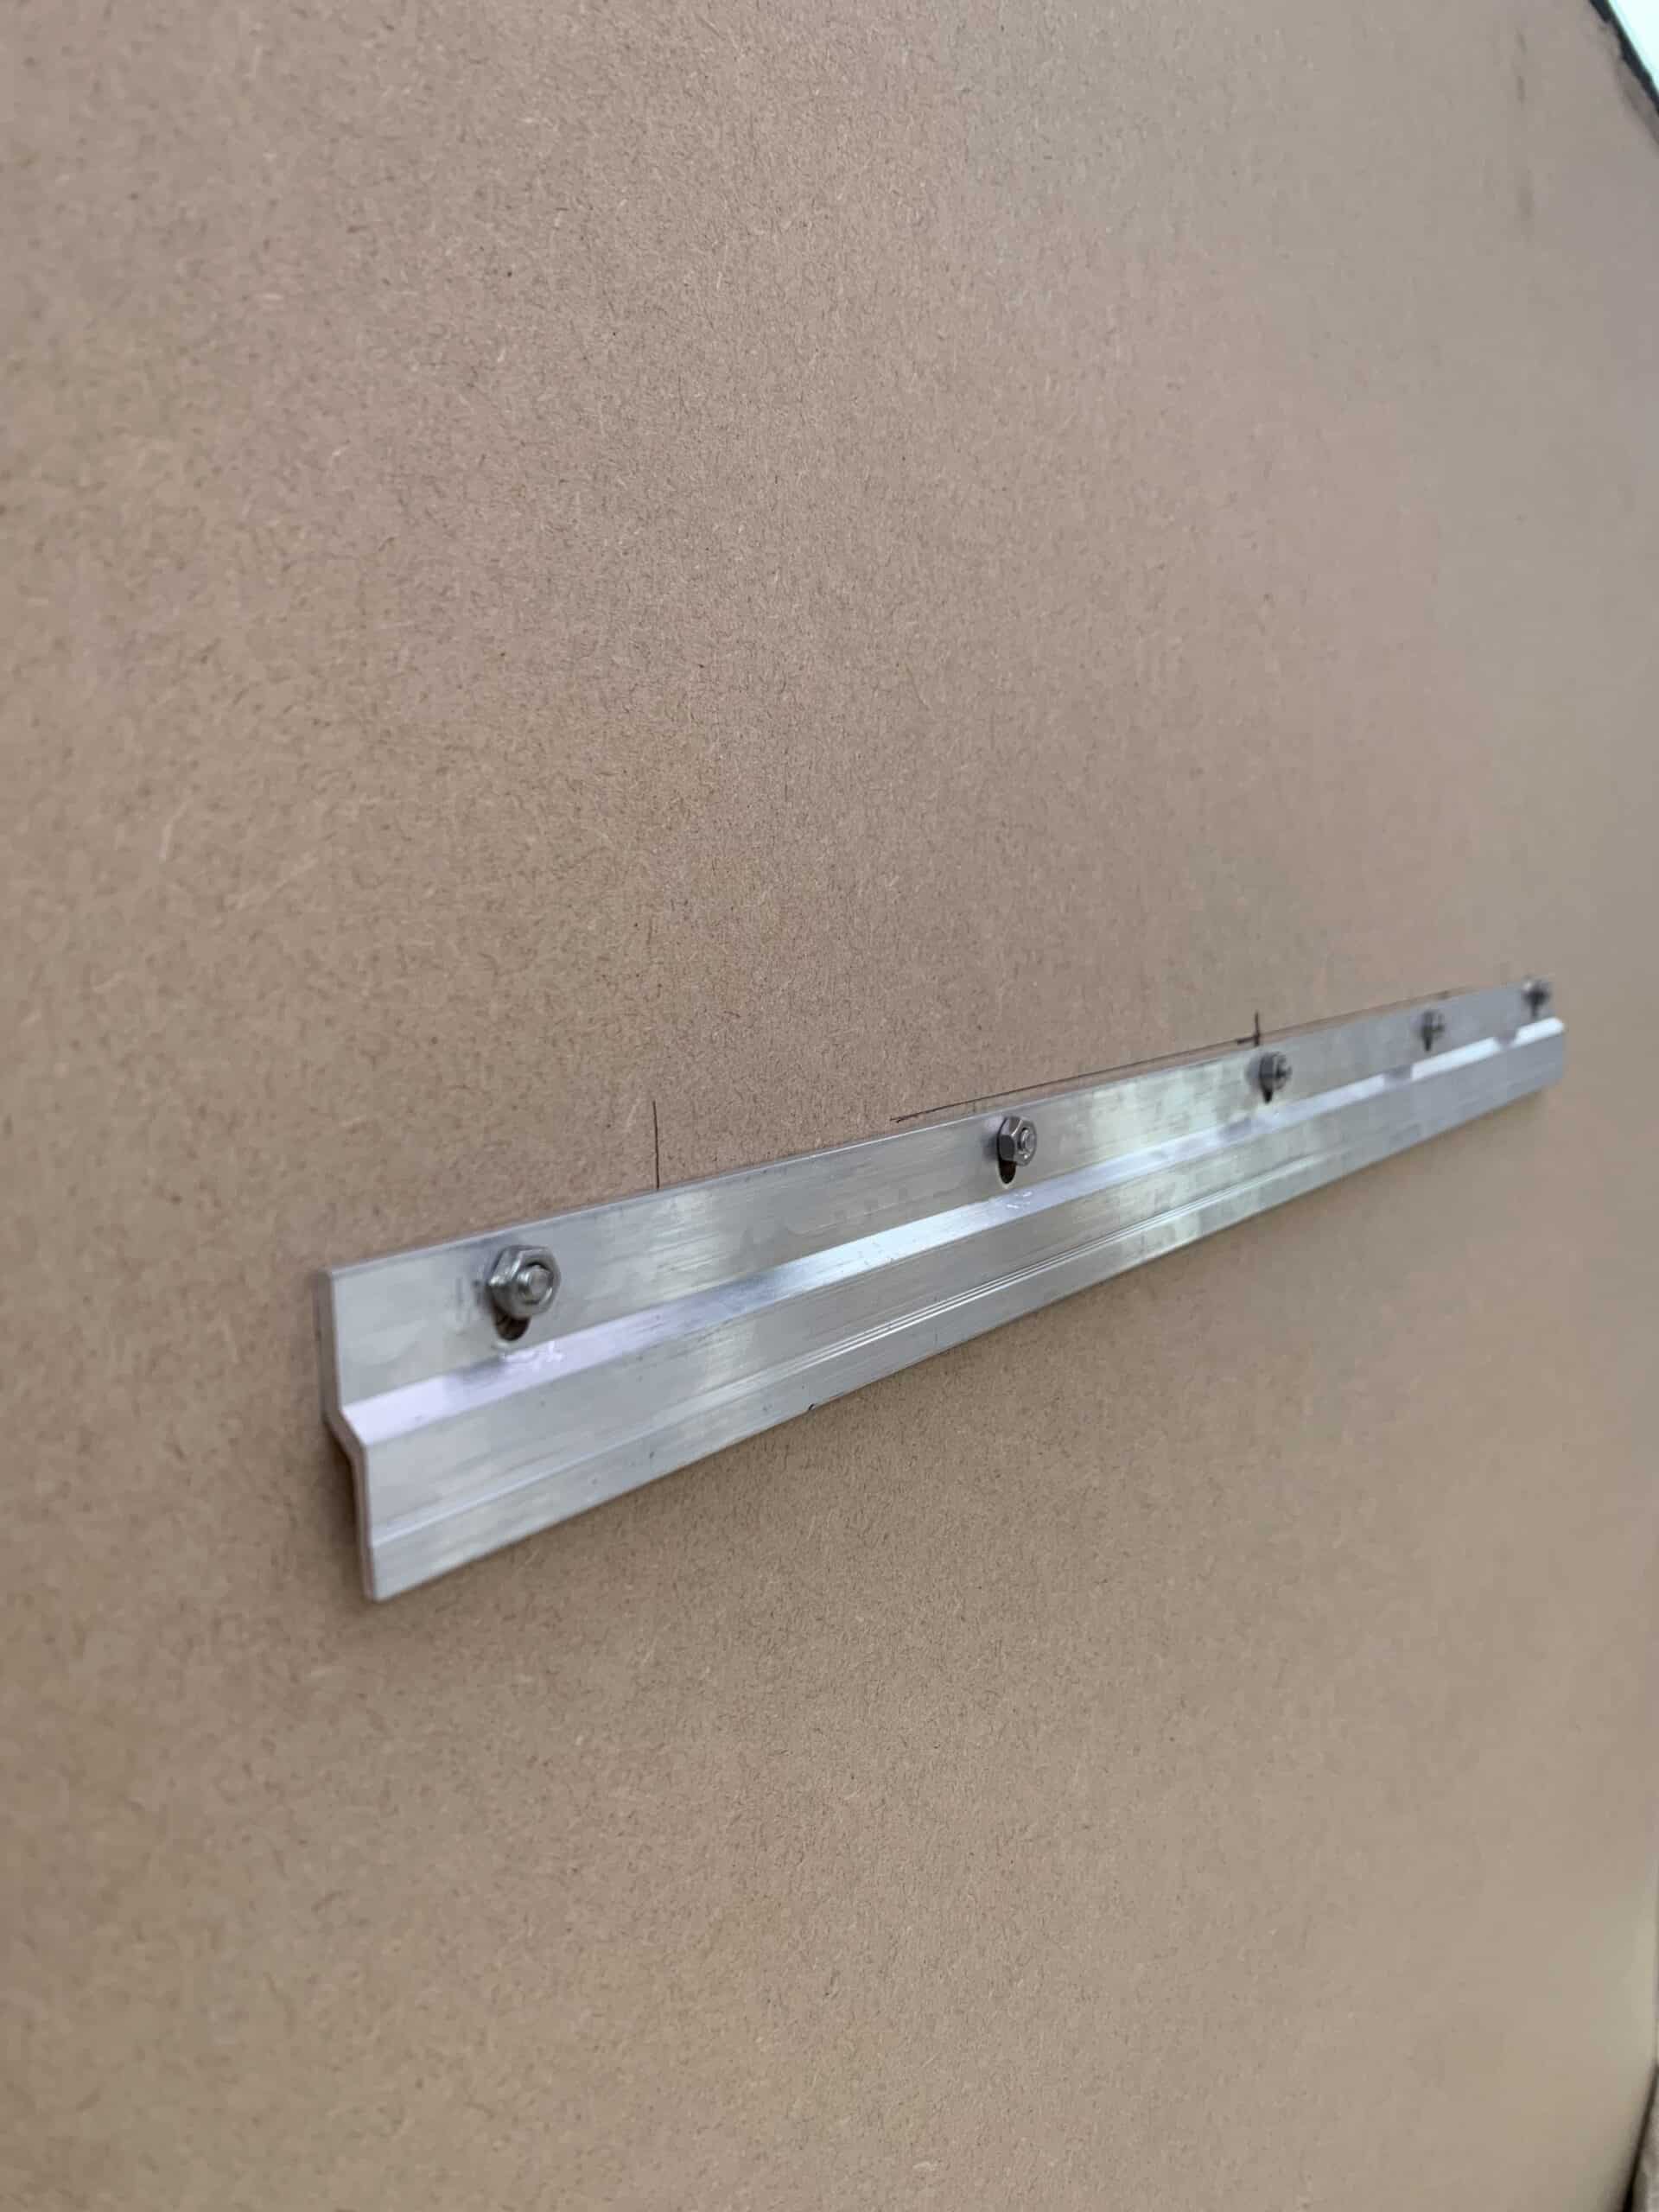
The second half of the Z-bar was drilled securely into the wall. A Z-bar works by slotting these two pieces together.
If you struggle with only one pair of hands, number 2 on this list can really help!
You need to countersink the screws. This makes sure that the screws sit back from the surface and the individual mirrors can be placed flat.
This is a really secure way of attaching a mirror. I’m confident that it will stay safely on the wall.
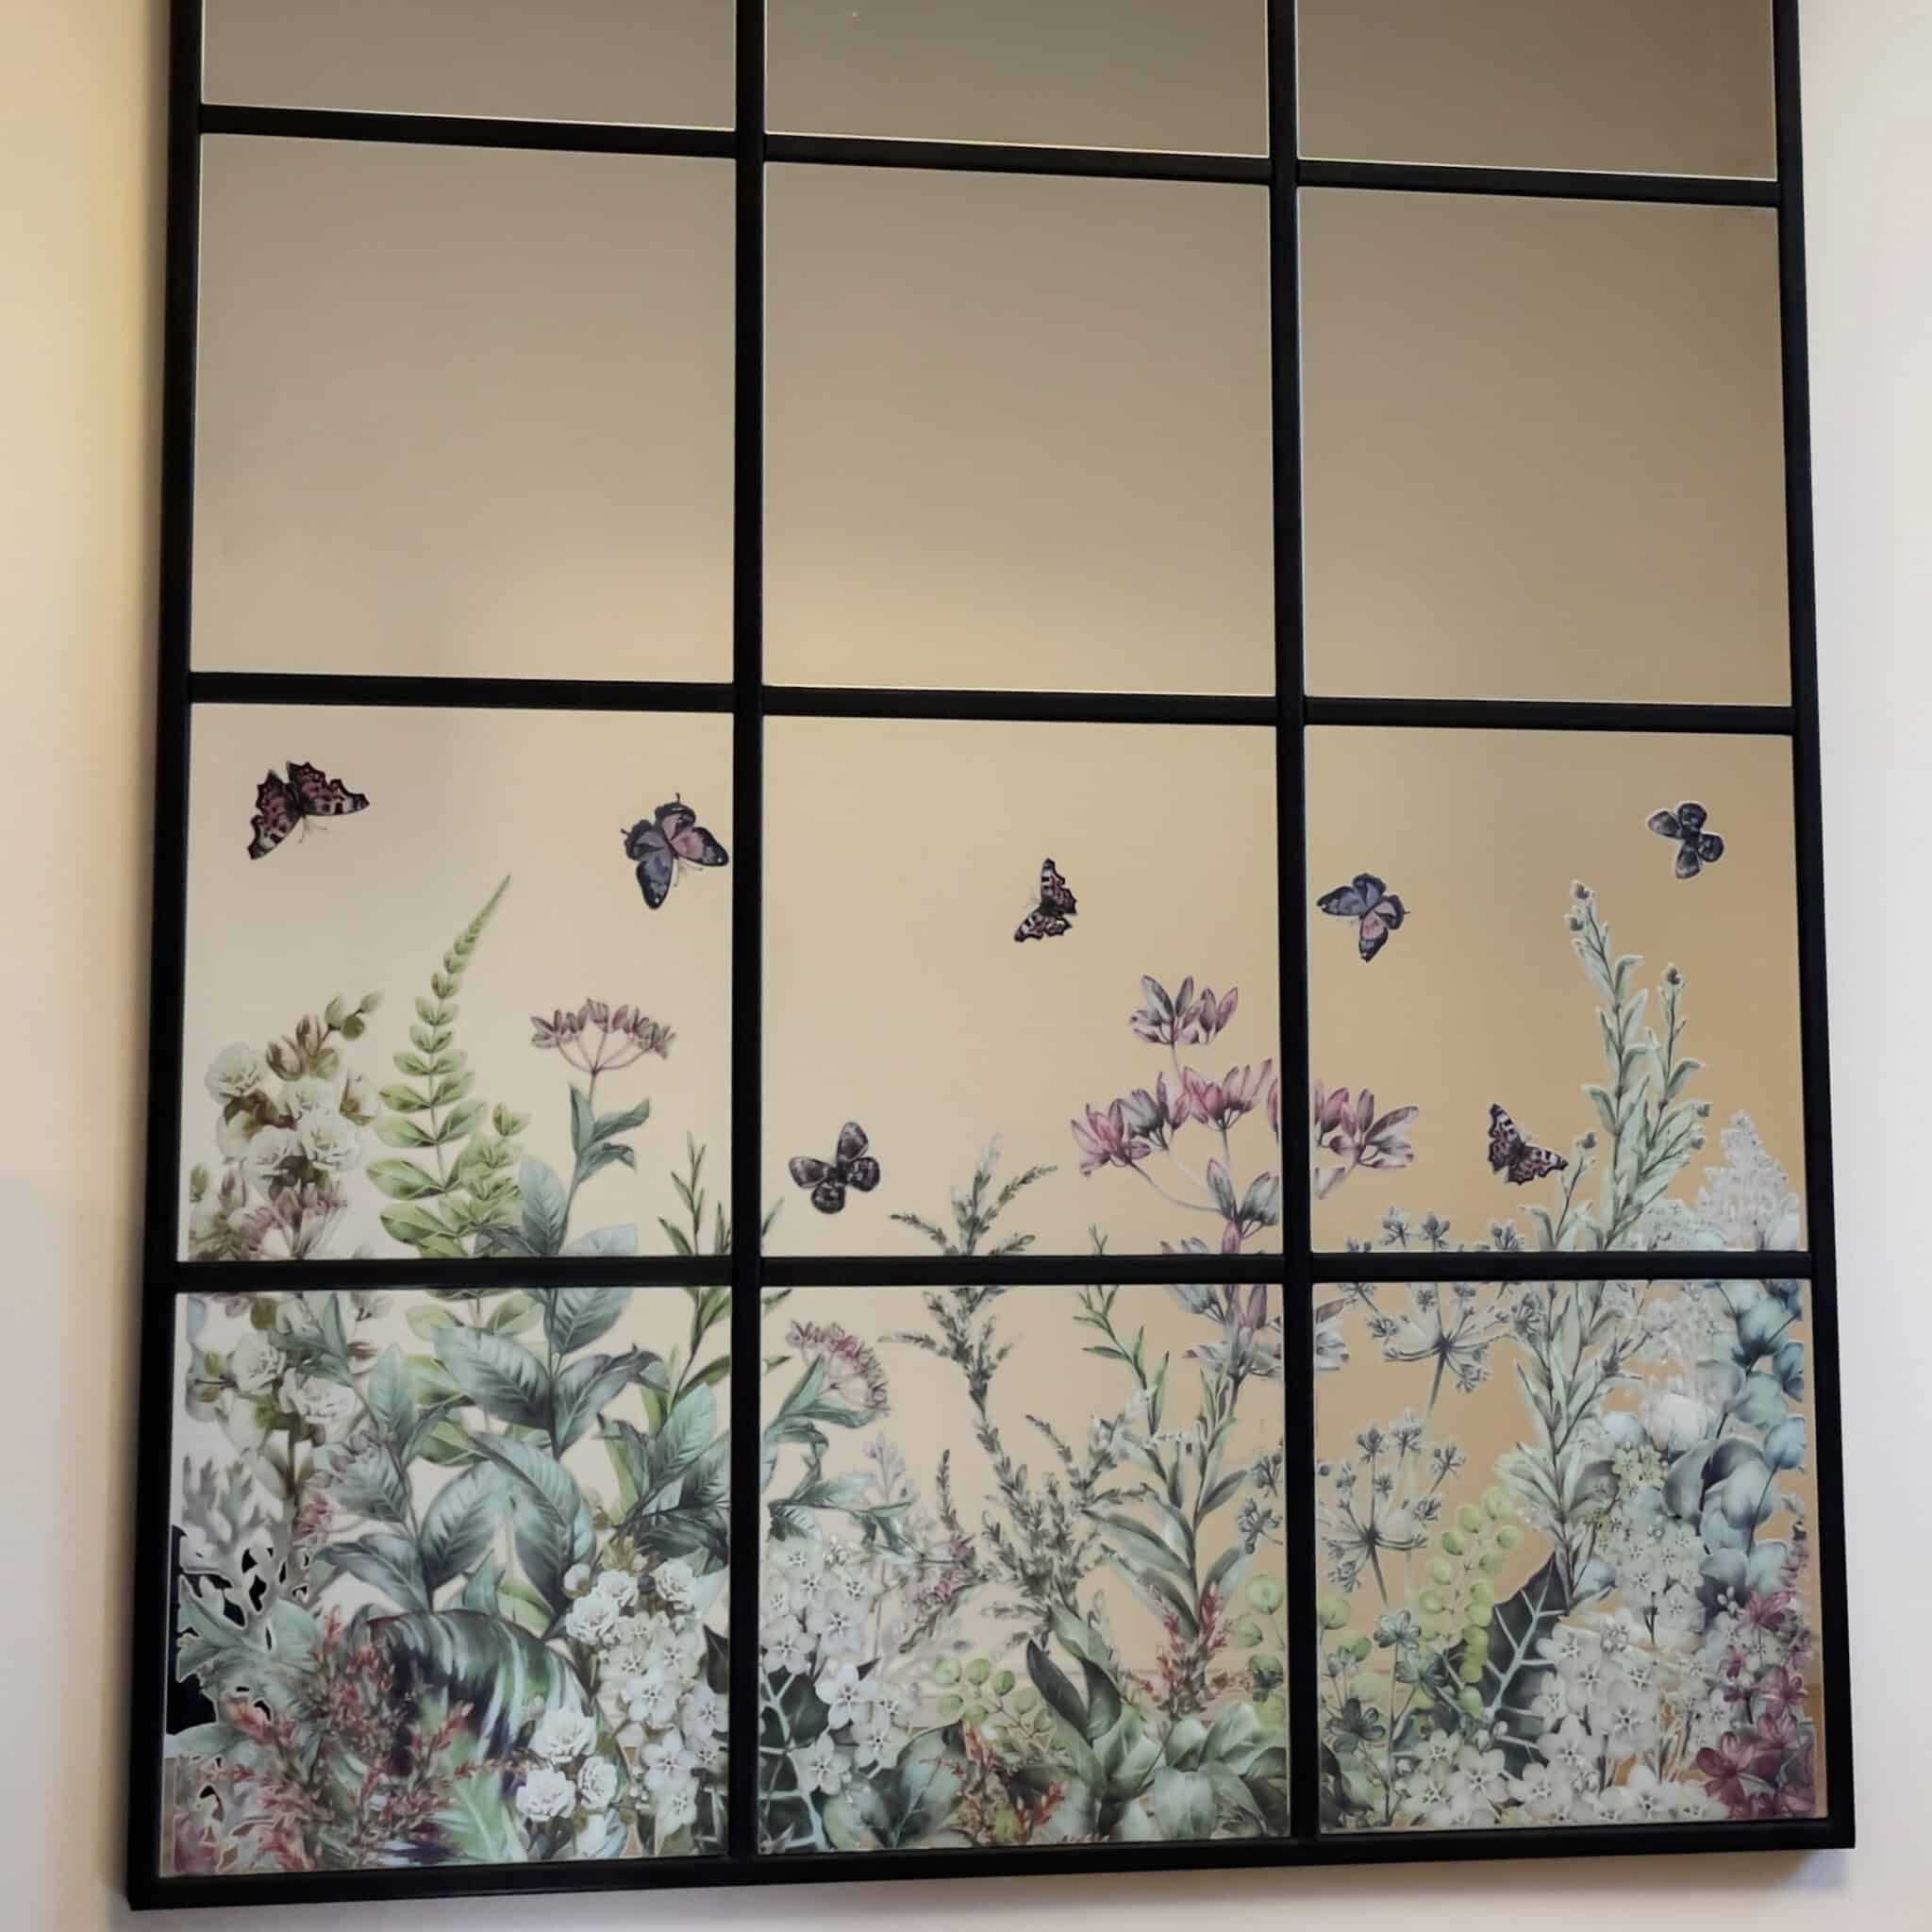
The final result DIY industrial mirror
I placed this DIY IKEA mirror in my living room. It’s the perfect size to bounce a lot of light from the window into the room.
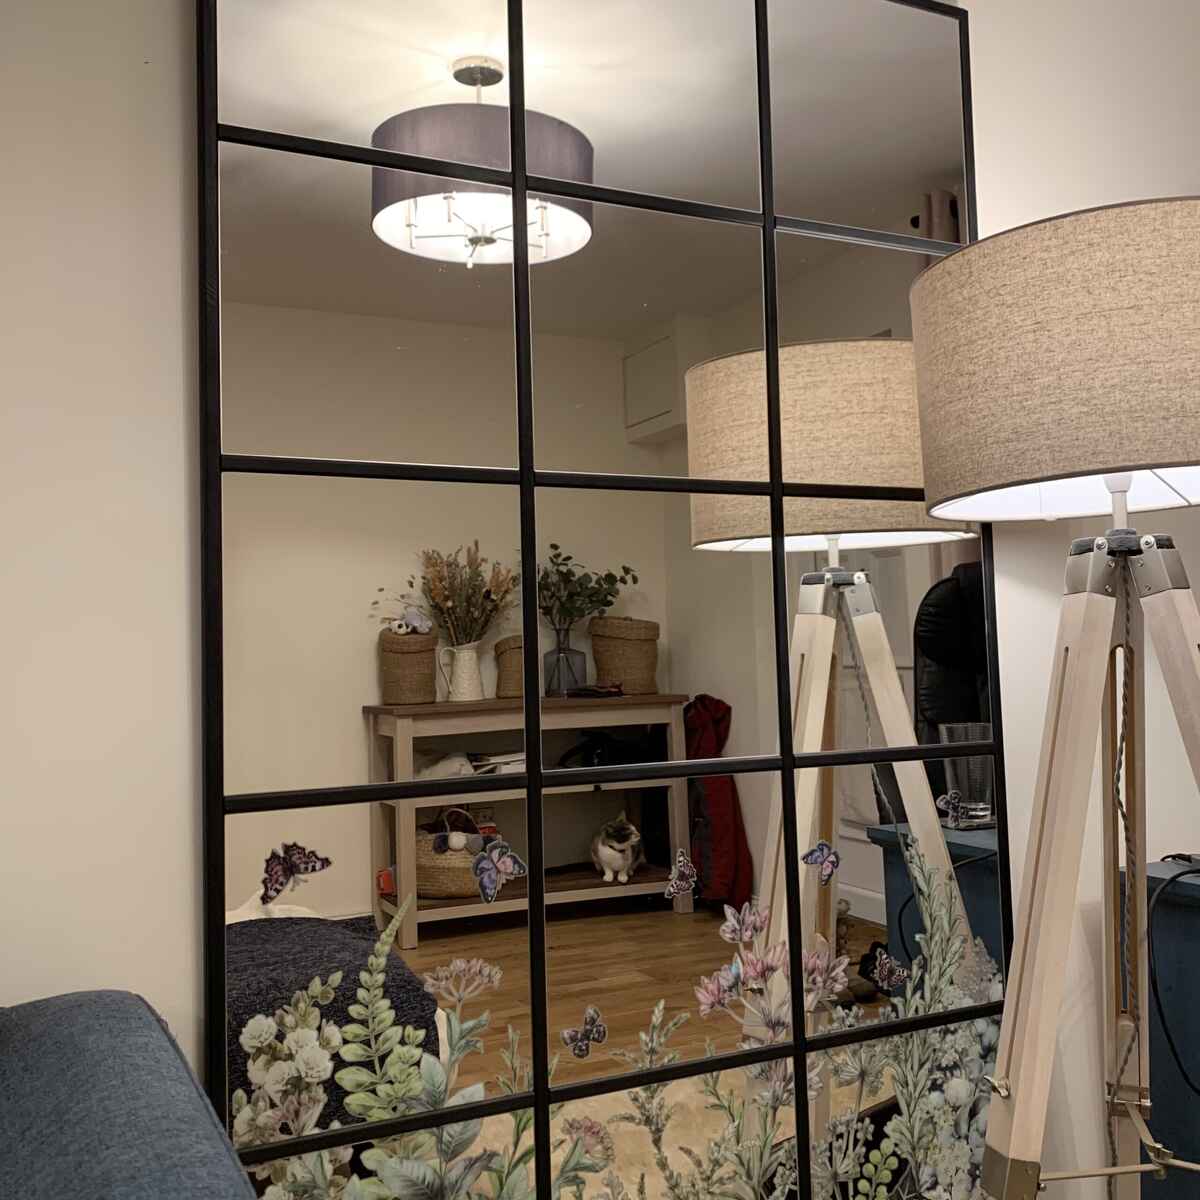
It held together perfectly and the Z-bar attachment feels secure.
This is the first time that I have done a step-by-step tutorial on making an industrial grid mirror. It was a great project and looks so impressive when walking into my home.
It’s not in the league of an easy IKEA hack. But it’s definitely achievable. When I do another, I’ll make a video tutorial so you can see how another statement mirror comes to life.
There’s so much you can do with IKEA mirrors. Do you have your own DIY mirror frame ideas?
If you enjoyed this post, you might like this project on how to paint black successfully.
If you loved this project, you'll love these projects too:

Hi there! I'm Rachel Bowyer, a passionate DIY enthusiast with a knack for transforming the old into something beautifully new. With a deep love for furniture painting, refinishing, and the art of crafting. I've been documenting my DIY projects and restoration journey since 2018. I specialise in techniques like decoupage, stencilling, and decor transfers. Join me as we explore the world of creativity and home improvement, one project at a time.
Simply stunning! Wow, you did an amazing job as well as creating a unique piece! Thanks so much for sharing how you did this.
Sue Patterson
Thanks Sue, that’s very kind.
This looks amazing! What a creative idea! You did a fantastic job with the mirror. I love the idea of using the IKEA mirrors to create this!
Thanks, it works so well!
so i created something similar using 12×48 mirrors from Target to make 3 24×48” mirrors. i mounted them very similar to you but mine have since bowed and some of the mirrors cracked 😩 i’m wondering if it’s just due to temperature changes (hung them in the late fall/early winter).
Maybe if i use these square mirrors there will be less bending and cracking. Have you had your mirror bow any?
Mine haven’t bowed at all but then we don’t get extreme temperatures. I wonder if the backboard was thick enough for the weight?
This is really good Rachel! A great looking project with your special touch to it of the added flower, just beautiful.
Thanks, Maria!
Sending this to my youngest who live in an apartment and a small home. from Amazing Creators
It’s great for adding extra light to small spaces.
I bought some mirrors from Dollar Tree a while back and never got my project done. I was thinking that might be an after Christmas project. Love the look of yours – great job. I love Ikea.
I made a similar one with just 4 squares for my bedroom, that’s very doable too. Let me know if you make it!
Wow! This looks amazing, Rachel! I love that you achieved a high end look with Ikea pieces! Well done!!!
Thanks Kristy. IKEA is a great starting point to get creative with.
The furniture transfer is gorgeous! I had a hard time seeing the other pictures though– I’m on my desktop and the images seem small?
Thanks for letting me know, I’ll check that out.
This is a great project! Thank you for sharing all the details!
Thanks, Kimberly
Rachel your projects are always so creative and unique. Love the finished look!
Thank you, Maria
Rachel, your creativity never ceases to amaze me! This mirror looks amazing and I love how you added the transfer! Great job!
Thanks so much, Donna.
Hi Rachel, really nice job! I love it! I have a question. how thick is the mdf panel?
Thanks so much, Cinzia. The panel is 1.5cm / 0.6 inches thick.
Where do I get the transfer you used for this ??
Hi, this transfer is from a brand called Hokus Pokus.