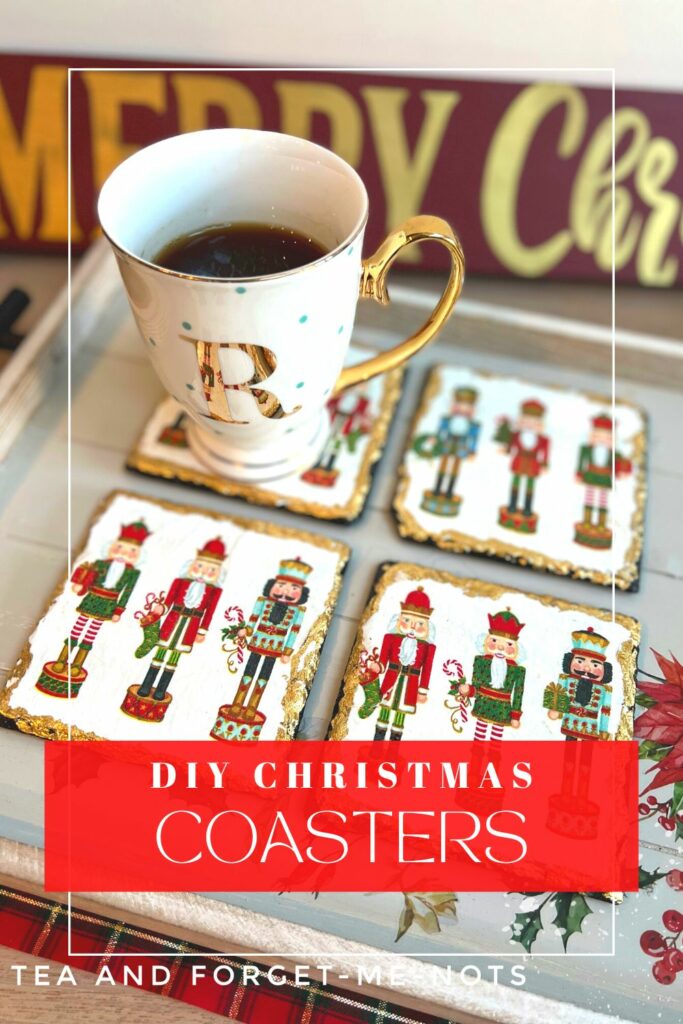
How To DIY Decoupage Christmas Ornaments | Easy Coaster Tutorial
Want to to DIY decoupage Christmas ornaments? Here’s an easy tutorial for a Christmas coaster DIY created with decoupage.
The flexibility of decoupage ornaments is that you can decorate almost anything with them. Whether it’s Christmas tree ornaments, glass bottles or candle holders.
This post includes gifted products and affiliate links so you can easily find the products I use myself and recommend to friends. If you purchase these products, I may earn a small commission at no extra cost to you.
Why DIY decoupage Christmas ornaments?
There are lots of beautiful Christmas-themed paper napkins available. This means that there are many ways you can turn plain ornaments and decor into something festive.
And there are almost endless things you can use as decoupage material also. Napkins or tissue paper are some of the thinnest. But it works with leftover fabric scraps, scrapbook paper or even old book pages too.
Previously I’ve decorated a chalkboard with music sheets. And I’ve even decoupaged a bookshelf with fabric squares that I got from HobbyCraft (like Hobby Lobby).
And one of my most popular bookshelves ever was decoupaged with wallpaper.
How to decoupage coasters
But for these handmade ornaments, I have a set of slate coasters. I bought these from a charity shop for £3.
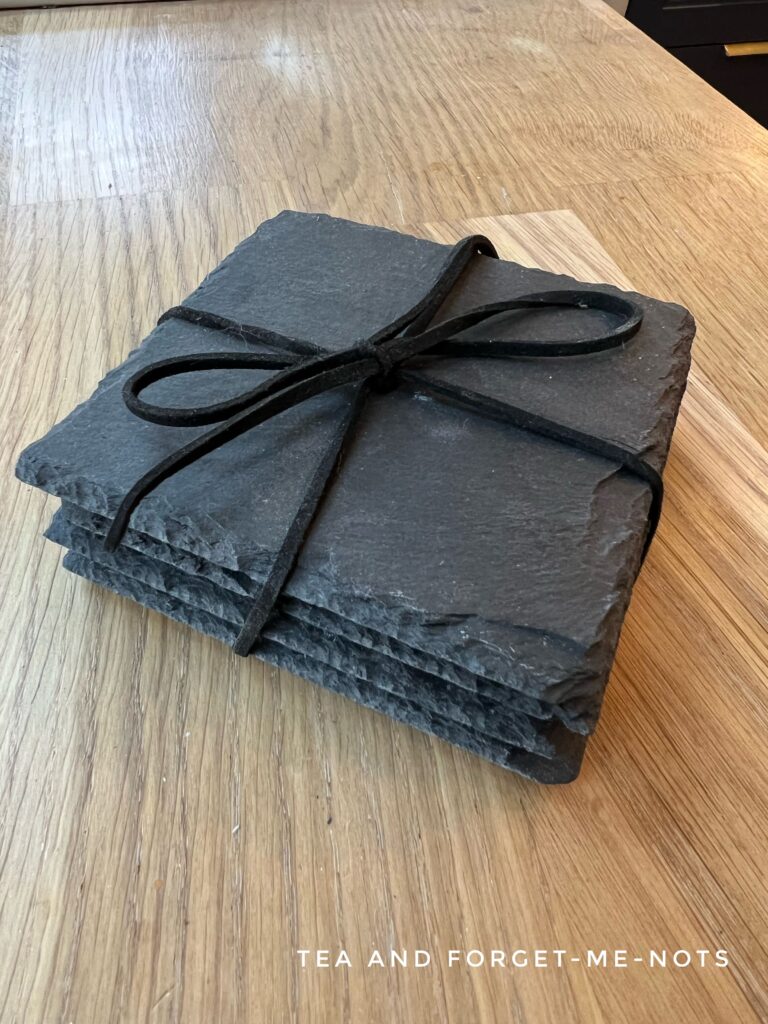
And I wanted to decoupage them for my Christmas table.
Decoupage is a great way to create almost any design you like. However, finding Christmas napkins that are a good size for your coasters is more difficult than you might think.
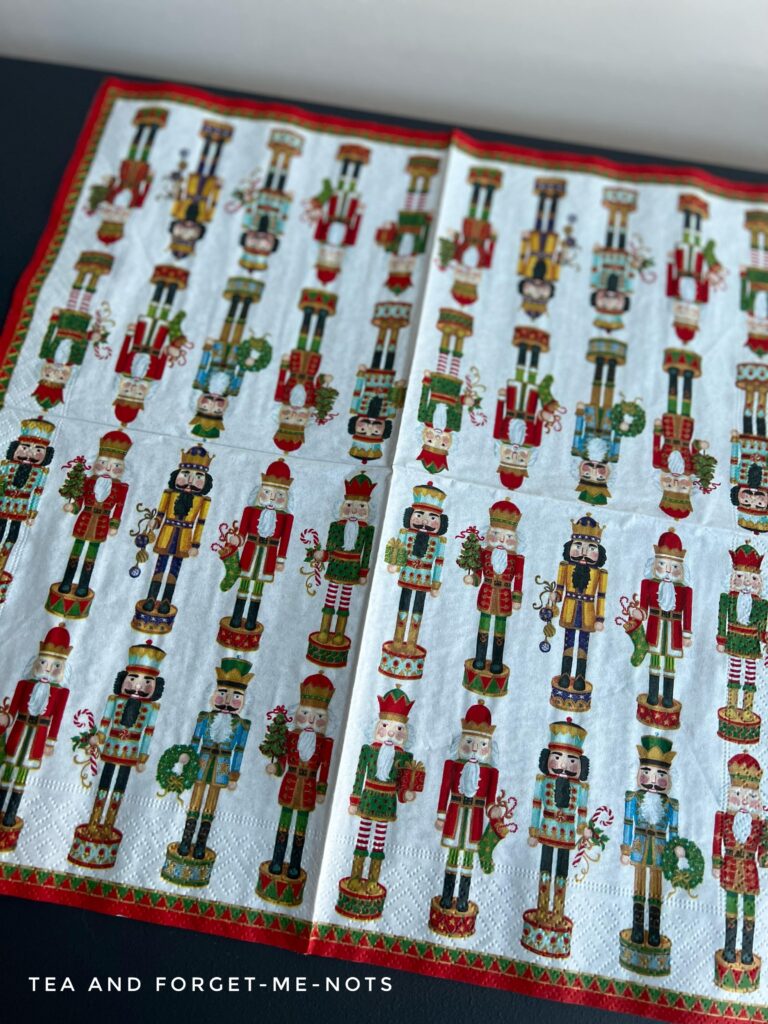
Fortunately, I found an adorable design last year. It’s called Nutcracker Parade. One of the people is even holding a mini Christmas tree.
Here’s my ultimate guide to decoupage.
How to prep for decoupage paper
To start, I cleaned the surface of the coaster to make sure the base coat of paint would stick to it well.
It’s a good idea to paint a base coat of white to help the image stand out. If you leave the surface dark then the image will lose its vibrancy.
So I did three coats of chalk mineral paint, Fluff. This gave it a solid block of white underneath.

I also did a second version of these coasters where I left the edges natural. You can see the difference in the final photos below.
The next step is to prepare the image. You want to make sure you do this before you glue the surface!
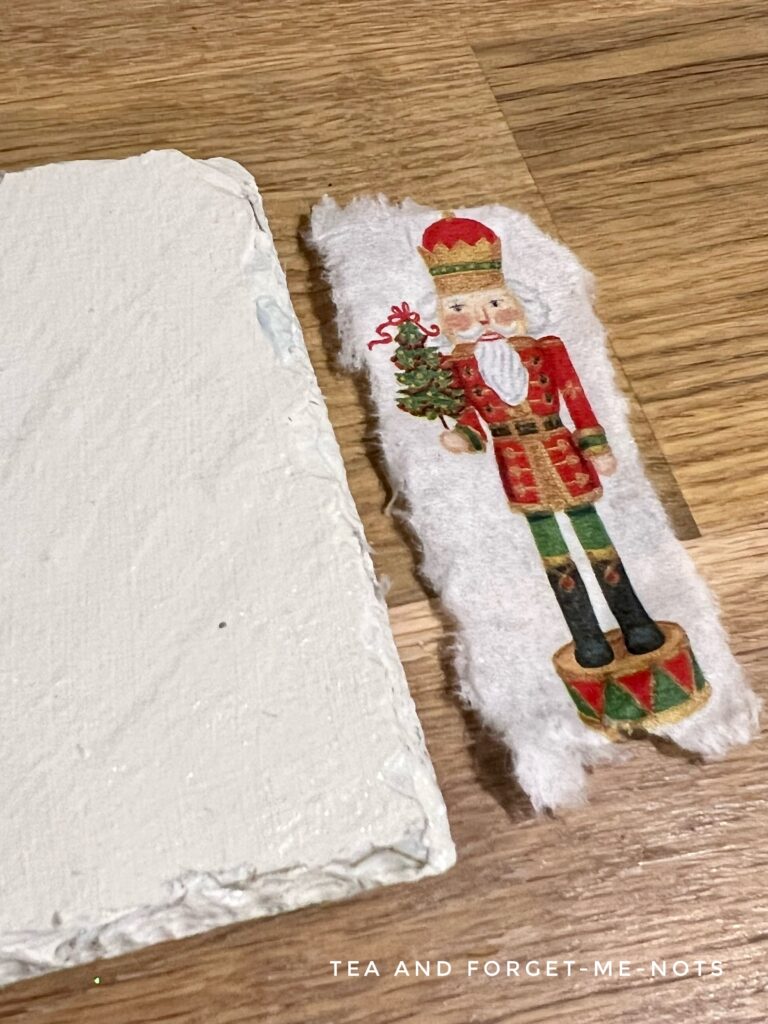
Firstly, you need to remove all the extra layers of the napkin that don’t have the image on it. This is usually 1 or 2 extra layers. They simply peel off from the corner.
Then it’s a good idea to tear the napkin around the image. This is so you don’t have a straight line around the image. Which makes it harder to blend in.
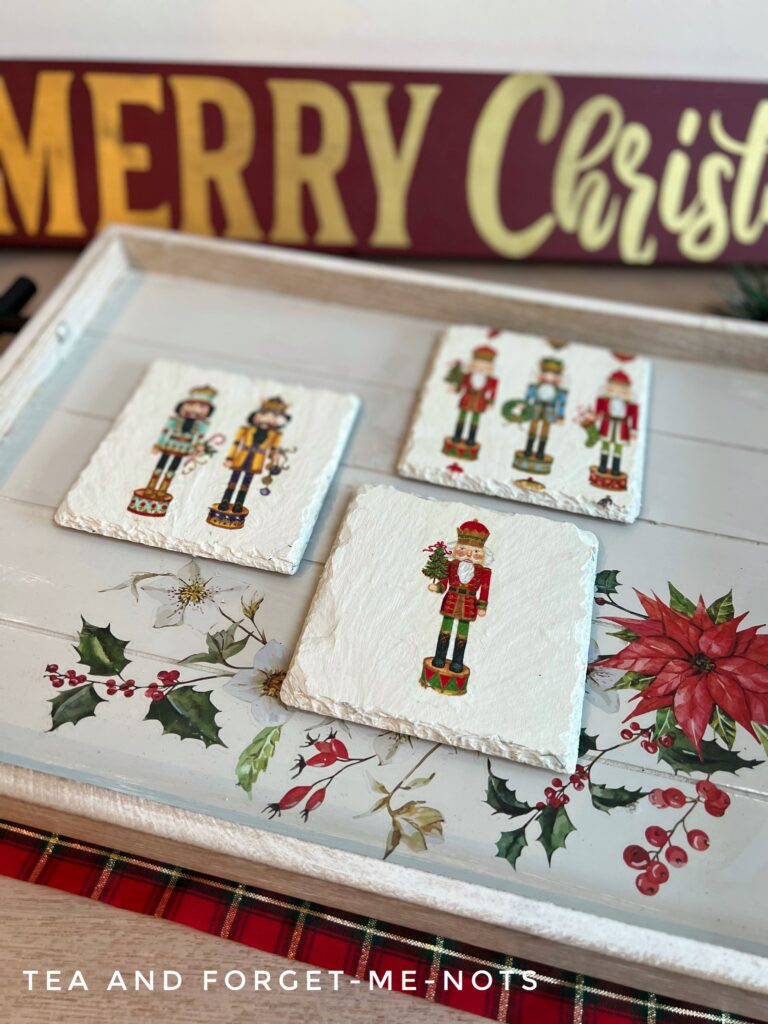
For this set, I wanted a different design for each coaster. So I chose one, two and three nutcrackers on each coaster. This gave them more variation and makes them each unique ornaments.
What glue do you need to decoupage?
Next, it’s time for the glue. I used a glue called Decopatch.
But you don’t need a dedicated decoupage glue. A cheap decoupage medium such as mod podge or PVA glue works just as well – good news!
I used a foam brush to apply a layer of glue. If you have a flat surface like a wooden placemat then you want to make sure your layer is even. My surface was naturally uneven due to it being slate.
I then positioned my small pieces of paper on top of the glue. You need to work quickly before it dries.
If you need to smooth it out you can use plastic wrap or cling film. Place this as a barrier between the image and your fingers to make it less likely to tear.
This plastic film tip from an industry expert was very cool to watch!
For a top coat, I did another coat of glue. This gave it a glossy, water-resistant top coat.
Craft glue is a fine top coat for a lot of homemade ornaments. But these are coasters and need a bit more protection.
So I then applied two light coats of Crystal Clear.
And that’s the whole process.
Christmas-themed decoupaged coasters
This is such a fun way to create an easy Christmas craft idea. If you follow these step-by-step instructions for your decoupage technique, you can create all kinds of beautiful crafts.
I think these are lovely handmade gifts. Especially as you can have any image printed onto paper. It would be a lovely, personalised present for family members or friends.
Here are more handmade wooden crafts to give as gifts.
And here’s a second set I made last Christmas. The gold leaf is a perfect way to give it a more festive feel.
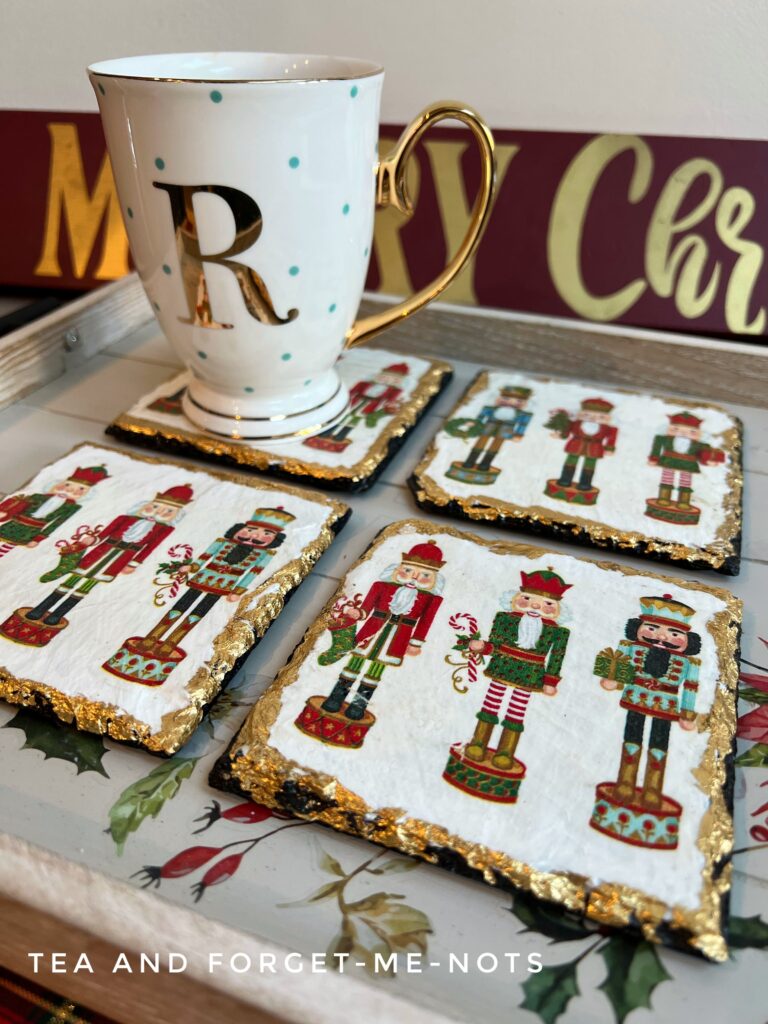
This set I made with the same design. But with three Nutcrackers on each coaster.
If you wanted a more rustic look, you could apply a holiday napkin over a light-coloured natural wood.
Have you created your own decoupage Christmas ornaments? It’s so much fun to make your own Christmas decorations, they mean so much more.
Tempted by upcycling but not sure where to start? Here are my 5 must-haves!
Pin it for later – DIY decoupage Christmas ornaments (coasters)
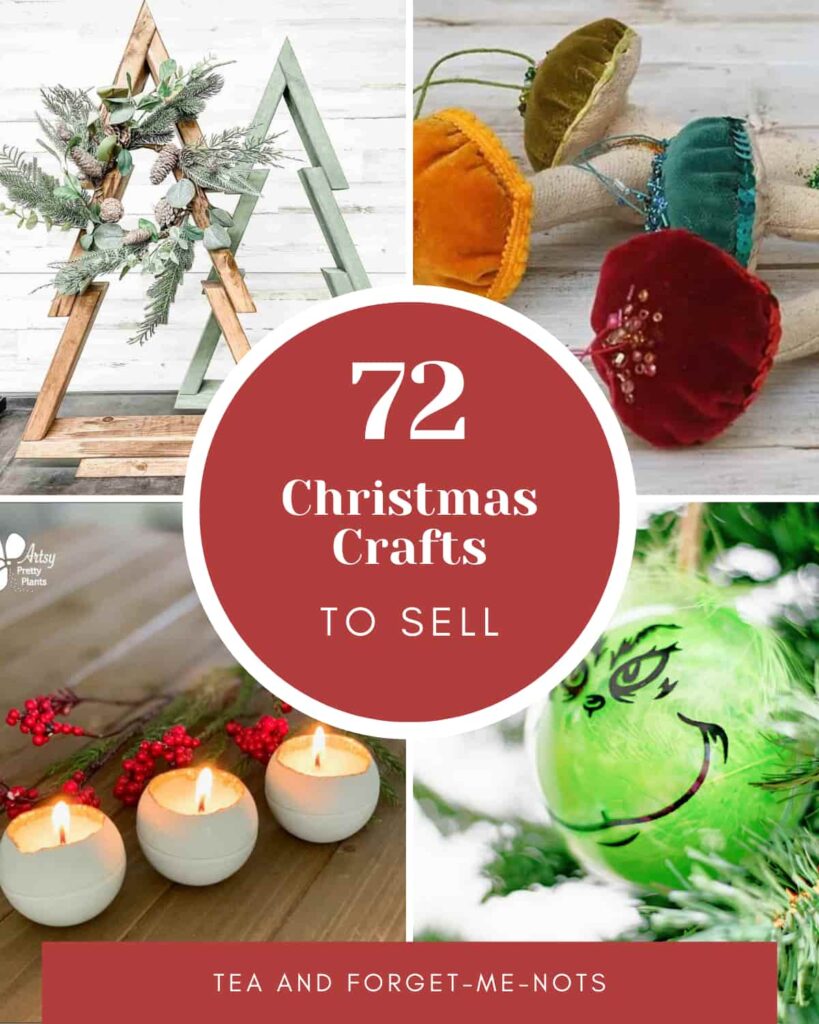
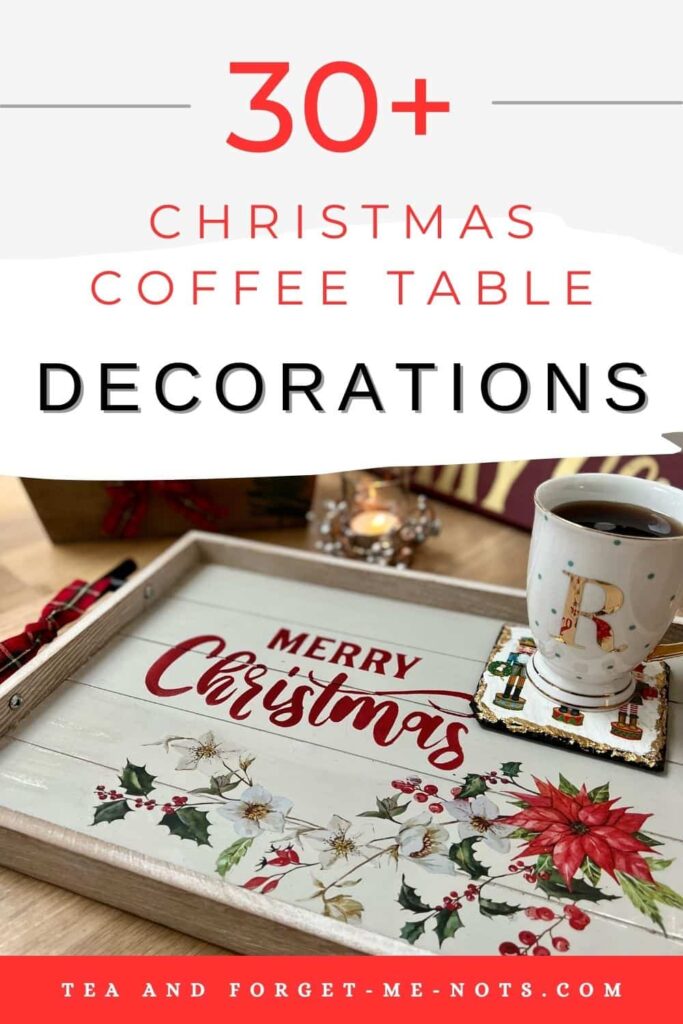
If you loved this project, you’ll love these too:

Did you make this project?
I love seeing what you do. Please mention @teaandforgetmenots and share your creations with me!

Hi there! I'm Rachel Bowyer, a passionate DIY enthusiast with a knack for transforming the old into something beautifully new. With a deep love for furniture painting, refinishing, and the art of crafting. I've been documenting my DIY projects and restoration journey since 2018. I specialise in techniques like decoupage, stencilling, and decor transfers. Join me as we explore the world of creativity and home improvement, one project at a time.
So freak’n CUTE!
Haha thanks!
They are so cute!
Thanks
These look incredible Rachel! Perfect hostess gift.
Thanks, Maria.
Rachel, These are so adorable, I just love them! The gold leaf on the edges adds so much interest to the coasters! So perfect for holiday parties and they would make great Christmas gifts too! You’re so creative! Thanks for sharing!
Thanks Donna, yes the gold leaf are my favourites too!
I absolutely love these!! Great tutorial and imaged of nutcrackers
Pinned
Thanks, Cindy