4 tips for painting furniture by professional painters
Looking for tips for painting furniture? Improve your furniture painting with advice from the most successful professional painters.
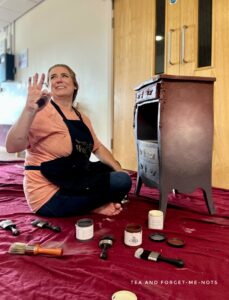
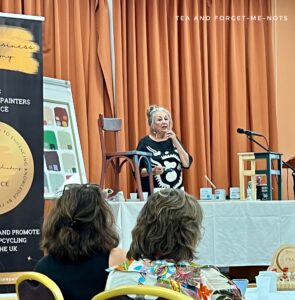
I went to the Painters Business Academy Conference in the UK. I learned all sorts of great tips for painting furniture. Check out part 1 here!
4 tips for painting furniture by professional painters
1. How to smooth out decoupage paper
Now, this tip isn’t for painting furniture but for applying decoupage. But there’s a good chance you’re painting furniture or decor before applying the decoupage.
There are lots of techniques to apply decoupage. You can apply it wet with glue. Or dry with the iron-on method.
I decoupage both ways.
And here’s how I recommend doing it.
But with the wet method, do you use cling film? (Also known as saran wrap and glad wrap).
Yes? It’s great! But how are you using it?
This tip was taught by Nick from The Rocky Crystal Interiors.
The reason why cling film works so well is that it’s so smooth. It’s plastic so it glides across the surface of the paper. It stops your fingers from sticking to the gluey paper or ripping it.
If you lay cling film flat over the paper to smooth the wrinkles, listen! This tip is for you.
Scrunch the cling film into a ball!
Then add some of the glue that you’re adhering the decoupage with. With your gluey ball of cling film, smooth the paper out.
It distributes the pressure that you’re applying to the paper. So, it’s not just the area of your fingers tips smoothing it out.
It’s more efficient as it smooths faster. Also, it’s less likely to tear because there isn’t a small area where all the pressure is.
What a winning tip! Let me know if you try it.
2. How to easily distress furniture
Do you distress painted furniture? The trend for shabby chic may have passed for now but it’s still a technique to know.
And this tip was from the legendary Annie Sloan. And at first, it didn’t make sense to me. But now I love it!
How do you distress paint?
- Paint
- Sand to distress
- Seal
Or at least, that was my method.
However, Annie’s tip to distress was
- Paint
- Seal (with wax)
- Sand to distress
What? Why would you seal something when you want access to the painted layer to remove it?
Firstly, because it distresses a lot more gently. You have more control over how much paint you remove. No errors with over-sanding and revealing too much of the wood beneath.
Makes sense.
With the additional wax barrier, it would be harder to distress. So you naturally won’t be accidentally heavy-handed.
But the extra tip that I love. It makes much less mess! The wax keeps the paint contained so it doesn’t sand off and go everywhere.
So, a more careful and reduced-mess way to distress furniture? Brilliant.
And here’s how to have a shabby chic look without sanding at all!
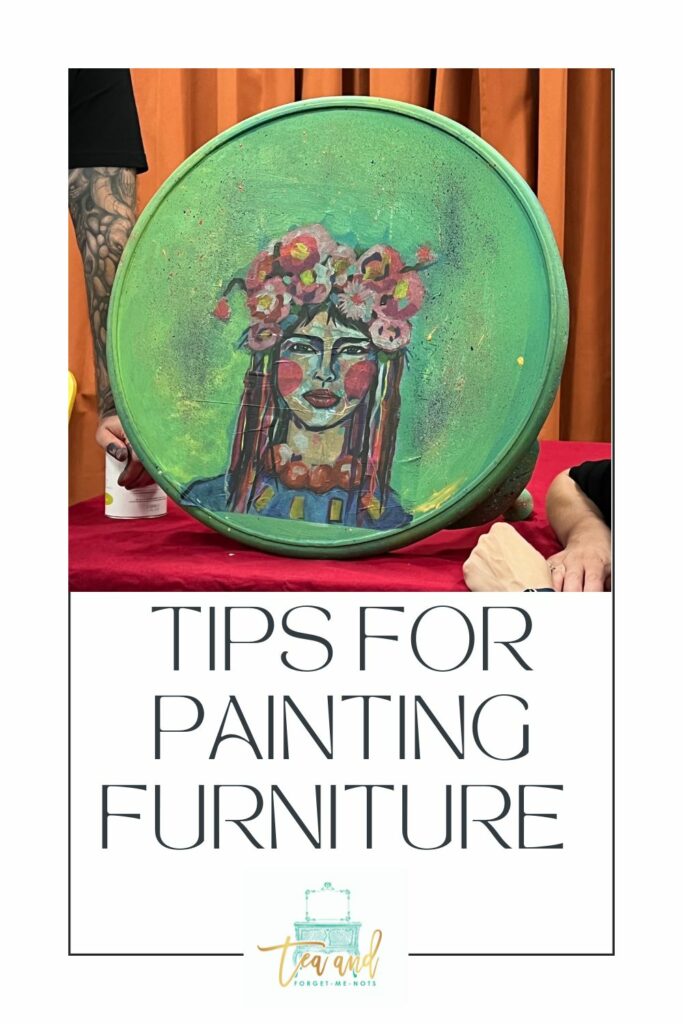
3. How to blend paint
Blending paint well is an art.
I don’t pretend to have that skill. It isn’t something that I’ve tried to master. But I very much appreciate the beauty of it done well.
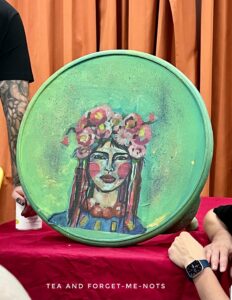
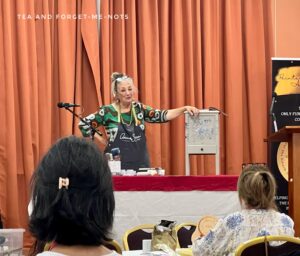
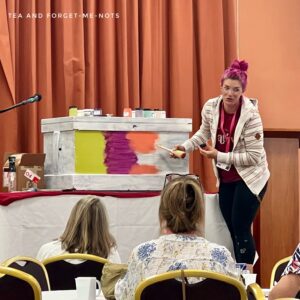
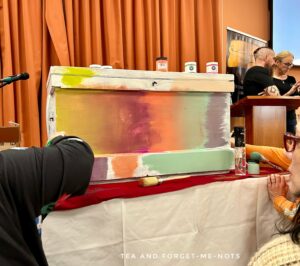
Crys’Dawna (from Belle Renovare by Crys’ Dawna) taught a workshop on blending. She demonstrated it with the new paint colours from her line with Daydream Apothecary Paint.
Crys’Dawna’s colours are not yet available but will be soon. Here’s a sneak peek!
But on to the blending techniques.
So there are three key things to get right to able to blend. Of course, you need skill too. But without these three things, you’ll struggle.
- Moisture
2. The brush
3. Pressure
Moisture.
It makes sense that you need moisture to blend paint. Dry paint doesn’t move!
You need the right level of moisture to move the paint. Without it dripping everywhere.
But it isn’t quite as simple as adding water to paint.
Chalk paint is a great paint for blending with. It’s a user-friendly option. For this, you use a mister bottle.
But what if you use mineral paint? Which is generally what I do use.
You don’t add extra water to mineral paint. The moisture you need is already in the paint itself. If you use a mister bottle to add water to mineral paint, it’s likely to go streaky.
The brush.
It’s always about having the right tool for the job.
Funnily enough, Brushed by Brandy also did a workshop on blending at the conference. And she had a different blending style. And a different style of brush.
So, it’s good to know that it’s about what works for you. (After these three key rules for blending well, are met).
So, the brush. It’s not so much about the shape, but the bristles.
Choose a brush with soft bristles.
Cheap brushes like chip brushes or coarse bristle brushes won’t give a smooth blended result.
Here’s the grungy blend I got with a chip brush! (I love it!)
And pressure.
The pressure you use should be very light. Crys’Dawna described it as like using a feather duster. Is that gentler than you’d imagine?
It isn’t about quickly moving paint around. It’s a slow and gentle process of blurring two colours so that you can’t see a transition line.
That’s why it’s a process. But having the right tools and techniques gives you the best start.
4. How to hide bleed-through
Tip 4 is back to Annie Sloan for another nugget of wisdom.
How to avoid the dreaded bleed-through. Well, not so much avoid, as hide.
Bleed-through is when the tannins in the wood show up as stains on the painted surface. They’re naturally, more likely to be visible in light paint colours.
There are products to stop the tannins coming through such as shellac. But I hadn’t heard Annie’s tip before.
Do a coat of dark paint first!
The dark paint hides the tannins. It doesn’t matter what colour of paint you use for the final colour. The dark coat will contain them so you’re free to paint a light colour on top.
It seemed illogical at first. If you want to paint something light, the last thing you want to do is start with a dark colour. That makes the transition from dark to light harder.
But people who have had bleed-through know the pain it can cause. Paint recoats, extra coats of stain-blocking products, time and money.
Why wouldn’t use just use a stain-blocking product, then?
Some are expensive. Many are smelly. And you might not have one in your stash.
But dark paint, you probably already have that.
Dark paint to use as paint. Dark paint to hide bleed-through stains.
Win-win.
It’s not something you’ll always want to do. But I love having it as an option.
I love learning new ways of doing things. Even if I don’t do it that way every time. It gives me a better understanding of how to use different tools and techniques to reach the end result.
It was also brilliant watching the masters at work. From their confidence based on so much experience. And the down-to-earth attitude of knowing that it’s only paint, at the end of the day.
Did you learn any new tips for painting furniture? For my first lessons, check out part 1.
Pin it for later – tips for painting furniture

Hi there! I'm Rachel Bowyer, a passionate DIY enthusiast with a knack for transforming the old into something beautifully new. With a deep love for furniture painting, refinishing, and the art of crafting. I've been documenting my DIY projects and restoration journey since 2018. I specialise in techniques like decoupage, stencilling, and decor transfers. Join me as we explore the world of creativity and home improvement, one project at a time.
Excellent tips Rachel, thanks for sharing what you learned! I pinned it and will definitely be coming back to this post when tackling my next furniture flip or project.
Thanks, that’s great to hear, Maria.
Sounds like you learned so much at the conference! Thanks for sharing these great tips! Pinning now! Thanks again, Donna
Thanks for sharing these tips. The conference seems to have given you great information. Thanks for sharing.