How to Use a Paint Inlay – Stunning Makeover
What’s the artisanal answer to a furniture transfer? A Paint Inlay! See how to use a paint inlay in action on this beautiful furniture flip.
The words game changer are often overused. But in this case, it might actually be true.
A Paint Inlay is a product that has been around for about a year. I recently had a demo of it from the Iron Orchid Designs (IOD) sisters themselves.
I described the demo in my post about my exciting discoveries from a painters’ conference. And couldn’t wait to try out a Paint Inlay on a real piece of wood furniture.
I hope you’ll be as excited as I am about this product. I’d love to do more furniture makeovers with them. I think there will be many more painting furniture before and afters!
Stunning Makeover using Paint Inlay – Painting Furniture Before and After
IOD describes a Paint Inlay as the artisanal answer to transfers. Note, they’re well known for their beautiful transfers so this isn’t about criticising the competition. They’ve created a different, and more spectacular, product to add to their range.
Here’s my latest transfer project. I still love them!

This post compares a Paint Inlay to a transfer only because that’s its closest comparison.
Followers of my blog will know that I love using transfers. And I still will. Paint Inlays give a different look and are applied in a different way.
The best way to describe a Paint Inlay is that it’s an image that you embed into paint.
Instead of a transfer which is like a sticker. A Paint Inlay is made from paint.
It doesn’t sit on top of the furniture, it’s embedded into the paint on the canvas. Whether the canvas be furniture or something else.
And it’s a wonderful product.
Furniture Flip with Paint Inlay Video
Painting the pine chest of drawers
So, onto the canvas.
This piece of furniture has been through several transformations over a few years. It became my guinea pig.
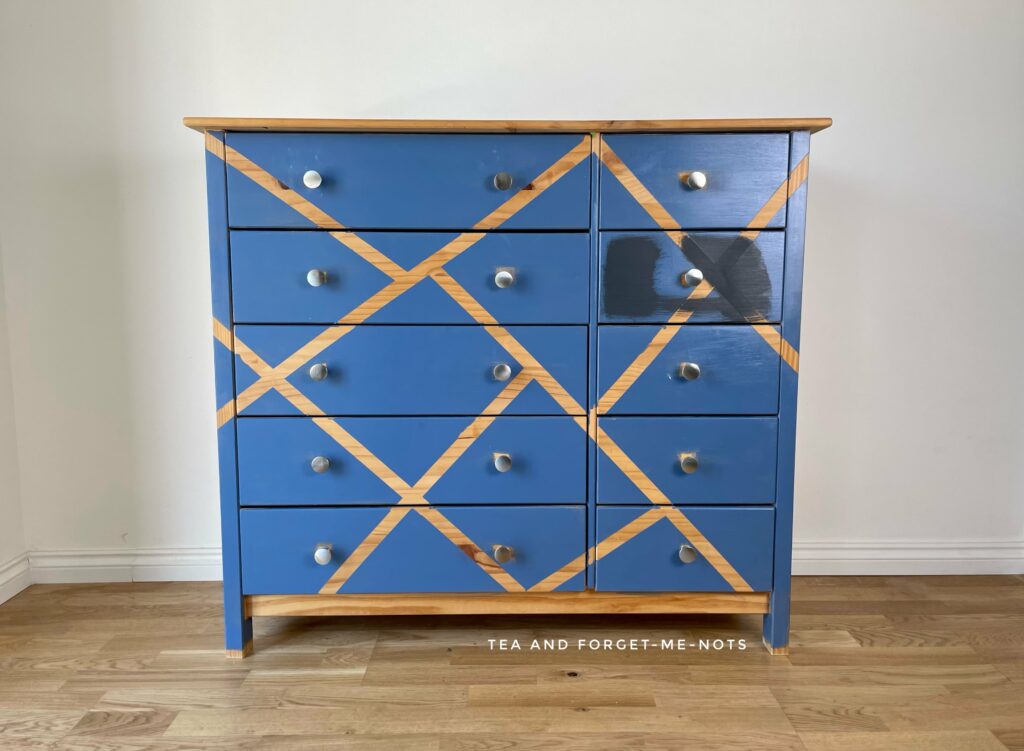
I bought this pine chest of drawers from Facebook for £10. The owner had created a geometric design using tape for a modern look.
Here’s my top blog post on how to upcycle a chest of drawers!
The random drawer was not painted black when I got it. It was all blue, glossy paint. But I didn’t take a photo before I started playing with it.
The first time, I spent a lot of time sanding off the paint to get back to bare wood. Now, I would probably start with a carbide scraper for the best results to remove the paint quickly.
I couldn’t decide whether to paint it black or green, so I did some tests.
I eventually chose green. Pressed Fern by Fusion Mineral Paint. I imagined a moody emerald colour with black wax to add some interest.
I then tested a brown stain on the top. But wasn’t convinced, so tried black paint too.
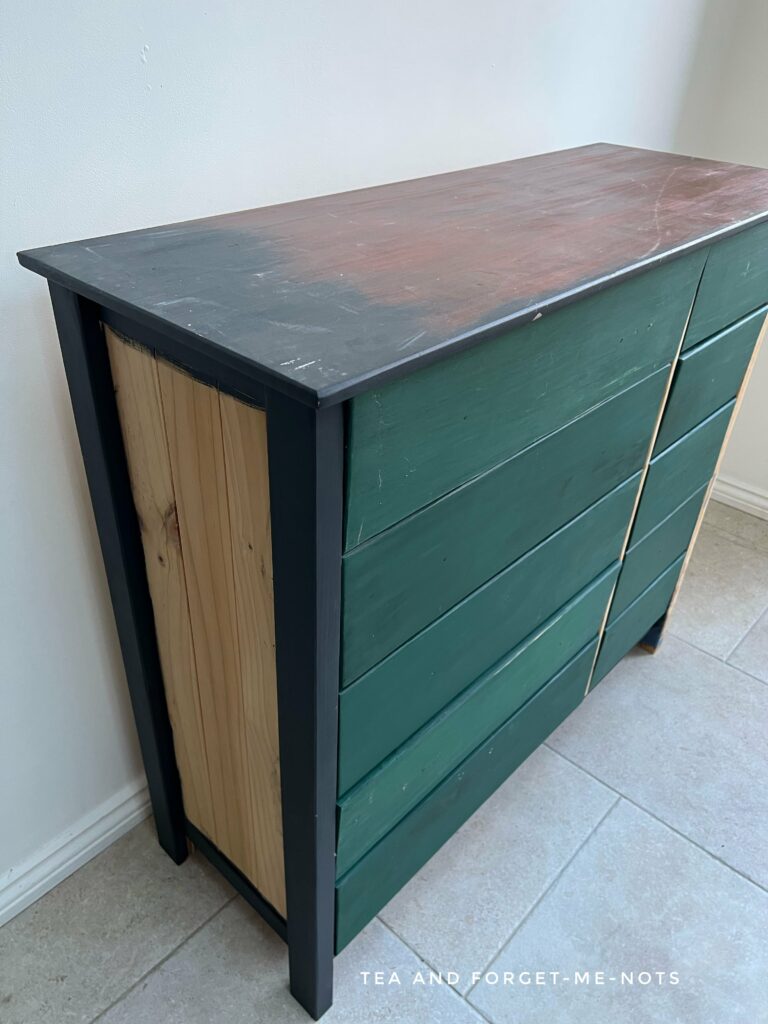
Eventually, I concluded that it wasn’t right and it went back into my shed to think about it some more. Quite a lot of hard work had already gone into it. But there’s no point working away on something that’s going in the wrong direction.
Which is where it stayed for a long time. 18 months actually.
In which time many other pieces got bumped up the priority list of my painting furniture before and afters.
Then the Paint Inlay gave me the plan I was looking for to give it a new life.
So, back to the start of the prep work.
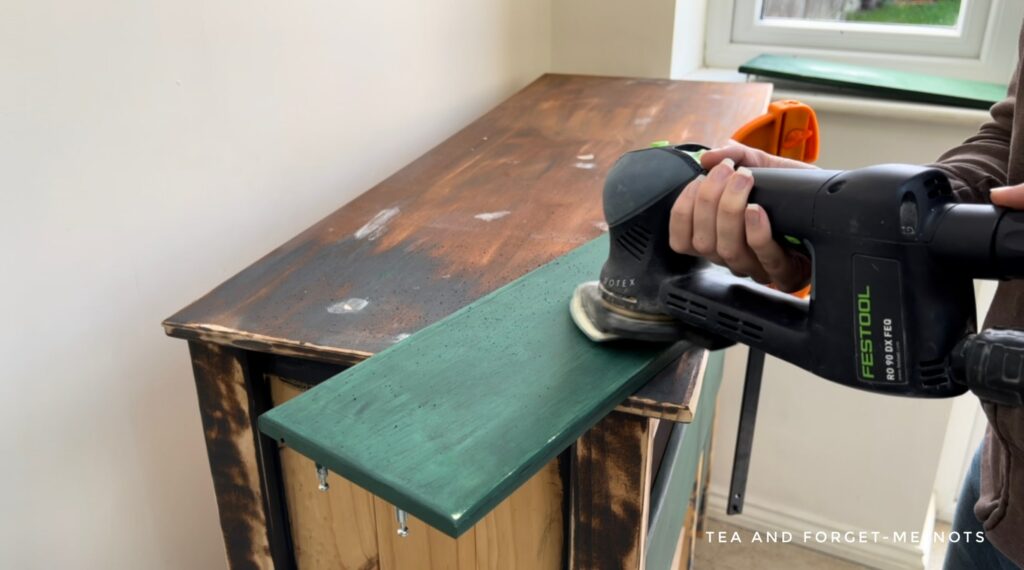
Prepping furniture for paint
I started by sanding to take off the top layer of paint and dark wax. Originally I had painted the inside of the drawer fronts so had to do double the work to redo that side also.
I wiped off the sanding dust with a damp cloth. You could also use a tack cloth to get a clean surface as long as it doesn’t have silicone in it. That can make it difficult for paint to adhere properly.
Once I had sanded, I then cleaned the entire piece. It was quite clean despite having been so long in storage. I cleaned it all over with a TSP cleaner and then removed that with clean water and a new cloth.
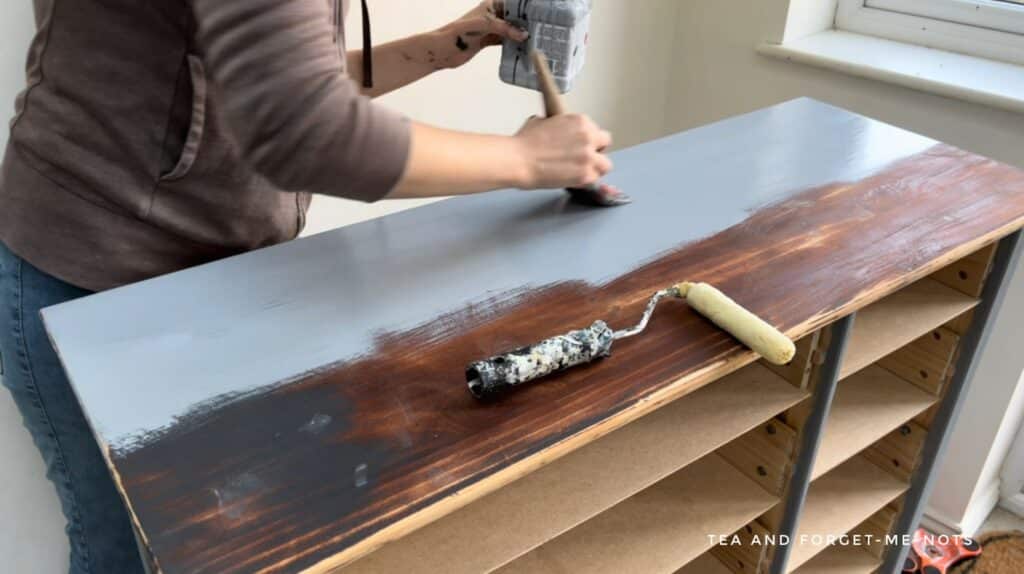
Fortunately, there was only a thin paint layer on the top as I hadn’t committed to a product on there. I used wood filler to fill in a few of the dings in the top.
Then because the wood filler has a different texture to the wood, it needed a coat of primer. If I painted straight on top of the wood filler, it would look different and be obvious.
But if you add a coat of primer over the whole piece then it gives the same base for the paint to stick to. Which gives it a consistent layer and hides the filler spots.
I also had to add some wood filler over the holes I had made in two of the drawers. This is how you know this was a guinea pig piece of furniture! I made these holes to demo how to use this brilliant handle-drilling tool.
I also did a coat of primer over the sides which were still raw wood from when I had sanded them originally. The coat of primer helps give an even finish for later coats of paint.
Paradise Paint Inlay for Furniture
Back to the original question of what colour to paint the piece. Fortunately this time I had a muse.
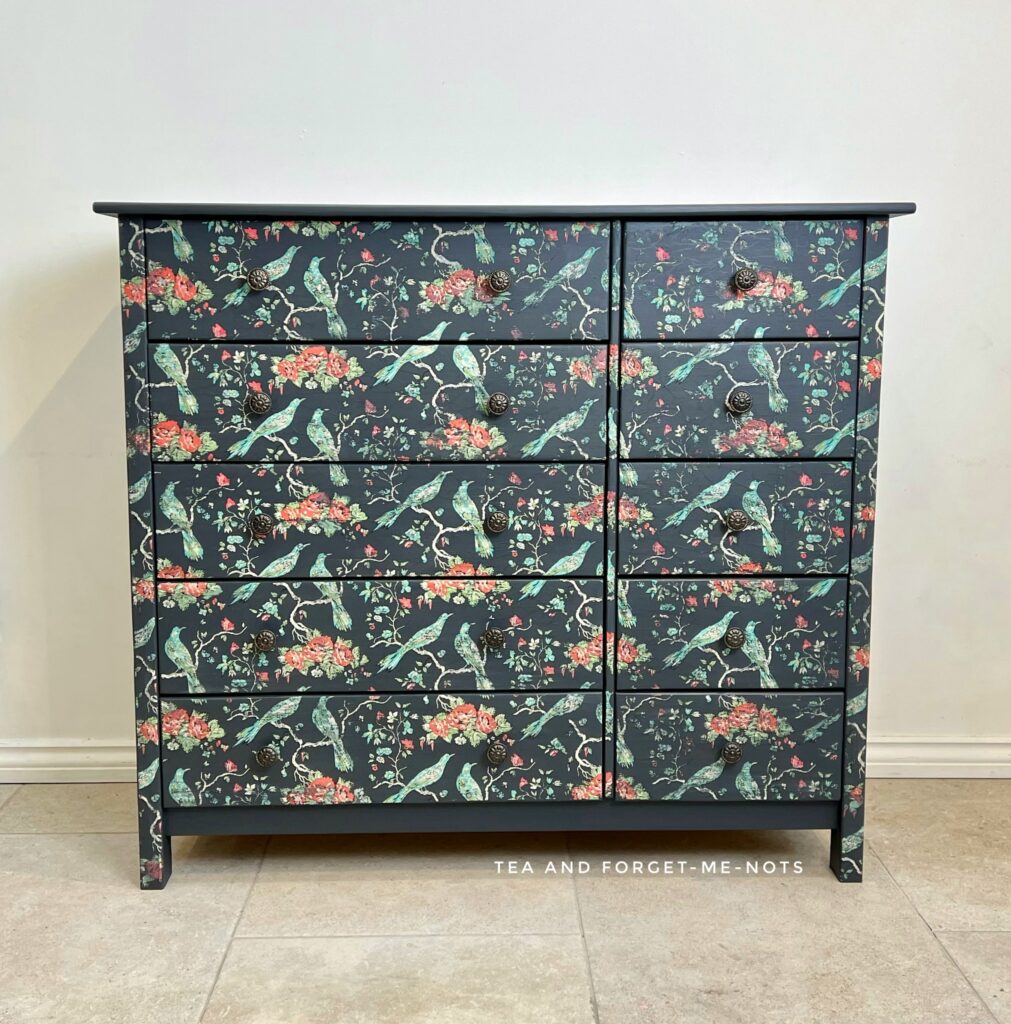
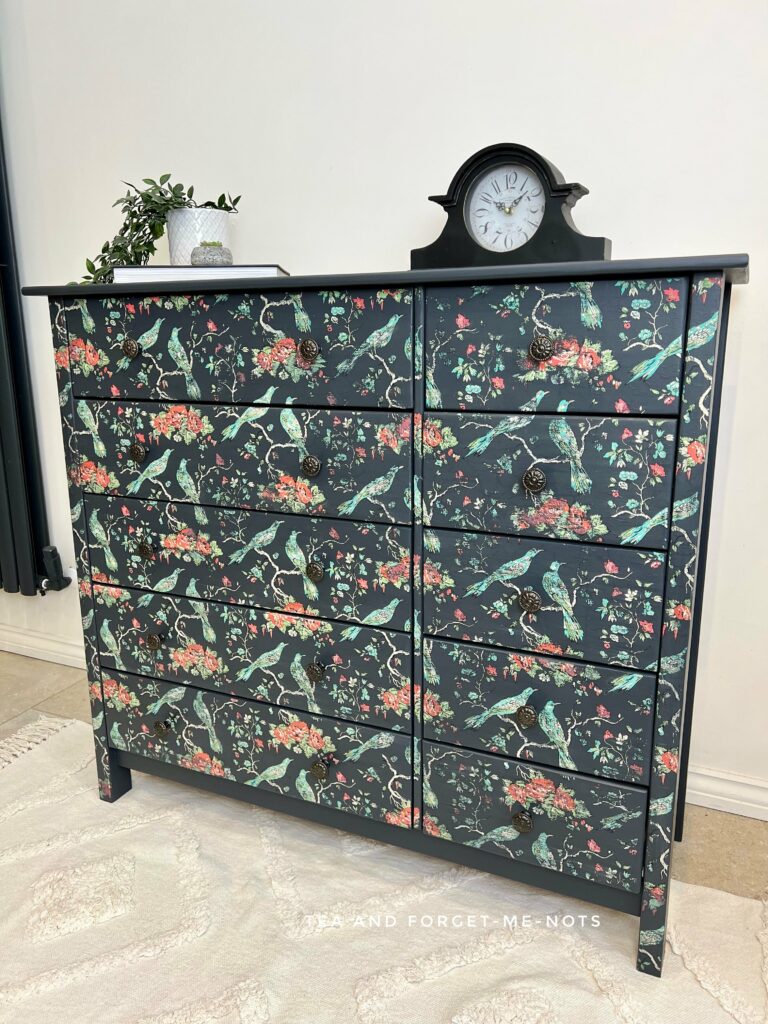
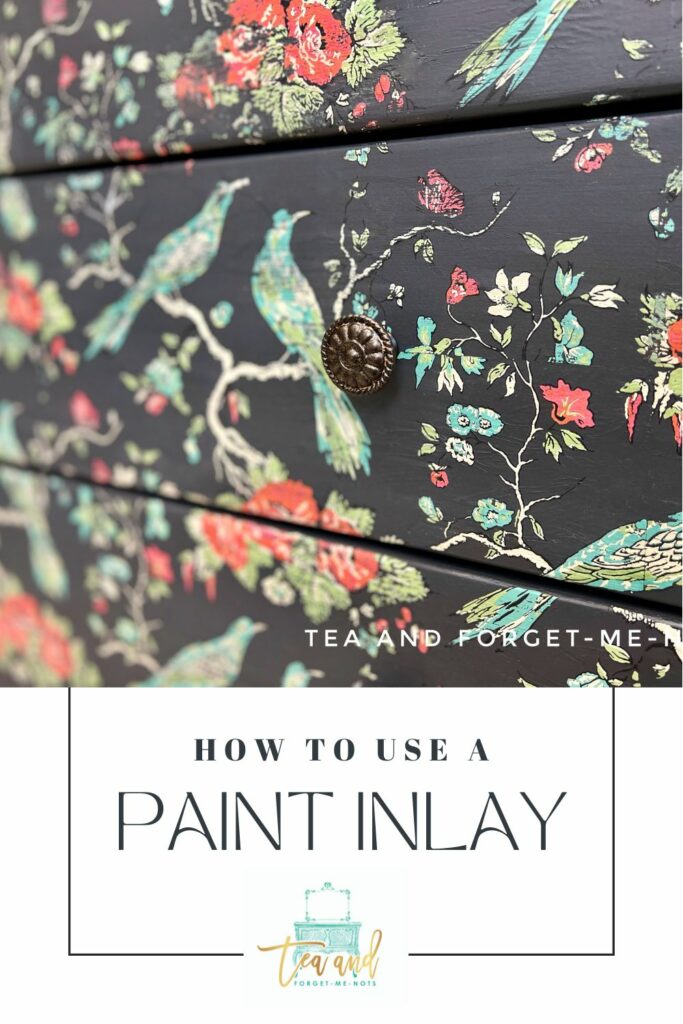
The Paint Inlay. It is a beautiful image of birds and branches, called Paradise. Each individual section is 12×16 inches and is replicated to create a large design.
To make the bright parts of the design pop, I went with one of my original colour choices, black.
IOD says that the best paint to use is chalk-based paint. I chose a grey-black paint by Dixie Belle. Annie Sloan Chalk Paint would work well for this too.
Here’s how I transformed a beautiful chest with chalk paint recently.
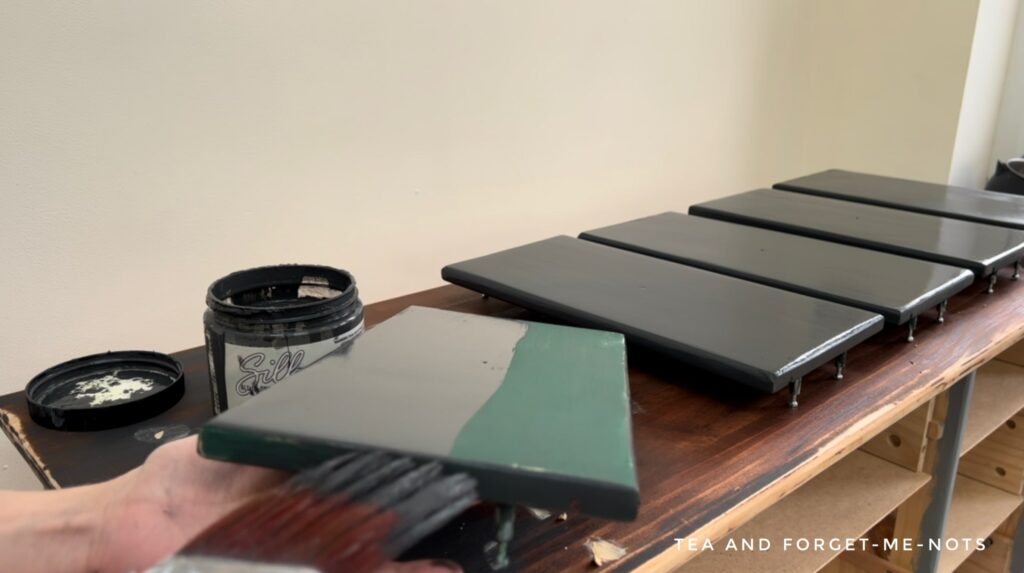
I applied the first coat of paint with a combination of brush and roller. This helps to get a smooth paint finish and avoid brush strokes.
Preparing the drawers to apply the Paint Inlay
Now, onto the main event. Applying the Paint Inlay.
Originally I pulled out all of the drawers so that I would be able to move them around easily as I applied the Inlay. However, the design was large enough that I could also apply it over the frame of the chest of drawers too. So I put the drawers back in and lay the entire piece on the floor.
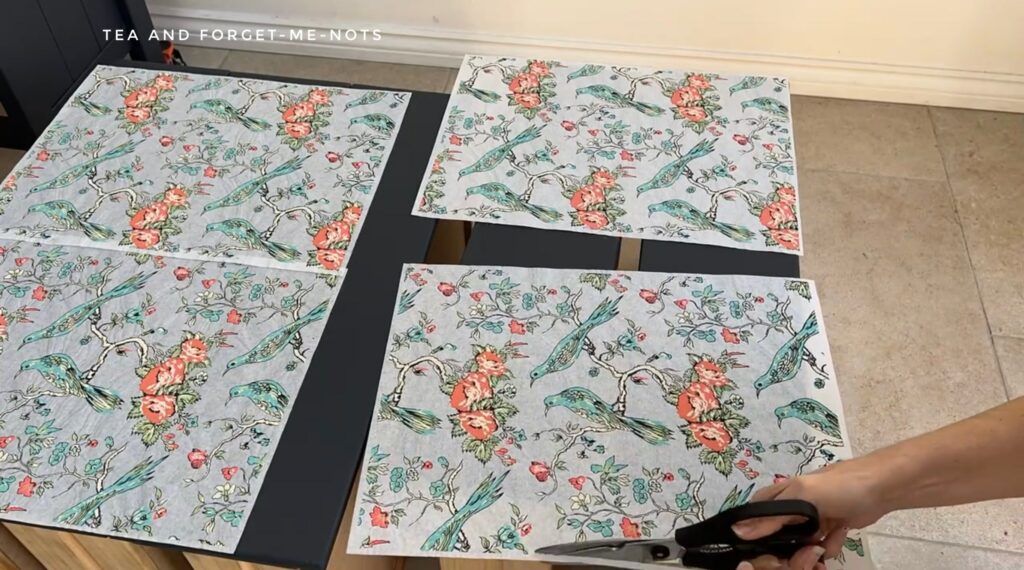
I laid out the pattern so that each section matched the next. You apply the Inlay with the painted side facing down. So it’s important to make sure you lay it out in this way.
The back of the Inlay has a grid pattern. This helps you line up separate pieces. Either with the other pages of the repeated pattern of the Inlay or against the line of the furniture pieces themselves.
I trimmed the edges of each piece so that they fit together perfectly. Otherwise, there would have been a gap between each page.
IOD recommends that you only apply one 12×16 inch section at a time. And you apply it into a medium-thickness layer of paint.
How to apply the Paint Inlay
I painted a coat of Black Sands across two drawers at a time with a slight overlap. Then I put the Paint Inlay on top of the fresh coat of paint.
I spritzed the back of the Inlay all over with a mister bottle and pressed it in gently with my hands.
You don’t want to adjust the Inlay now or you can risk smudging the image.
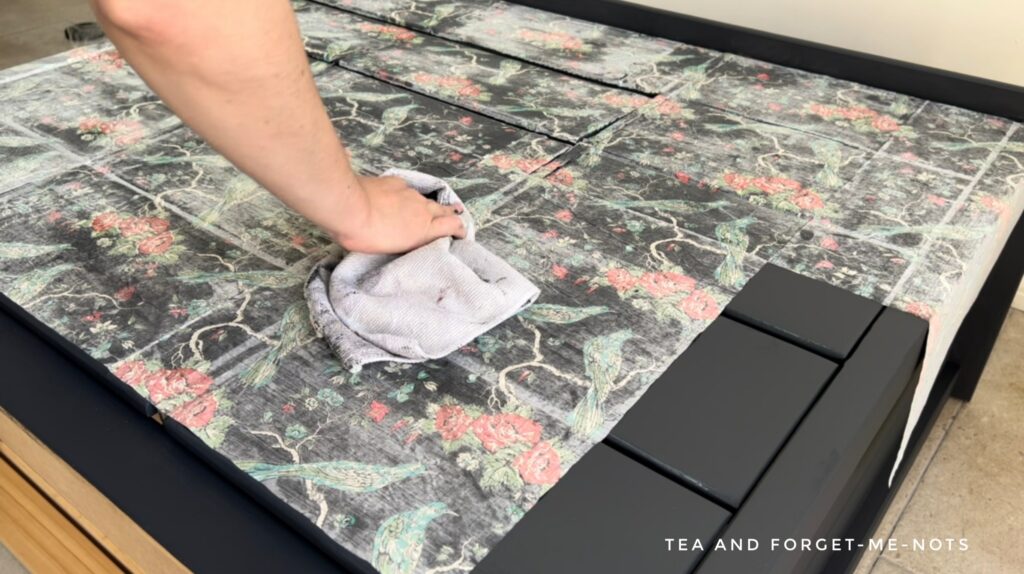
Then you let it dry. Once dry, spritz the entire piece with water and pull the paper off. This leaves the image embedded in the paint on the drawers.

I left each page on the floor (paint side up) until it dried. Then I put it back with the protective paper into the packet so it could be reused another time.
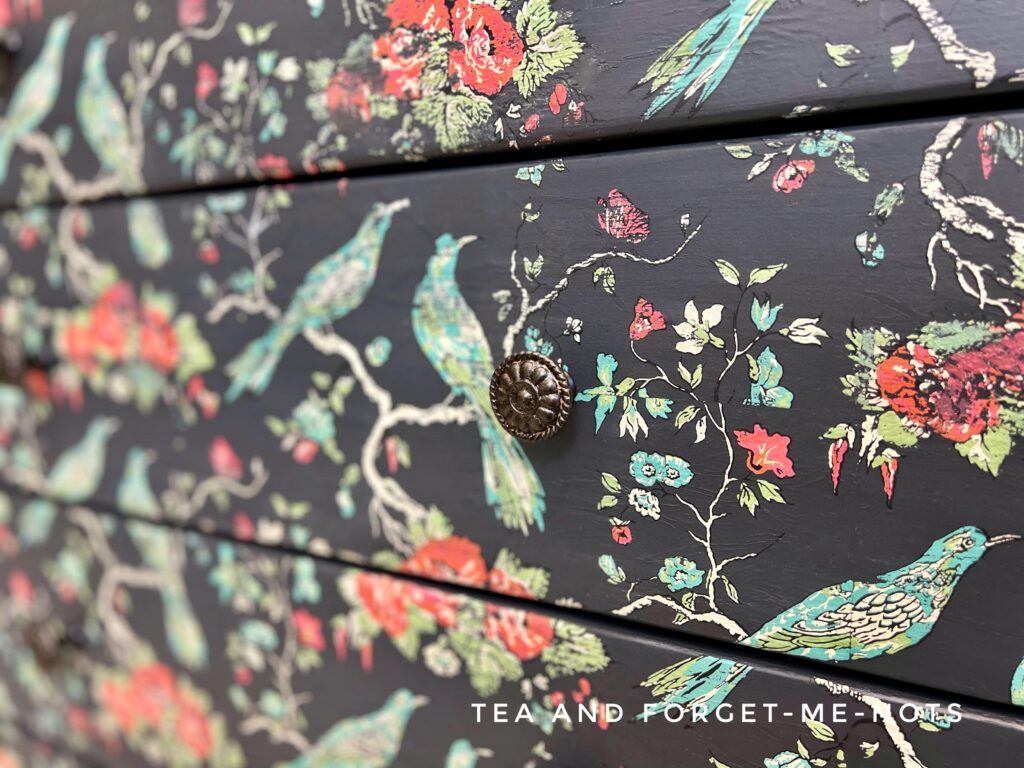
And the exciting bit. It is reusable. You can reuse each Inlay 2 or 3 times with some of the paint left over after each application. With each application looking more distressed each time.
It doesn’t transfer perfectly, it gives a distressed look. Which in my opinion makes it even more beautiful. It also helps to apply the Inlay across flat surfaces.
So, I used a selection of paint to touch up spots that needed a bit more detail. For the branches, I used Sand Castle which was a similar muted yellow.
It wasn’t the aim to perfect the image, just to make it more even across the entire piece.
An important thing about Paint Inlays is that they take on the colour of the paint that it is applied to. So for this piece, I applied it to black paint. Any later uses will show this black paint as well as the original, increasingly distressed, image.
So you could use the same Inlay on other pieces using the same black paint. Or know that the black will be visible on a piece painted in a different colour. This would build up layers of colour and could look really arty.
How to seal a Paint Inlay
IOD says that the right way to apply a top coat is to use a paint sprayer. Or even an oil-based wax. That’s because the Inlay is at risk of bleeding and smudging if you put pressure on it.
However, I rarely use a sprayer. And while I happily use wax, it isn’t the most durable finish.
So, I took a small risk. I tested my usual top coat, Clear Coat in Satin on one of the small drawers. I was gentle and it worked absolutely fine. It probably helped that there was several days between these steps.

Fortunately, the black paint I used has a built-in top coat in it. So there was a level of protection already within the base coat of paint.
So the protection was primarily for the Paint Inlay itself. Which does need a sealer as it is reactivated by water.
You can use a sponge to apply a second coat. As then there’s a barrier to protect the Inlay from the friction of the sponge.
But if you like a matte finish, you could do a second coat in matte over the first satin top coat. That gives the paint finish you like with the extra durability of a satin sealer.
The original handles were plain silver and nothing special. And in fact, I had to saw off one of them in the first makeover because the previous owner had stripped the screw head.
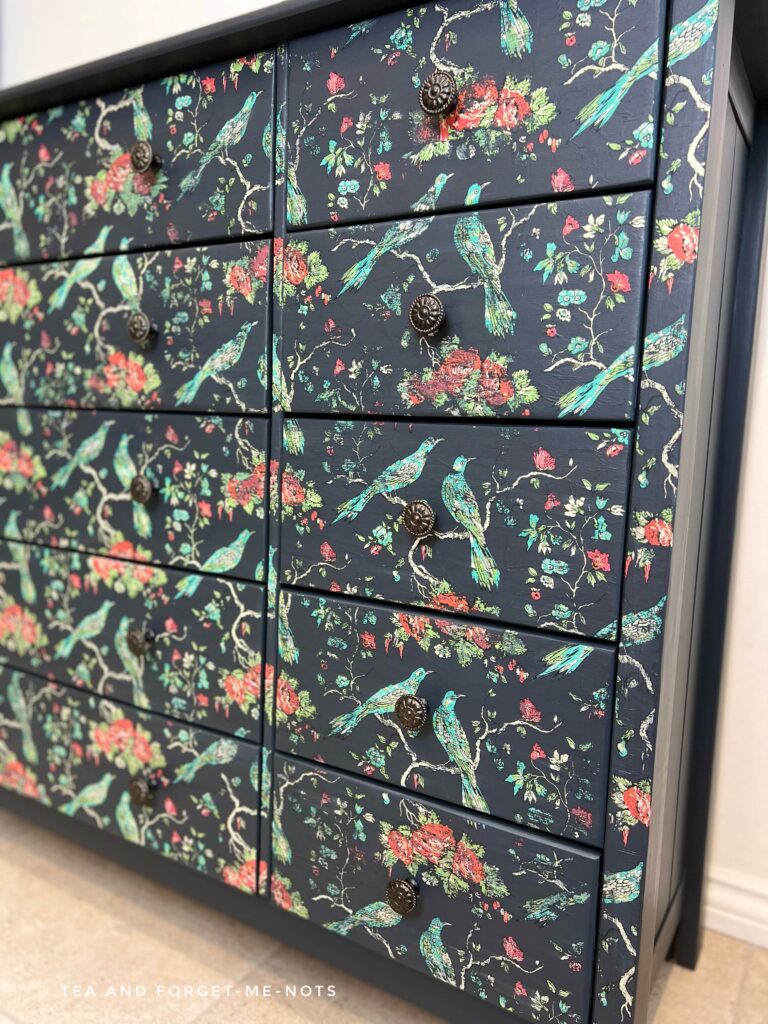
I chose new hardware that had a bit of character but wouldn’t overwhelm the intricate design on the drawers. But the black knobs were a little bit plasticky-looking. But importantly, an affordable choice as I needed 15 of them.
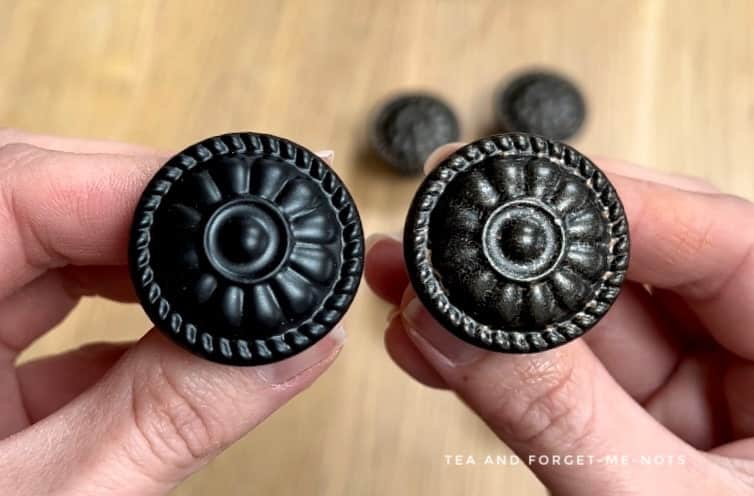
So to give them some more depth, I applied a coat of Copper Bronze Glaze. I used a fine paint brush and let the glaze sink into the details. Then I blotted the excess with a cloth.
The glaze gave the handles a more professional-looking finish. And made them look more expensive than they were.
The handles can make a surprising amount of difference to the result of furniture transformations.
Painting Furniture Before and After
So was it a good idea to makeover an entire 10-drawer chest of drawers testing out a new product? Absolutely. It’s the best way to get to grips with how something works.
Next, I’d love to try it on an old piece of furniture with varnish rather than paint. I know it can work and I bet it would look stunning.
As long as you know the right types of paint to work with, you can’t go wrong.
Like to see the chest of drawers come to life? Check out the YouTube video.
Or for even more furniture painting furniture before and afters, here are some of my most popular ones on the blog.
More information about Paint Inlays here. Or check out Iron Orchid Designs on YouTube.
Pin it for later – How to Use a Paint Inlay for Furniture

Hi there! I'm Rachel Bowyer, a passionate DIY enthusiast with a knack for transforming the old into something beautifully new. With a deep love for furniture painting, refinishing, and the art of crafting. I've been documenting my DIY projects and restoration journey since 2018. I specialise in techniques like decoupage, stencilling, and decor transfers. Join me as we explore the world of creativity and home improvement, one project at a time.
All I can say is WOW! This paint inlay technique is amazing!
The chest of drawers is absolutely beautiful! This looks like such a fun project to do! Have a great day! Donna
Thanks, Donna. I’m glad you like it too!
I have never even heard of this paint technique before! It really is stunning! As usual you’ve done an incredible job Rachel.
Thanks, Maria. I’m so happy to have found this product. So much potential!
I had to come over and check out this post after I read your cork board makeover post. This is gorgeous. I really want to give it a try. Thanks for the introduction to inlays!
You’re welcome, let me know if you try them out!