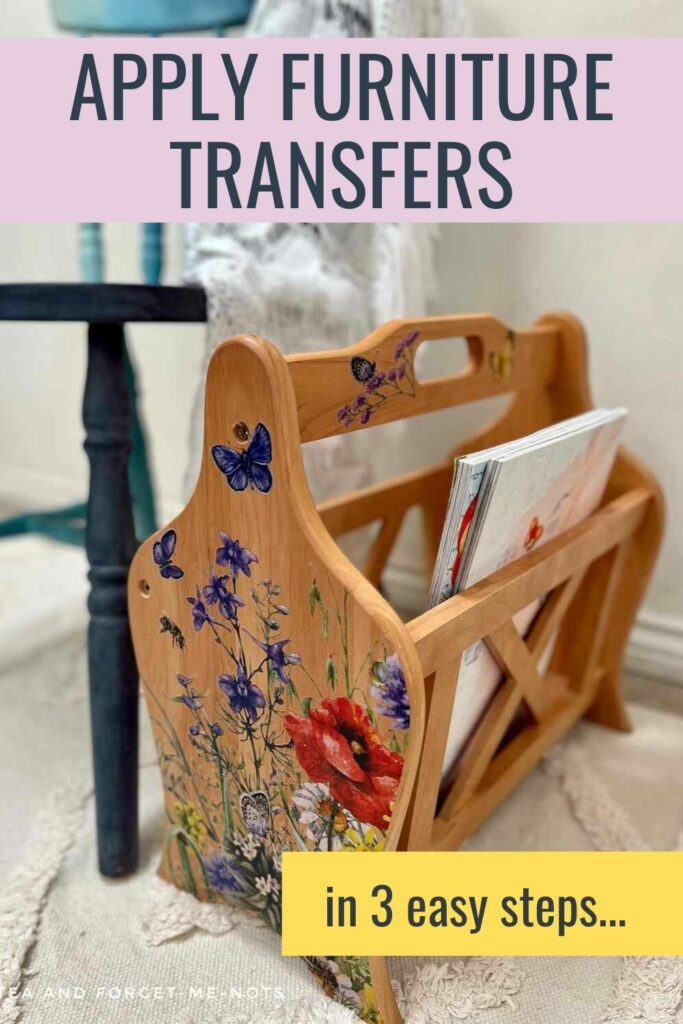
How to Successfully Apply Furniture Transfers in Three Steps
Ever wanted to apply furniture transfers but were unsure of the steps? There are only three! Here’s what you need to know.
The three steps to apply furniture transfers are cleaning, applying it and sealing.
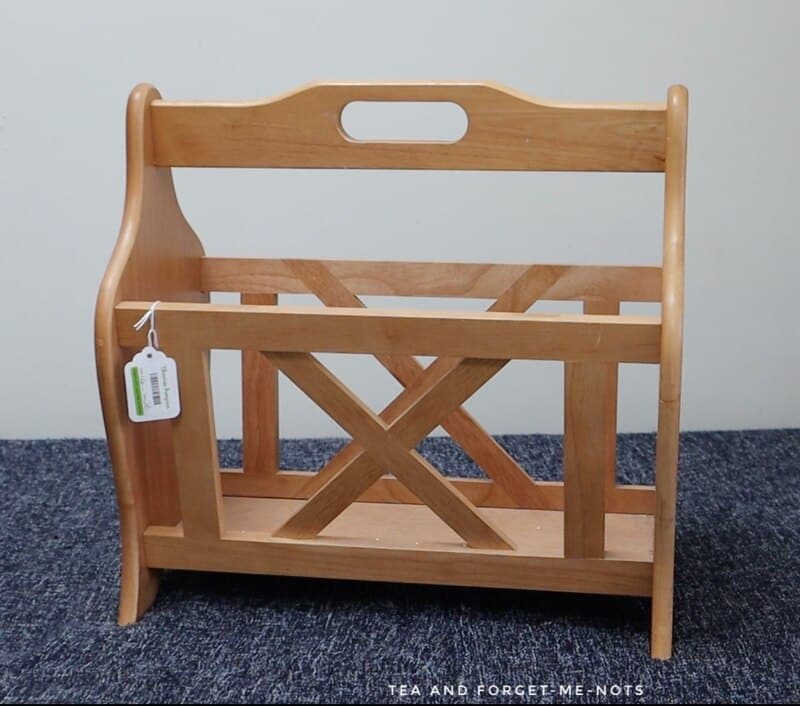
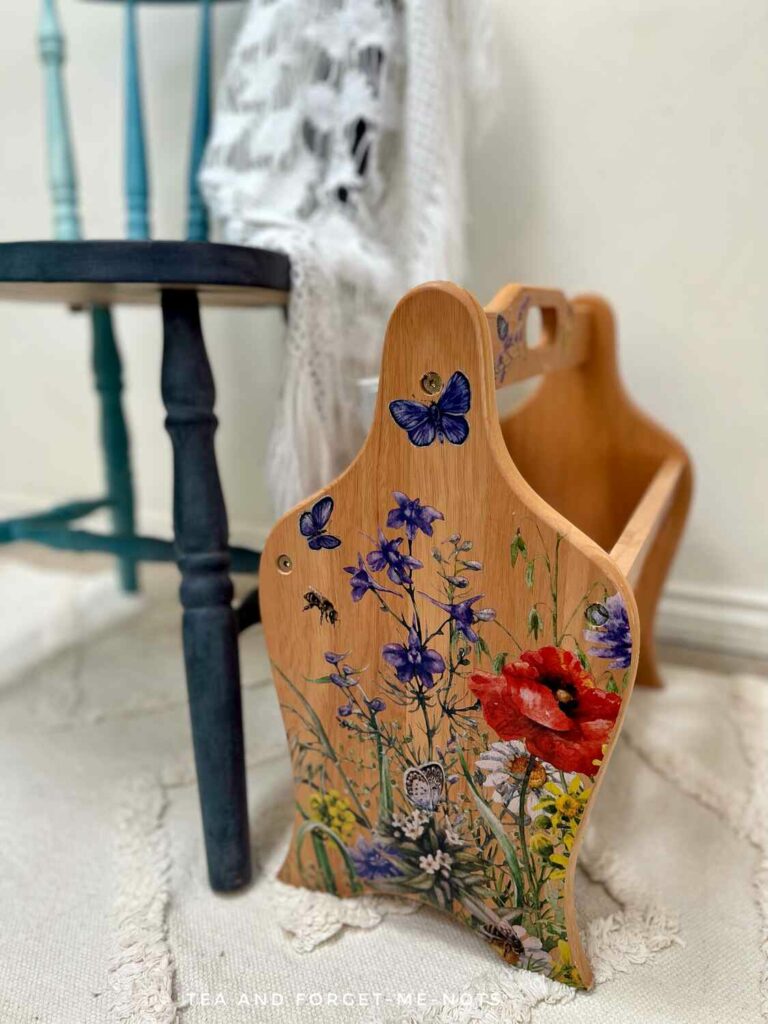
Furniture transfers are easiest to apply to flat surfaces such as a chest of drawers.
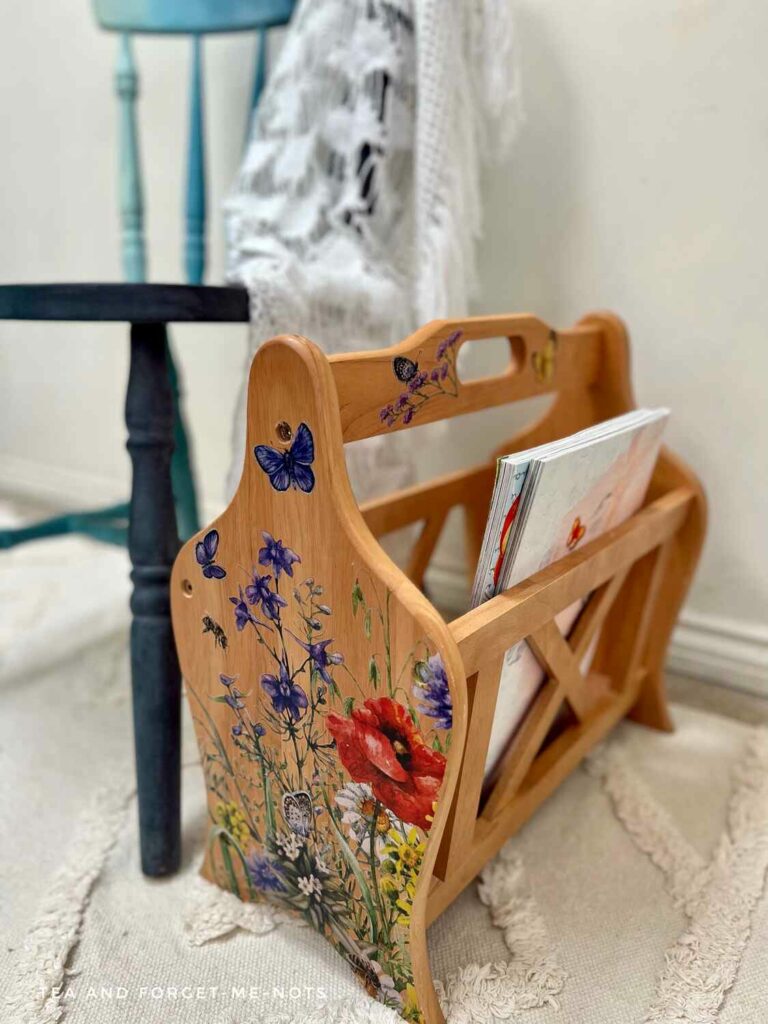
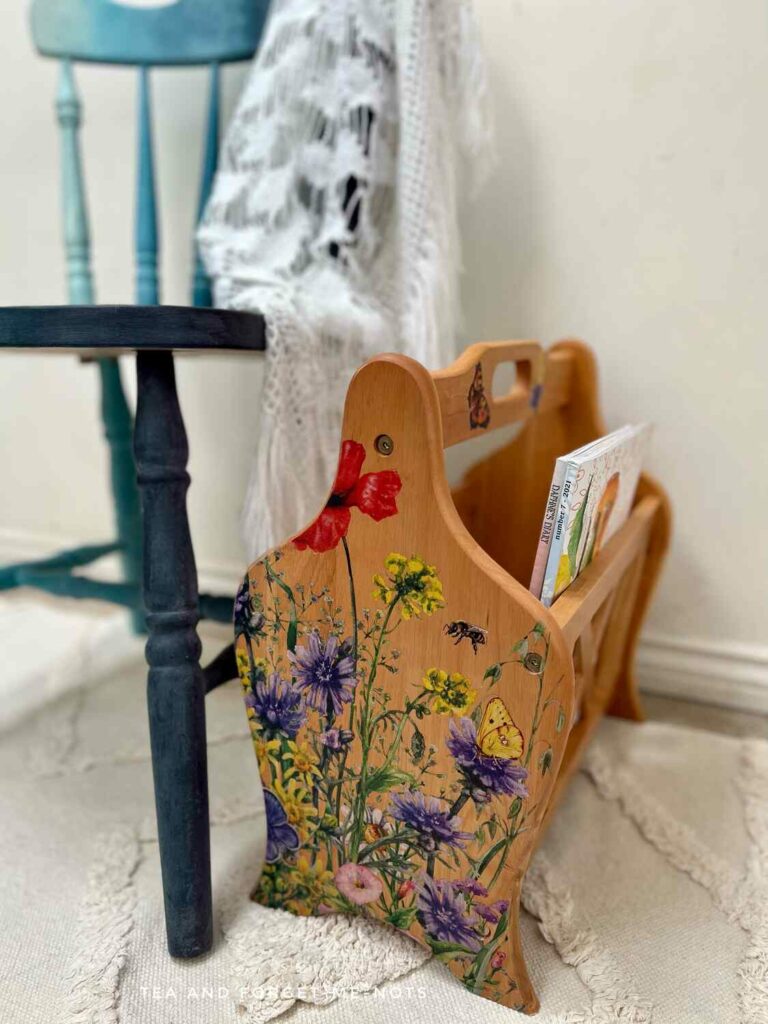
I am going to use this simple magazine rack. I bought it in a charity shop for £4.
How to Apply Furniture Transfers Video
This post includes gifted products and affiliate links so you can easily find the products I use myself and recommend to friends. If you purchase these products, I may earn a small commission at no extra cost to you.
How to Prep to Apply Furniture Transfers
The only thing you need to do before you apply furniture transfers is to clean the piece.
Just as you would before painting. As you are applying something that you want to adhere well to, it needs a clean surface. If there’s dirt or oil on the surface, the transfer will not attach well or for long.
I use a TSP cleaner to clean the surface. I dilute the granules with warm water and decant it into a spray bottle. So, whenever I need to clean, it’s ready to go.
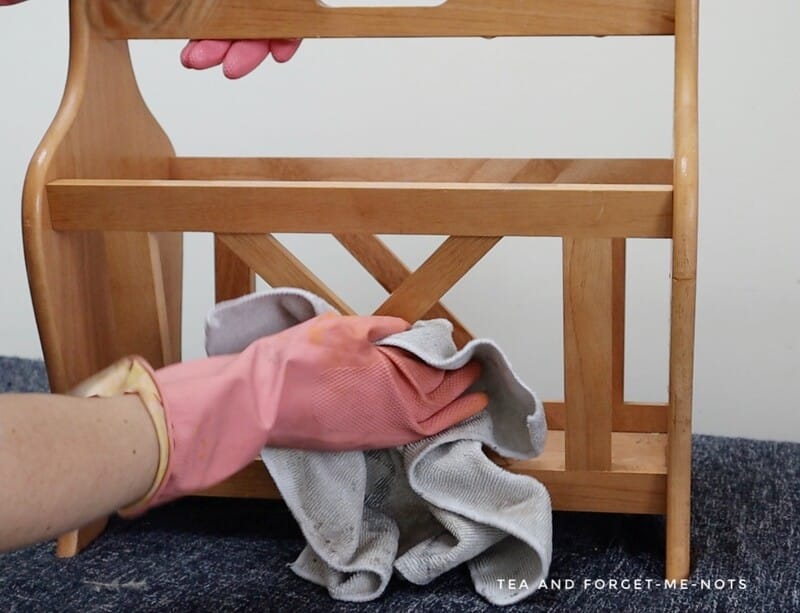
I spray the surface and then wipe the cleaner into the nooks and crannies with a cloth.
Lastly, I get fresh water and a new cloth and wash off the TSP cleaner.
Before applying the transfer, the surface must be dry from the cleaning step. You can wipe it with a dry cloth to make sure.
Any dirt or water left on the surface will make it difficult for the transfer to stick well.
If you want to paint then this is the time to do it. But for this magazine rack makeover, I am leaving it natural wood.
How to Apply a Furniture Transfer
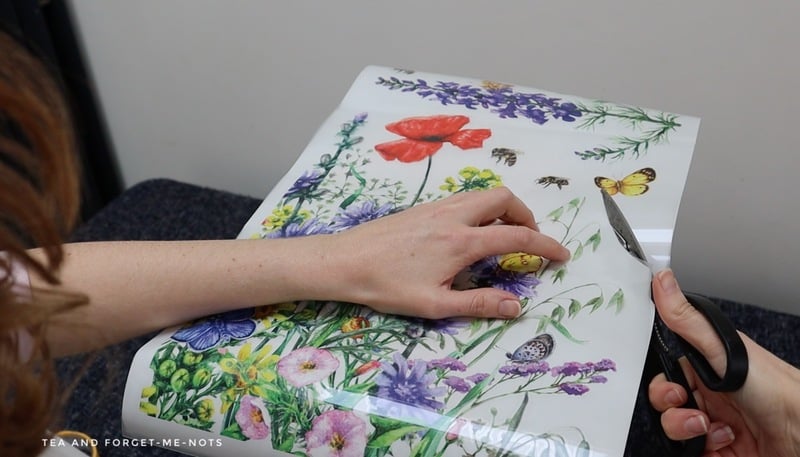
Furniture transfers come in two styles. Either an entire picture or several different elements that can be used individually.
For a transfer that is one whole design, you want to ensure that the design is the right size for the piece you want to put it on.
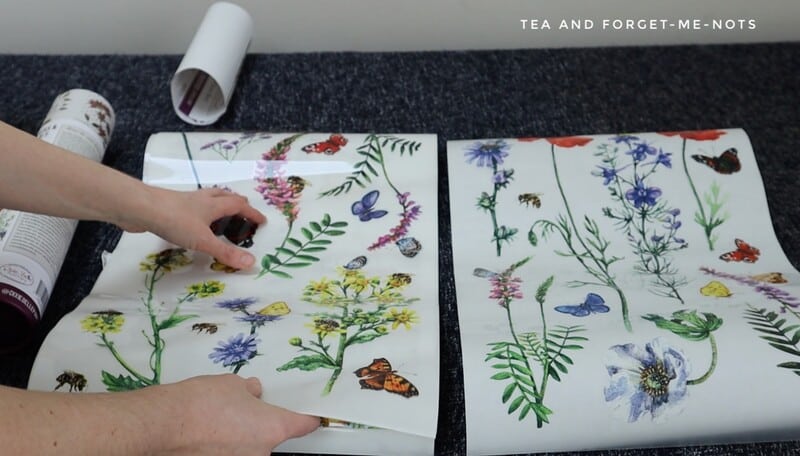
It’s ok if the design is a little large. However, if the design is considerably smaller than the furniture, it may look strange floating in the middle.
For furniture transfers made up of different elements, such as individual flowers, there is more flexibility.
The size of your furniture is less important when you can separate the pieces of the transfer. For example, you could apply flowers in small groups, or in each corner.
Most transfers come on several sheets. So you can expect to need to match the seam on any large image.
Can You Keep Furniture Transfers?
Furniture transfers come with wax backing paper. This is a non-stick paper that keeps the transfer from sticking to anything else until it is removed.
You want to keep the transfer attached to this until you are ready to apply it.
You can save pieces of the transfer that you don’t use by keeping it on this wax backing paper until a later date.
A good way to save money is to use one transfer across several pieces of furniture or decor. Especially when they’re broken into different elements.
For example, I used different parts of a Redesign with Prima floral transfer on both this children’s globe and on this firescreen.
Use Tape to Help Apply the Transfer
When you have chosen the furniture you want to apply the transfer to. It’s a good idea to have the furniture on its back. Or so that the transfer is lying flat and not working against gravity.
If you do need to plan out the location of the transfer with the furniture upright, you can use tape to keep it in place. Low-adhesive tape such as Frog Tape is perfect for this.
You should map out the location of the transfer with the wax backing still attached. That way you can reposition it easily until you’re sure where you want it to go.
Once you know where you want to put the transfer, you remove the wax backing paper.

Now the transfer is sticky it will attach to anything it touches.
This is the delicate stage where you want to place it down carefully in the right spot. You can’t reposition it after this as some of the image will detach onto the first area.
Send me the list of 23 great DIY tools!
What Do You Use to Apply Furniture Transfers?
With each transfer, you’ll get a wooden, ruler-like tool. But you can also use a palette knife, plastic card or felt-edge squeegee.
This tool is what you will rub across the transfer to get the image to detach from the plastic film that the image is on.
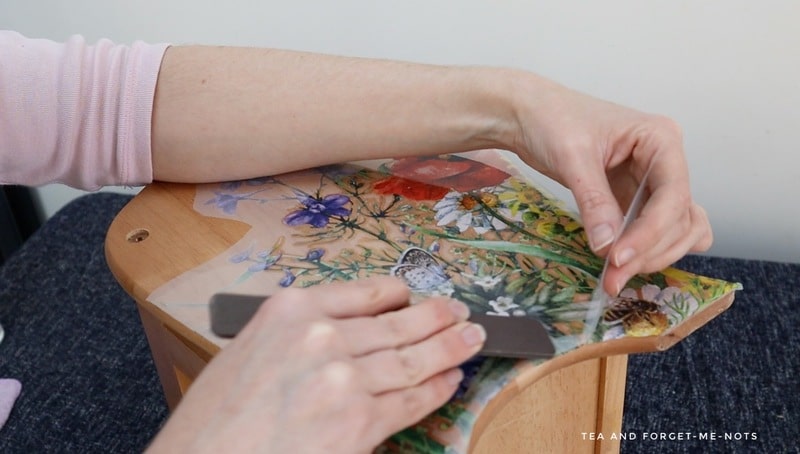
It’s helpful to go around the outside edge of the image first. Then go over every detail of the image carefully. You rub every part of the image to ensure it is securely attached to the surface.
How Do You Know if The Furniture Transfer Has Applied Successfully?
You can see when the image has detached from the plastic as the colour dulls slightly.
To check that the image has fully transferred, you can peel up the plastic. That shows whether there’s any of the image left. Fortunately, if there is, you can easily lay the plastic back down and continue rubbing it.
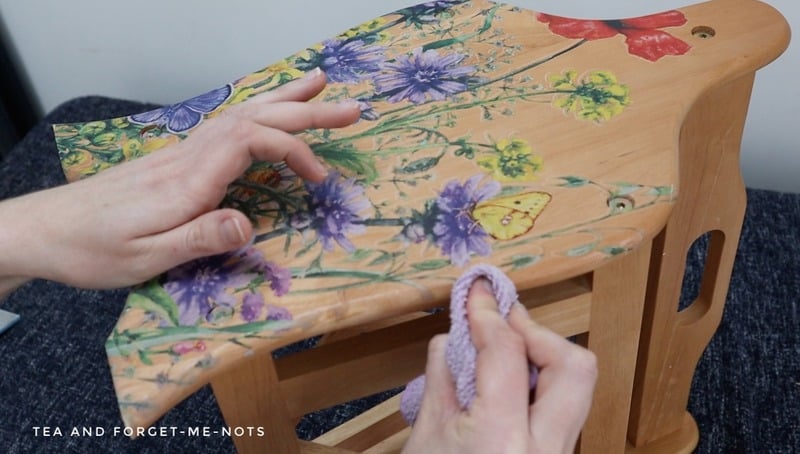
Once the image has been fully transferred, the final step is to secure it.
I use either a finger or a clean cloth for this. And rub over the edges of each section to ensure a firm connection to the surface. If you have any wrinkles, this is where you try to reduce or remove them.
The easiest surface to apply a furniture transfer to is a flat one. If you do have curves, you’ll have to cut the transfer to bend into those areas.
For this children’s globe, it was tricky. Because I was applying a flat image to a round object.
So, I cut into the flowers as closely as possible at each edge so there was the least resistance to bending around the shape.
If you have an uneven surface, possibly from a roughly painted surface, it will take longer to apply the transfer. As you will need the transfer to apply to each ridge. Rather than a smooth surface where it can go on in one piece.
If you are applying a transfer between drawers or doors, cut it with a knife or sharp blade.
How to Remove the Outline Around a Furniture Transfer
A halo is a translucent outline that you can see around the edge of many furniture transfers. Some people cut round it to remove it.
But, there’s an easier way!
Often the final step of rubbing over the transfer with a clean cloth will help to remove the halo. But the best way to remove it is to add a coat of sealer. This usually makes the halo invisible.
Do You Seal a Furniture Transfer?
The final step when applying a furniture transfer is to seal it. A water-based sealer is the best way to seal it. I use polycrylic such as Clear Coat.
I don’t recommend using an oil-based sealer because it could cause the image to deteriorate.
You need to seal it to avoid the transfer getting damaged, just as you would with paint.
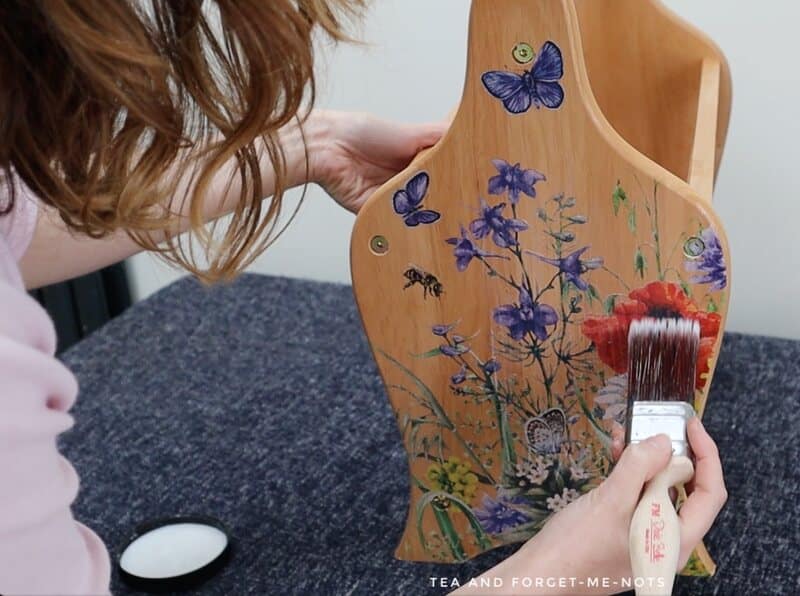
On this project I used a clear coat with a matte finish. As I didn’t want the finish to look different between the areas with transfer and without.
You need to read the instructions for the brand of transfer you have. As sometimes you seal before applying the transfer. And sometimes it’s after.
The Hokus Pokus transfer that I used on this beautiful chest of drawers needed a sealant coat before applying the transfer.
The Dixie Belle, Belles and Whistles transfers need sealing after applying them.
So be sure to check the tube it comes in to do it at the right stage.
How to Remove a Furniture Transfer
If you made a mistake or change your mind, what can you do? You can remove it using heat such as a heat gun or hair dryer.
Just be careful if this is on top of a painted surface to not damage the paint underneath.
Just give it a go!
Want to give it a go in a subtle location? Here’s how I added them to drawer sides. A secret surprise when you open the drawers!
It’s not difficult to apply furniture transfers. It takes a few simple steps. But there are some key things to remember to do it successfully.
So with a clean surface, a well-applied and sealed furniture transfer. Your decor should last well for years to come.
And make for a beautiful addition to a plain piece of furniture for your home.
Looking for inspiration? Here’s a beautiful makeover with lavender and raw wood.
Find out more about upcycling tips here.
Pin it for later – Apply Furniture Transfers in 3 Steps

Hi there! I'm Rachel Bowyer, a passionate DIY enthusiast with a knack for transforming the old into something beautifully new. With a deep love for furniture painting, refinishing, and the art of crafting. I've been documenting my DIY projects and restoration journey since 2018. I specialise in techniques like decoupage, stencilling, and decor transfers. Join me as we explore the world of creativity and home improvement, one project at a time.
I’m just now getting into furniture transfers, so this post was super helpful to me! Thanks for all the great info!
You’re welcome. Can’t wait to see what you create!
This is beautiful Rachel, you always do such lovely work.
Aw, thank you Maria.
Love the transformation and with the transfers no paint is needed. They made it new again.
Thanks, Cindy.
I’ve never heard of a furniture transfer! The one you chose looks almost like a hand painted mural- so pretty!
Transfers are some of my favourites, such an easy way to elevate a project.
Thanks for this post. I feel more confident! We had a rough start. I feel better now.