How To Make Cute Rainbow Concrete Pumpkin DIY Decor
Ever wanted to make rainbow concrete pumpkin DIY decor? You never see colourful concrete pumpkins. Here’s how to make beautiful DIY concrete pumpkins with some added fun.
Most concrete pumpkins are left the natural grey colour. Or sometimes orange. Maybe because pumpkins are associated with warm, autumnal colours like reds and oranges.
But home decor isn’t just for autumn. So, let’s add some colour and make pumpkin crafts for great decor for your front porch all year round.
How to Make Rainbow Concrete Pumpkins Step by Step
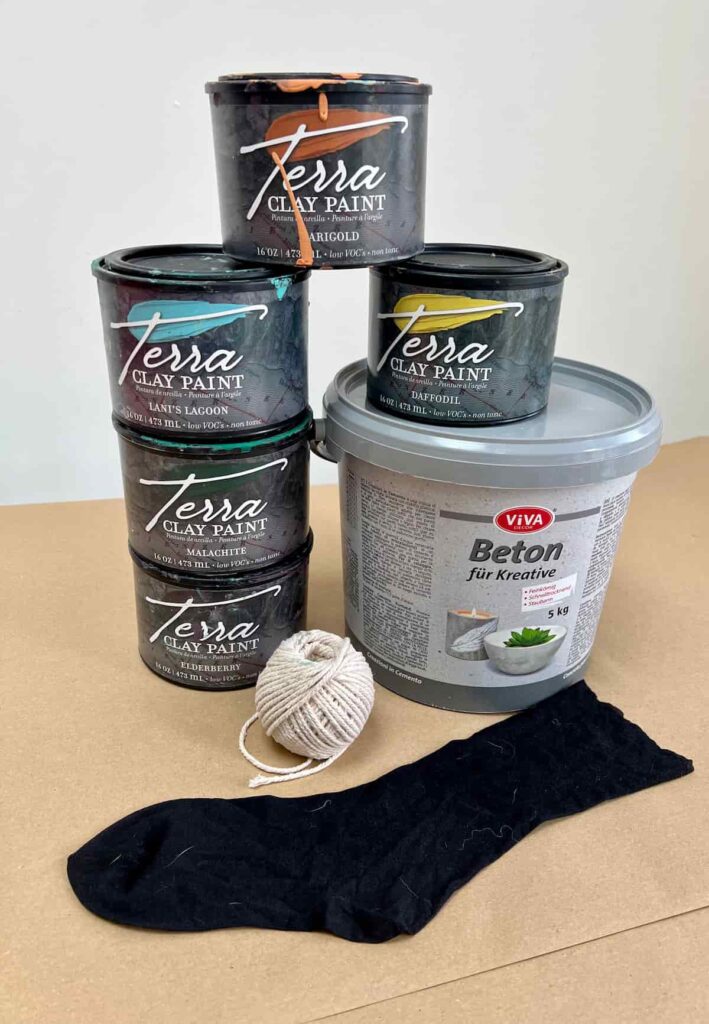
Materials Needed
Step by Step Instructions
Prep the Surface and Cut Tights
The first step is to prep your surface. A sheet or plastic wrap is a great way to protect your work area.
Then you need to protect yourself too. I recommend goggles, a dust mask and to wear gloves. You want to keep the concrete mixture away from your skin.
To make the concrete pumpkin shape, you can use the bottom of some tights or pantyhose.
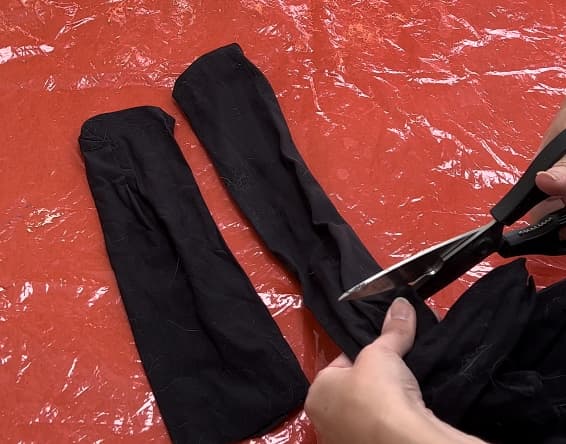
You only need the length of a typical sock rather than the full tights. You can cut the foot part of the bottom of the tights to about 6 inches in length.
Be careful not to use any with a compression element such as airplane socks. As these can leave a ridge in the pumpkin. Ask me how I know!
It might help to pull the top of the tights over the edge of a can or large cup. This means you don’t have to hold the tights open with one hand while filling it with concrete. You don’t want to use too big of a can as the tights probably won’t stretch across the gap.
How to Mix Concrete for Crafting Pumpkins
The first step to making concrete pumpkins is to get a concrete mix for crafting. It’s very simple to use. You simply add a little bit of water.
You may have to guess initially as to how much mixture you’ll need for your concrete pumpkins. That’s OK, as you’ll have time to mix up more before it sets.
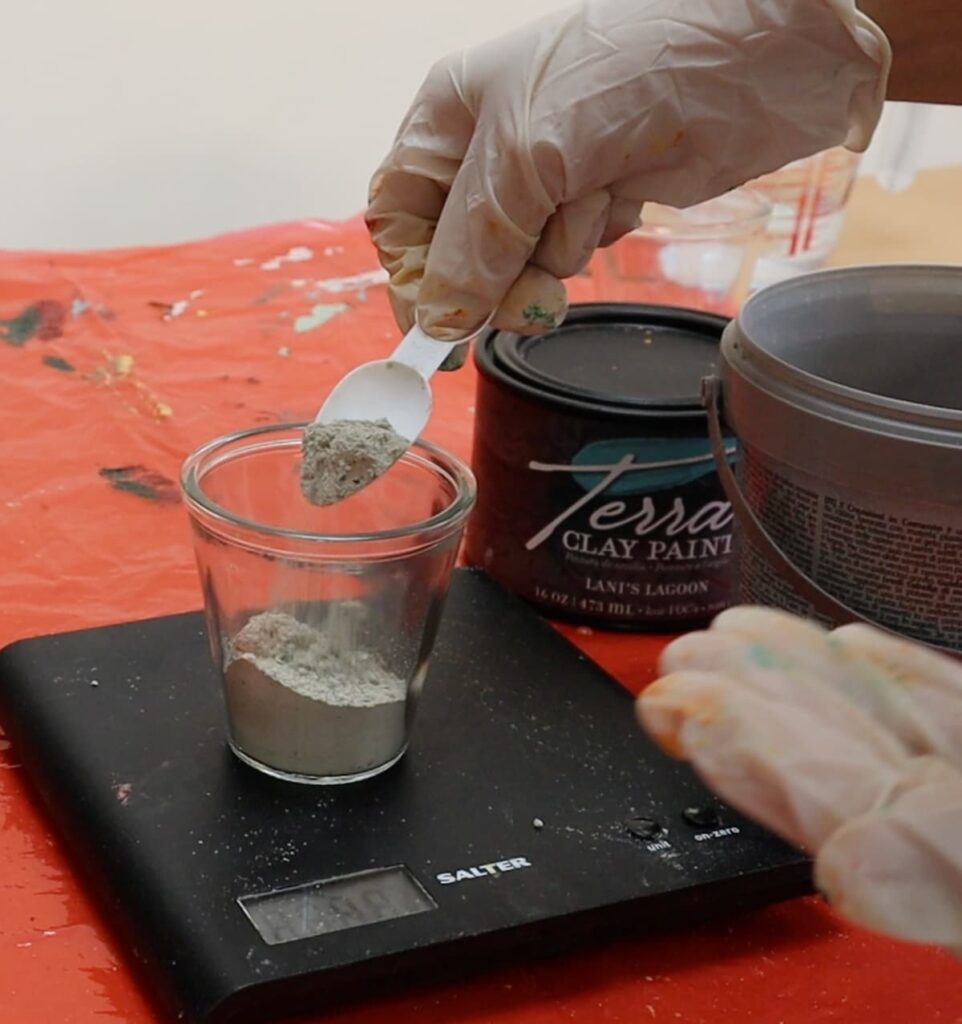
Firstly, weigh out how much concrete you want and add it to a mixing bowl. Follow the package directions but for this mix, for 50g of concrete dry mix you add 7ml of water.
If you want to make a normal grey plain pumpkin DIY, this is the process that you follow.
Add Paint to Concrete Mix for Rainbow Pumpkins!
However, if you’re here for the rainbow colours, then you need this next step too!
After mixing the concrete into a paste, add some paint to the mix too. The lighter the colour, such as yellow, the less vibrant it will be. This is because it’s mixing with grey, which dulls it.
Be careful not to add too much paint though. As that could make the concrete project too runny. This means it will either seep out of the tights or not dry in an accurate shape.
Err on the side of too little water and test until you get the right consistency.
The colour that you add first will be the most visible on the outside of the pumpkin mould. It won’t sit at the bottom of the pumpkin, it will come up around the sides. This is due to it getting pushed up the sides when the string is tied.

So, add the colour you want to feature the most first.
You can make small batches of each colour. Don’t wait for the colours to dry before adding the next layer. If you do this then you won’t be able to make the pumpkin shape, as it needs to be tied off to do that.
If you want the colours to stay fairly blocky, then pour each layer in order. Or like a more marbled, rainbow look? Use a toothpick to gently move the paint around. But, if you mix too much, the colours will blend and create a grey.
Just like when playdough gets mixed!
Once the colours are all in, or you’ve got to near the top of the nylons, it’s time to secure it.
How To Create Ridges in a Concrete Pumpkin
Use scissors to cut a length of string or twine and tie the top of the tights closed. Make the knot close to the top of the pumpkin. This is what will keep the round pumpkin shape.
You could also use rubber brands. However, those are more dependent on getting exactly the right size pumpkin mould. Too small a mould and the rubber bands won’t be tight enough.
Then cut several extra pieces of twine. These will create ridges around the sides of the pumpkin.
Three lengths of twine will create 6 ridges. Like even more ridges? Just add more twine.
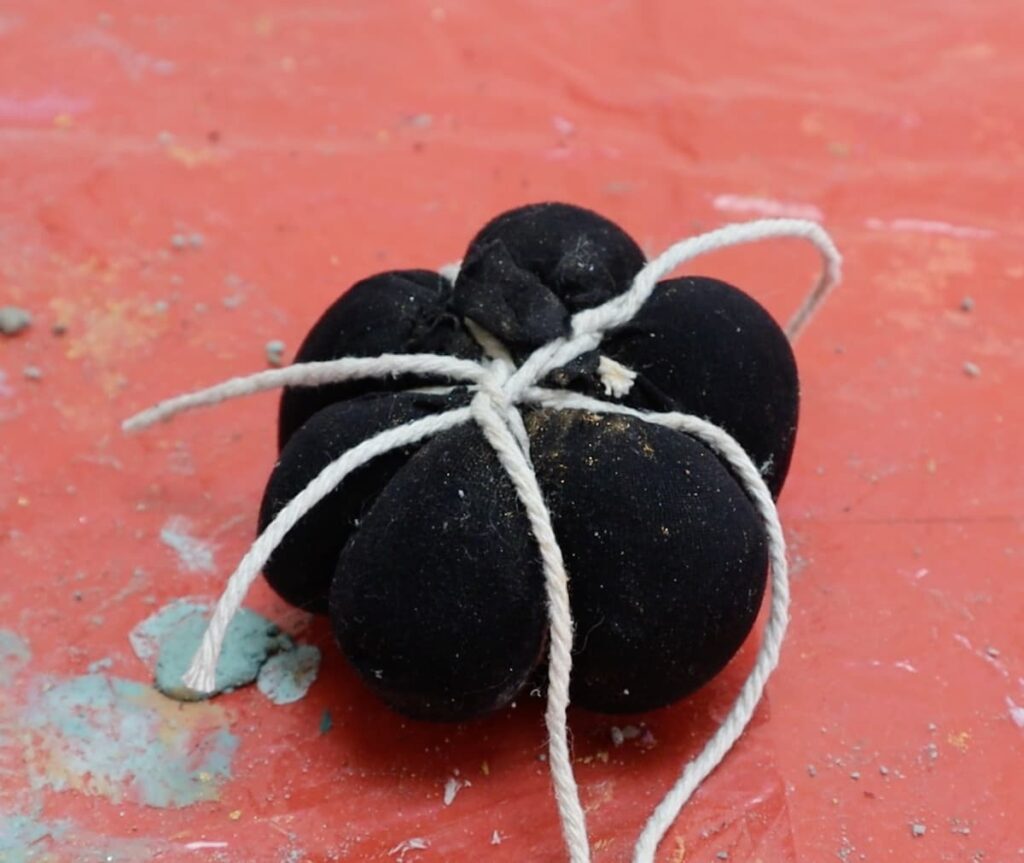
Lay the twine out evenly spaced, like cutting a pizza. Then pull up the ends of one piece to meet at the top and knot it.
You want the twine to be tight enough to create a ridge. But not so tight that the twine disappears into the concrete. If it disappears then you won’t be able to remove it once it has set.
You may need to squish some of the concrete around to create evenly sized-segments. Or embrace the uneven shapes that it naturally creates.
How Long to Leave The Concrete Pumpkins to Dry?
Then leave the pumpkin to dry. Depending on the kind of concrete mix you use, will vary how long this takes.
Typically it’s about 24-48 hours.
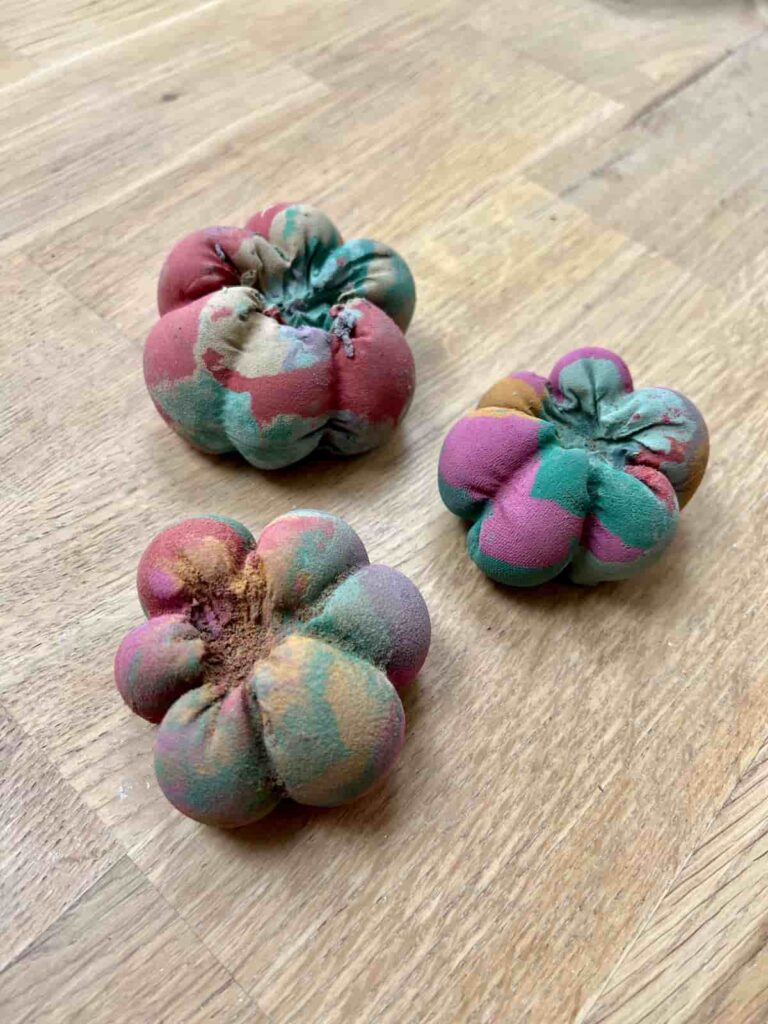
It’s a good idea to remove the tights and twine after an hour or two. The important thing is that the shape is firm but not dry yet. So you can cut away the material before it is set in place.
Attach a Stem to Concrete Pumpkins
The knot at the top should leave you with the perfect place to add a pumpkin stem.
There are lots of different ways you can create a stem. You can use a small stick, wrap around some twine, or rope. Or even Amazon has some ready-made stems that you can screw in place.
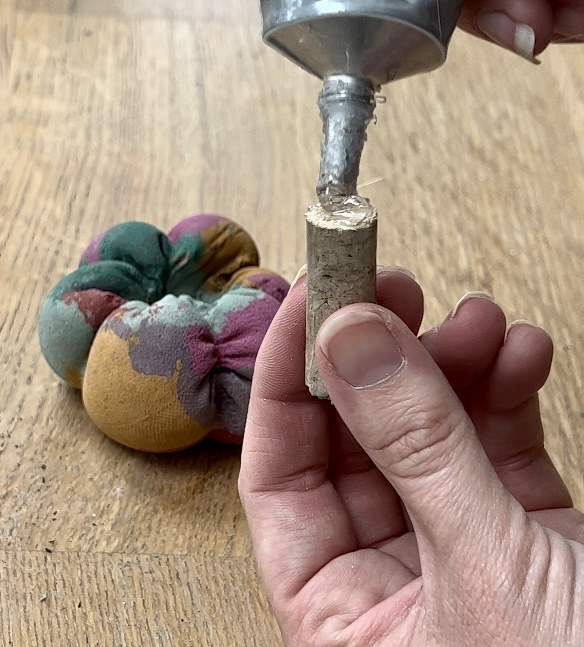
You can attach your stem with hot glue or E6000.
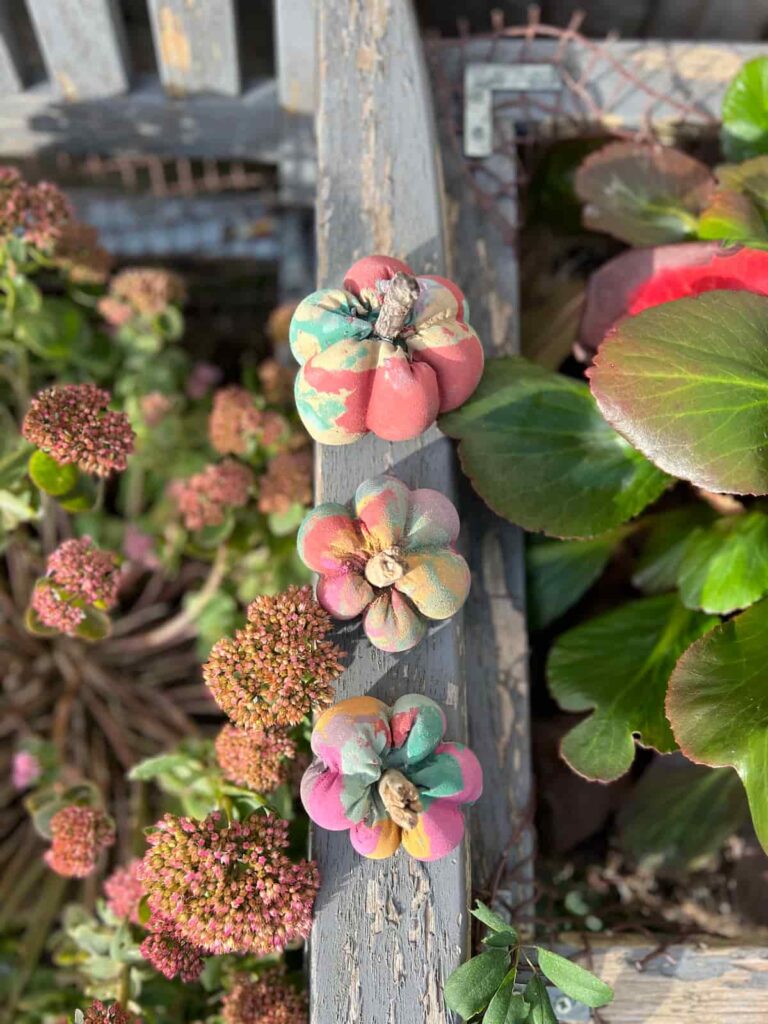
Then you have the choice of adding decorative elements such as moss and vines. Or as these are colourful pumpkin ideas, glitter or sequins!
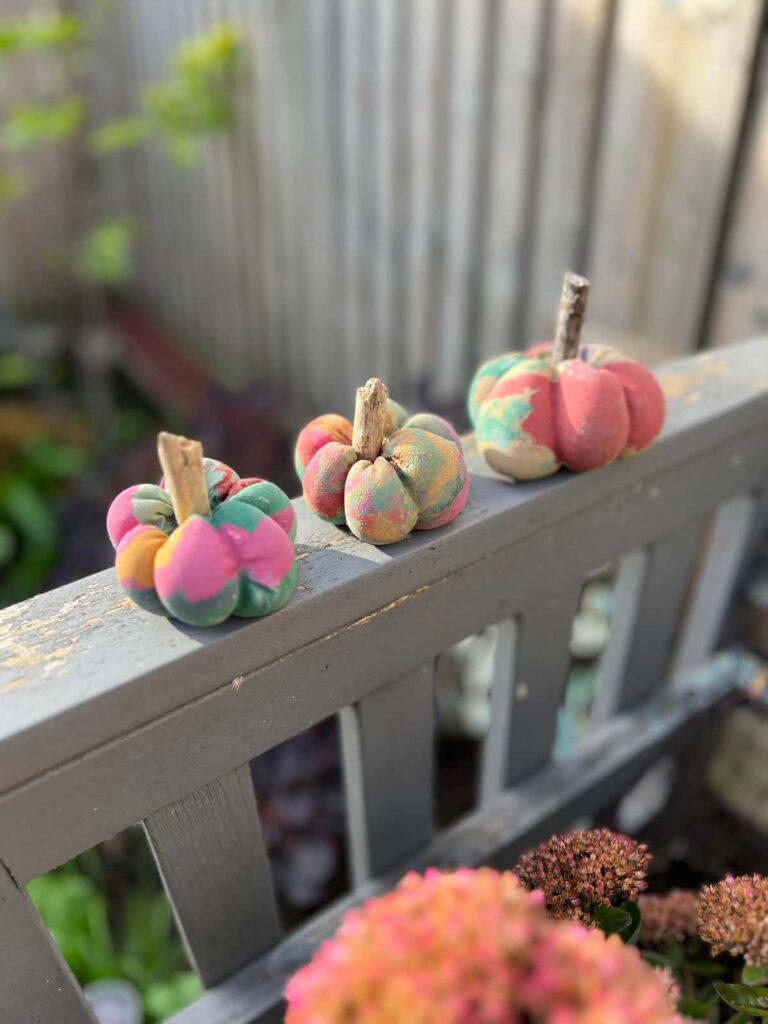
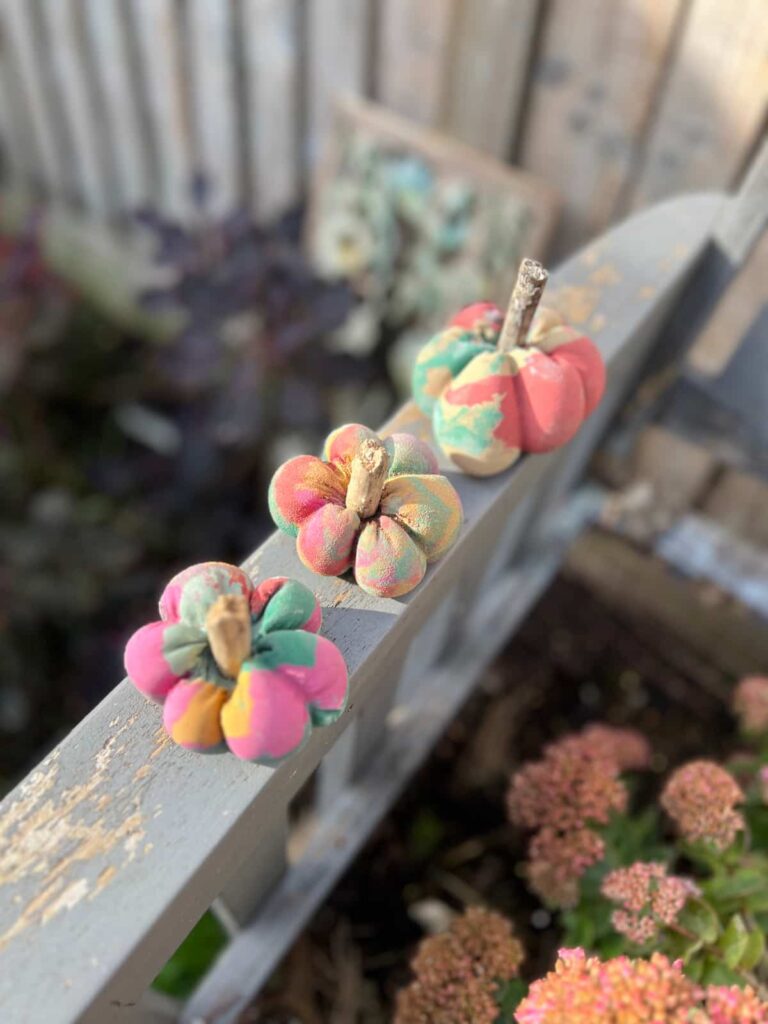
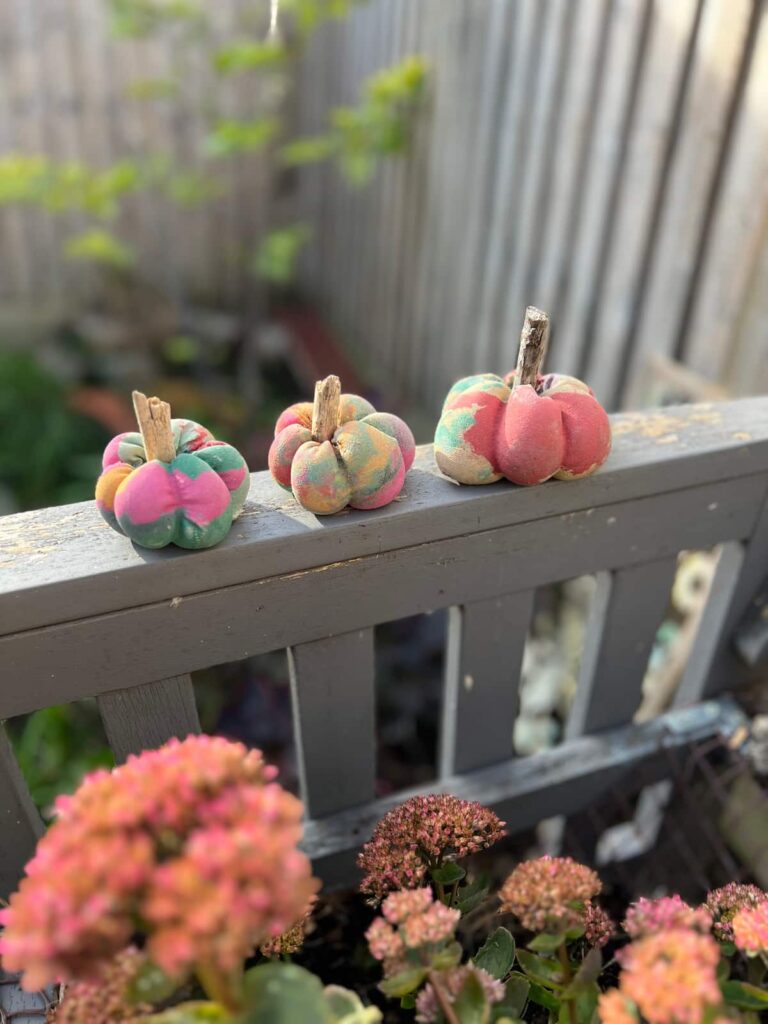
The Final Rainbow Concrete Pumpkins
And that’s it. Almost as easy as creating normal concrete pumpkins. Just add a splash of paint and you’ve got some bright and colourful rainbow concrete pumpkins.
Such a cool idea and even more fun for kids.
Wondering if you can make a bigger pumpkin in this style? Some giant pumpkins use a wet concrete mix just on the outside of the pumpkin. As it would take a lot of concrete to fill the whole pumpkin shape.
Just make sure that the amount of concrete mix you order is right for the size of your pumpkin you want to make.
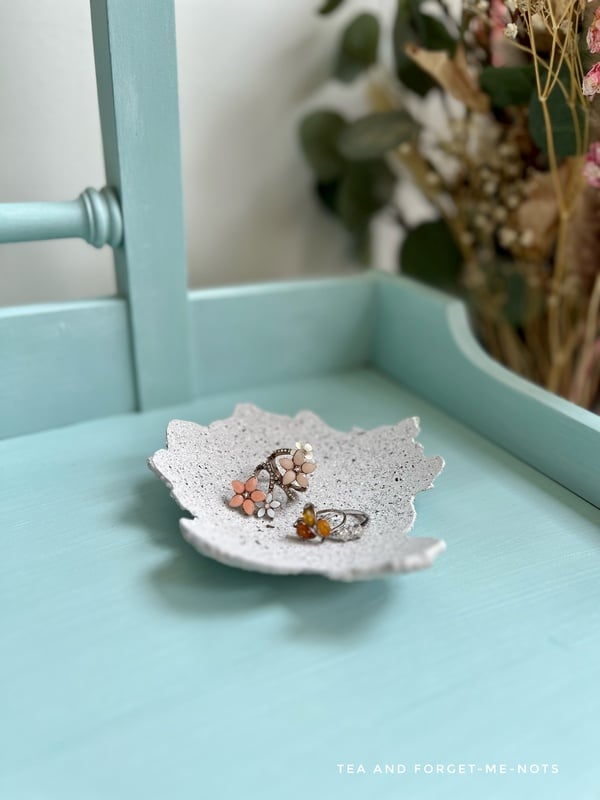
What other creative concrete crafts can you make? You can make fall decor such as a candle holder, coasters or trinket dishes like these.
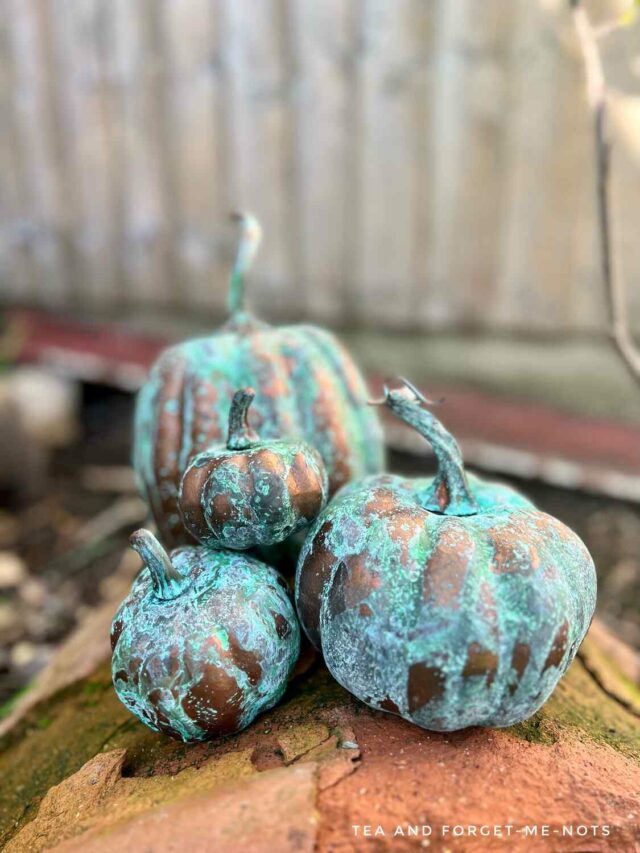
Or like other great projects for quirky faux painted pumpkins? Here’s a fun project using faux patina paint on plastic pumpkins.
Another idea is to create a concrete pumpkin planter. One you can use either for fresh flowers or for Halloween candy. For this, you need to use the same method but create hollow concrete pumpkins.
You can create a space within the pumpkin by adding a plastic cup or something disposable to fill the space. Plastic is good as you can cut it out before the drying time is up and the concrete cures.
And that’s it. Some adorable rainbow concrete pumpkins and more ideas to get creative with.
Crafting with concrete is a lot of fun. Just make sure you look after your safety and the world is your oyster with creating fun concrete projects.
If you loved this project, you’ll love these projects too:
Did you make rainbow concrete pumpkins?
I love seeing what you do. Please mention @teaandforgetmenots and share your creations with me!
Pin It For Later – Rainbow Concrete Pumpkin DIY


Hi there! I'm Rachel Bowyer, a passionate DIY enthusiast with a knack for transforming the old into something beautifully new. With a deep love for furniture painting, refinishing, and the art of crafting. I've been documenting my DIY projects and restoration journey since 2018. I specialise in techniques like decoupage, stencilling, and decor transfers. Join me as we explore the world of creativity and home improvement, one project at a time.
This is such a cleaver Fall craft Rachel. Thanks for taking the mystery out of making it, and giving such clear directions. Much bigger chance of me giving it a try now.
You’re welcome, Maria. Yes, working out the steps to start can be a big hurdle.