Best Christmas Decor Indoor Ideas For Decorating Your Home
Looking for Christmas decor indoor ideas for a festive home? Here are 4 easy DIY projects to decorate your home for the Christmas season.
These projects will give you Christmas decor indoor ideas for the best ways to decorate your own home. But also may be something you want to make for friends and family as gifts this holiday season.
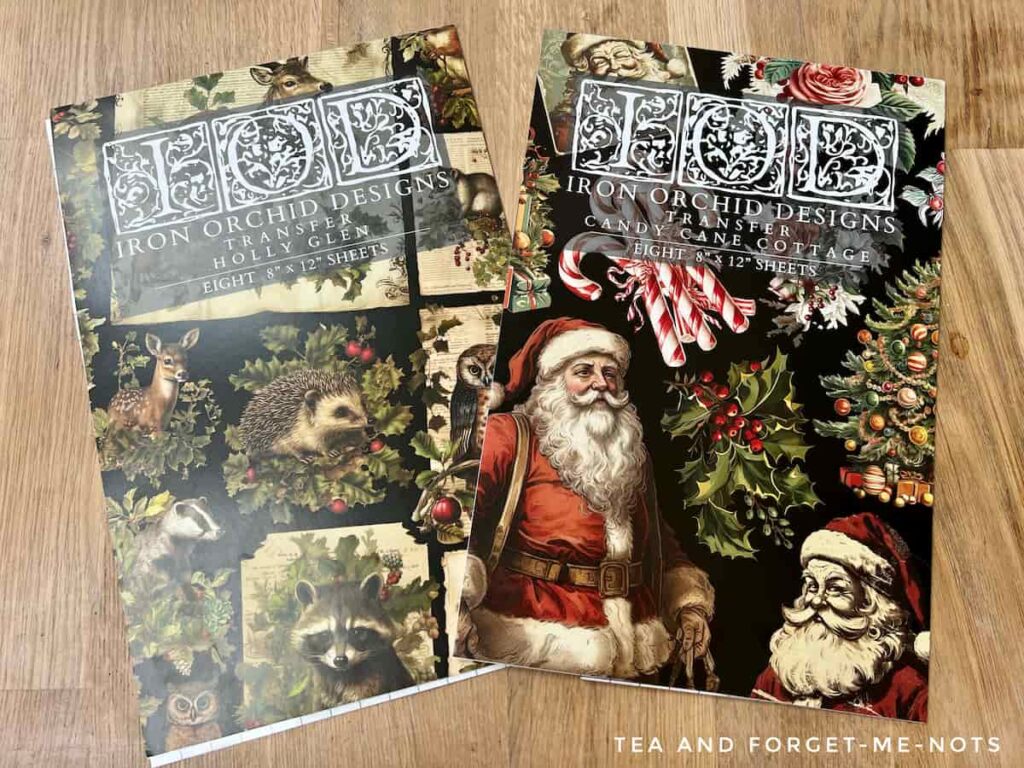
Iron Orchid Designs has released two Christmas transfer sets this year. Holly Glen and Candy Cane Cottage. They ooze the feeling of vintage holiday spirit.
From hot cocoa signs to Santa Claus, and snow-covered cars… It’s easy to feel like it’s already the most wonderful time of the year.
There are so many indoor Christmas decorations ideas you can create using decor transfers. They can take plain decor and give it an instant festive touch.
Only one of these projects includes any additional steps other than applying the transfer. It’s the perfect way, and so easy, to get your home into the Christmas vibe.
Would you rather opt for video tutorials instead of step-by-step instructions? Here’s a comprehensive video tutorial that guides you through the process of creating Christmas decor indoor ideas.
This post includes gifted products and affiliate links so you can easily find the products I use myself and recommend to friends. If you purchase these products, I may earn a small commission at no extra cost to you.
How to Make Indoor Christmas Decor Step by Step
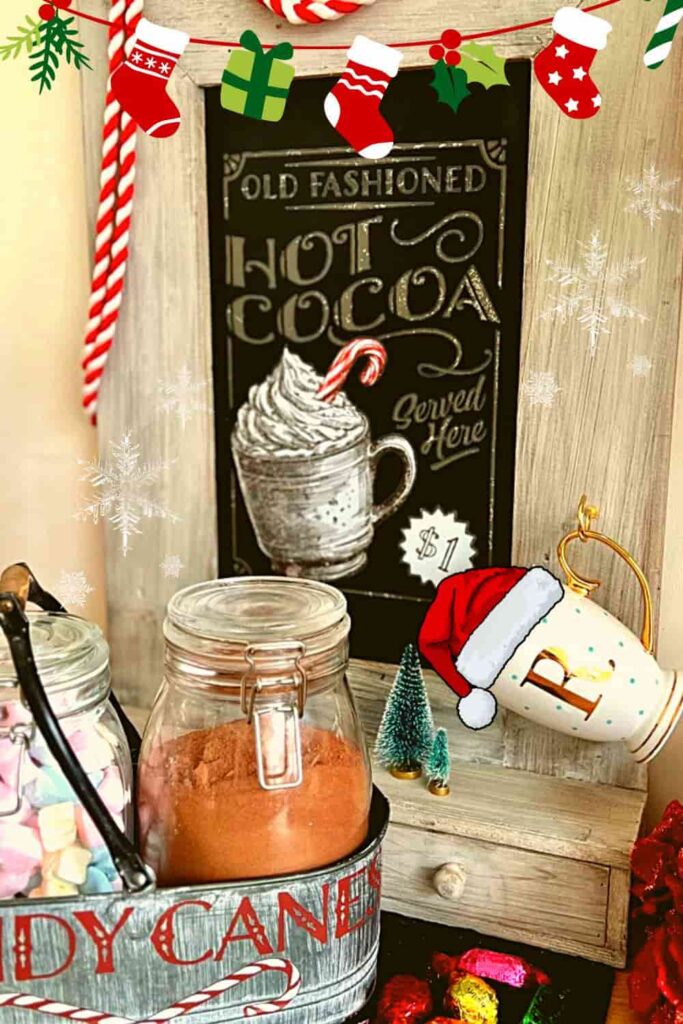
Design a Hot Cocoa Station
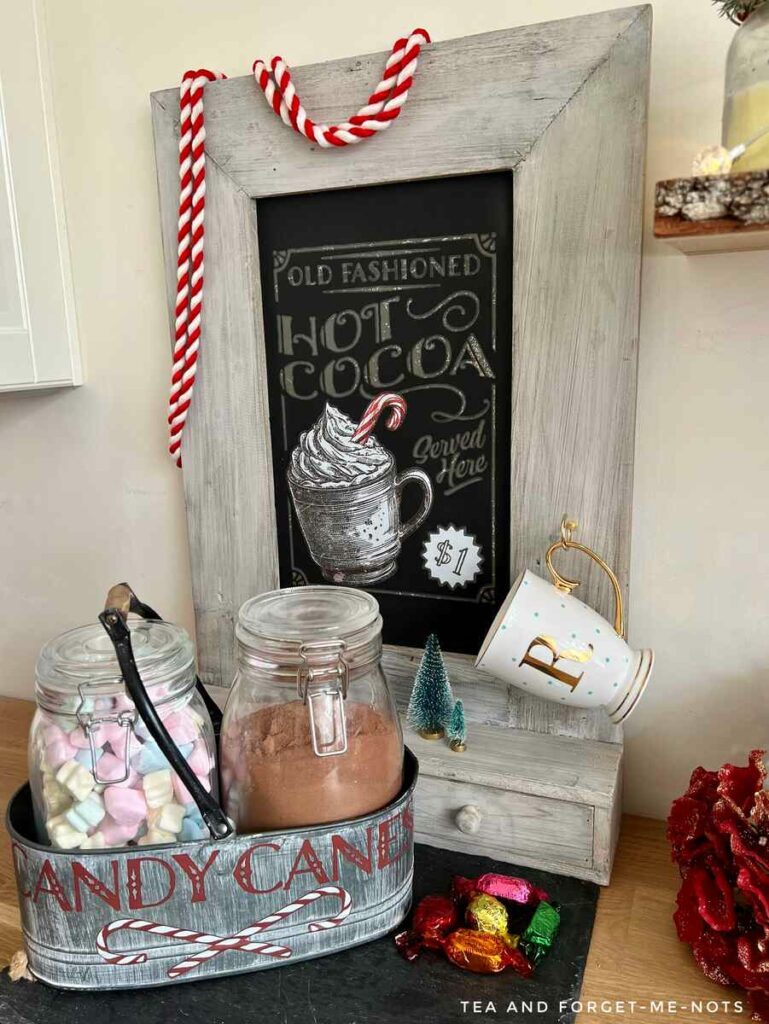
The Hot Cocoa sign was the first transfer to catch my attention when I saw it in the Candy Cane Cottage set. Warm cocoa (or hot chocolate), marshmallows and a giant mug instantly gets me in the festive spirit.
Or more accurately, from about October to March!
I started with a chalkboard with drawers which I’d never found a purpose for. But when I saw the sign, I knew straight away that it was a perfect place to make a Hot Cocoa station in my kitchen.
This chalkboard was a charity shop find. A bargain at £5.
Despite my efforts in trying to remove the previous owner’s chalk residue, it remained in place. A simple way to remove chalk (I was told) is with a vinegar solution. But it didn’t work this time.
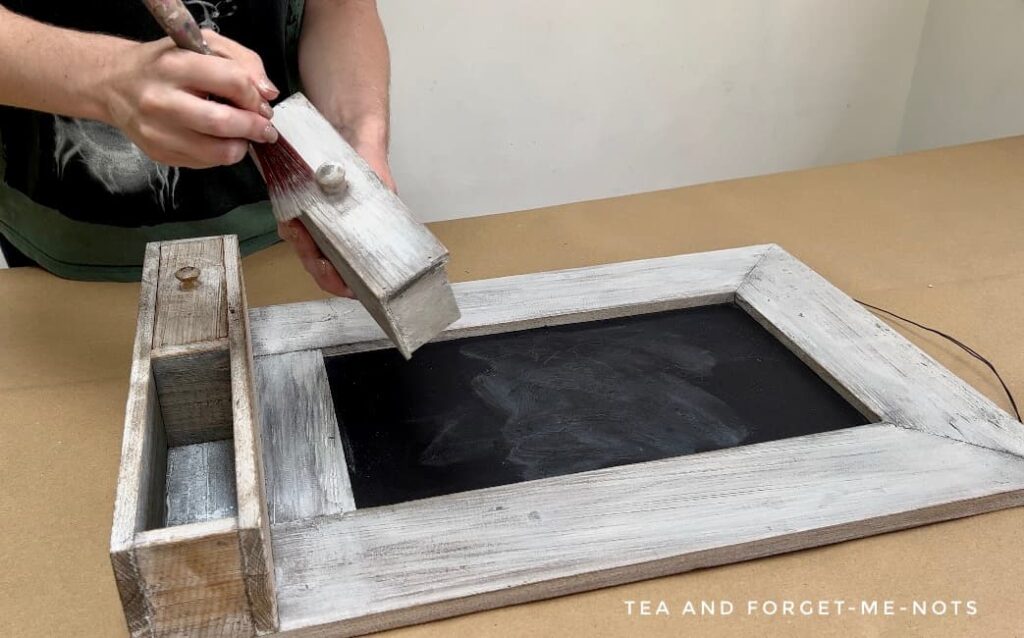
So, I simply repainted the chalkboard with chalkboard paint.
Additionally, the original paint on the wood hadn’t been sealed. When I cleaned it with a TSP cleaner, it took some of the finish off with it.
So, time to get the creative juices flowing. I decided to do a wash of white paint over the existing finish. A whitewash is simply diluting some of the paint with water so that it’s more runny. Then wipe it back with a cloth to remove the excess.
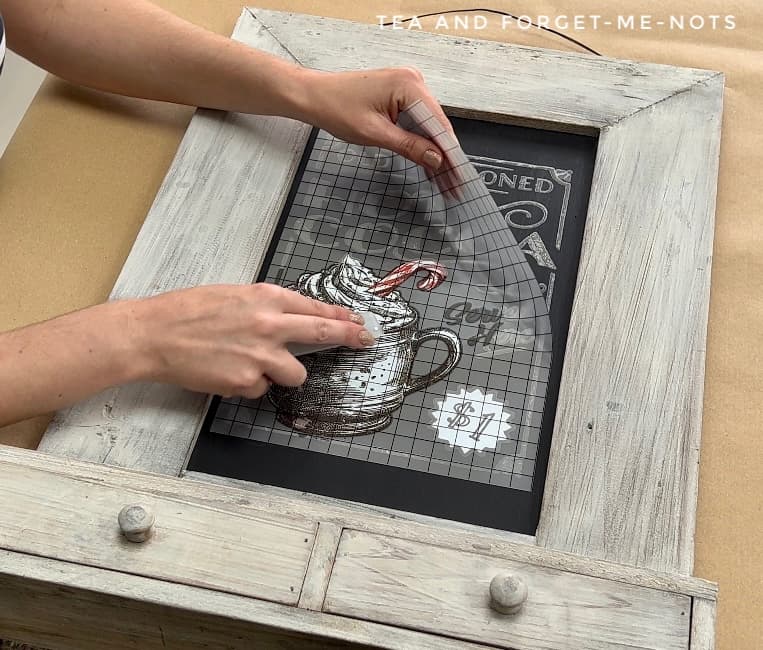
Then it was time to apply the transfer which I was so excited about. It was the ideal size for the small space it had to cover.
I placed the transfer down and used the burnishing tool (like a wooden stick) to rub over the image. After I’d removed the plastic sheet that the transfer came on. I used my finger to go around the edges to make sure that it was stuck down well.
One challenge with having a black background for this design was that the wording on the image was also black.
In particular the words ‘served here’ lost their definition and were harder to read. So, I went back with the chalkboard paint and painted where the holes or gaps were.
Alternatively, the easy way would be to use the transfers on a lighter-coloured background.
You can seal the transfer if it’s in a high-traffic area. Or somewhere that might get spills on it often.
It really is the ideal sign to give some holiday cheer.
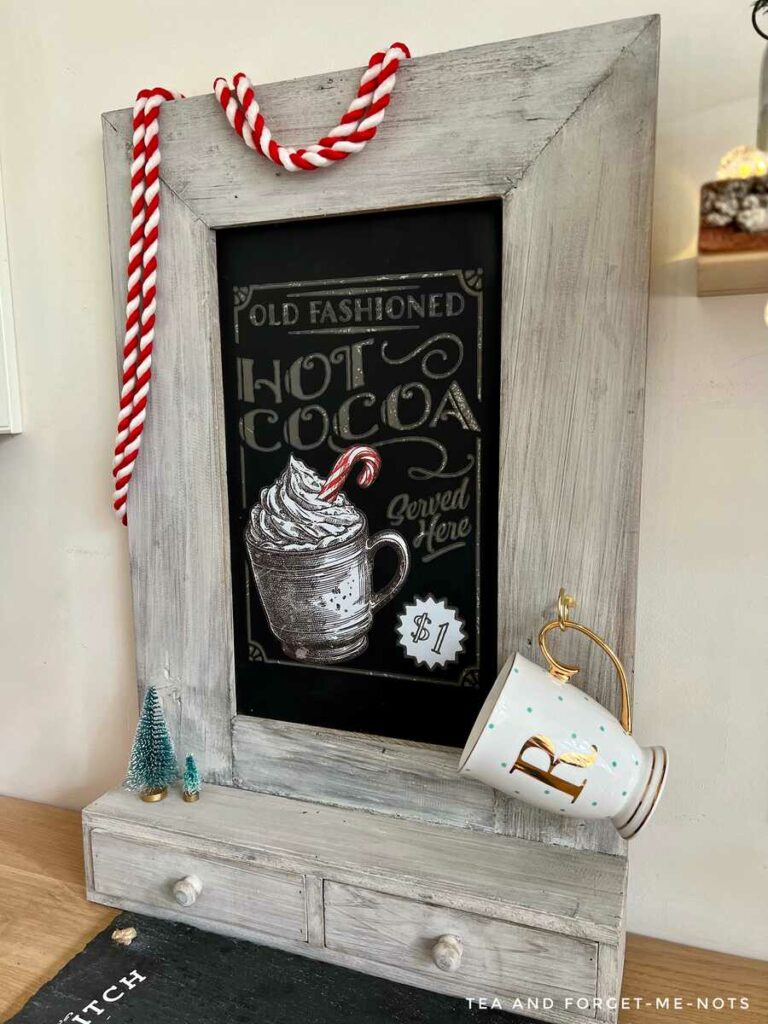
For the festive season especially, it’s lovely to have a dedicated area for hot drinks and sweet treats. I even added a few little bottle brush trees and a hook for a mug. You could create this easy idea on a piece of spare wood or any standalone chalkboard.
How can you make this area have even more of a festive vibe? A candy cane planter!
Give an Oval Planter a Festive Feel
A second indoor Christmas decor idea is decorating an oval planter.
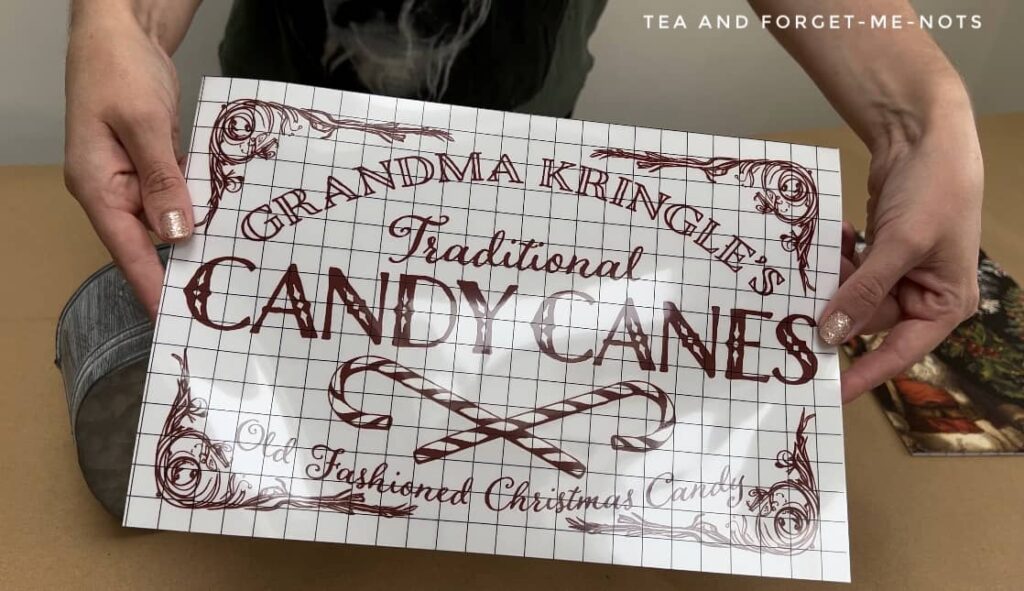
For this, I chose the ‘Grandma Kringle’s Traditional Candy Canes’ transfer. Another adorable one, perfect for Christmas crafts.
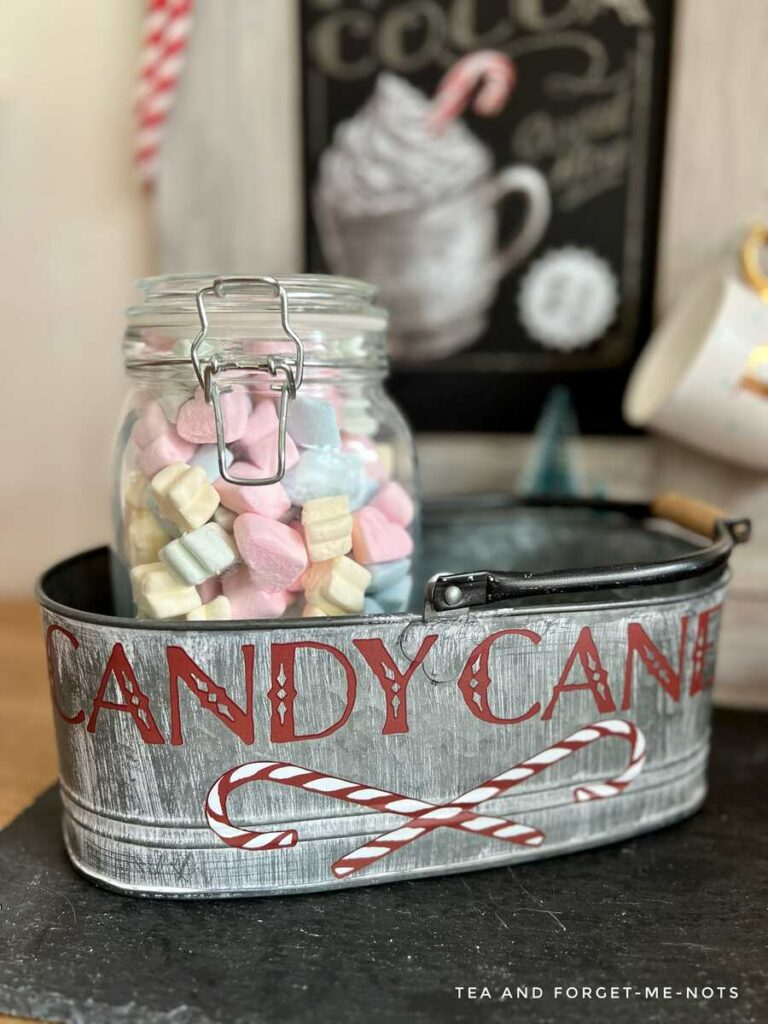
I had an unused galvanised metal oval planter. After making the hot cocoa station, this planter seemed like a great place to add marshmallow storage.
The size of the planter was a good fit for two large mason jars. Which is a lot of marshmallows!
The planter was too small to use all of the transfer on. So, you just need to work out the most important bits that you want to keep.
Don’t throw the excess pieces away. They can make other projects. Such as when I used some leftovers on envelopes.
I cut out the transfer into sections and then tested which pieces would fit together. Choosing to keep the words ‘candy canes’ and then the pictures of candy canes.

I made sure to line up the middle of the words exactly in the middle. Once the transfer is applied, you can’t correct it if it’s wonky. You would just have to accept the quirkiness or sand it off.
The size of the candy cane words were wider than one side of the planter. It had to slightly wrap around the edges. From straight on you wouldn’t necessarily see all the letters. But with the help of the pictures too, you can understand what it says.
Transfers are not overly sticky. They can shift if you’re not careful when applying them.
A great way to keep the transfer in place when applying it is to use Frog Tape. This keeps it secured to the object and also doesn’t strip off paint when it’s removed. This is especially helpful when using it on a rounded or intricate surface.
The material of this planter was actually quite flimsy. I had to be quite gentle when using the rubbing stick so that I didn’t dent it!
For an extra challenge, the bottom of my planter had a few ridges on it.
It can be easy to crack a transfer image when going over ridges as it stretches to another surface. You will need to carefully apply the transfer to the edge at the bottom of the ridge. Then press it tight into the side of it, and wrap it up and over.
However, on a rounded object, this is easier said than done.
You may still get little cracks in the image. If you like the look then that’s fine. It might depend on the feel of the piece you’re working on. But if you’d prefer a perfect image, you should be able to paint in the gaps to disguise it.
Something like this candy cane planter doesn’t need a lot of sealing to protect it. But I did do one coat of clear coat as a sealer, as it will be near drinks.
How to Decorate a Round Planter
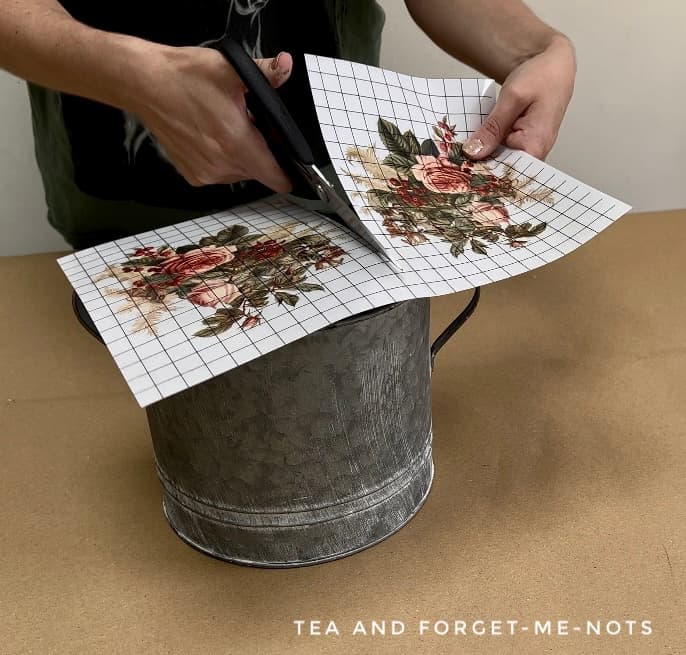
The third indoor Christmas decoration ideas is a planter for a more traditional home. Or for a more classic use of a planter, at least. There are several festive florals in this transfer set.
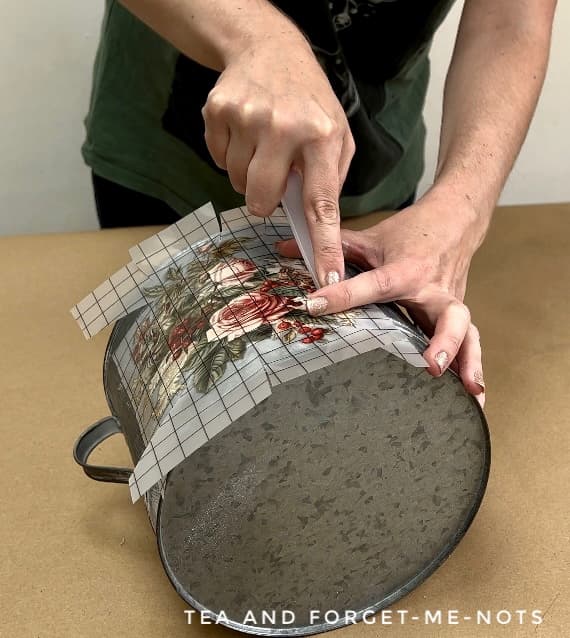
This floral transfer is the perfect size for this round metal planter. As soon as I saw this transfer, I knew what I wanted to do with it.
I chose a transfer that comes as a set of two. If you wanted to do this as a pair then that would work well too. Maybe one for each side of a door frame.
Or even as outdoor decor on a front porch near fresh greenery, if you seal it with Gator Hide.
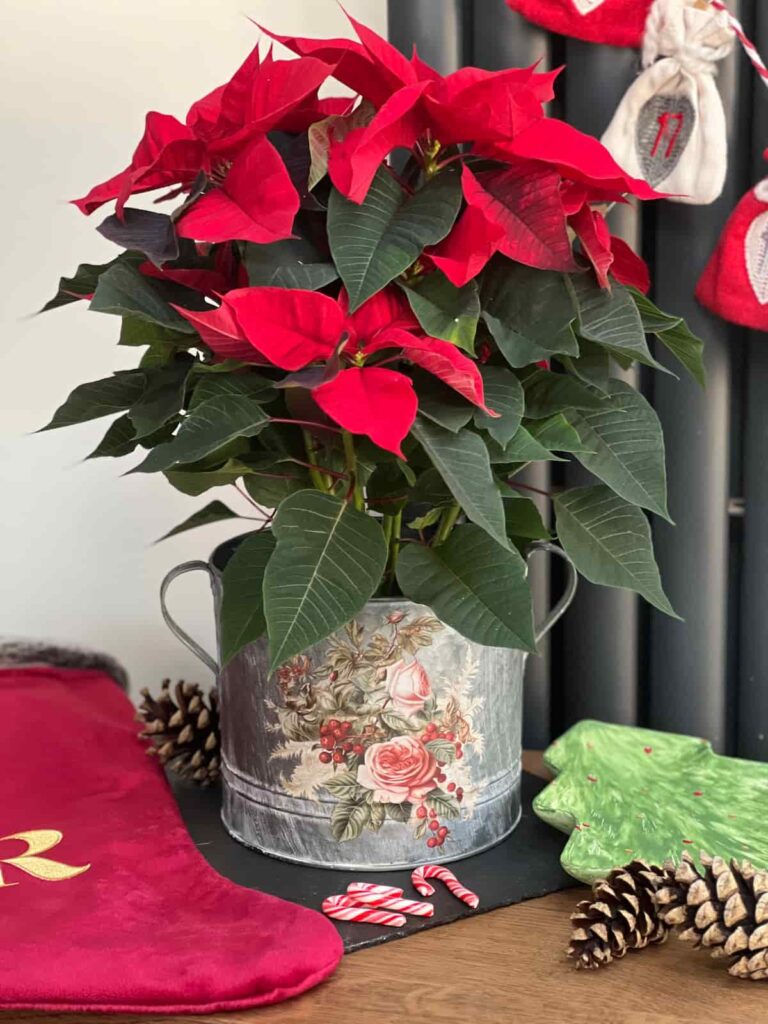
In the UK, a traditional Christmas plant is a Poinsettia. It has a bright red flower and I only ever see them for holiday decorations. I’d love to know if you have them at Christmas where you are too!
It’s more challenging to apply transfers to rounded objects. A great idea to help is to cut in from the edges of the transfer. It’s a better way to apply to the surface smoothly.
I can’t wait to put a Poinsettia in this at Christmas. It will look so nice with the reds and pinks within this floral transfer. I’ll get an updated photo to show the planter with its full Christmas effect.
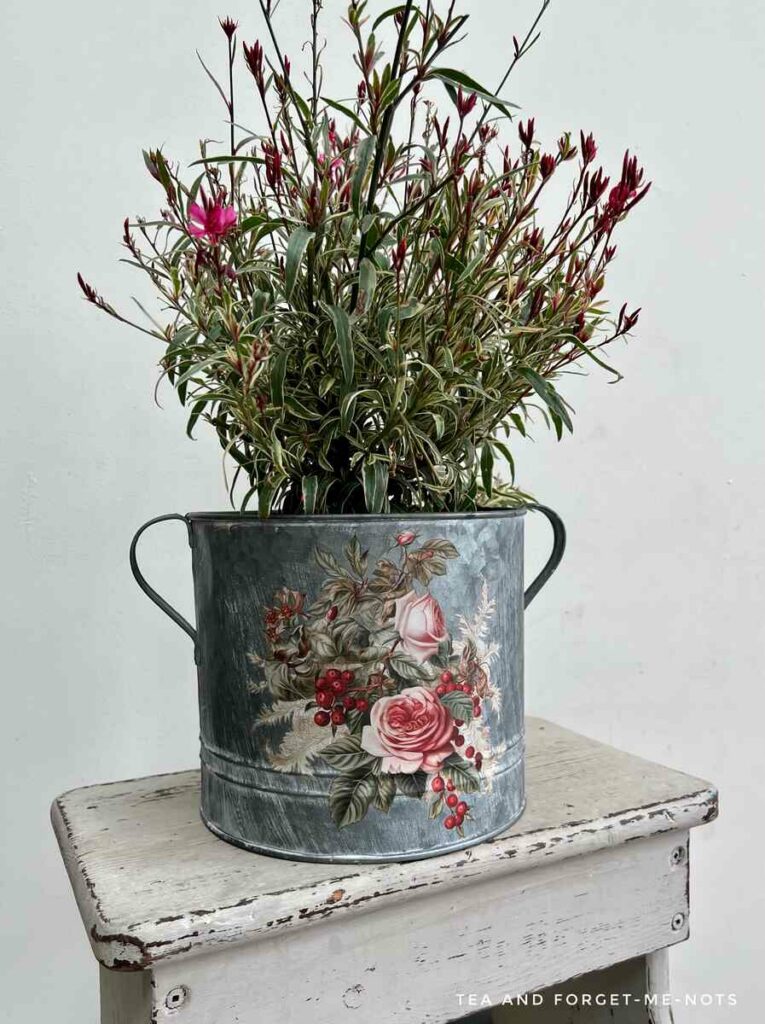
It’s going to look so charming surrounded by Christmas decor. It would work placed on a coffee table or even as a skirt for a small tree.
Edit: updated photo when the Christmas plants came out! So beautiful!
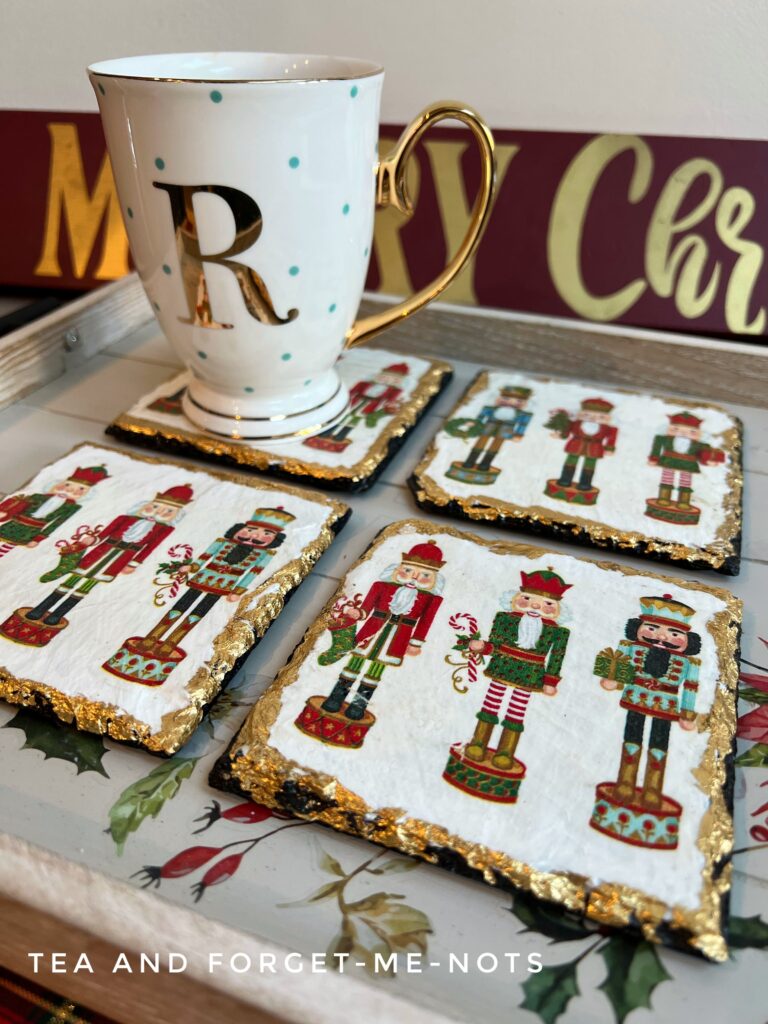
Making Christmas Indoor Decor Tree Ornaments
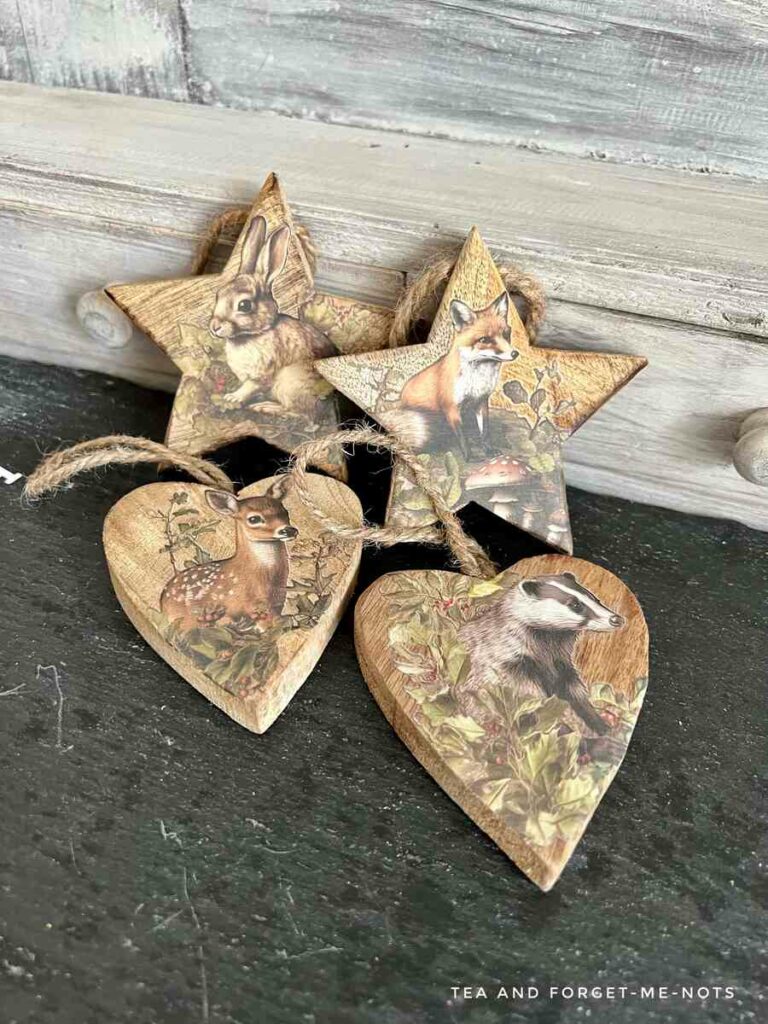
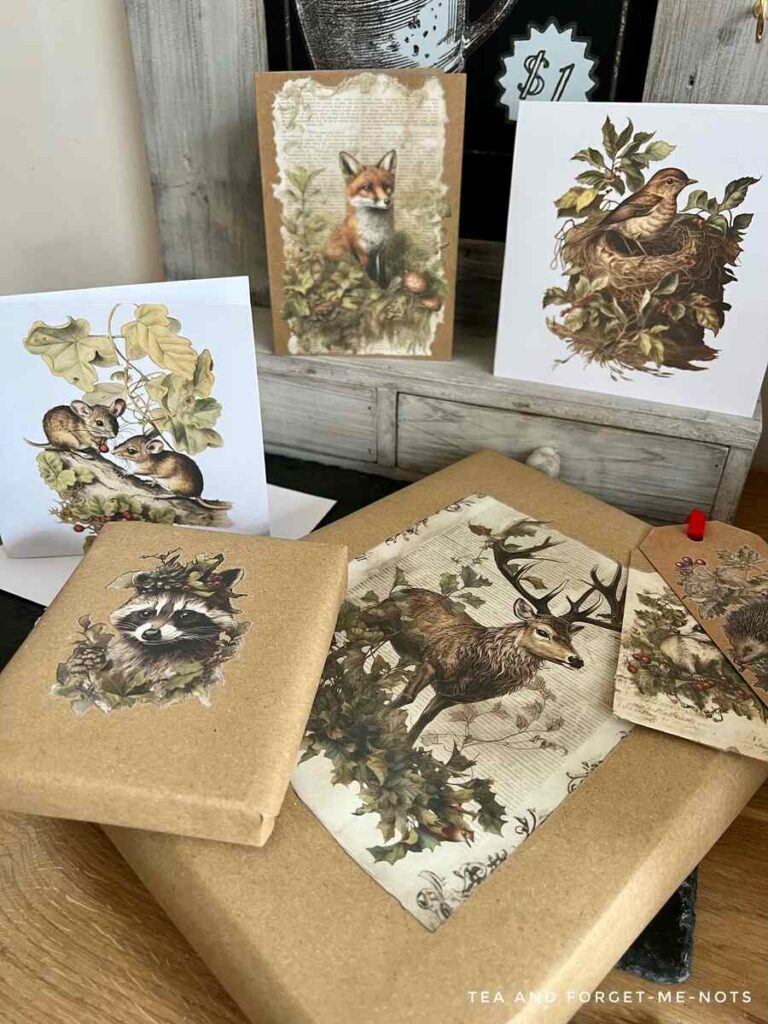
The final indoor decor is these simple Christmas ornaments for a tree. These use the set of transfers called Holly Glen. With these, I also made a series of gift wraps and Christmas cards.
These transfers are of vintage animals. From adorable mice to cute hedgehogs and grand stags. They come in different sizes but the smaller scale transfers are great for small ornaments. They’re around 8cm or 2.5 inches wide.
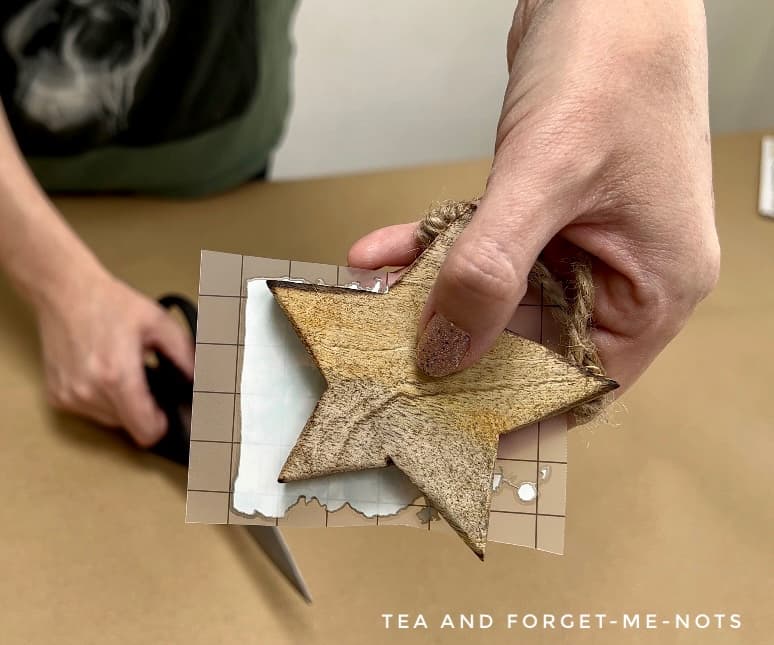
To make these tree ornaments, you need some blank decorations. I had some wooden stars and hearts which were perfect.
Some of the transfers had a solid rectangular edge and others it was free-form. It was the free-form ones that I used, without a solid block background. As there was already a distinct shape to the wooden ornament.
I chose ones that were similar in size and where the majority of the animal would be visible.
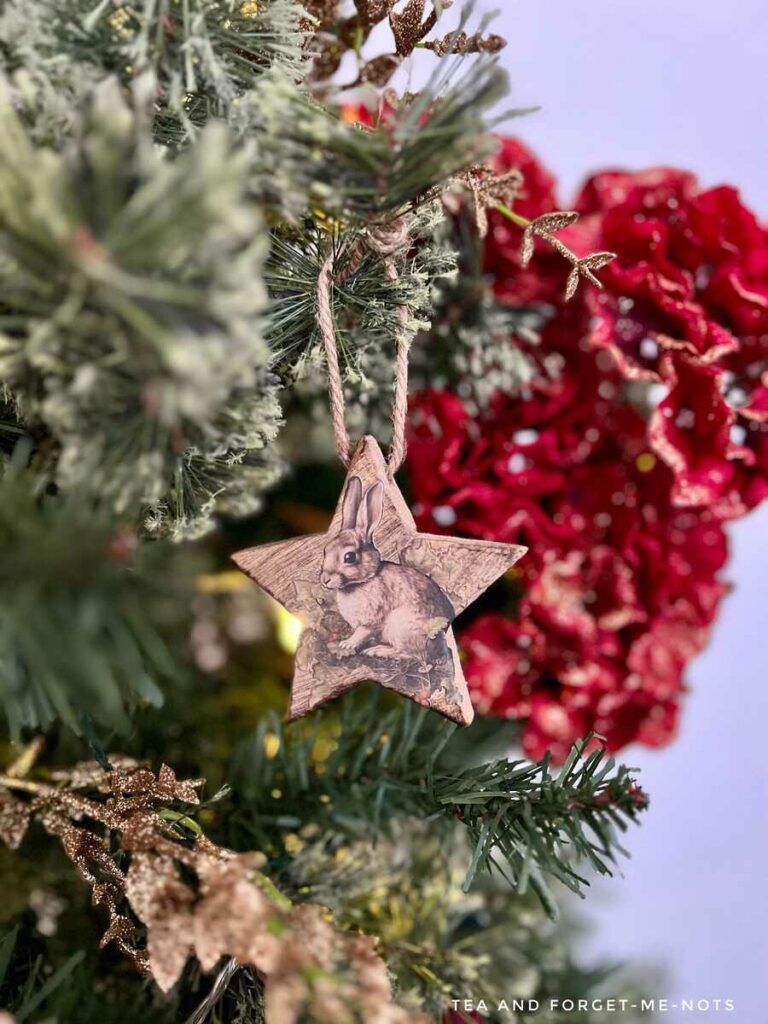
The star shape is slightly trickier to apply a transfer to. As I didn’t want the image to wrap around the edge at all. I used scissors to cut into the middle of each point of the star. This helped to cut as close to the transfer as possible.
I also finished these with a coat of clear sealer. If you choose a flat finish like this then it doesn’t give any additional sheen.
It’s a lot of fun creating DIY Christmas decorations with a personal touch. The unique ways how you can use these are almost endless. From Christmas centerpieces to Christmas gifts or cosy decor.
These transfers are limited edition. If you’d like to find a local stockist to find them for yourself, check out the stockist page here.
Interested in making a Christmas welcome sign for your front door? Check out this adorable gingerbread mould! The simplest ways are often the best!
Merry Christmas!
How to Make Indoor Christmas Decor Instruction Video
You can find more video tutorials on my Youtube Channel
If you loved this project, you’ll love these projects too:
Pin it for later – Christmas Decor Indoor Ideas
Did you make these christmas decor crafts?
I love seeing what you do. Please mention @teaandforgetmenots and share your creations with me!

Hi there! I'm Rachel Bowyer, a passionate DIY enthusiast with a knack for transforming the old into something beautifully new. With a deep love for furniture painting, refinishing, and the art of crafting. I've been documenting my DIY projects and restoration journey since 2018. I specialise in techniques like decoupage, stencilling, and decor transfers. Join me as we explore the world of creativity and home improvement, one project at a time.
I am in love with the star and heart ornaments. So creative!
Did you make the wood stars and hearts? I like the thickness of yours.
If I want to cut my own, what size were your pieces?
Thank you for taking so much time to share your creativity.
Thanks for your kind words, Nancy. I didn’t make them, although they are a lovely chunky thickness. The stars are 8cm point to point and 1cm thick (3 inches and .4 inch).
Great ideas Rachel; I’m suddenly craving a hot cup of cocoa so you’ve done your job lol!
Thanks, Sara. Marshmallows do have that effect!
I love using transfers and these are really beautiful. I love how you used them to create such a festive, and tasty, area in your home! Thanks for sharing…now I’m off the shop!! 😉
Haha, it’s hard to say no to them!
These are all beautiful and I’m heading over to check these images out. Gorgeous pieces! Pinned
Thanks so much, Cindy.
I usually have a hot drink station too. Love the sign! Don’t know why I haven’t thought to use those special jars for our marshemllows! from Holiday Hop today.
Thanks, Linda. There’s just something more fun about those lids!
Rachel, I got those same transfer packs and I love all of the projects you made with them – absolutely lovely!
Thanks, Kristin. Yes, I thought your Santa looked familiar! It’s such a beautiful set.
So cute!! Such a great idea with so many good tips in this post!!
Thanks so much
Oh my goodness Rachel I love these transfers. I wonder if they are available in Canada? I love all the projects you made!!! So pretty and festive!
Thanks, Crystal. They’re available in the UK, so I’m sure there will be Candian stockists too. Iron Orchid Designs is based in the US.
Hi Rachel! I absolutely love the IOD transfers and would love to try them out! Each of your projects looks fabulous! Thanks for the inspiration and happy holidays!
Thanks so much, Donna. Happy Holidays!
So many adorable ideas with transfers! I love them all! I need to get busy with some of these ideas! Thank you!
Thanks so much Mary Anne.
Love the hot drink station sign. It would be really cute for a Christmas party. Might need to get that transfer and finally give one these a try!
That would be great for a party, especially coupled with a Prosecco sign nearby!
Rachel, all of these projects are so pretty! I think my favorites are the ornaments, and you’ve inspired me to try some myself! Thanks so much for sharing!
Aw that’s great, thanks Kim. Can’t wait to see what you create.
All are great but I especially love the cocoa bar sign. It’s that touch of old-fashioned and retro to fit in during Christmas and all of winter.
Thank you, Rosemary, that’s exactly how the cocoa station feels.
Rachel, so nice to meet you. Your Hoy cocoa bar is lovely. I love all the elements that you created for it. Great creativity. I love your galvanized planter. I love to make transfers with my Cricut. It looks so festive with the poinsettia – which we always have at Christmas in the states.
Ah that’s good to know that they’re traditional there too. Nice learning about what is normal for other people’s Christmasses.