Easy DIY Halloween Porch Sign for Scary Porch Decorations
Looking for a DIY Halloween porch sign to add to your scary Halloween decor? Perfect to welcome (or not!) guests to your front porch this Halloween.
In this DIY project tutorial, I’m going to show you how easy it is to make Halloween signs.
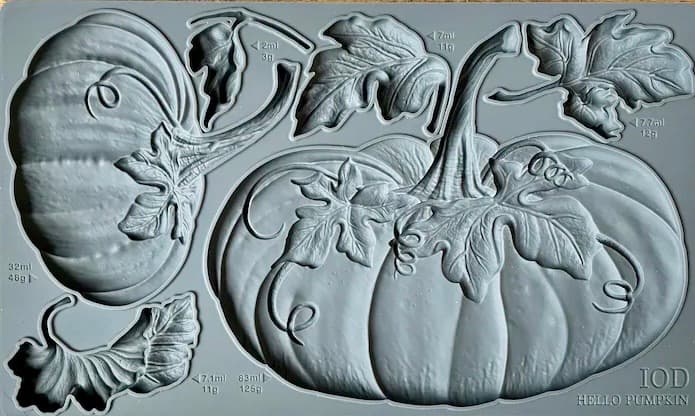
Thanks to Iron Orchid Designs for gifting this mould.
You could make a wooden porch sign as a cute way to welcome the season. Or, what I’m doing, create a decoration for a spooky Halloween porch.
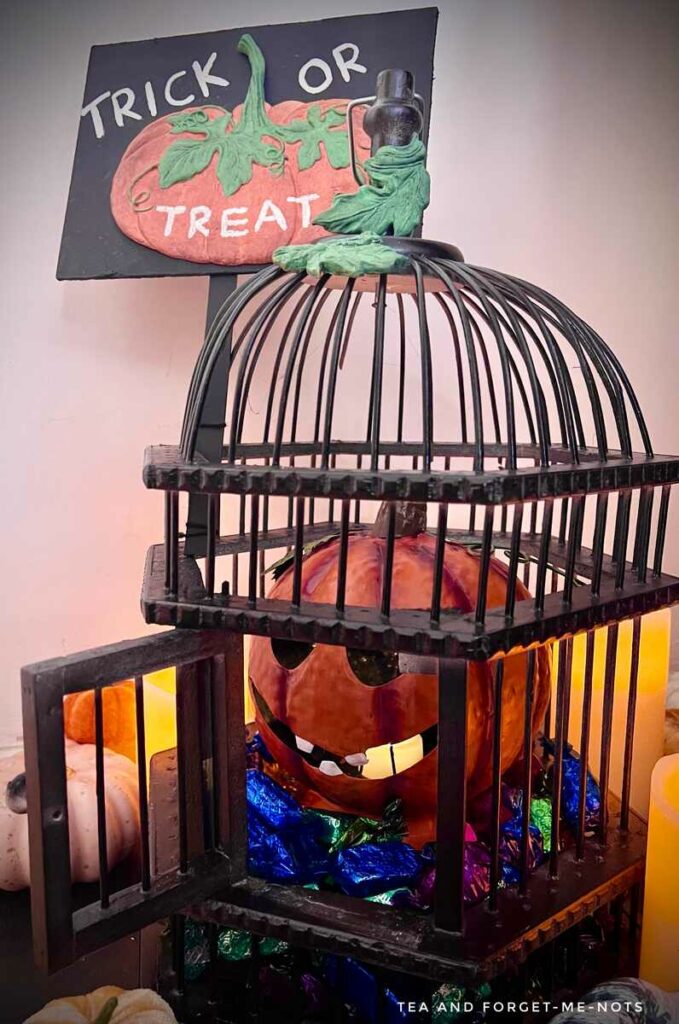
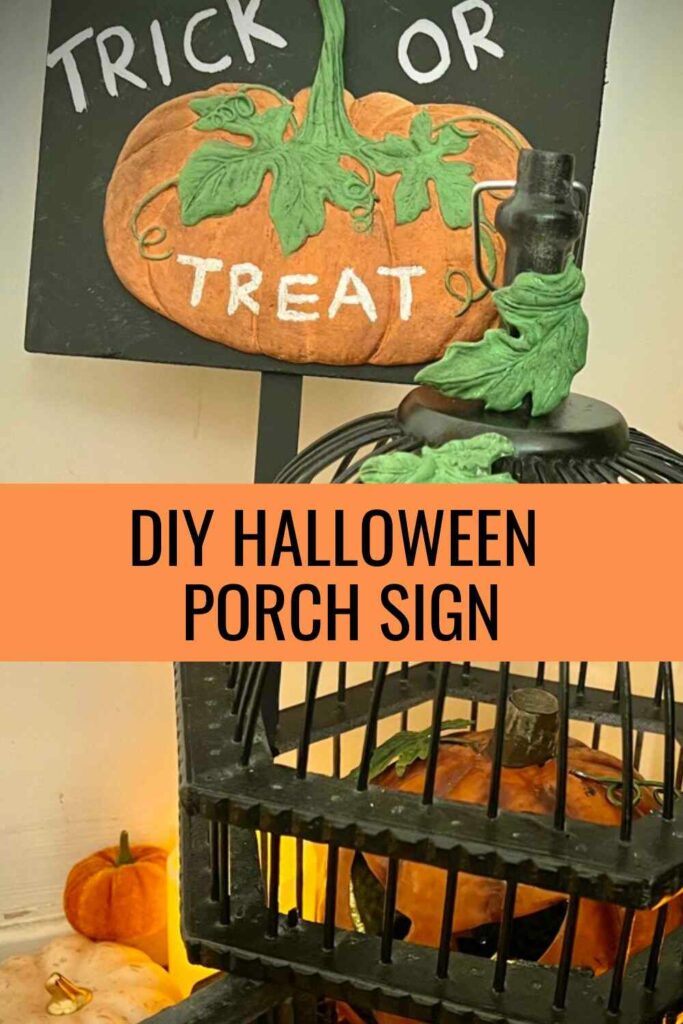
I went for the scary option because I had an unused bird cage which would make great spooky decor. As soon as I saw the bird cage, I knew exactly what my plan for this Halloween sign would be.
Rather watch the video tutorial instead of step-by-step instructions? I’ve got you covered! This video tutorial guides you through the process of creating a pumpkin sign.
This post includes gifted products and affiliate links so you can easily find the products I use myself and recommend to friends. If you purchase these products, I may earn a small commission at no extra cost to you.
How to Make a DIY Halloween Porch Sign Step by Step
Materials Needed
Step by Step Instructions
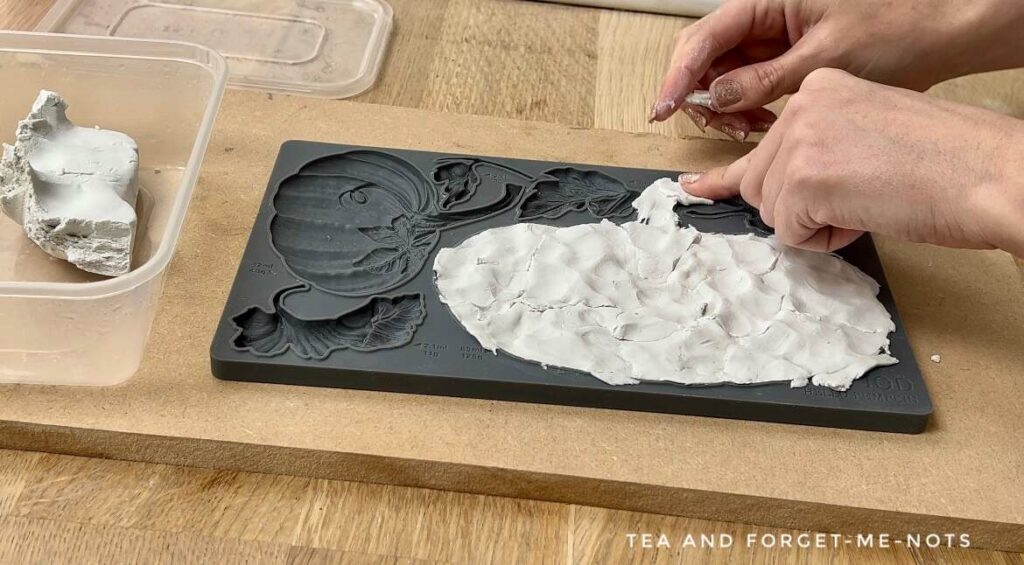
Step 1: Make the Mould with Air Dry Clay
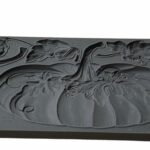
For this Halloween wood sign, I’m using Iron Orchid Designs’ pumpkin mould.
You can use various materials such as hot glue or resin to create moulds. For this one, I used air dry clay. It is really soft and therefore gentle on your hands.
Some clay can be quite stiff which can make your hands ache.
It’s helpful to add cornstarch (cornflour in the UK) to the mould first, to help it release easily.
There is a guide next to each object on the mould as to how much material is needed. For example, the big pumpkin requires 125 grams of clay.
This is a great way to plan for how much clay you need before you make your project.
Once you’ve filled in the shape of the object, you then need to fill in the mould to the top. So that the clay lies flat against the rim. Then smooth it out with a rolling pin or brayer.
This gives you a flat surface to attach to a wood board to make a sign.
Step 2: How to Remove the Clay from the Mould
You don’t need to wait for the clay to dry before removing it. It can come straight out. You simply turn it over and peel back the mould to help release the object.
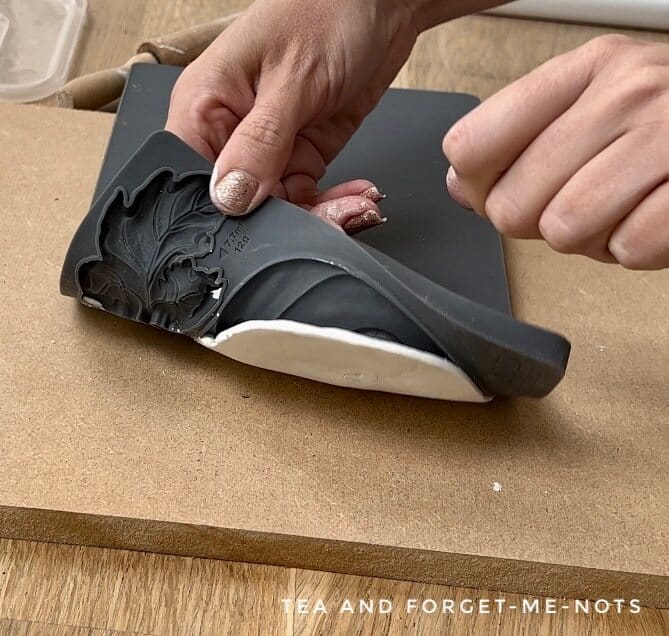
I found removing them a little bit easier with these gingerbread characters. Maybe because of the longer shape or because I used cornstarch first.
Either way, it was still a simple process.
Step 3: When to Paint the Clay
You can paint the clay moulds any time after 30 minutes. Or wait for them to dry completely.
Clay often cracks a little bit, so for these scary Halloween decorations, I waited until they were dry. Then I could see whether I needed to fill in any cracks before painting.
Fortunately, the pumpkins stayed in great condition and I didn’t have to use extra clay to fill in any gaps.
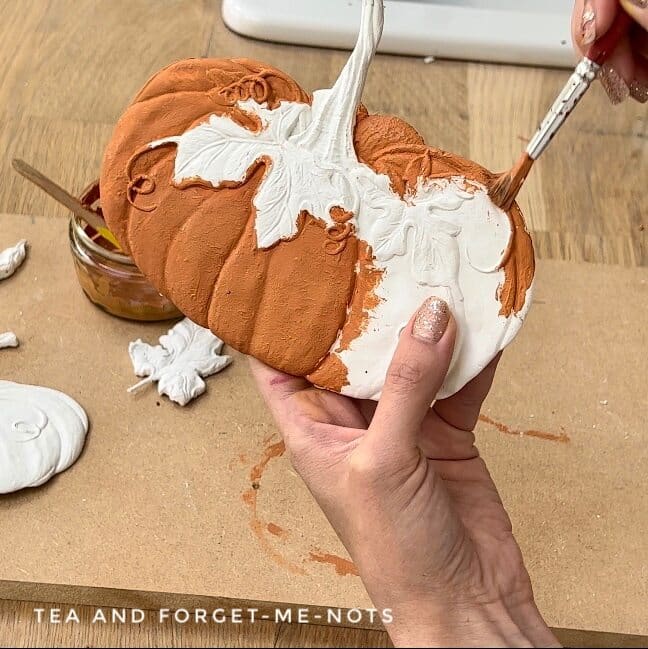
I didn’t have a perfect bright orange paint for the pumpkin.
So, I mixed together a yellow paint called Daffodil and an orange paint called Marigold. Then also added a small bit of Bougainvillaea red to make it more vibrant.
Step 4: Paint the Pumpkin Leaves
I also made the small pumpkin mould. This was so that I could test the best colours to use on the main piece.
For the leaves, I chose the brightest green option, Kudzu. As it would stand out the most on a dark Halloween night.
Fortunately, I only needed one coat of paint for both the orange and green.
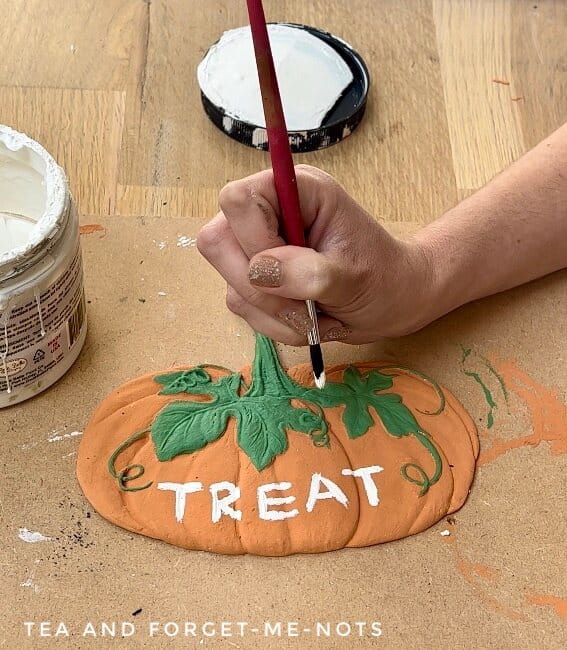
The next step was to add the words ‘trick or treat’ in white paint. I did this by hand for a homemade feel.
But you could use a Cricut and make vinyl lettering for more accurate and even letters.
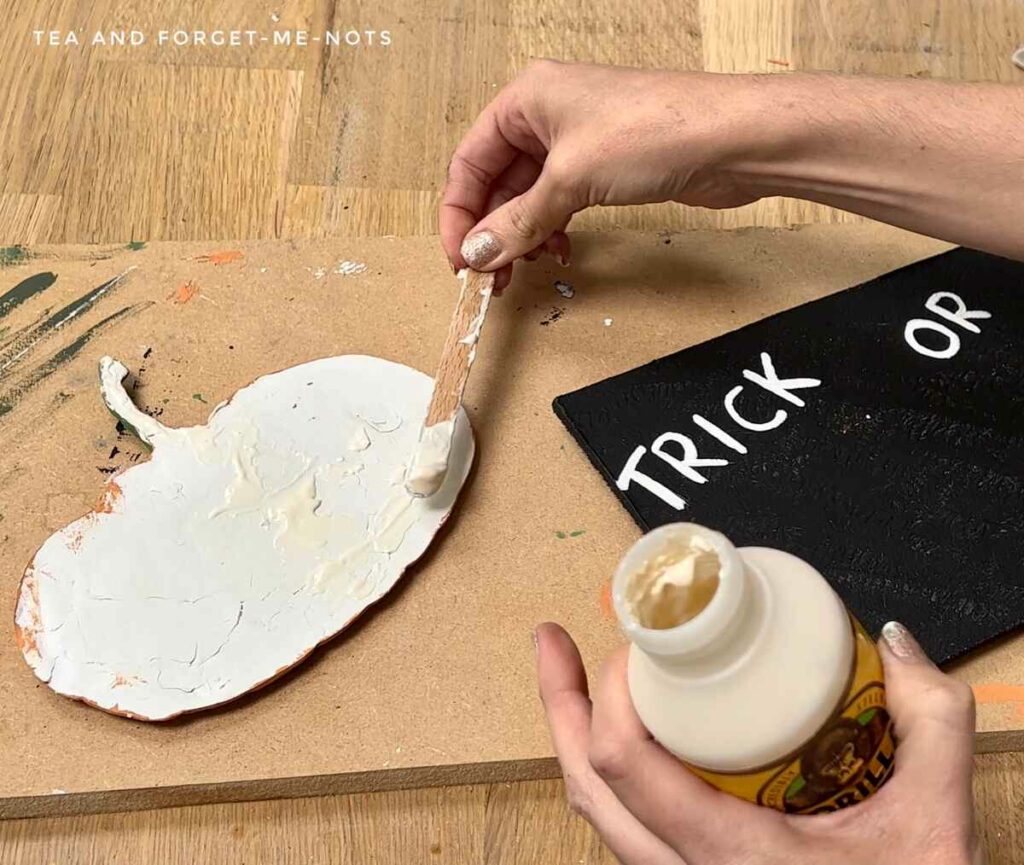
Step 5: How to Attach an IOD Mould to Wood
You can use wood glue to attach the clay to the piece of wood.
I used Gorilla wood glue and spread it out with a lolly stick. Then weighed down the pumpkin with a heavy object until it set.
As I wanted this attached to a birdcage, I also added some scrap wood to the bottom for the signpost.
So I could remove it easily, I secured the signpost to the birdcage with a simple string.
If you want this to be invisible, you could even use something like a fishing line.
Step 6: Seal Clay Paint on an IOD Mould
As I used clay paint, it was important to seal it. Because clay paint is vulnerable to water if not sealed.
To be efficient, I chose a sealer that would also give me a more interesting finish.
I did an initial coat of clear wax. Then used black wax on top to add dimension to the pumpkin.
Clear wax is important before adding black wax because it helps you remove it if you add too much.
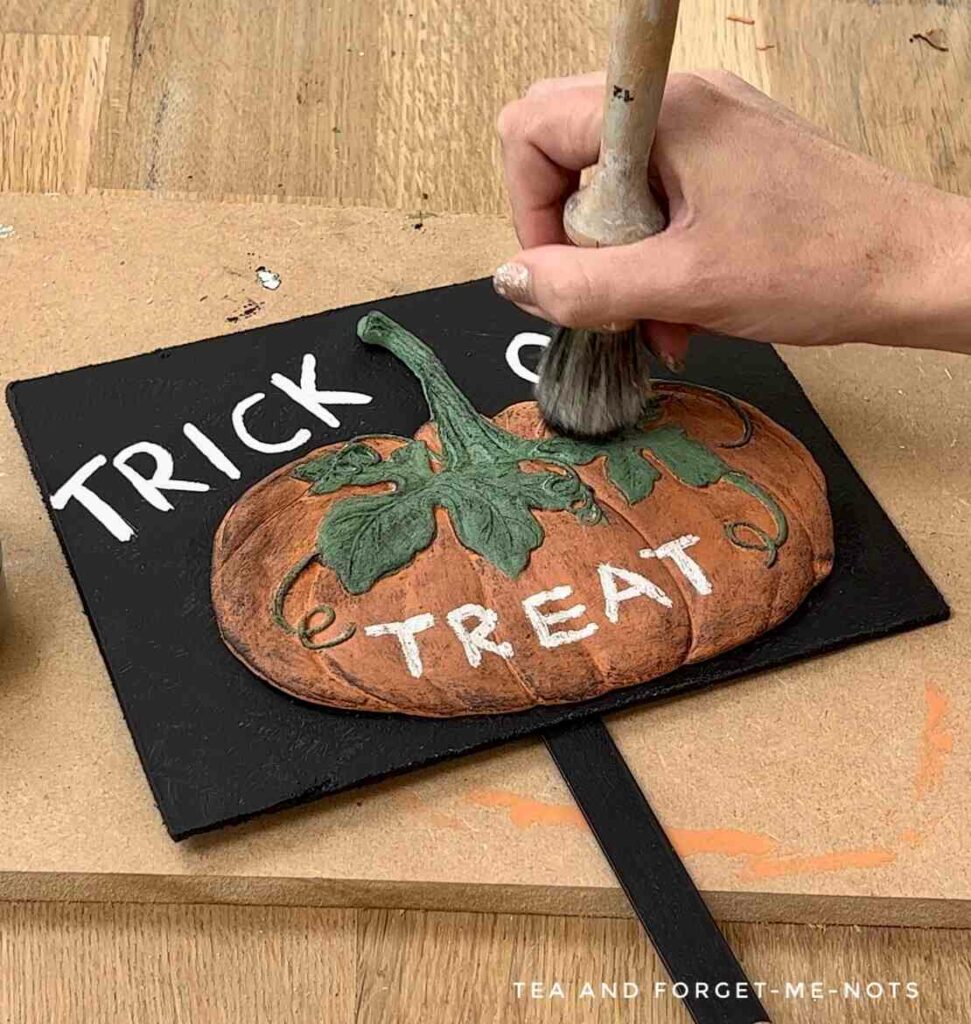
To start making the sign, I found some old wood board and cut it to size based on the pumpkin mould. I chose black paint for the background to have the biggest contrast with the orange.
Step 7: Paint a Bird Cage for Halloween Decor
Then onto the birdcage part of my Halloween decor. The birdcage was slightly broken which was perfect for the scary Halloween vibe.
I used black paint in a spray can and covered the birdcage with three light coats of paint. It’s important to do light coats so that it covers evenly and adheres well.
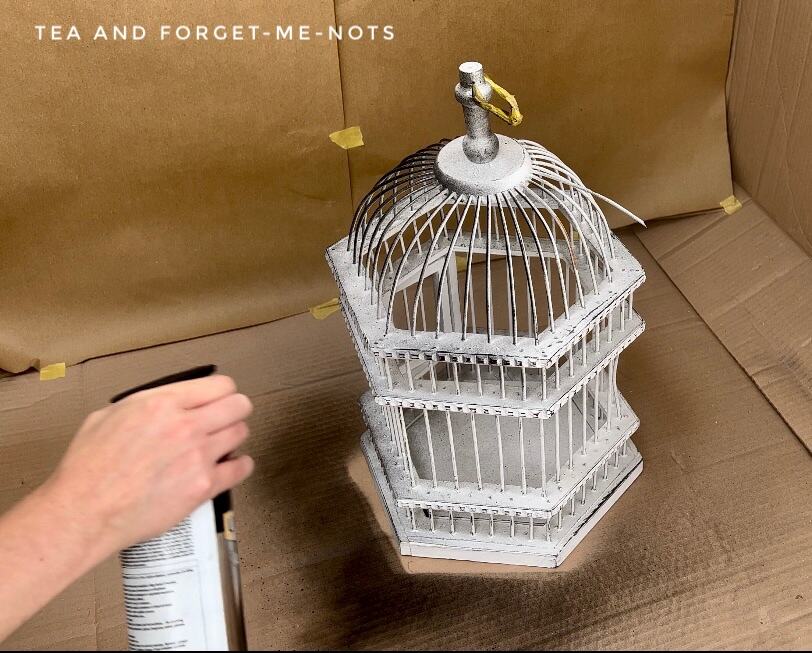
Spray paint is a good option for something with so many details and spindles like this birdcage.
DIY Halloween Porch Sign Decor
I’m using the birdcage as the candy holder for my front porch. To decorate it, I added a faux Jack o lantern with tea lights in the middle.
Then surrounded it with chocolate.
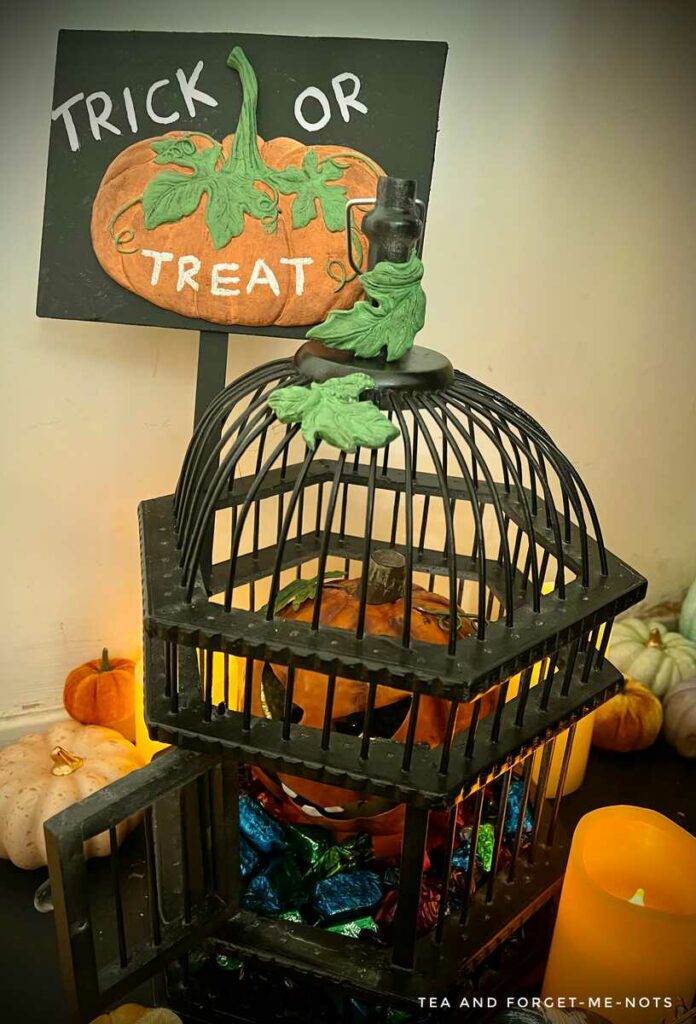
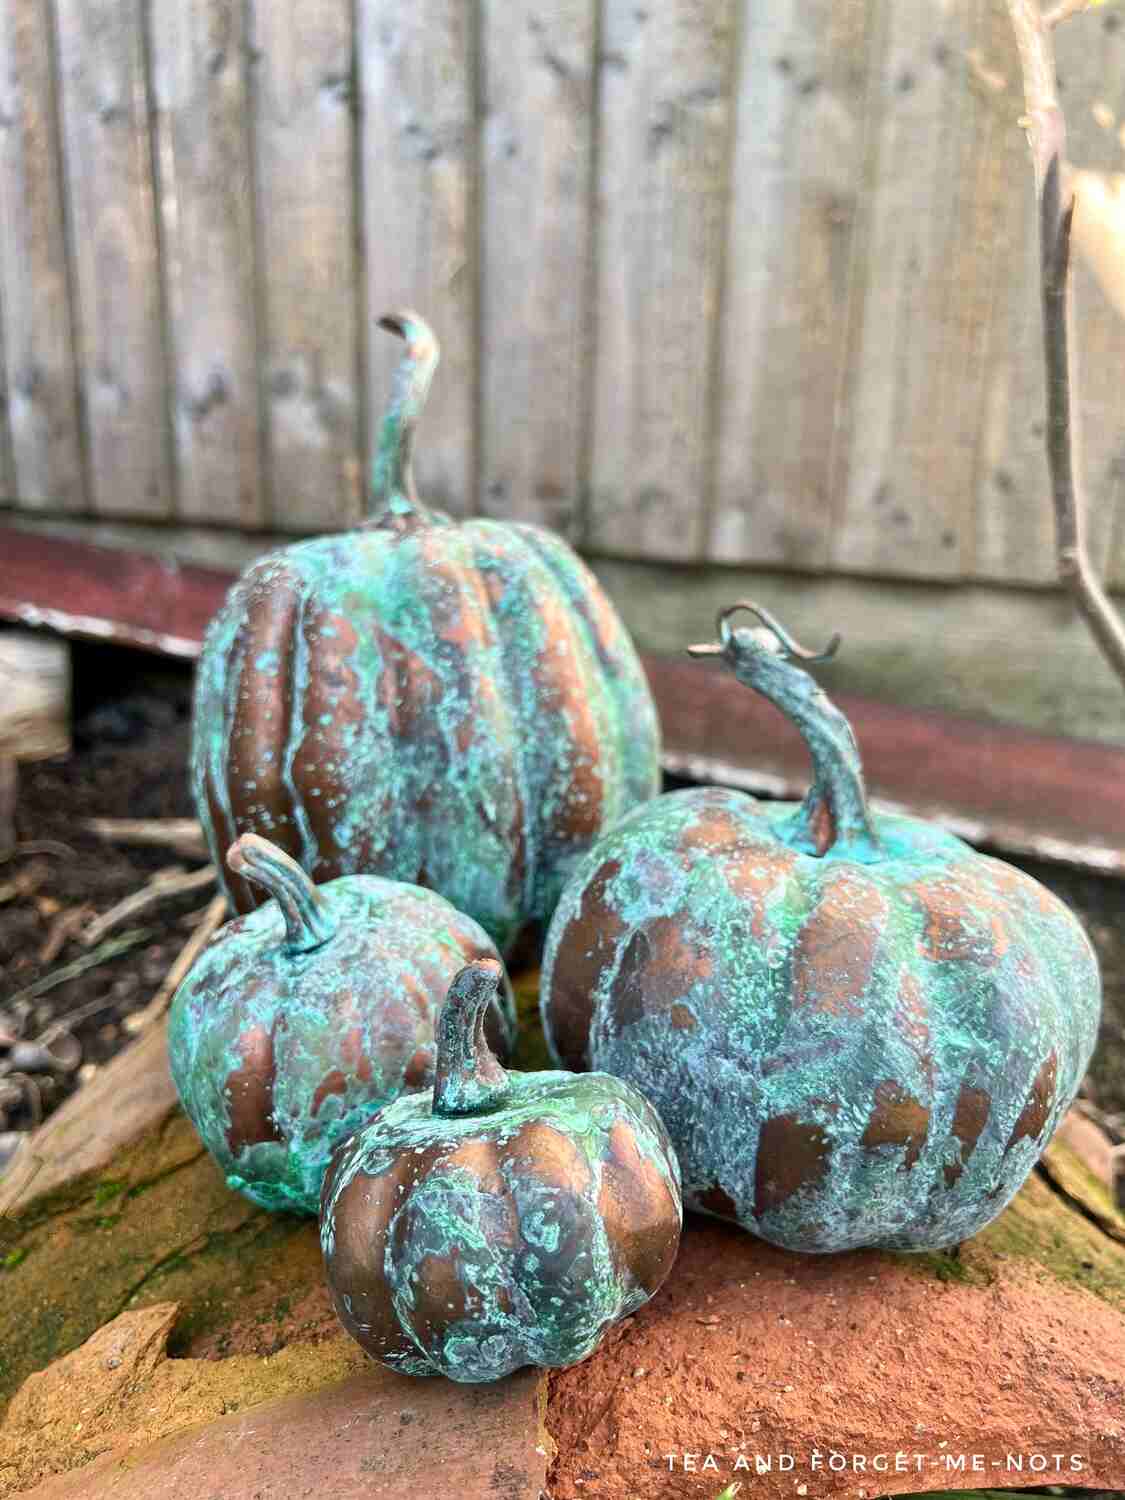
I also surrounded the birdcage with different sizes of faux pumpkins and LED candles.
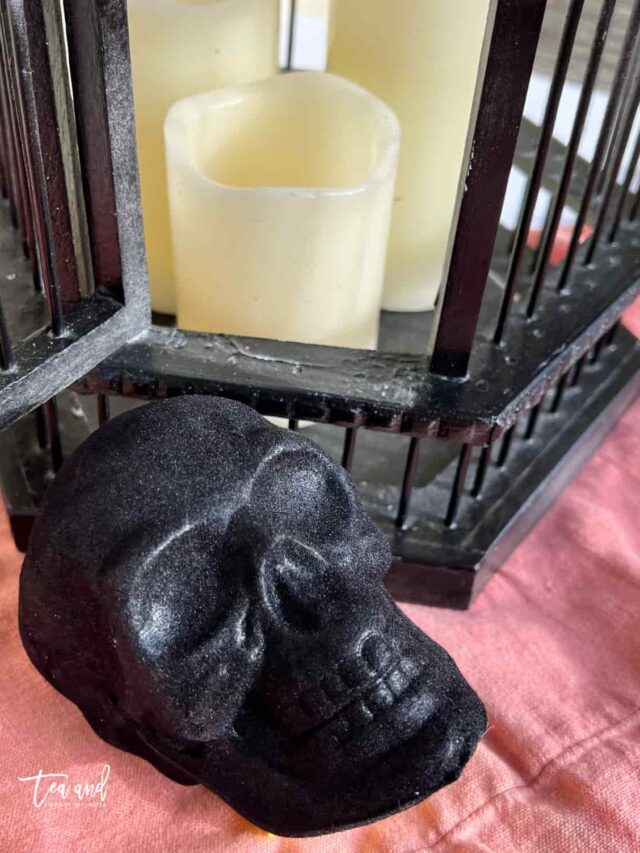
Other things I considered adding to the birdcage are spooky Halloween decorations, such as spider webs and plastic spiders. It’s versatile enough to be able to change it up each year.
It was so much fun creating these Halloween porch decorations. There are endless things that you can create for Halloween porch decor ideas, both scary and sweet.
There are many other ways that you could use this mould for outdoor Halloween decor ideas. You could create a cute front door wooden sign saying ‘Welcome to Our Patch’ or ‘Hello Pumpkin’.
You can decide on which cool idea you want to try out to leave a lasting impression on your Halloween visitors.
How to Make a Pumpkin Sign Instruction Video
You can find more video tutorials on my Youtube Channel
My Favourite Supplies
Here are some of the supplies that I used when making this project!
pumpkin mould
Little and large pumpkin moulds for DIY projects.
marigold paint
Base colour for bright orange pumpkins
Kudzu paint
Bright pop of colour for pumpkin leaves
If you loved this project, you’ll love these projects too:
Did you make a halloween sign?
I love seeing what you do. Please mention @teaandforgetmenots and share your creations with me!
Pin it for later – DIY Halloween Porch Sign

Hi there! I'm Rachel Bowyer, a passionate DIY enthusiast with a knack for transforming the old into something beautifully new. With a deep love for furniture painting, refinishing, and the art of crafting. I've been documenting my DIY projects and restoration journey since 2018. I specialise in techniques like decoupage, stencilling, and decor transfers. Join me as we explore the world of creativity and home improvement, one project at a time.