Minimalist Line Art Embroidery Canvas DIY Wall Art
Want the quality of a beautiful image with the handmade look of embroidered line art? Here’s a simple technique of embroidering minimalist line art on a canvas.
Embroidery is simply using a needle and thread to decorate a material. You can embroider a blank canvas, a painted canvas, and decoupage paper too.
Here you’ll see the simple ways to create minimalist line art on a canvas.
As a bonus, embroidery is a great relaxing, mindful activity. By adding simple stitches on top of a picture, you can create something unique and beautiful for your home. And enjoy the relaxing process of making it too.
Especially in the colder months of the year, this is the perfect activity to do sitting down in the evening. You don’t need to think too much so you can still watch TV or listen to something.
Creating unique wall art is always more special than buying something ready-made.
Would you rather opt for video tutorials instead of step-by-step instructions? Here’s a video tutorial on how to create embroidery line art on canvas.
This post includes gifted products and affiliate links so you can easily find the products I use myself and recommend to friends. If you purchase these products, I may earn a small commission at no extra cost to you.
Canvas Embroidery for Beginners Step by Step
Materials Needed
Step by Step Instructions
Step 1: Line Art Embroidery Materials
For this tutorial, we’ll be creating hand embroidery on stretched canvas. A stretched canvas is simply one that has a built-in frame in the back of the canvas.
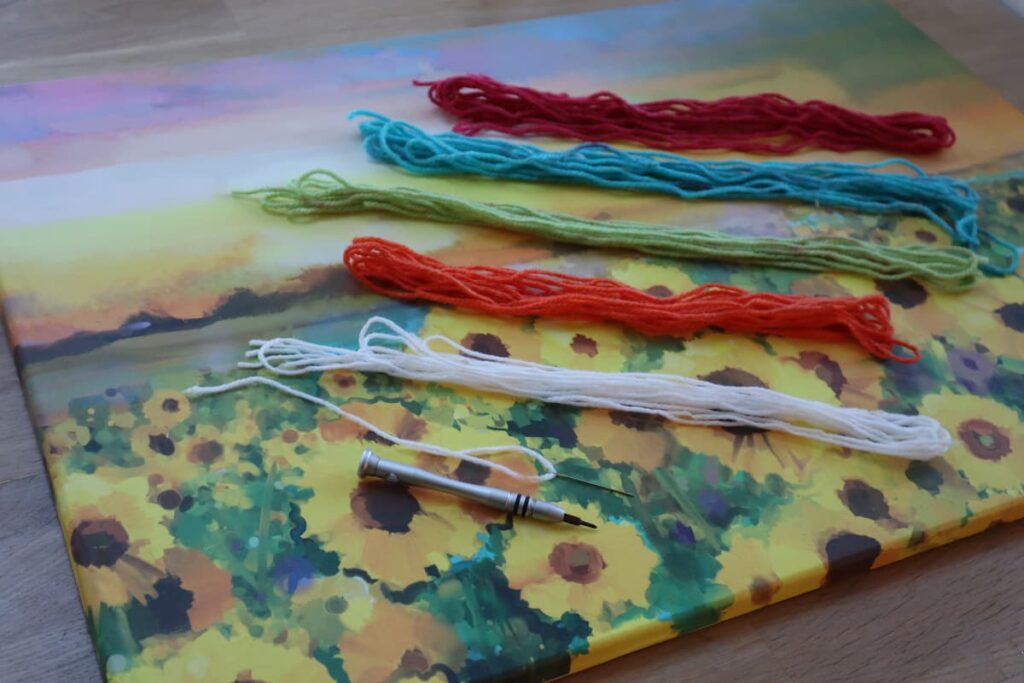
The technique here is using decoupage paper for the image on the canvas. If you find a canvas with an image that you already like and want to embroider, then you can skip applying decoupage paper.
Other than the decoupage paper. You need a needle, thread or yarn and a nail.
Step 2: Apply Decoupage Paper to Canvas
This is the simplest technique you’ll find for embroidering on canvas. It’s beginner-friendly but adds a lovely, homemade touch to your wall decor.
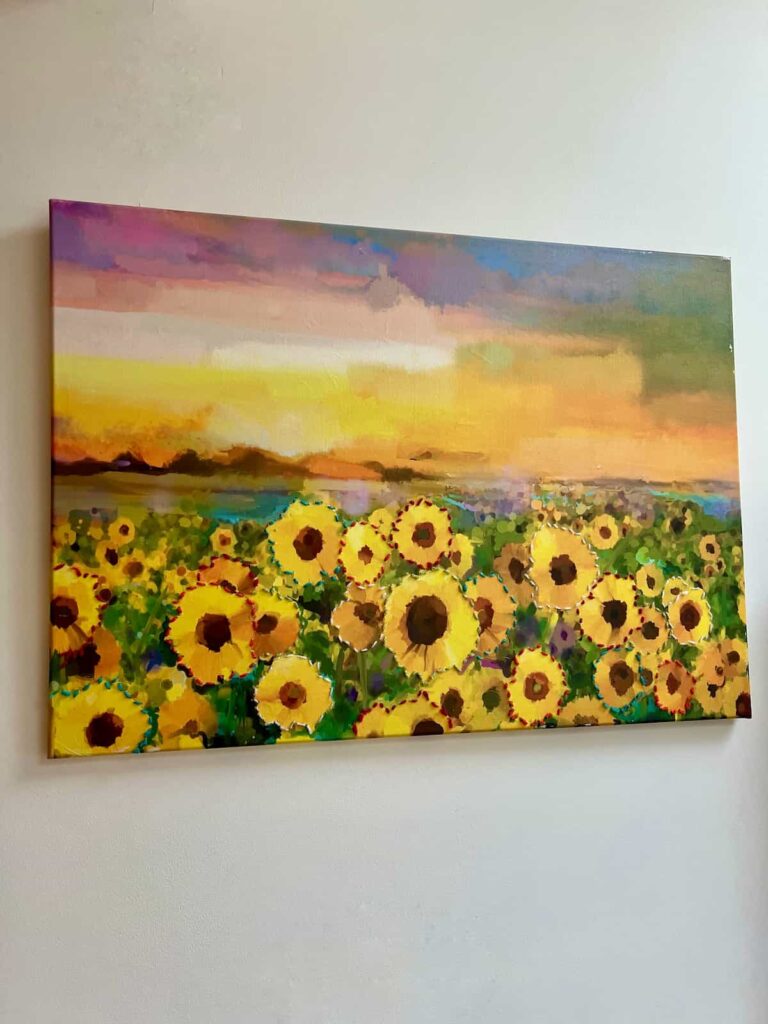
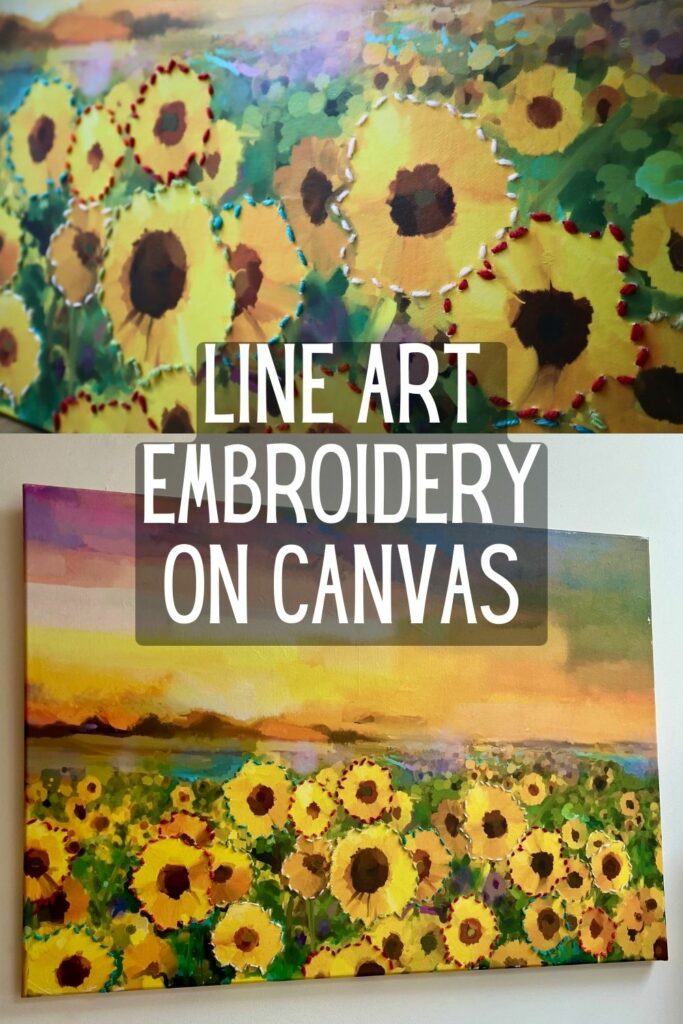
I chose a vibrant decoupage paper called Sunflower Sunset. It’s the perfect pick-me-up in a cold and grey winter.
The paper is quite large at 23in x 33in / 60cm x 84cm, so it needed a large canvas to match. You can use a canvas larger than the image and blend the edges seamlessly with paint.
Such as with this Here Comes The Sun decoupage tutorial.
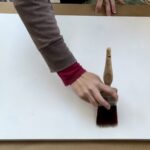
To apply the decoupage paper, first do a layer of clear coat. While it is wet, lay the paper down avoiding as many bubbles as possible. You may need to reposition the paper a few times to help remove wrinkles.
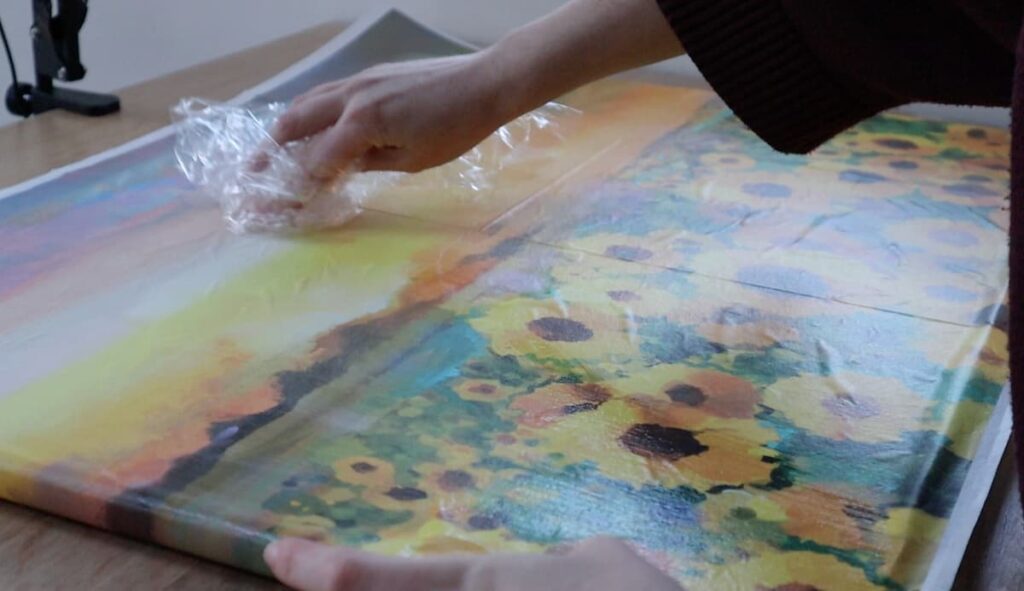
Then to get as smooth a finish as possible, use plastic wrap to gently move the bubbles from the inside of the canvas to the edges. Then leave to dry.
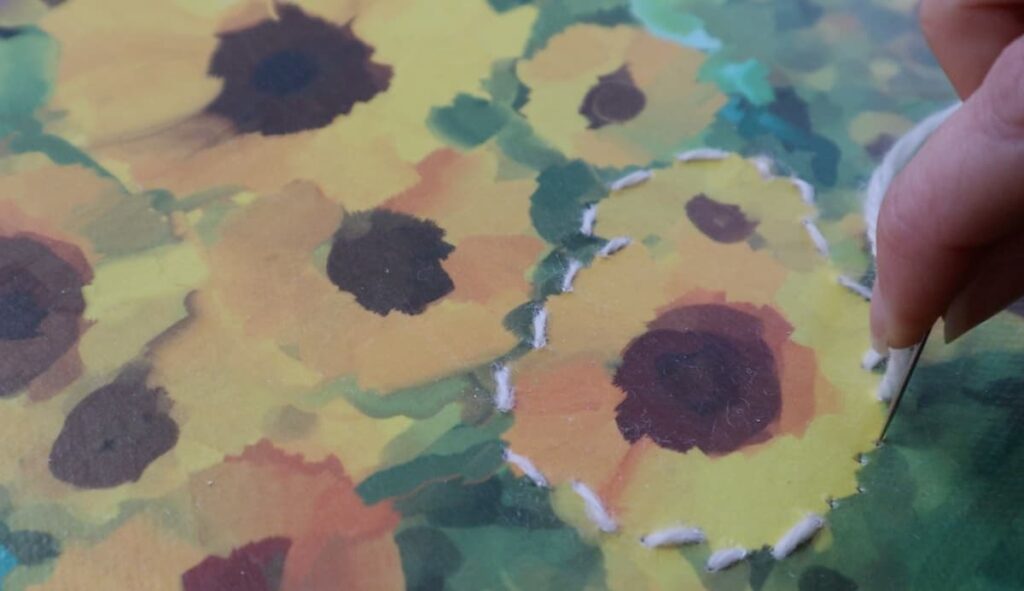
Step 3: Make Holes in Canvas of Embroidery Pattern
I outlined the sunflowers with embroidery. Alternatively, you could create different shapes over the top of the image. Or pencil in shapes you want to embroider on a blank canvas.
It’s possible to simply stitch into the decoupaged canvas with the thread without making any holes first. However, it is more likely to rip the paper as you’re putting it under more pressure.
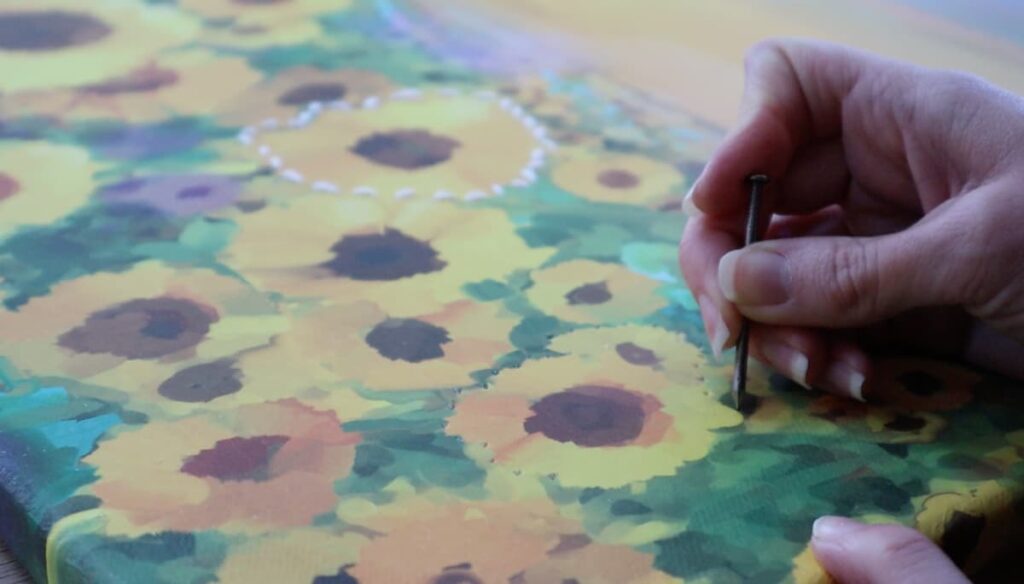
To start, use a nail to punch the holes into the shape you want to embroider.
The style will depend on what stitch length appeals to you. If you spread the holes out at even distances, there will be equal lengths where the thread is and isn’t showing. This makes it more minimalist.
Or you can space the holes out with a big gap and then a small gap. Then more of the thread will be on show with smaller missing sections when the thread is at the back. It creates a different look and both work well.
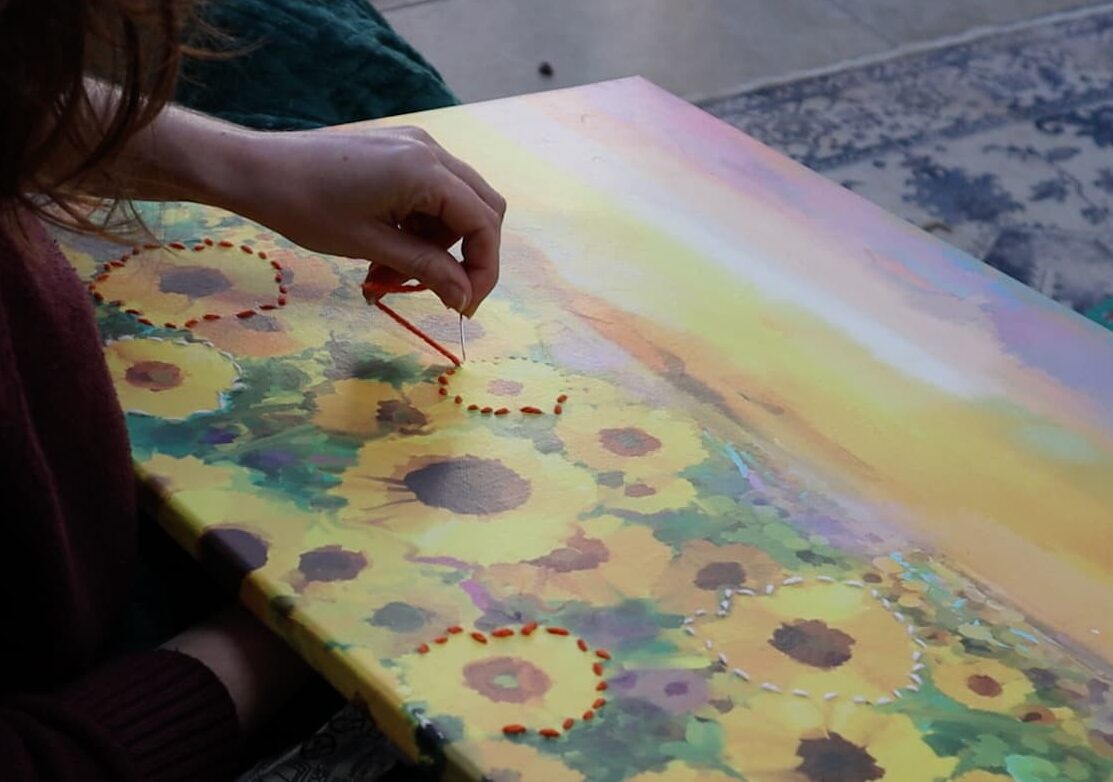
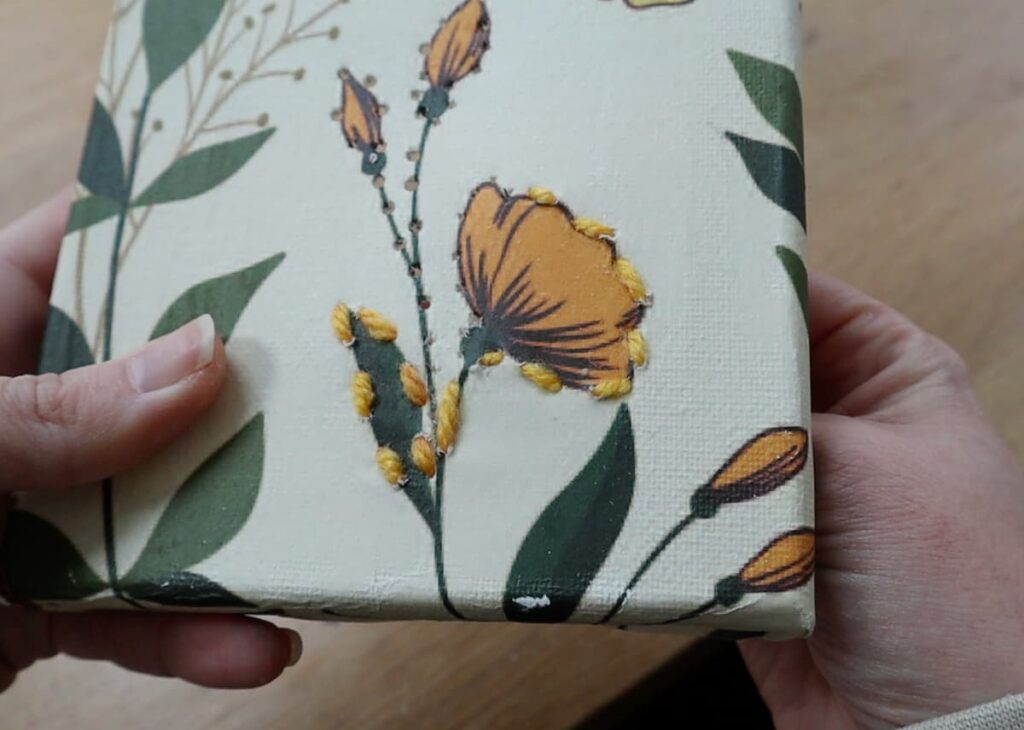
Step 4: Stitch a Minimalist Line Art Flower
Start by knotting the yarn at the end and threading it through from the back.
Canvas is quite forgiving as it is thick. And especially so with the decoupage paper on top. You shouldn’t be able to see the knot, or the back side of the yarn through the canvas.
It’s helpful to start at one end of the image, (when it isn’t round like these sunflowers). Then you reduce going back on yourself and using more yarn than you need to.
When the whole image is embroidered, or you need more yarn to carry on, simply thread it back on itself to secure it.
One lovely thing about this project is that you can sit down and relax while doing it. In fact, the arm of a sofa or chair works perfectly for propping the canvas up while threading it
One thing to consider is the frame on the back of the canvas. It would be difficult to thread in the area of the frame. If you have a canvas this size, it probably has a wooden frame in the middle, as well as around the outside.
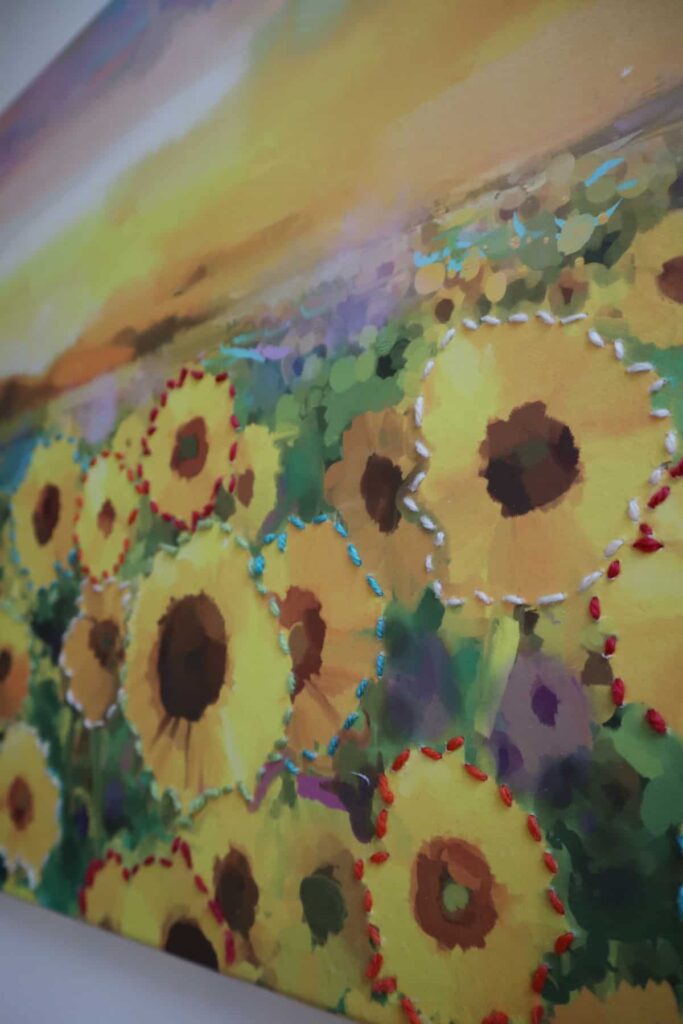
You have two choices. Either stop embroidering where the needle won’t go through the frame. This leaves a minimalist, semi-complete look.
Or, what I did, was glue a few short strands of yarn to the missing areas. To avoid it being too fluffy compared to the taut, threaded yarn, you can add glue first to condense the fibres.
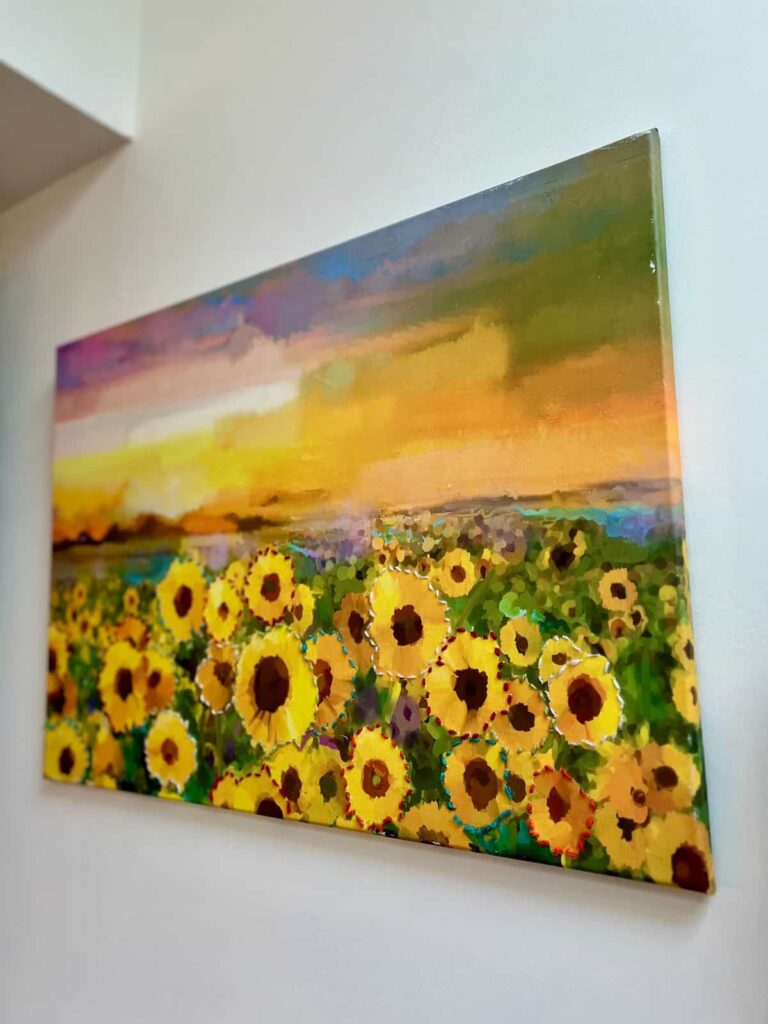
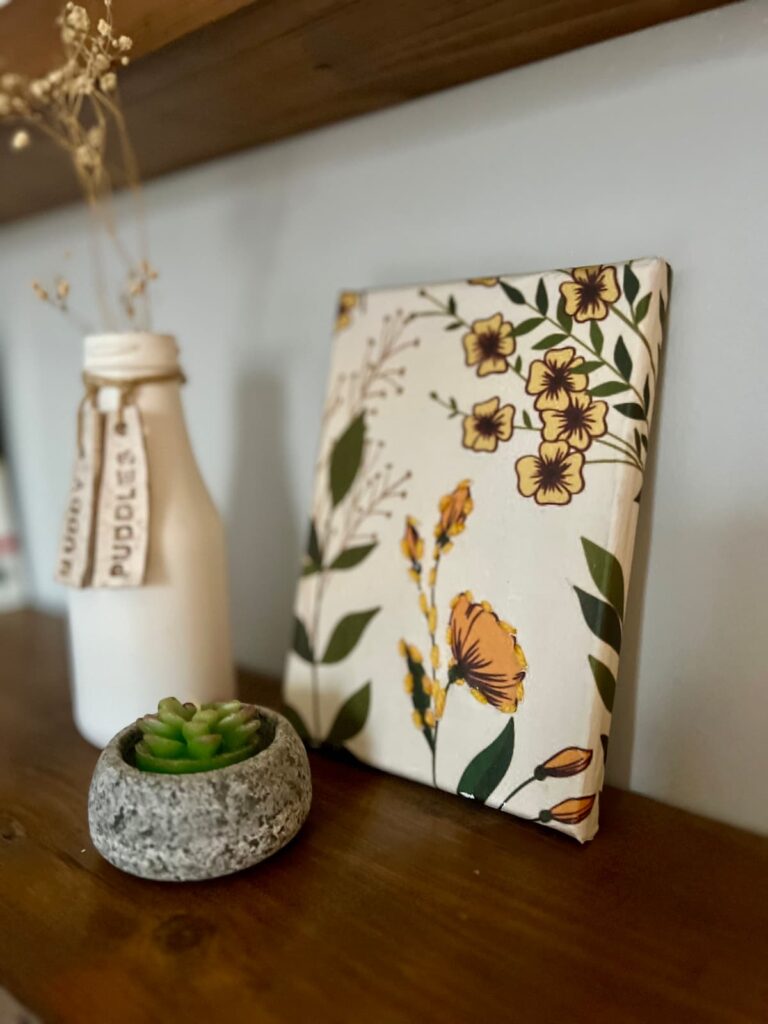
Multi-Coloured Flower Canvas Embroidery Wall Art
This minimalist line art is so colourful and fun. It’s simple to make, vibrant and so versatile.
You would get a completely different feel with a different decoupage paper, a painted canvas or even a simplistic monochrome look.
It’s a great mindful craft. It’s simple enough to do and stay relaxed. And with the added bonus of being able to display it as wall art in your home afterwards.
More Embroidery Wall Art Ideas
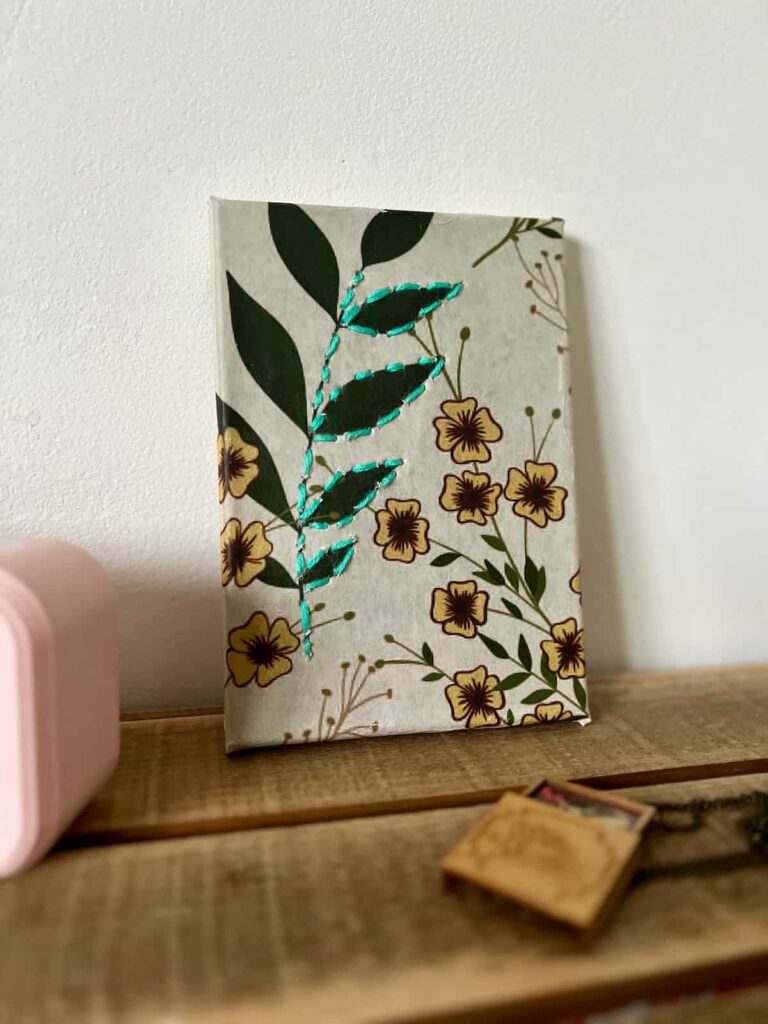
You can do the same technique on smaller canvases for a different feel. Either with matching or contrasting colours to make it cohesive or more bold.
If you want to freehand easy small embroidery flowers, you can simply trace these as a starting point.
Or do the embroidery over the decoupage paper, without glueing it in place. Then remove the paper to keep the embroidered flowers only.
By creating embroidery line art on canvas with decoupage paper, there are endless possibilities for what you could create.
It doesn’t need to be an existing embroidery pattern. You can find an image you love and simply stitch shapes on top of it.
It’s a great way to add depth, texture and visual interest to your wall art.
And have a lot of fun creating something special, while enjoying a mindful crafting activity at the same time.
How to Make a Embroidered Wall Art Instruction Video
You can find more video tutorials on our Youtube Channel
My Favourite Supplies
Here are some of the supplies that I used when making this project!
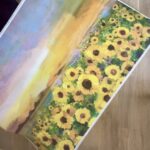
sunflower sunset
Stunning decoupage paper of bright and vibrant sunflowers.
canvas
A blank canvas to apply decoupage paper to or embroider with your own design.
Answers to Your Questions about Making Embroidered Canvas Art
Canvas is a good material for embroidery because it is sturdy. It will hold up well to the pressure of adding the threads. It’s easiest to pre-punch the holes as the material and paper are quite thick.
If you loved this project, you’ll love these projects too:
Did you make this craft?
I love seeing what you do. Please mention @teaandforgetmenots and share your creations with me!
Pin it for later – Minimalist Line Art Embroidery Canvas

Hi there! I'm Rachel Bowyer, a passionate DIY enthusiast with a knack for transforming the old into something beautifully new. With a deep love for furniture painting, refinishing, and the art of crafting. I've been documenting my DIY projects and restoration journey since 2018. I specialise in techniques like decoupage, stencilling, and decor transfers. Join me as we explore the world of creativity and home improvement, one project at a time.
Interesting project!
Thank you