How To Decoupage On Canvas | Easy DIY Technique
Decoupage on canvas is a straightforward creative process that allows you to transform a plain canvas into a piece of art. With just a few essential tools, you can make a stunning canvas for wall art and home decor.
If you’re searching for a fun and versatile craft idea, look no further than decoupaging a canvas.
There are a few tools you need to get the best results: first of all a canvas: your decoupage paper, a medium to apply the decoupage paper to and plastic wrap to smooth it out.
You can use a variety of canvases. Such as painter’s canvas, a canvas bag, or other fabric surfaces. The choice depends on the kind of project you want to create.
How To Decoupage On Canvas Step by Step
Materials Needed
Step by Step Instructions
Start with the Canvas
Canvases can be expensive. So it’s a good idea to look in a charity or thrift shop for one that’s the right size.
In many cases, you will start with a white canvas. In this case, you don’t need to do anything to prep the blank canvas before starting.
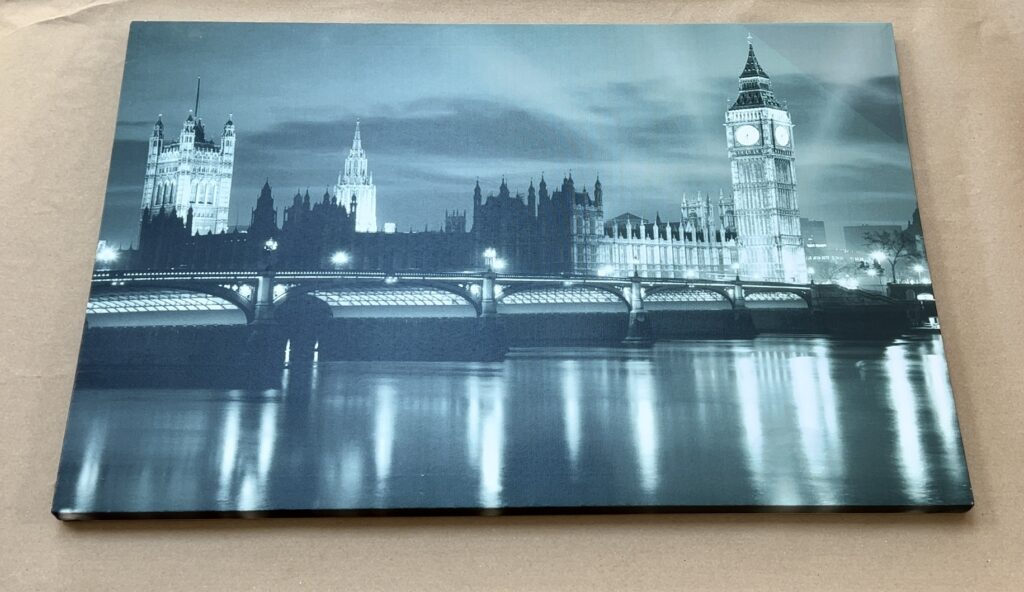
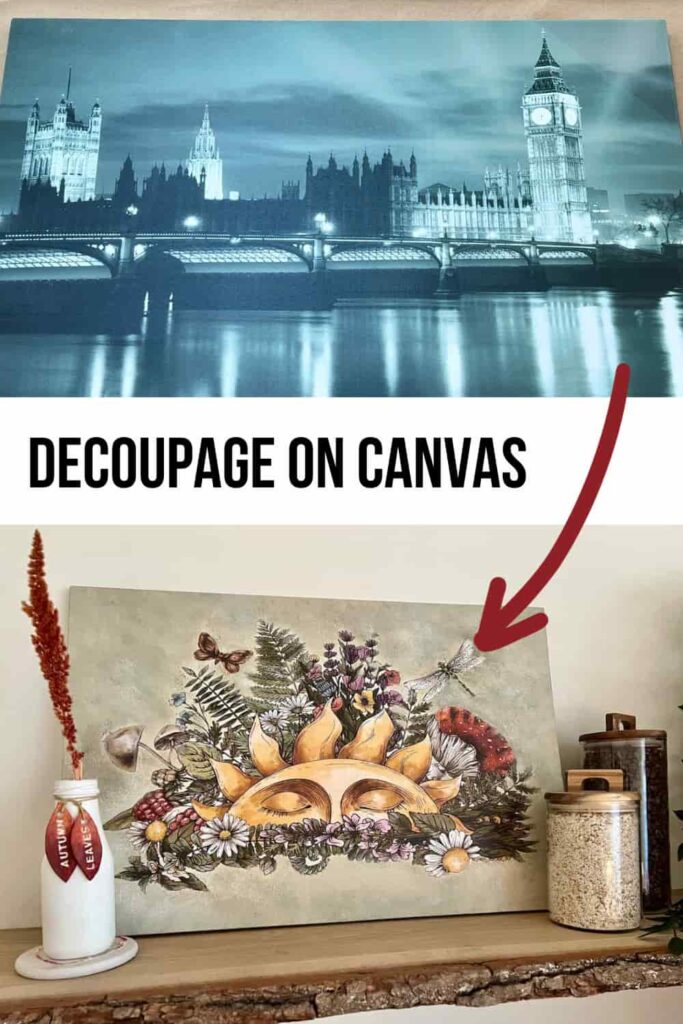
This canvas of Westminster Bridge cost £3 in a charity shop. It was brand new and wrapped up, so didn’t need cleaning.
Choosing The Decoupage Paper
There are so many beautiful papers out there. You can use decoupage napkins, tissue paper, or even print images from an inkjet printer.
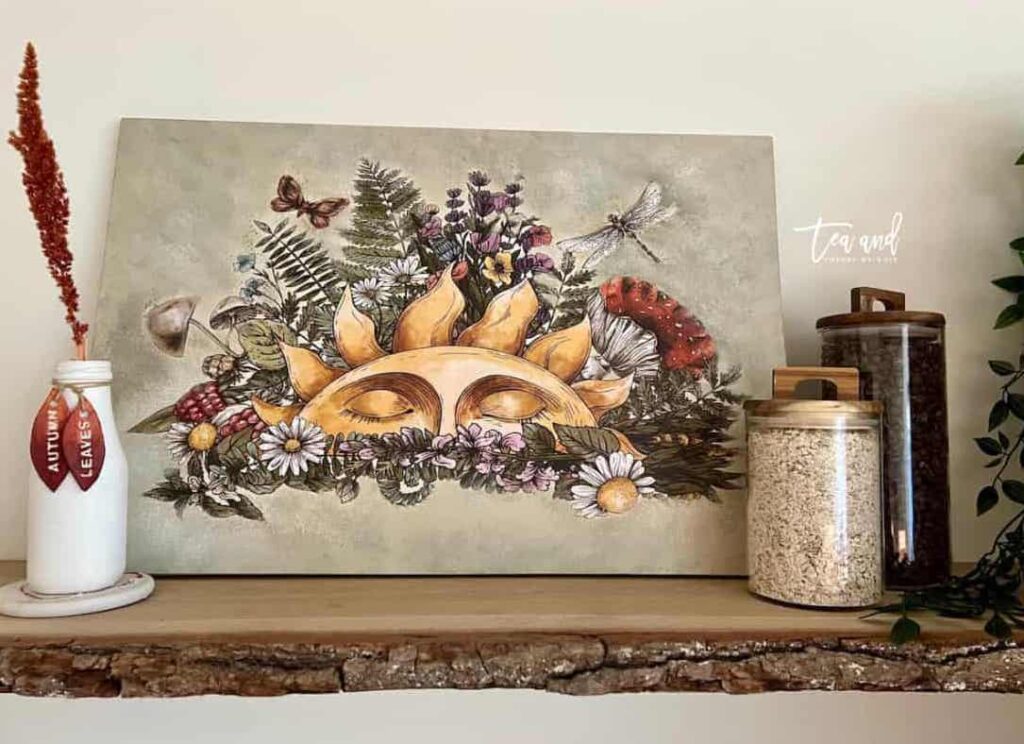
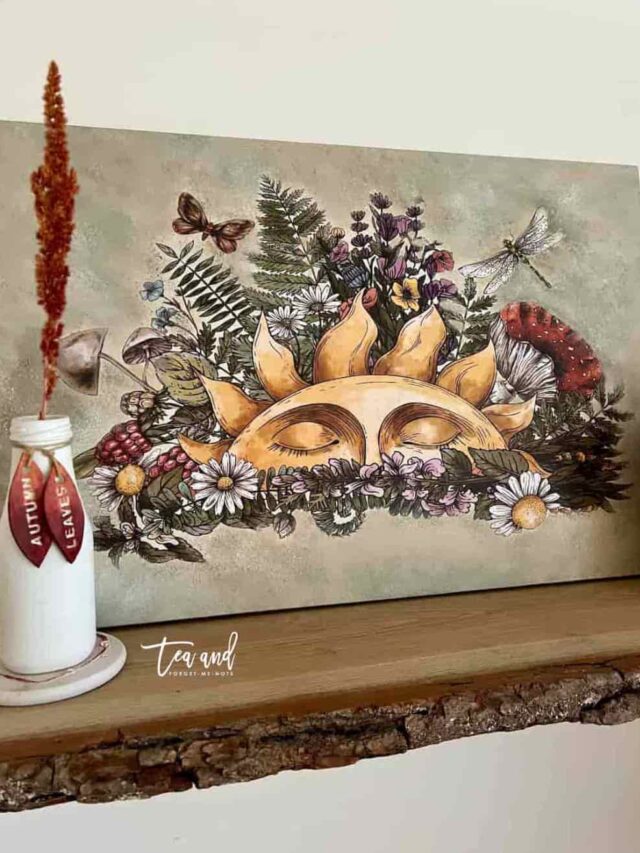
For this project, I’m using the rice paper from Dixie Belle Paint called Here Comes The Sun.
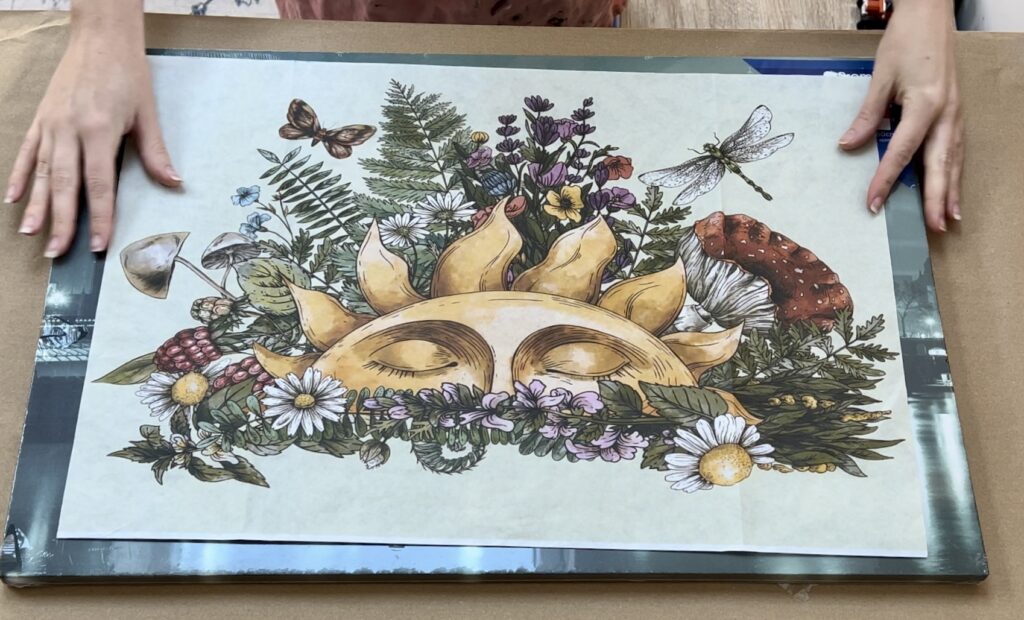
Other than design and paper type, the final choice about your decoupage paper is the size of it. Will it be larger, the same size or smaller than the canvas?
If the paper takes up the entire canvas, then you will need to wrap the paper around the edges of the canvas. You might want to add small cuts to the paper to allow it to wrap easily at the corners.
If the paper is smaller than the canvas, then you need to blend the image into the background with paint. Assuming you want it to look like one whole image.
Preparing Your Canvas for Decoupage Paper
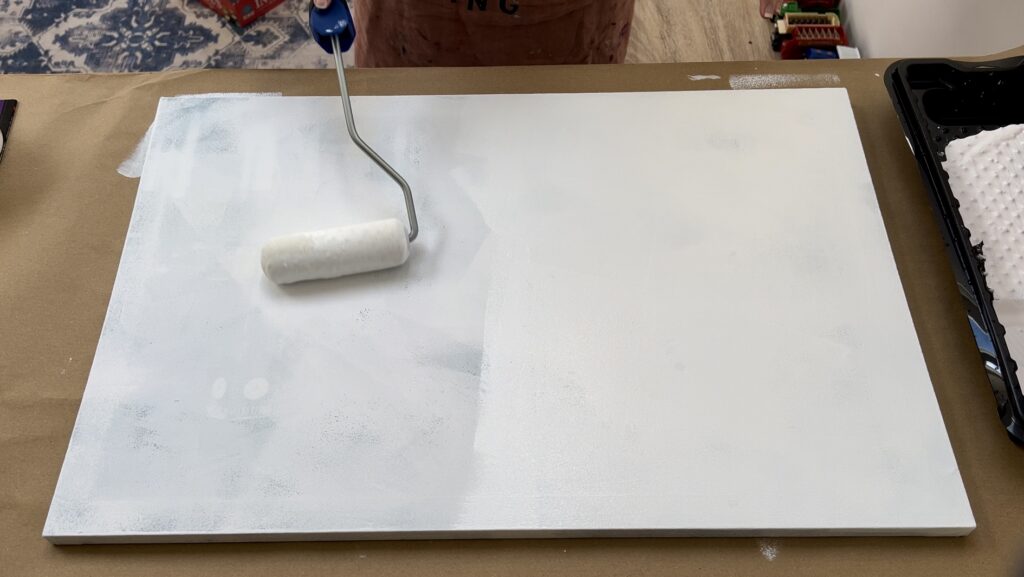
If you are doing a decoupage on a canvas with an existing picture, then you need to hide the picture. For this, you can do two coats of a primer such as BOSS.
When applying BOSS, do two coats, two hours apart. Then leave it to dry for 24 hours before applying the decoupage paper.
Preparing Your Decoupage Images
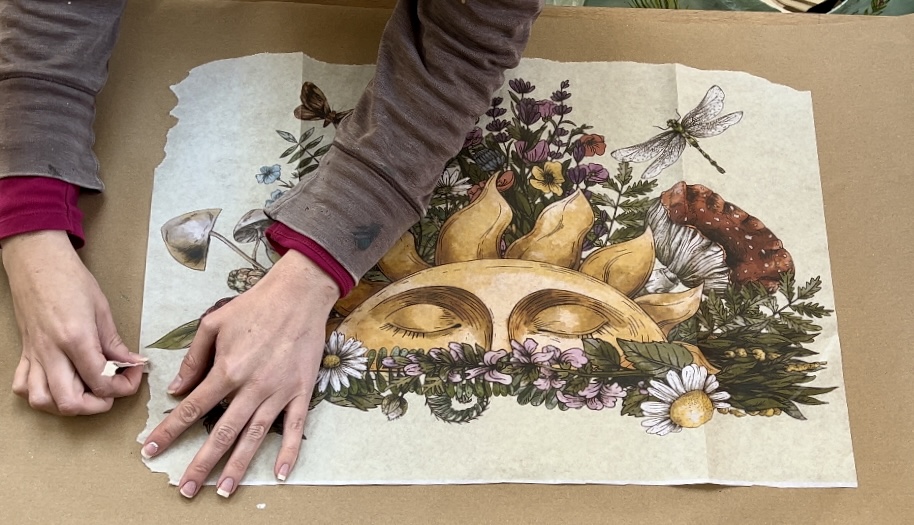
Next, you need to prep your decoupage paper.
Firstly, tear around the edges of the paper. This helps blend the paper into the background. As it is more difficult to disguise a straight line than a naturally torn edge.
Another great way to disguise the line of the paper is to add a texture additive like Sea Spray to your paint.
As this is a decoupage rice paper, you need to use a mister bottle to get it damp. Not wet, only damp. Leave the damp paper to the side while you prep the canvas.
Apply the Decoupage Adhesive
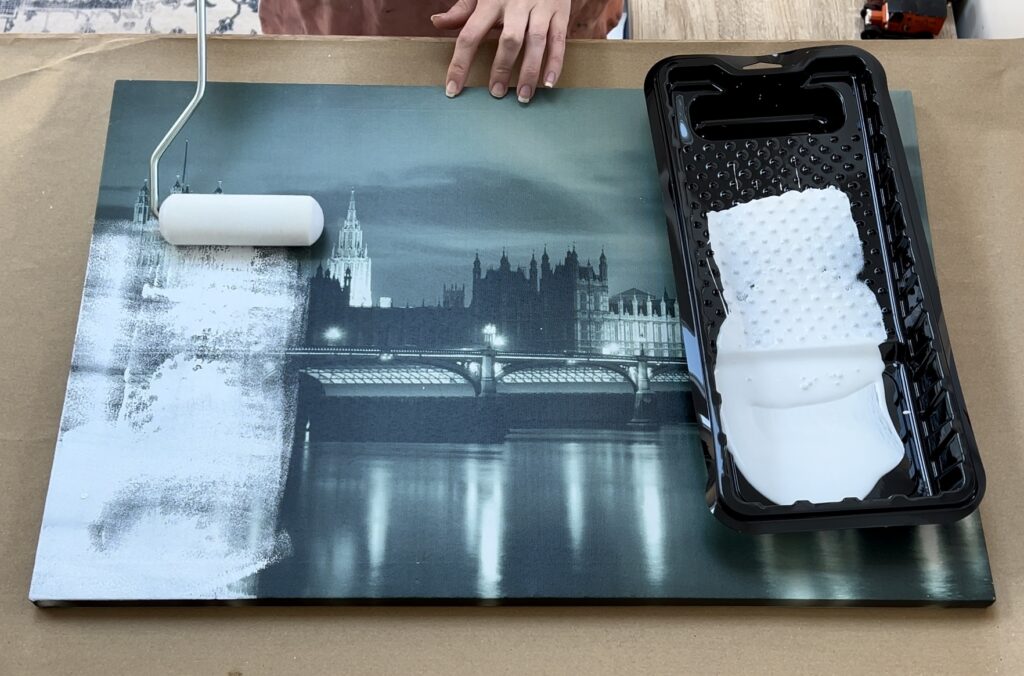
To prep the canvas, you need a decoupage medium. This acts as a decoupage glue and helps the image adhere to the whole canvas.
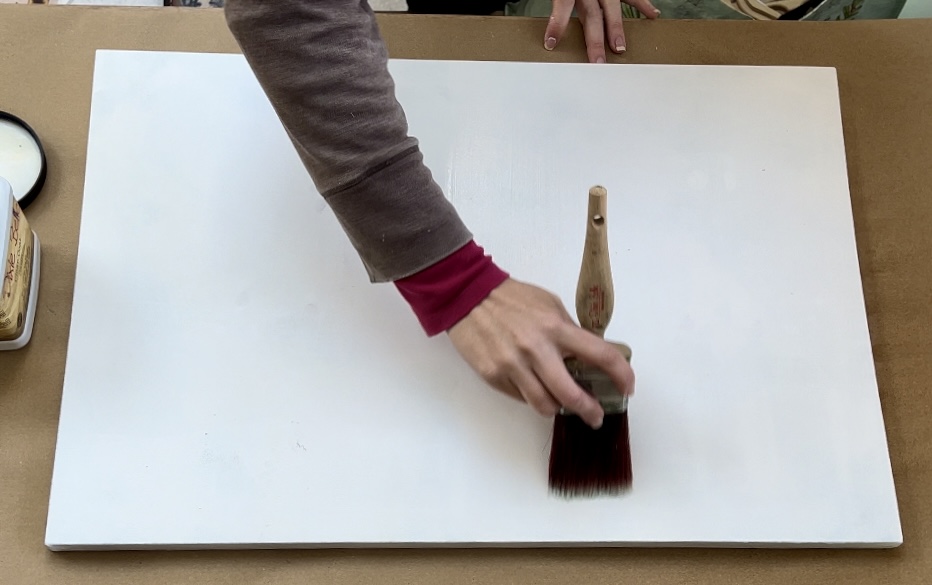
Either use Mod Podge or a Clear Coat sealer for this step. Apply a thin coat to everywhere where the image will be stuck down.
It helps to hold the canvas up to the light to ensure that you have covered the entire area.
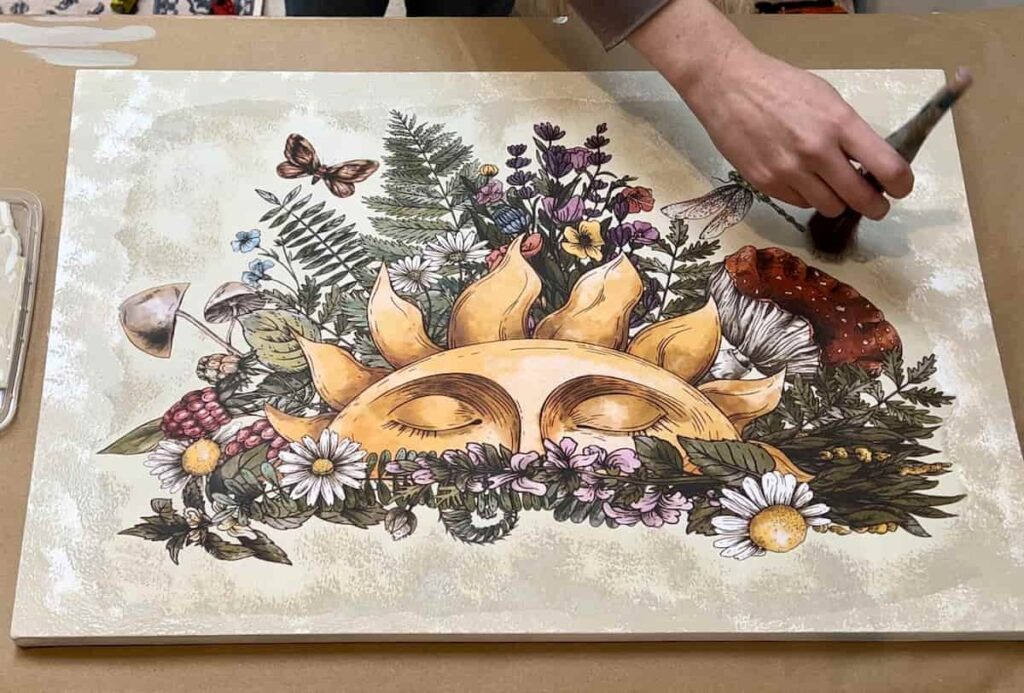
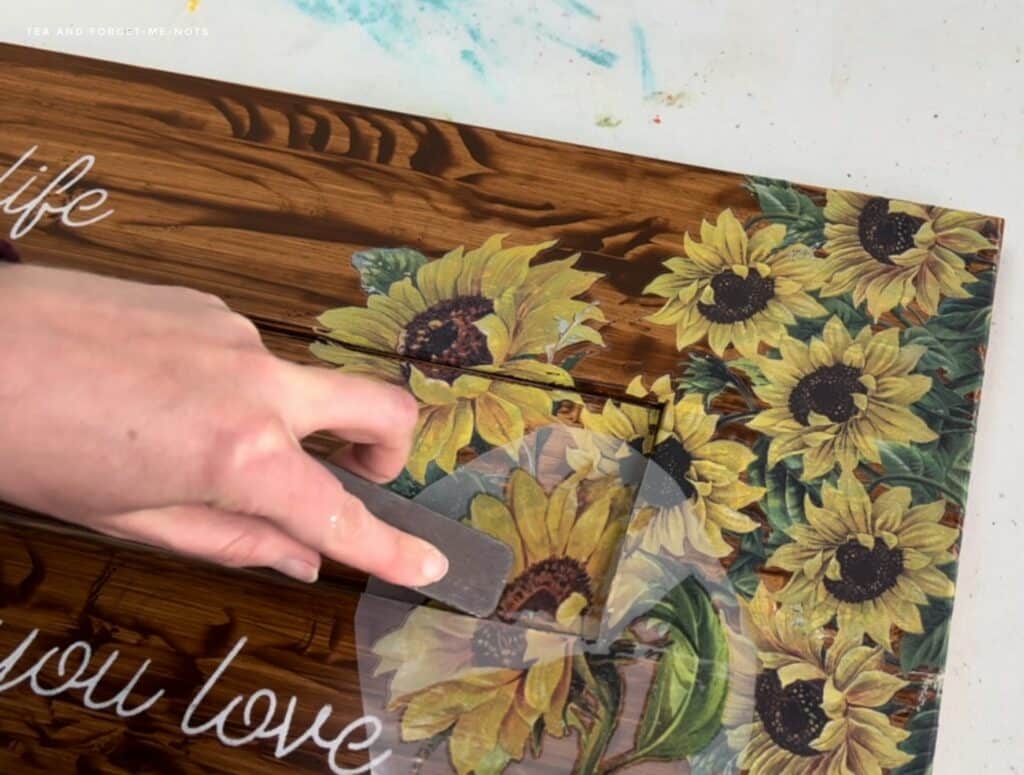
The Right Decoupage Technique for Bubble-Free Results
The best tool for applying decoupage paper without bubbles is a ball of plastic wrap. Plastic wrap has a smooth surface so is less likely to tear the wet paper.
To minimise bubbles, lay the paper down from the centre first.
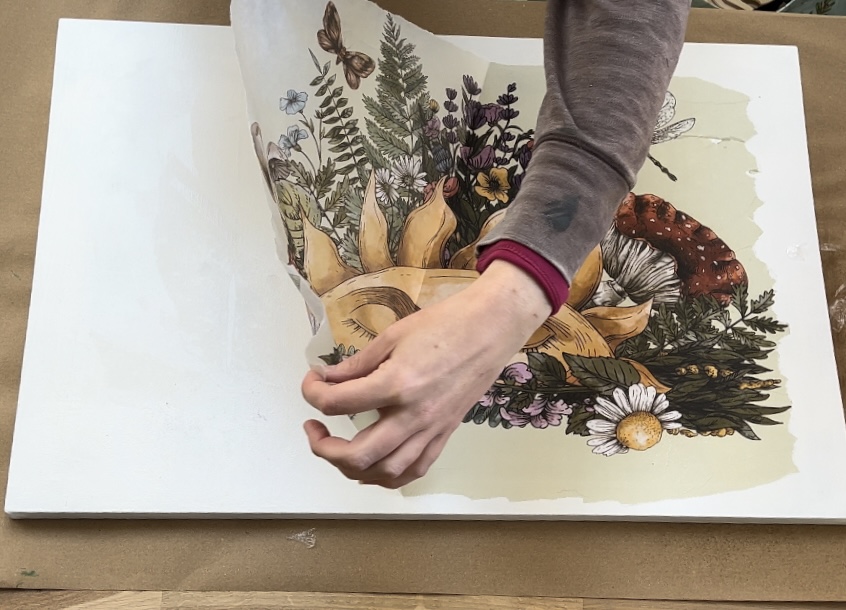
If you get an air bubble, raise that area of the paper and gently push the plastic wrap from the centre outwards, towards the edge of the image.
Once the paper has dried you can use a little bit of sandpaper on the edges of the image. This helps to minimise the roughness, and visibility, of the edge of the paper.
Blending Decoupage Paper with Paint
Layers are key to successfully blending a decoupage paper into the background. One solid colour will make the edge of the paper very visible. By using multiple colours, you are less likely to see the line as the eye doesn’t focus on one area.
To build layers, start with a similar set of colours to the image.
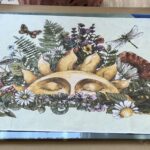
This image’s background was a greige colour. So the base coats were painted with Burlap and Sandcastle. Then add highlights and lowlights to build dimension. In this case, this was with Spanish Moss and Buttercream.
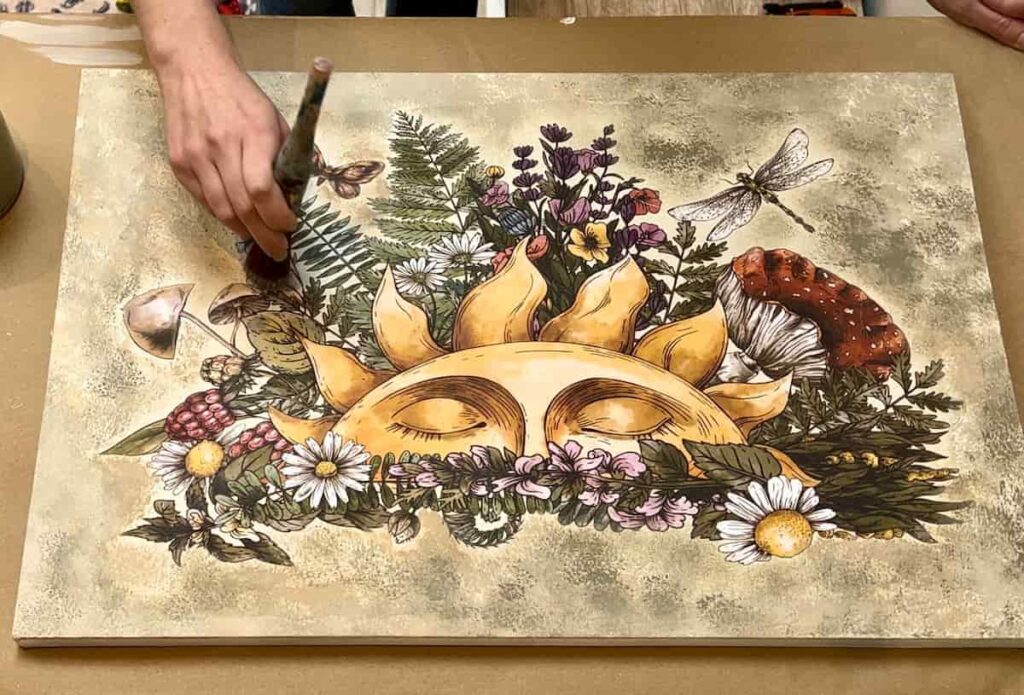
You can blend the paint in close to the image with smaller brushes. And while the paint is wet, if you accidentally paint over the top of the images, you can use a wet wipe to remove it.
Add a Top Coat to Seal Your Artwork
The final step is to seal your entire piece with a top coat. You can do this with the same medium you used to stick the paper down with. This is to protect both the paper and the paint.
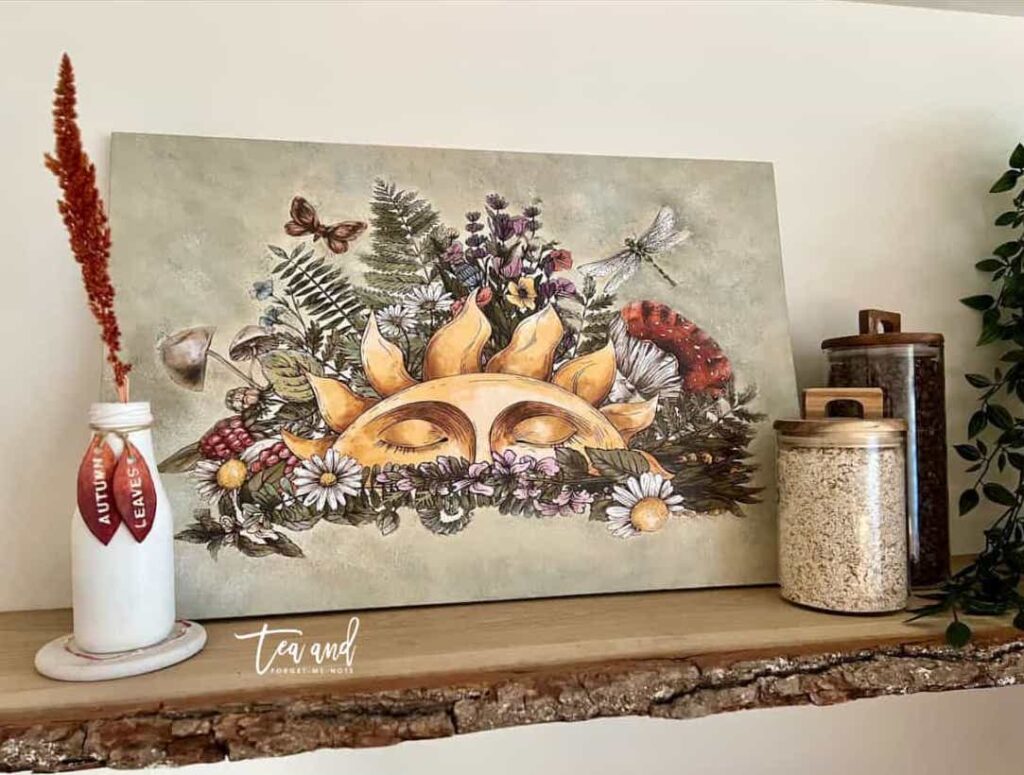
Personalised Wall Art with DIY Decoupage on Canvas
By following these steps and tips, you’ll be well on your way to creating stunning decoupage canvas wall art that reflects your unique style and creativity.
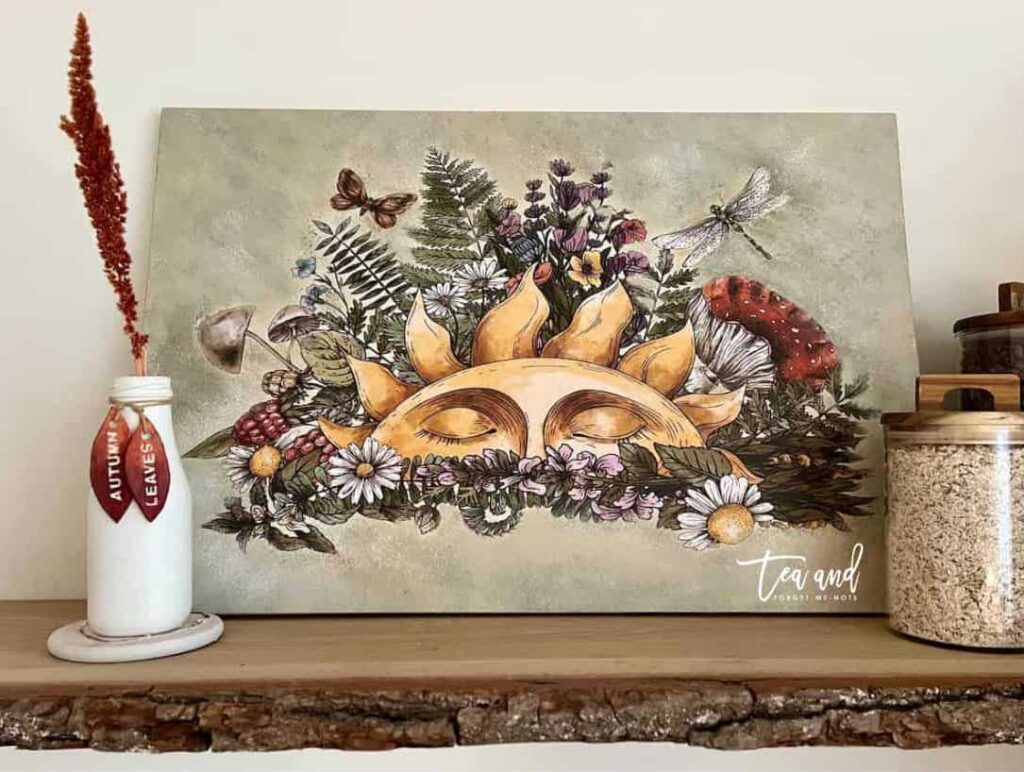
This Here Comes The Sun decoupage paper is so beautiful. Mixed with the greige background, it is the perfect autumnal wall art.
You Won’t Believe This…
As a little bonus, here’s what I found hidden inside this canvas… lights!
You didn’t need to know this to learn how to apply a decoupage paper to a canvas, so it’s a surprise for the end.
When I got this canvas home from the charity shop, I discovered batteries, and then lights within the picture. Curious…
The lights had illuminated the lamp posts within the image of Westminster Bridge.
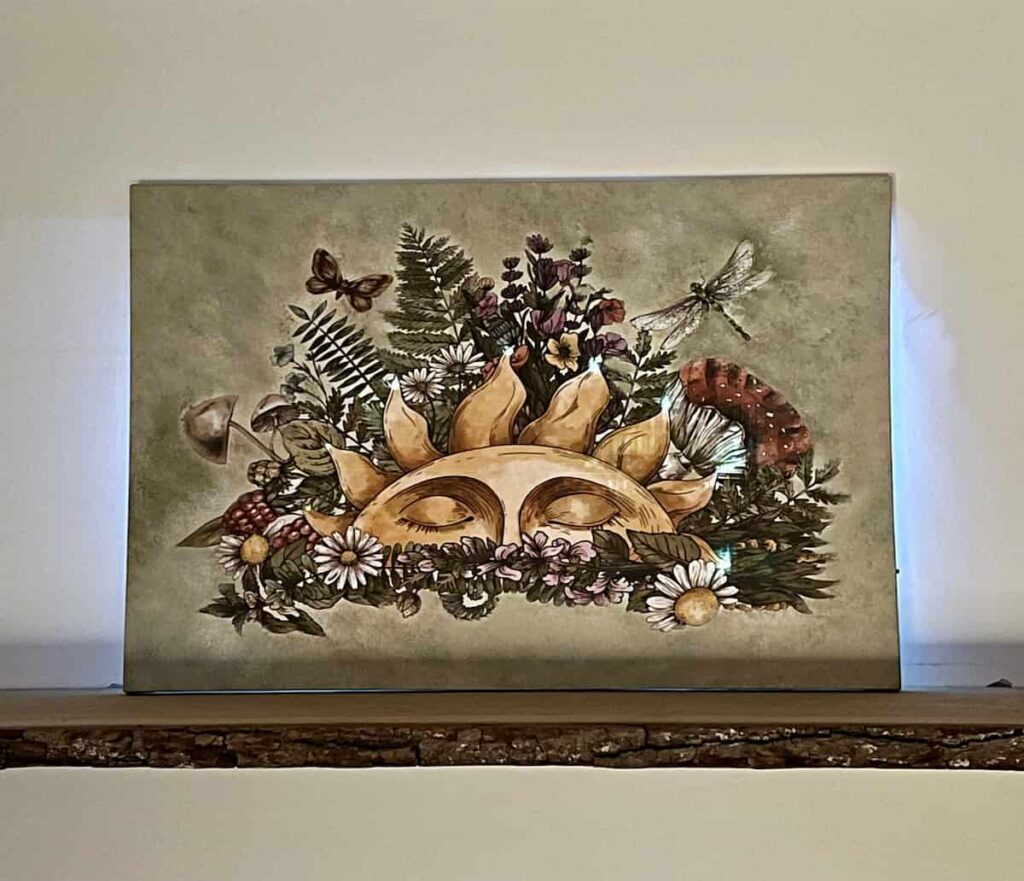
There were 8 lights and 8 sunbeams. Perfect.
I moved the lights to the end of each sunbeam. So, in the dark there’s an extra little sparkle.
Favourite Supplies
Here are some of the supplies that I used when making this project!
Decoupage Paper
Stunning whimsical decoupage paper
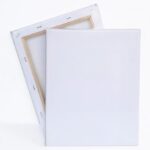
Canvas
A blank canvas to create unique wall decor
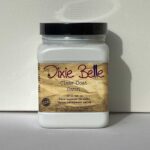
satin clear coat
Both a sealer and base to apply decoupage paper
Answers To Your Questions About Decoupaging on Canvas
What materials do I need for decoupage on canvas?
You will need a canvas, decoupage glue, bristle or foam brush and images (paper napkins, printed images, or tissue paper).
What is the best way to prevent air bubbles in decoupage work?
The best tool for applying decoupage paper without bubbles is a ball of plastic wrap. Plastic wrap pushes out the bubbles while being less likely to tear the wet paper.
How long does it take for the decoupage on canvas to dry completely?
Drying times can vary, but it usually takes a few hours for the Clear Coat or Mod Podge to dry. You can speed up the process with a hairdryer on a low setting.
If you loved this project, you’ll love these projects too:
Did you decoupage on a canvas?
I love seeing what you do. Please mention @teaandforgetmenots and share your creations with me!
Pin It For Later – How to Decoupage on Canvas

Hi there! I'm Rachel Bowyer, a passionate DIY enthusiast with a knack for transforming the old into something beautifully new. With a deep love for furniture painting, refinishing, and the art of crafting. I've been documenting my DIY projects and restoration journey since 2018. I specialise in techniques like decoupage, stencilling, and decor transfers. Join me as we explore the world of creativity and home improvement, one project at a time.
That canvas was a great score! Love this technique.
Thanks, Sara.
Lovely. Thank you for sharing your talents. Really enjoy both your blog and videos.
Thanks so much Barb, I appreciate you.
Thank you! I will try it soon.