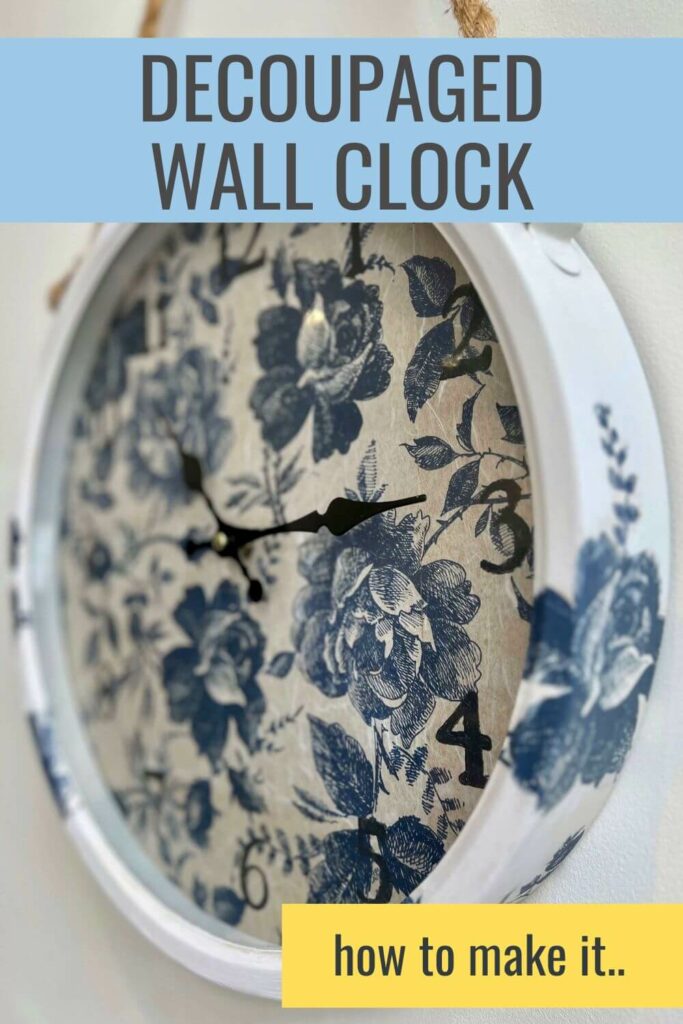
How To Decorate a Wall Clock with Decoupage
Want to know how to decorate a wall clock with decoupage to make it more your style of home decor? Here’s how to, plus the mistake I made.
I got this French bistro-themed clock for £5 from a charity shop. It had a bit of character even though it wasn’t my typical style.
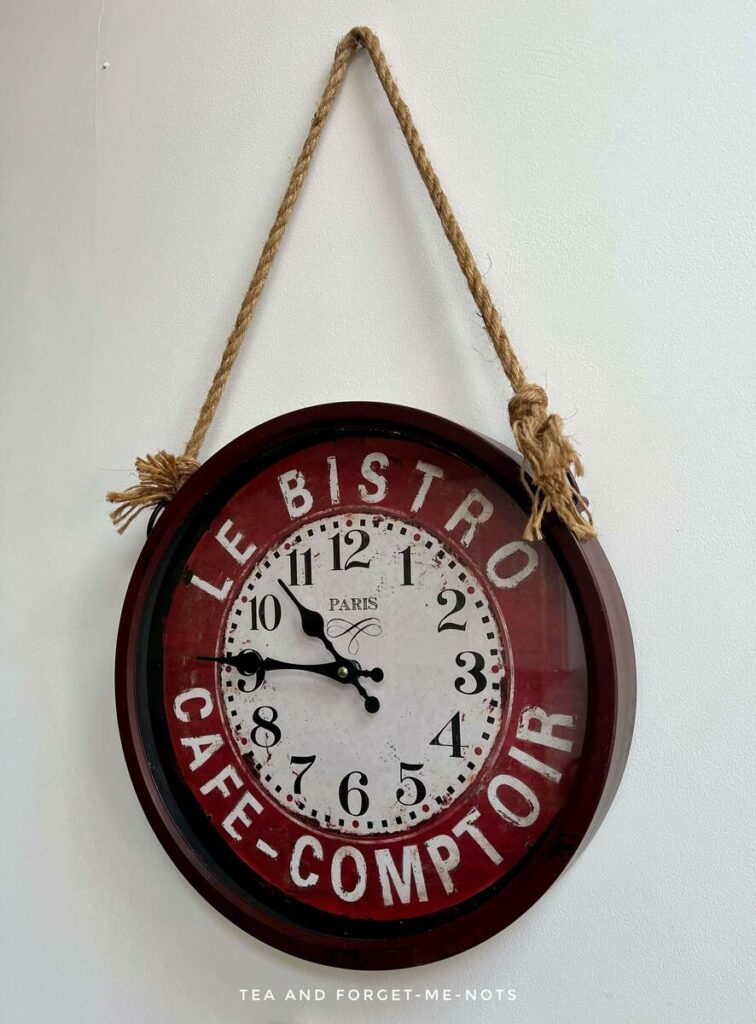
There was nothing wrong with the clock before the decoupage makeover. I just made it more me.
Handmade pieces are always just a bit more special. So, this clock face got a facelift.
I chose early on the decoupage paper that I was going to use. And painted the rest of the clock to suit that look.
Thanks to Dixie Belle Paint for sponsoring this post.
This post includes gifted products and affiliate links so you can easily find the products I use myself and recommend to friends. If you purchase these products, I may earn a small commission at no extra cost to you.
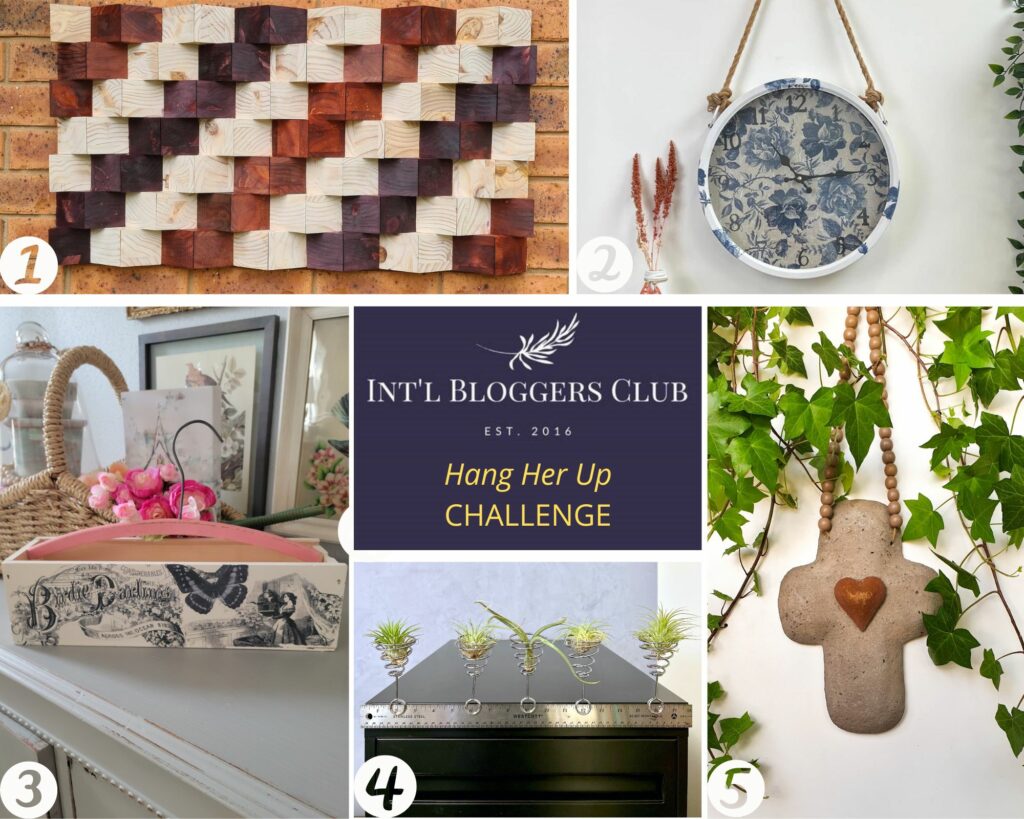
International Bloggers Club
This month’s International Bloggers Club (IBC) challenge is Hang Her Up.
The IBC is a group of creators from all over the world. We challenge each other every last Monday of the month to make something using a common theme.
You’ll find my friends’ ideas at the bottom of the post. Please check them out before you go.
How To Decorate a Wall Clock with Decoupage
Supplies in this project:
- White Lightning
- Slick Stick
- Fluff Chalk Paint
- Blue Sketched Flowers Decoupage Paper
- Satin Clear Coat
To start, I did what must always be done. I cleaned the clock.
I dismantled it and cleaned the glass and frame with White Lightning. Using that decanted into a spray bottle and wiping it back with clean water after.
Fortunately, the clock mechanism worked and there was no damage to repair.
Next, it was time to give the red clock frame a freshen-up. From dramatic to more feminine.
Can you paint a metal clock?
As the frame was metal, the best product to use is Slick Stick. Which is my go-to product for shiny surfaces. It avoids needing to sand. Which is important on a metal surface where sanding would damage it.

I did two coats of Slick Stick and let it dry for a few hours between coats. Before painting over Slick Stick, you need to wait 24 hours. So I left it overnight before giving it its final colour.
I chose Fluff, a popular white in the chalk paint range. Fluff has a slight grey undertone and is very calming.
Here’s how Fluff looks on a large coffee table.
I only did one coat of Fluff. The two coats of Slick Stick had given enough coverage underneath.
My decoupage mistake
Then onto the bit that became a mistake!
I painted over the printed image of the clock to provide a plain base to decoupage over. I did three coats of Fluff and the image was well hidden.
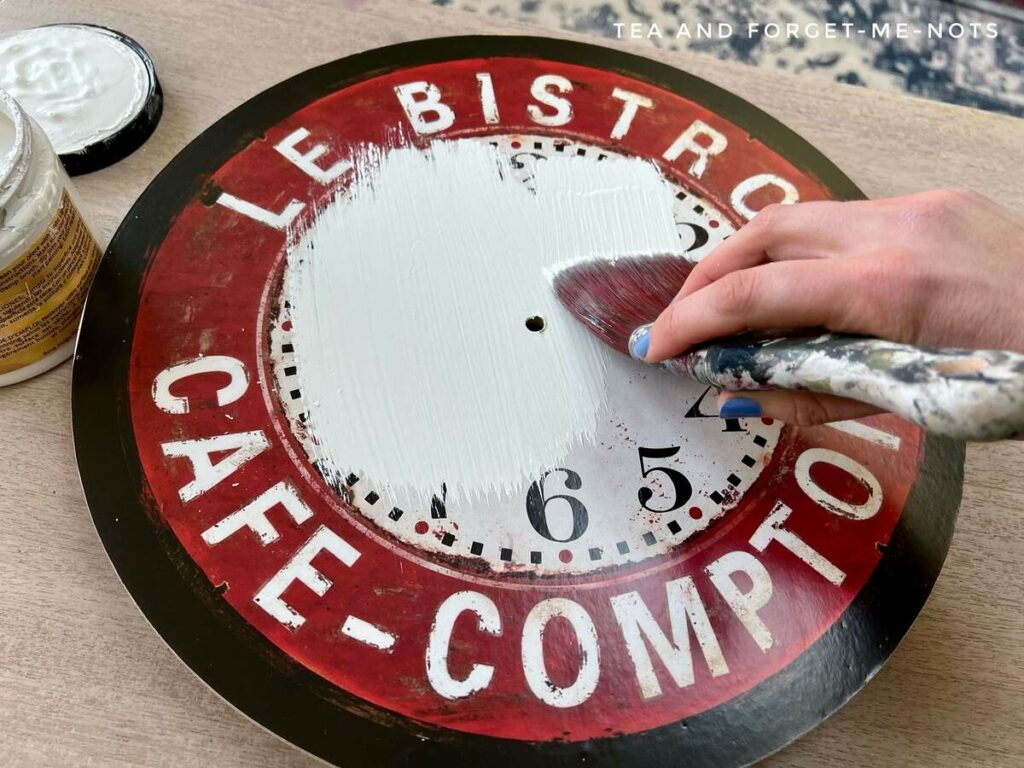
Then I applied the decoupage paper, as instructed, and surprise, the image was visible again underneath the decoupage paper.
I had followed the process, left the right amount of time, and used the right products… and still, it failed. And I don’t know why.

Edit: I asked around and someone suggested using primer first. I hadn’t thought of that for an image. So, maybe that would have done the trick!
Here’s a more thorough overview of the decoupage process.
So, now I had a dilemma.
My original clock face was tricky to worth with. I had already used one pack of decoupage paper. And I didn’t have any plain white card for a new clock face.
Fortunately, I had ordered two sets of the decoupage paper because I liked it so much. So I still had enough to try again.
I couldn’t flip the original clock face around because the painted-over image would have been visible on the back.
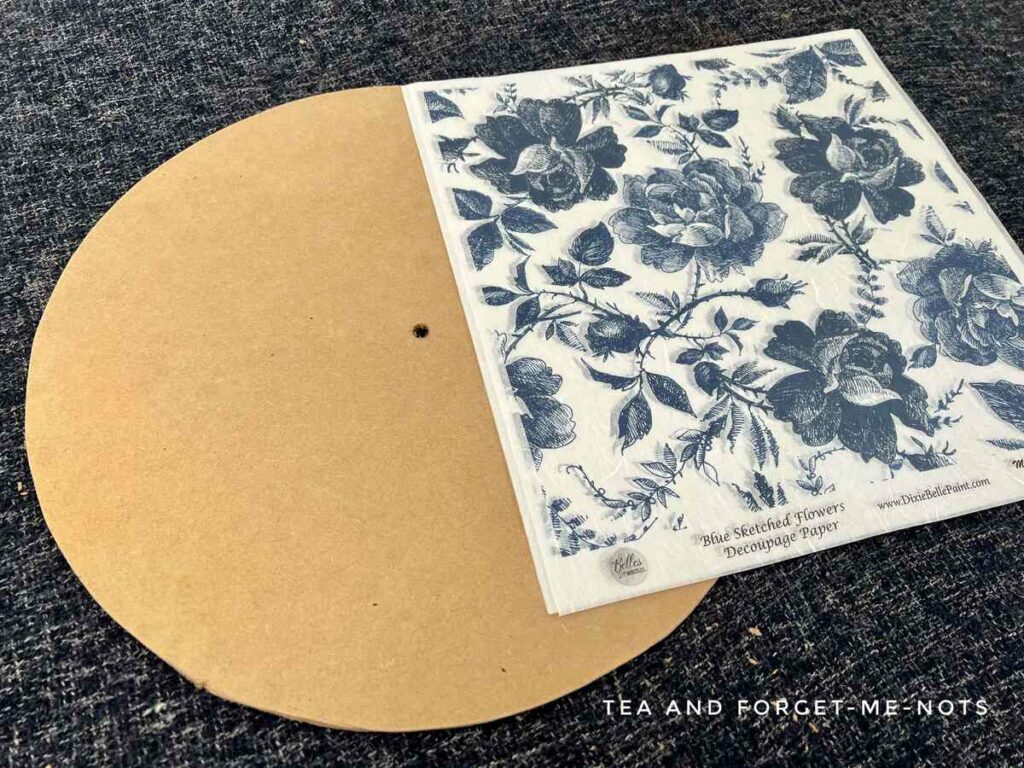
In the end, I found a piece of old artwork that I’d done which was mounted onto a thick card. I used the original clock face as a template and cut the shape out of the card.
The only problem was that this card was brown, not white.
What colour should you paint before decoupage?
White is a good choice for a background colour for decoupage as it keeps the image as vibrant as possible. The darker the background, the darker the image will be.
I decided not to paint the new card white and see how it looked. And I’m very glad I did!
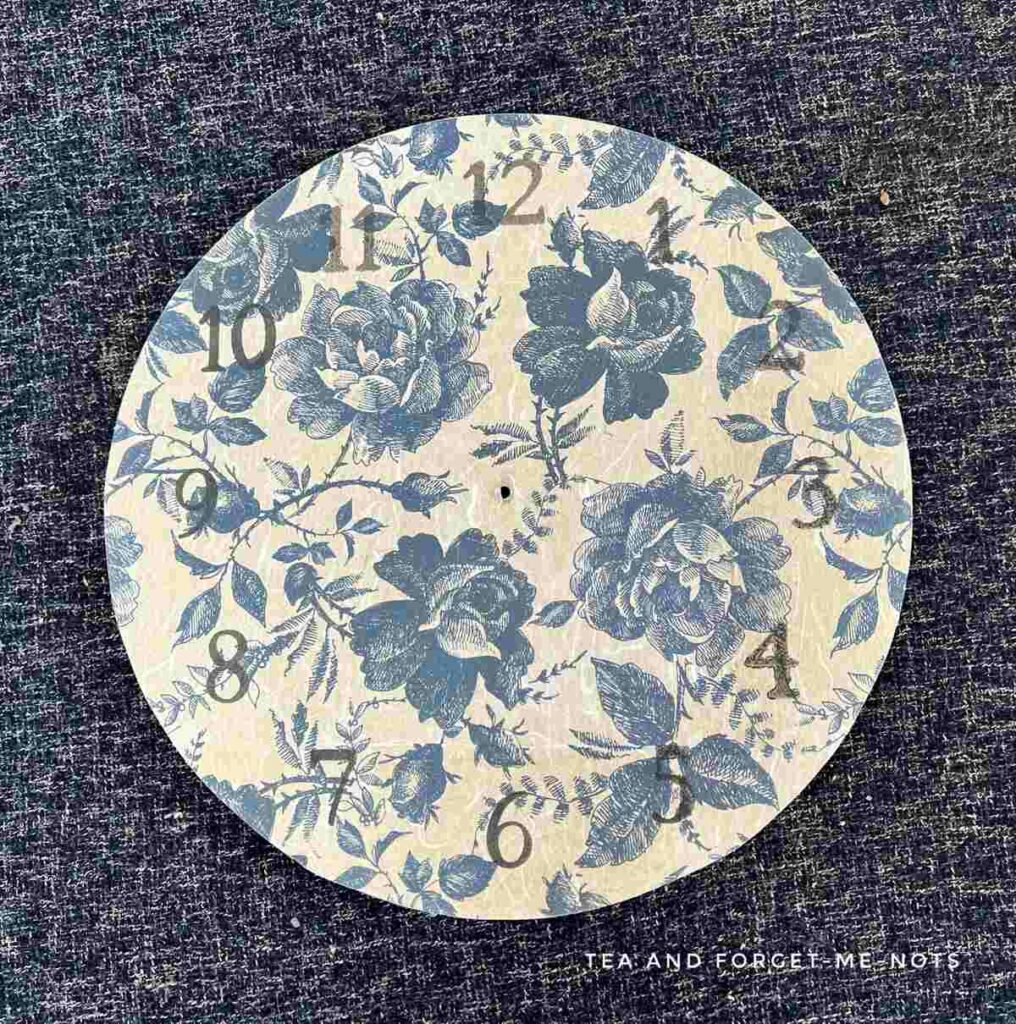
The decoupage paper is called Blue Sketched Flowers. It’s a lovely, elegant white and blue floral. It reminds me of toile fabric. Which is often a rural, floral, or romantic style.
I applied it by doing a first coat of Clear Coat. Which is normally used as a sealer. Then before it dried I put the decoupage paper on top.
As the large wall clock was bigger than the size of the paper, I had to apply it in four sections. Fortunately, this paper comes in a pack of three sheets. So I could use different sections from each and had enough.
Then before it dried, I added another layer of Clear Coat on top. As the clock face is hidden behind glass, I didn’t need to add any more protection.
You could use mod podge for this step but I was glad to be able to repurpose something I already had.
Want to know 23 great DIY tools? Get the list!
How do you cut the edges of decoupage paper?
The best way to trim decoupage paper is to wait for it to dry. Then use sandpaper at an angle to sand it at the edge. This takes the excess paper off while not damaging the dried decoupage paper.
Here are more sanding tips to make your life easier.
After it dried, I could see how good the brown looked behind the rice paper. Instead of it being bright and crisp, it had a more rustic feel.
Perfect.
Also, as rice paper has thicker fibres running through it, the brown really enhanced the look of those.
Now, I needed to create some numbers. As I no longer had them on the face of the clock.
I used a stencil to get the clock numbers in the right place. Then dabbed the numbers in with a sponge and Black Sands paint.
Interested in how to stencil mirrors? Here’s how…
I wanted a dark colour to make the whole clock face visible. So I chose a grey-black which meant it was bold. But it isn’t a strong black which might have looked overpowering.
I thought I was done. But then I decided to add a bit more.
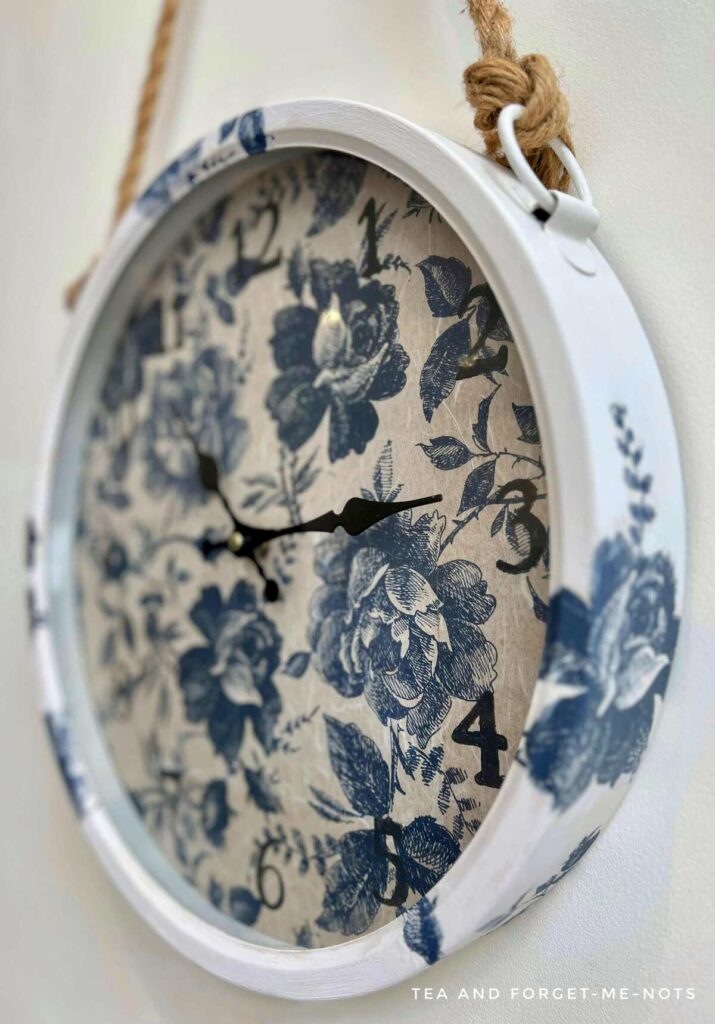
Do you tear or cut the edges of decoupage paper?
You an cut around the images for a crisp line but often a torn line often blends better so doesn’t look as visible.
I tore a few of the flowers and added them to the metal frame. Being careful where it was curved so that the paper didn’t overlap.
I applied some flowers on both sides so that the clock was more visually interesting whichever angle you look at it from.
The next day after it was dry, I went over the white outline with more Fluff to blend it into the colour of the frame.
The old style hands still matched the new design. So, I was able to keep them.
There was a risk with the new face that it would sit looser in the frame. But fortunately, the thinner clock face fit well when reassembled.
Decorate a wall clock with decoupage – the results
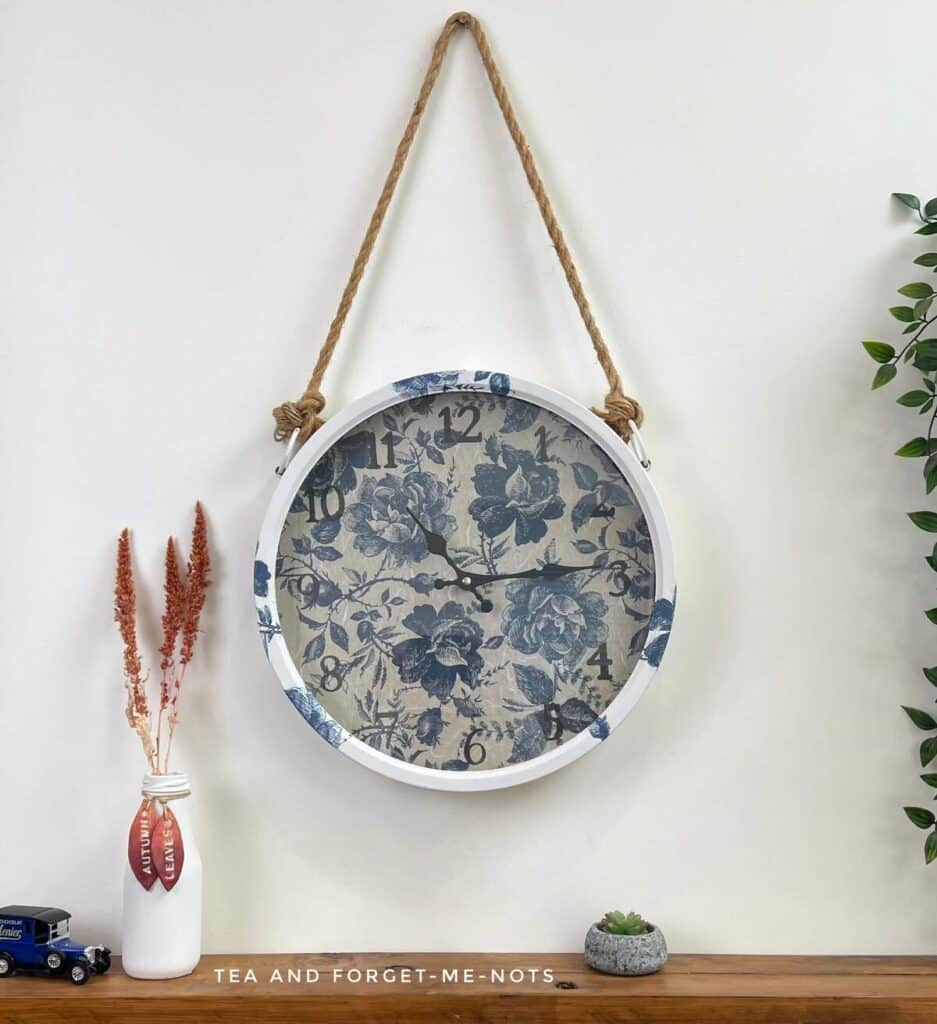
I didn’t do anything with the rope that it hangs up with. And especially now that the clock face has a hint of brown behind, it ties together really nicely.
This floral decoupage clock is much more of the style I’m drawn to. Feminine and a little rustic.
Decoupage is a great way to update a plain wall clock that you no longer love. Don’t get rid of that old clock, just get your own hands on it and give it a refresh!
Enjoyed this project? Here’s a beautiful upgrade to a plain noticeboard.
If you loved this project, you’ll love these projects too:

would you make this project?
I love seeing what you do. Please mention @teaandforgetmenots and share your creations with me!
Pin it for later – Decorate a Wall Clock with Decoupage
International Bloggers Club
Here are the projects from my friends in the International Bloggers Club. Please check them out!
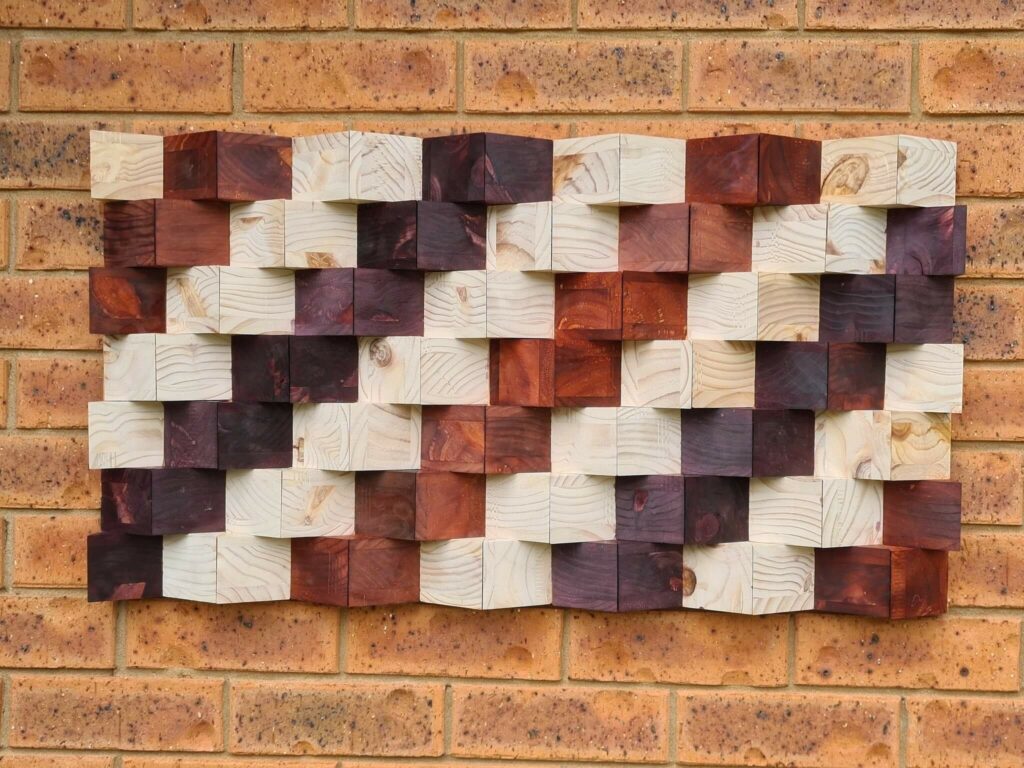
3D Wooden Wall Art by Unique Creations by Anita
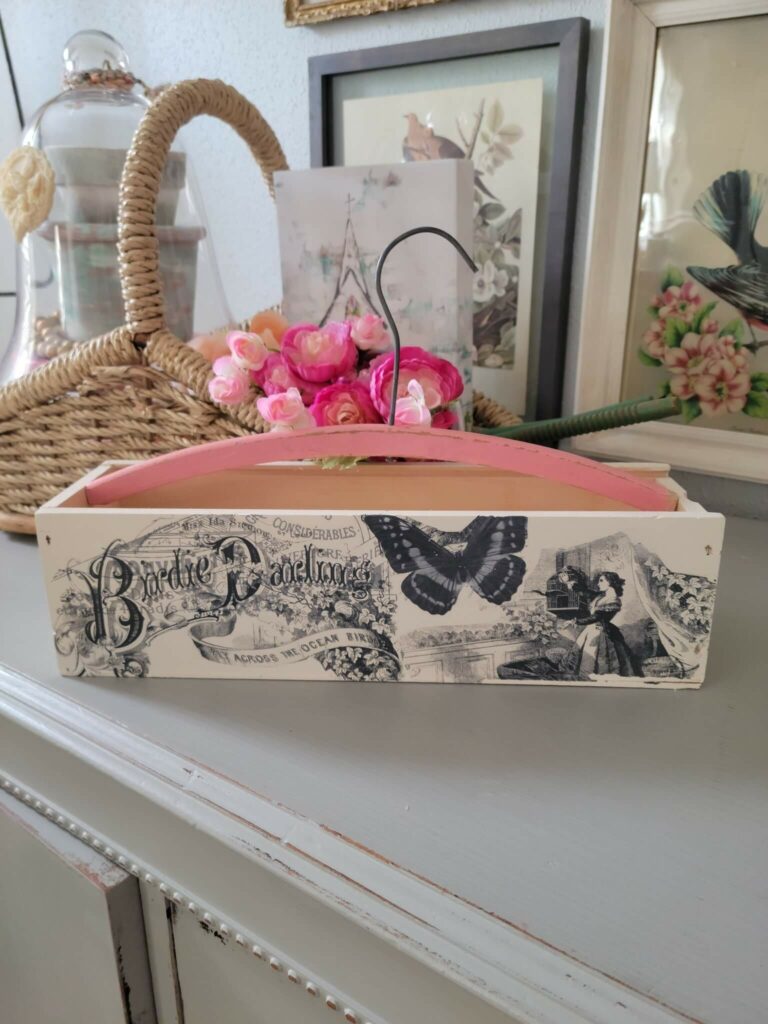
Repurpose a Wooden Hanger by Fifth Sparrow No More
Concrete Cross Sand Mold by A Crafty Mix
Hanging Air Plants by Birdz of a Feather

Hi there! I'm Rachel Bowyer, a passionate DIY enthusiast with a knack for transforming the old into something beautifully new. With a deep love for furniture painting, refinishing, and the art of crafting. I've been documenting my DIY projects and restoration journey since 2018. I specialise in techniques like decoupage, stencilling, and decor transfers. Join me as we explore the world of creativity and home improvement, one project at a time.
So pretty and I love how the tone of the rope matches the brown you used for the face. Strange that the original face bled through but it all worked out for the best in the end!
Thanks Sara. I do think that sometimes you learn best by making mistakes, makes the more memorable.
The fact that you decoupaged those gorgeous flowers on the clock frame takes it to a whole new level, Rachel. She’s turned out beautifully even with the bloopsie. Actually, I’m so glad you shared what could have gone wrong. That’s good to know.
Thanks, Michelle. I think so too, glad I made that choice!
What a fantastic idea to make a thrift store find your own personality and matching to your home!
Great project! I think we have all had the same issue with the image coming through. And yes primer is the best solution I have found.
Thanks, Anita. Seems so obvious now! Fortunately it wasn’t too much of a time killer.
Such a pretty wall clock makeover! I love how you carried the floral transfers onto the frame.
Thanks, Marie, that’s kind.
Great idea to use decoupage paper, it completely transformed the clock! The pattern is so pretty and I love how you added to the sides as well! Great job!
Thanks so much, Donna.
I love this clock! So beautiful!
Thank you so much
Well done! The brown gives a nice aged look.
Thanks, Marie, I think so too.
Rachel this is a fantastic project! This looks like a brand-new piece.
Thanks Cindy, much more me now.