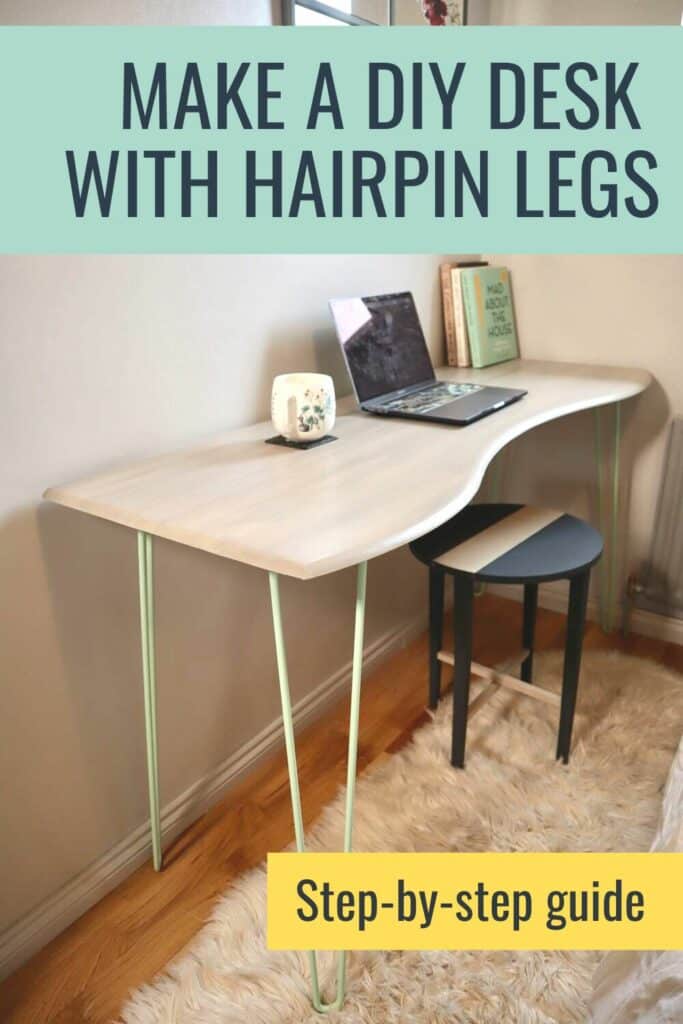
How Anyone Can Make a Modern DIY Hairpin Leg Desk
Like the look of a Modern DIY Hairpin Leg Desk but on a budget? Here’s how anyone can make an affordable DIY desk.
This post includes gifted products and affiliate links so you can easily find the products I use myself and recommend to friends. If you purchase these products, I may earn a small commission at no extra cost to you.
This project is what upcycling is all about. Turning trash into treasure. A treasure for me at least as I gain a new desk to use. And the best part is that it cost hardly any money.
International Bloggers Club
This month’s International Bloggers Club (IBC) challenge is Don’t Scrap It.
The IBC is a group of creators from all over the world. We challenge each other every last Monday of the month to make something using a common theme.
You’ll find my friends’ ideas at the bottom of the post. Please check them out before you go.
How To Make a DIY Hairpin Leg Desk Step by Step
Materials Needed
Rather watch the video tutorial?
Let me guide you through the process of creating a DIY desk with hairpin legs.
Step by Step Instructions
Step 1: Prepare The Wood
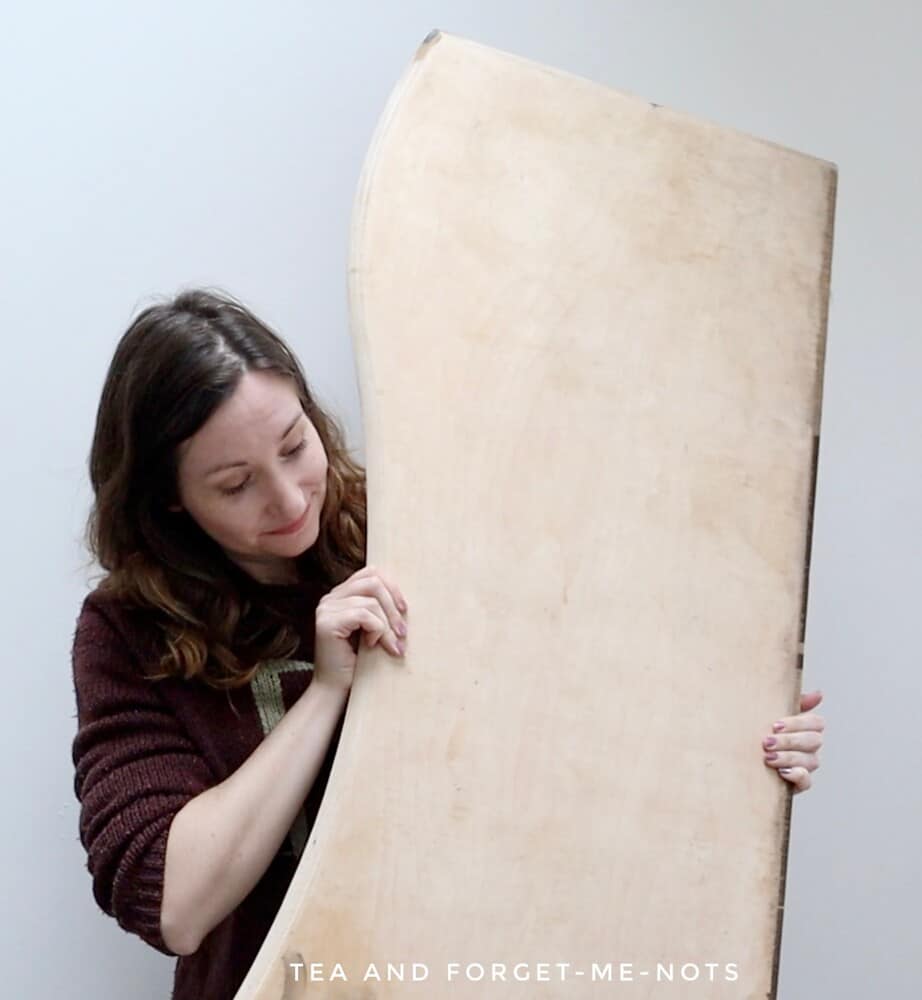
I started with a piece of scrap wood. It was actually the top of an old sideboard. In its past life, it had been covered in water-damaged and chipped veneer.
It was a piece of plywood, not the best quality solid piece of wood. But a nice size and worth doing something with. You can equally do something similar with a sheet of plywood.
The underside of the wooden board was a little bit rough and ready. Because of course, no one was ever going to see it when it was a sideboard.
The first thing I did was remove some wooden boards which were still attached and the nails. Fortunately, everything was easy to remove to get back to a decent surface to start from.
Unfortunately, the top of the sideboard had some water damage. It would have been much worse if it hadn’t had a veneer top initially. into this wood as well.
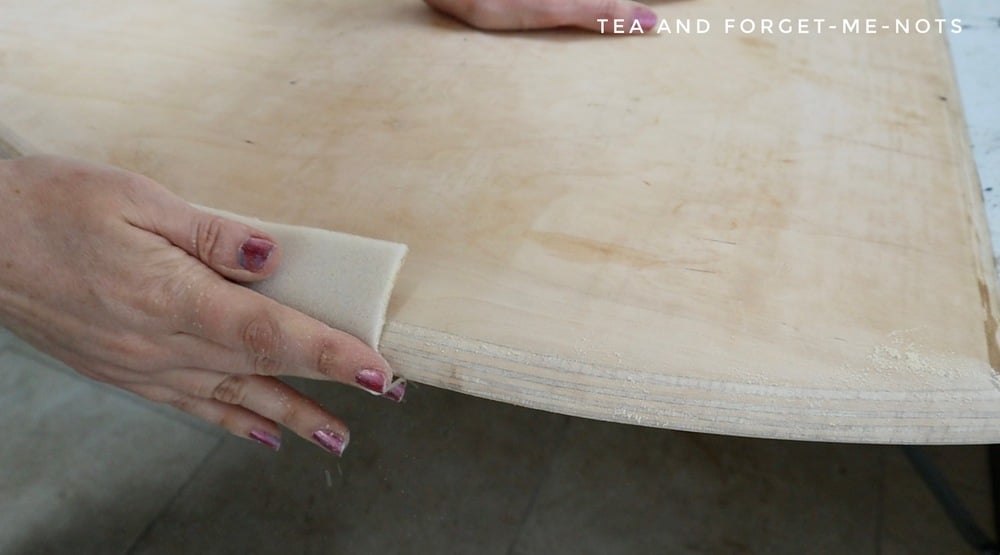
The water damage showed as black marks but the condition wasn’t too bad. To remove the marks, I used an orbital sander with 180 grit sandpaper. The marks came up quite easily as the plywood board is soft. You want to be careful not to push too hard though as the soft wood is easy to dent.
Then I hand-sanded the curved plywood edges of the sideboard
I also tried to remove some of the marks left from the glue of the veneer but with less success. So, plan B was to bleach them out.
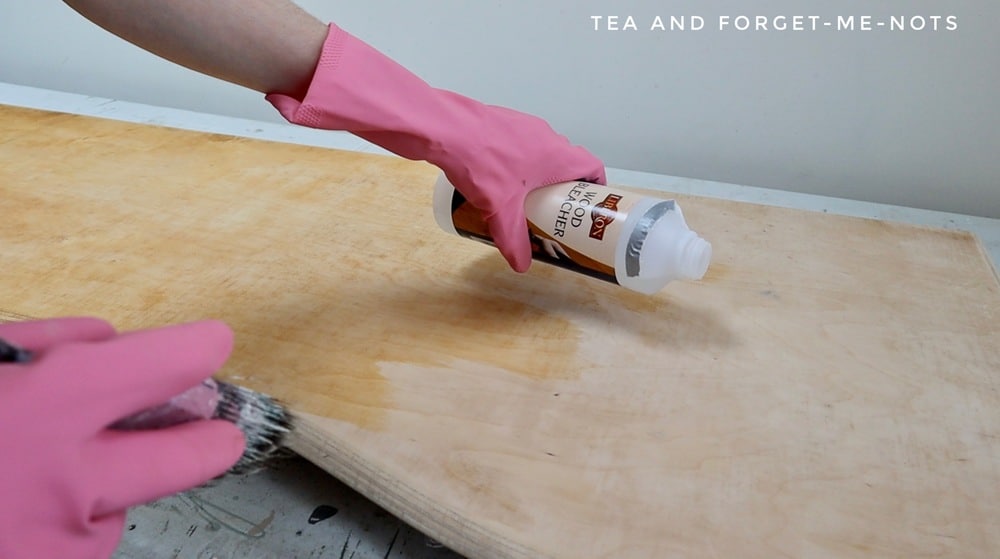
Step 2: How to Bleach Raw Wood
Wood bleach is great for evening out the wood tone as well as lightening it. I chose Liberon Wood Bleach which is a very beginner-friendly product.
You need your protective gear but otherwise, you brush the bleach on a leave it to dry. Which took about 20 minutes.
I was hoping to keep the wood top fairly natural. Personally, I liked the layered look of the plywood. It adds an industrial feel which is great for a modern desk.
Unfortunately while inspecting the wood during this process, I discovered a few dents. Too large to ignore. Wood filler is hard to disguise without painting over it so that means that a natural finish for this DIY desk was out.
Firstly I finished off the bleaching process. Several coats of wood bleach had done a good job of toning down the unevenness.
The final step was to wash it down 2 or 3 times with water. This neutralises the bleach. If you don’t do this then any products added on top of it will likely result in quite a mess!
So, those unfortunate little dents… I applied some wood filler into and above the surface of the desktop. It’s helpful to apply it above the surface so that when you sand it smooth, it comes up to the same height as the surrounding area.
Step 3: Do You Have to Prime Raw Wood?
It’s important to use a primer after you’ve used a wood filler. Paint and stain will not apply the same over the wood filler and the original surface.
This is because they don’t have the same level of porosity so can’t absorb the paint in the same way.
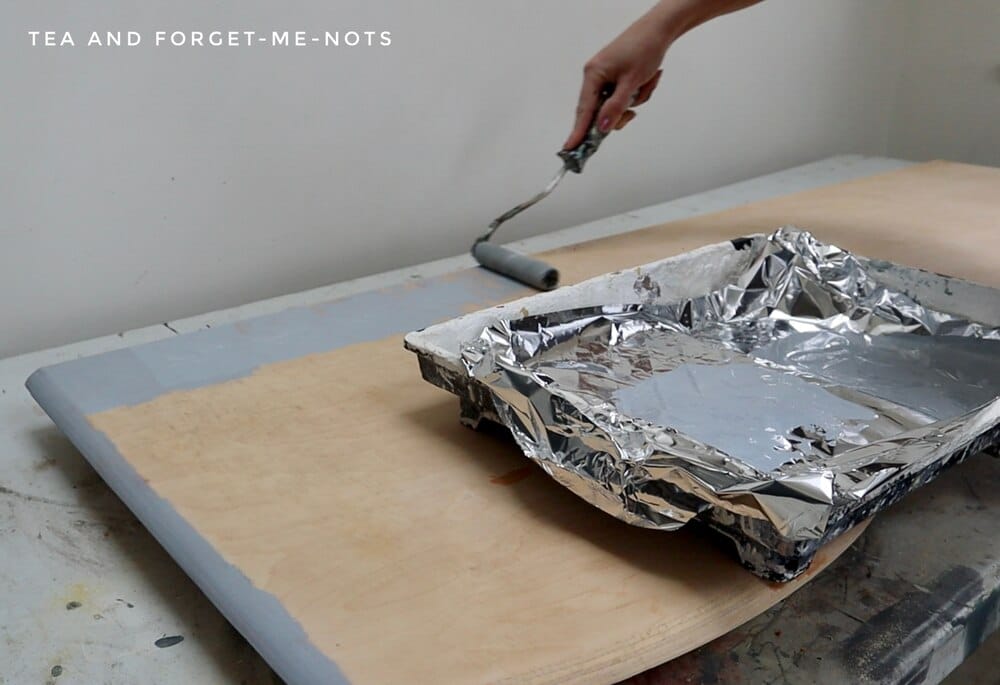
To help the consistency of the later stain, I did two coats of primer in grey. Also lightly sanding in between coats for a smooth finish.
So, with my desktop primed and ready for refinishing, the next step was to attach the legs.
Step 4: How To Attach Hairpin Legs
I attached the legs before staining so that the desk height would be comfortable to work at when finishing it off.
The hairpin legs were the only thing I had to buy for this project.

To add some interest, I chose to have the metal table legs, powder coated in pastel green. Powder-coated hairpin legs are the coloured choices. But there were lots of options including the usual black and metal colours.
The hairpin table legs were of great quality. The hardest part was deciding between the two or three-rod versions. A rod is how many poles each leg has. I went with 2-rod hairpin legs for an even more minimal look.
The ones I chose were 28 inch/ 71cm, suitable for desk and dining table height.
However, along with the legs came a small problem. The screws were too long for how thick my own table top was. It’s a risk to use smaller screws than what the company recommends.
What To Do When Your Screws Are Longer Than the Wood?
So, I had a plan. And it involved more scrap wood which was free.
I used a circular saw to cut out two rectangles of MDF. The extra thickness of the MDF meant that the screws would fit perfectly.
I didn’t need the MDF to be particularly beautiful because no one was going to see them. So, I simply sanded the edges to get rid of any roughness.
The first I had to do was secure the new MDF to the DIY desktop.
It’s important to figure out how you’re going to weigh it down or clamp it before you get the glue out. Once the glue is on, it’s a race against time before it dries.
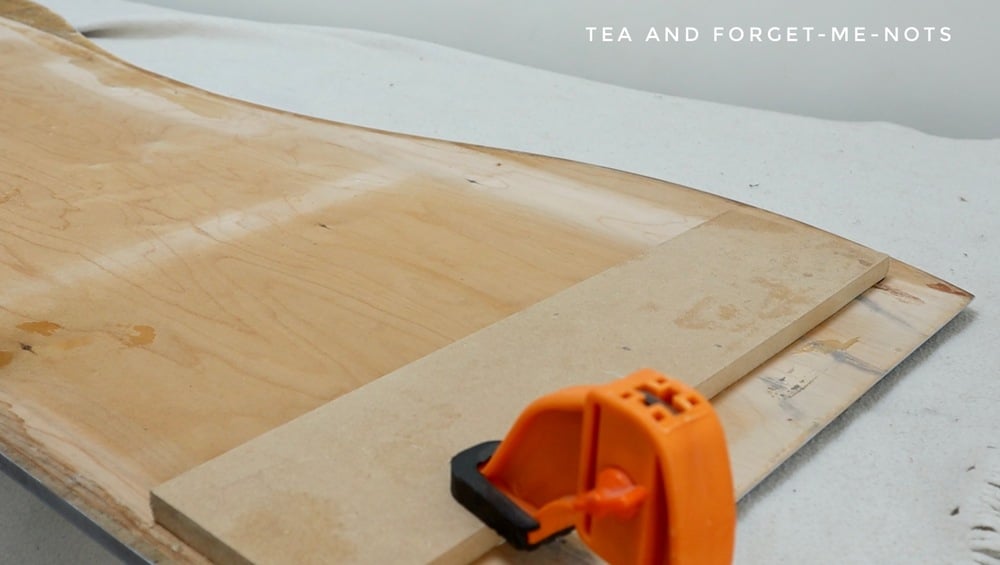
Gorilla Glue is my go-to wood glue for DIY projects. I covered the length of each MDF piece and spread out the glue to the edges. Making sure each side piece was an equal distance from each edge.
I clamped each piece in place. With the bottom of the clamp attached to the table that I was working on. I didn’t want to risk denting the soft plywood by tightly clamping that surface.
With the MDF secured, there was enough thickness to attach the hairpin legs.
The easiest way is to use a Marxman tool to mark the drill spot. A Marxman shoots a dot of chalk through the hole so you know exactly where to drill. Much better than a pen which doesn’t fit through the hole or an offset pencil mark.
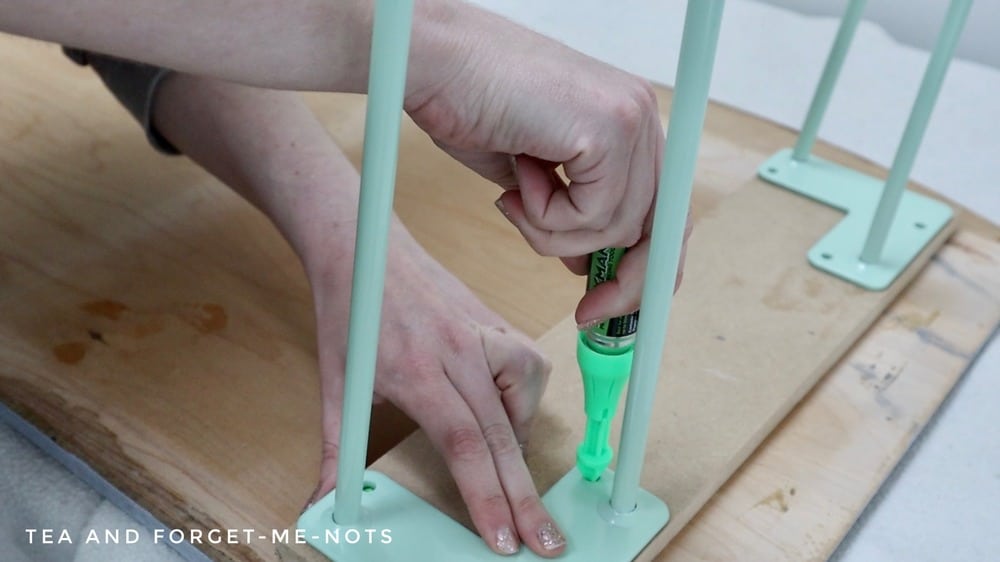
I used a smaller drill bit than the size of the screw to make pilot holes for each hole. Pilot holes help to create smooth screw holes and reduce the risk of splitting the wood.
With all the screws in place and a tight fit, the hairpin legs were secure.
Now I had a nice height to work at, it was time to finish the plywood desk top.
Step 5: How to Stain a Raw Wood Desk Top
My original plan had been to keep the wood desktop looking quite natural. So, I started with a water-based stain called Au Naturel. I’ve used it before on a side table and it’s a lovely colour.
After one coat, I decided to add some variation in colour. So, I added the wood stain colours of Tobacco Road and Up In Smoke. Which are a warm brown and grey.
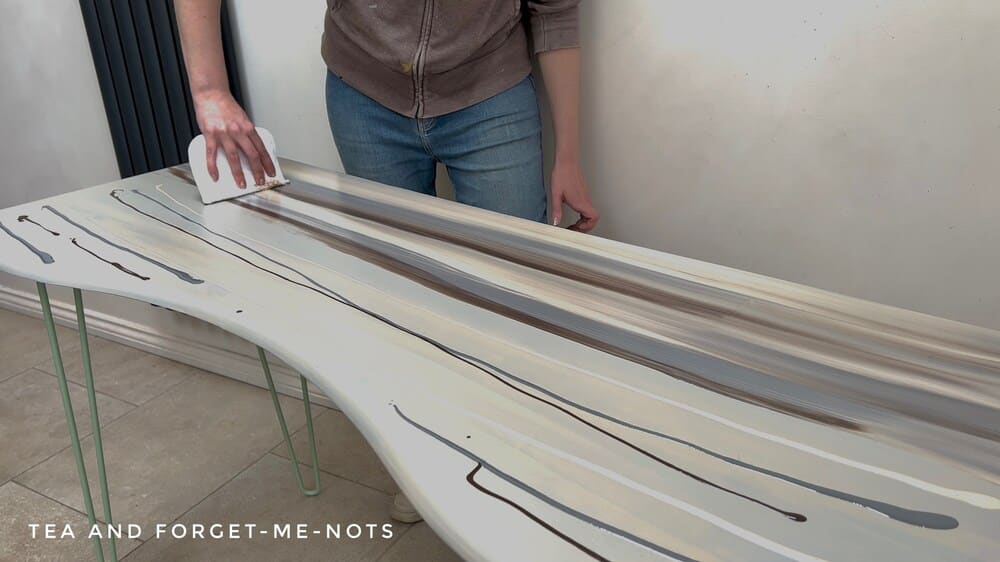
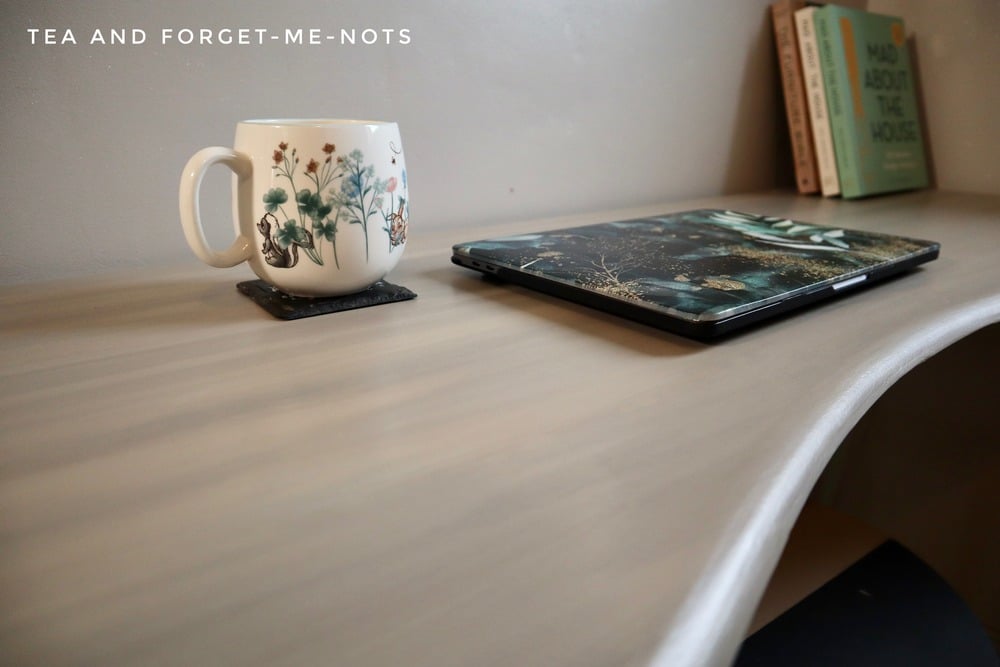
This is the fun part. Playing around with the colours until you’re happy. I added the three gel stains in rows until the table was covered. Then I took an applicator pad and dragged the stain across the desktop.
It’s important to try and stay in a straight line to the piece to avoid wiggling lines of stain. And to also go at a consistent speed on the long edges so it’s not visible where you paused.
Even though the colouring didn’t look as natural, it was more interesting and prettier. This part looks a little scary at the start. It looked like a tiramisu!
But you can also keep playing around until you’re happy.
After the first coat was evened out, I decided it was a bit heavy on the brown. So, I added some extra Au Natural on top of the brown sections to wash it out slightly.
You just keep going until you’re happy with it. There’s also no right or wrong with this. It’s just personal preference.
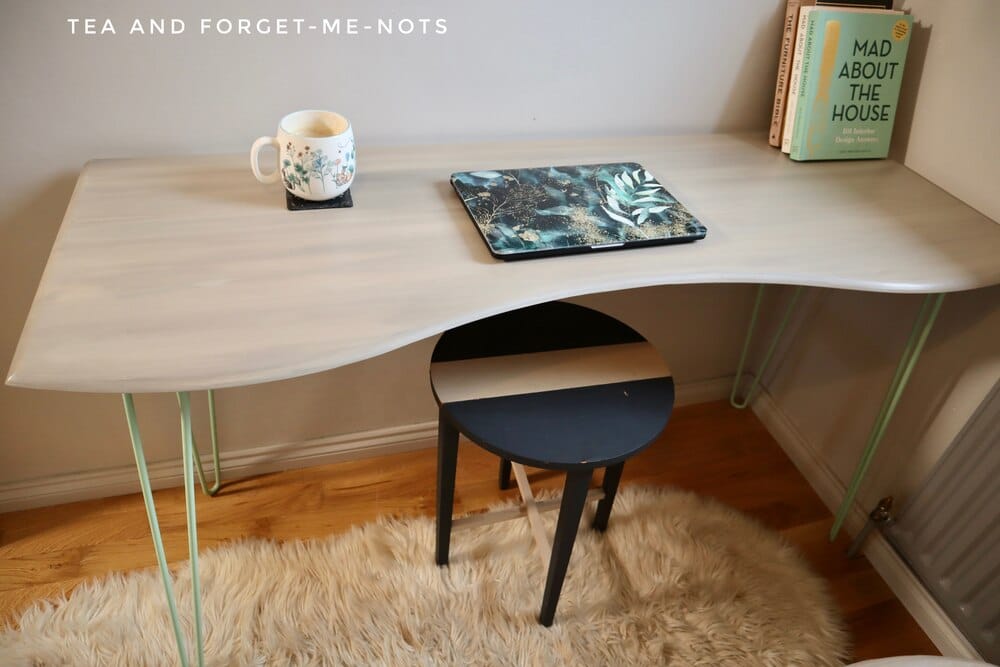
This was where I stopped as it was such a pretty look. The stripes and colours remind me of the planet, Jupiter.
Step 6: Do You Need To Seal Wood Stain?
Voodoo Gel Stain is for colour only. It does not have any built in protective elements. So, requires sealing.
So one of the final steps was to seal the top of the desk. I went with two coats of Satin Clear Coat top coat.
I brushed it on and blended out any brush strokes on the edges of the work surface.

Once it was dry, it was ready to go.
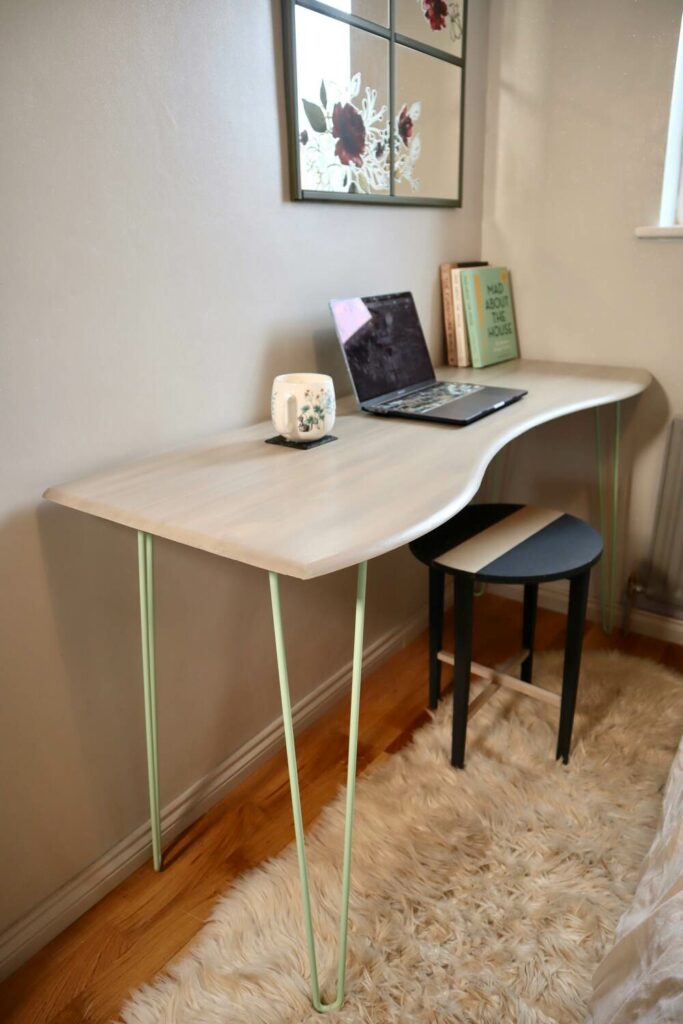
How to Make a Simple DIY Plywood Desk
It’s a simple DIY desk but its new home in my spare room is the perfect place for it.
Simply buying some hairpin legs and staining some scrap wood, it’s a great result.
Interesting in making your own DIY hairpin legs project? It’s an easy DIY project but gives a great modern look.
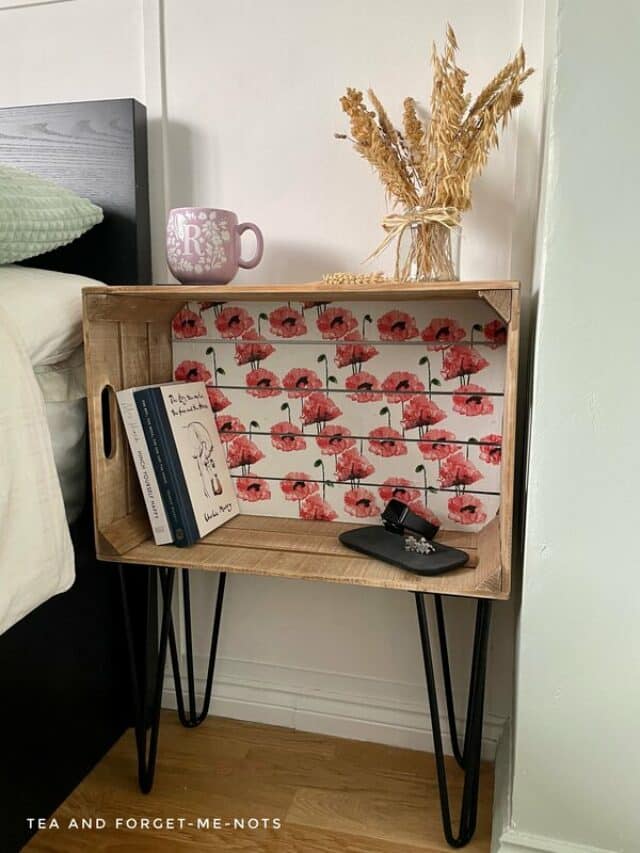
Don’t need your own hairpin leg desk? They’d equally work great on a console table, coffee table or night stand.
In fact, here’s when I made my own night stand with hairpin legs and a wooden crate. It’s the perfect project for a rustic feel.
If you need a small desk for a tighter space. Simply use a circular saw to cut the size of the desk top in half and follow the same process.
I’m so pleased with this end result. It’s repurposing at it’s most simple and effective.
DIY Hairpin Leg Desk YouTube Video
You can find more video tutorials on my Youtube Channel
My Favourite Supplies
Here are some of the supplies that I used when making this project!
Hairpin legs
Solid legs in both fun and classic colours. These hairpin legs add a lovely modern feel to a project.

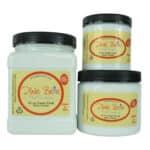
Au Naturel gel stain
Get the natural look on unfinished wood, unpainted or painted pieces. So easy to use!

Clear Coat
My go-to top coat to seal all kinds of projects. A durable finish with a light sheen.
Answers to your questions about making a DIY hairpin leg desk
Which hairpin legs did you use?
This project used legs that were 28 inches / 71cm. With the powder-coated finish in Pastel Green.
how do you know what size legs to buy?
The manufacturer should label what each size leg is appropriate for. At 28 inches, the legs I used were suitable for a desk or dining table. Other legs are labelled for a low coffee table, bench or bar, for example.
If you loved this project, you’ll love these projects too:
are you making a diy desk?
I love seeing what you make. Please mention @teaandforgetmenots and share your creations!
Pin it for later – DIY Hairpin Leg Desk on a Budget
International Bloggers Club
Check out my friends’ repurposing projects before you go.
A Crafty Mix’s Takeaway Dish
Fifth Sparrow No More’s Bead Garland

Birdz of a Feather’s Sewing Machine

Hi there! I'm Rachel Bowyer, a passionate DIY enthusiast with a knack for transforming the old into something beautifully new. With a deep love for furniture painting, refinishing, and the art of crafting. I've been documenting my DIY projects and restoration journey since 2018. I specialise in techniques like decoupage, stencilling, and decor transfers. Join me as we explore the world of creativity and home improvement, one project at a time.
Fabulous project! It’s pretty amazing how ‘natural’ the piece looks even though you had to paint it because of those dents (love your clamping tip by the way since the top is so easy to dent).
I didn’t even realize that you could get hairpin legs in colours, green being my favourite colour! Will have to check those out.
Thanks, Sara. Yep coloured legs are definitely a bit more fun.
This little beauty is definitely a lady. She’s got all the right curves and gorgeous legs 😉
Haha, as she shall henceforth be known!
What a beautiful table, I was beyond impressed with how you added the stain And how it turned out. Well done.
Thanks, Anita. The staining part was good fun.