DIY Desk Makeover with Charity Shop Furniture
Have a plain desk in need of a DIY desk makeover? Here’s how to take it from boring to beautiful in a few easy steps.
This DIY desk makeover is part of a YouTube Ugly Duckling Challenge, created by Cory from Desert DIY. Each participant must either donate their furniture or the profit from it. It’s a great idea and I couldn’t wait to join in.
But, I have a small secret… my piece didn’t really start as an ugly duckling. It was in perfectly good condition, just plain orange pine.
Even so, I thought, the more people who take part in the challenge, the more people it will help. To spread awareness so that more people can benefit from the makeovers.
You can find the other furniture makeovers that have seen better days here!
Old desk makeover
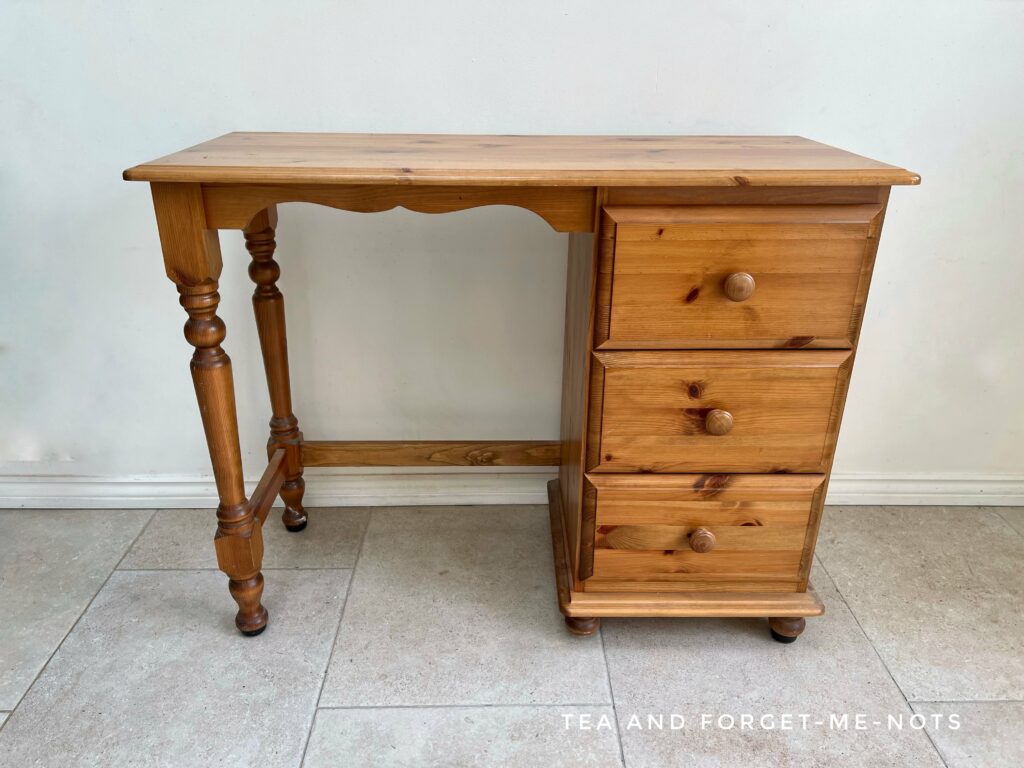
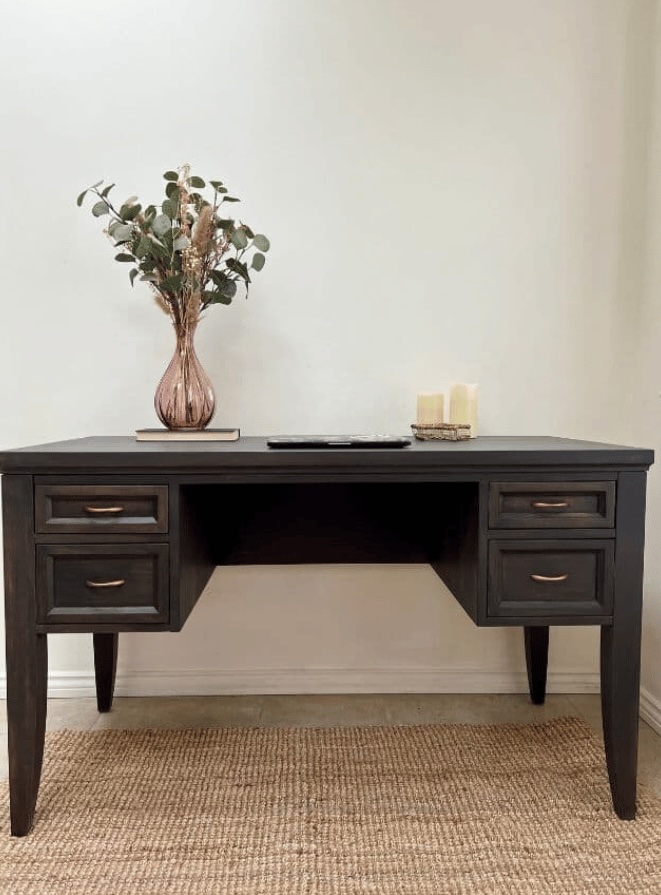
I found this desk in a charity shop for £20. It had a sticker on the back dated 2004, so it definitely was not a vintage desk.
Like your furniture finds even cheaper? Here’s how to find them for free, including Facebook Marketplace tips.
It was a solid wood desk and in good condition. And the best part, I knew someone who would benefit from a desk.
Someone who is starting secondary school next year. The age when homework and needing peace and quiet to study becomes important.
So the same day that I bought this old desk, I had a new home for it. And we got designing.
Firstly, the whole desk was orange pine and it had to go. Not entirely, but some of it.
This post includes gifted products and affiliate links so you can easily find the products I use myself and recommend to friends. If you purchase these products, I may earn a small commission at no extra cost to you.
How to remove varnish from wood
I recently bought this paint and varnish stripper for a stunning piece of furniture and had some left. It worked well so seemed like a good place to start.
I applied a coat of the stripper only across the desktop. I applied it using a paper towel and gloves and let it sit for an hour.
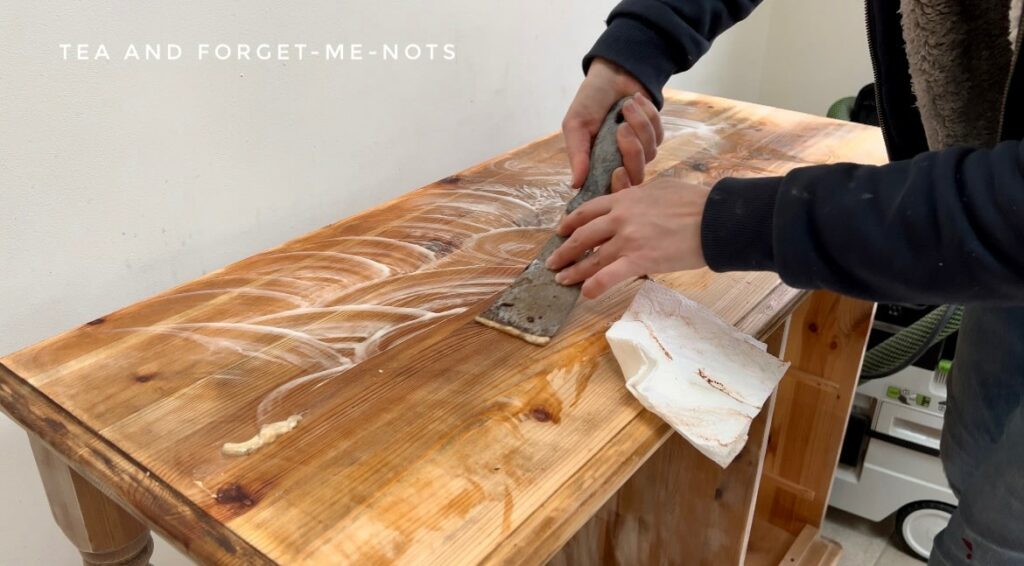
Then I scraped off the varnish. It’s such a satisfying process!
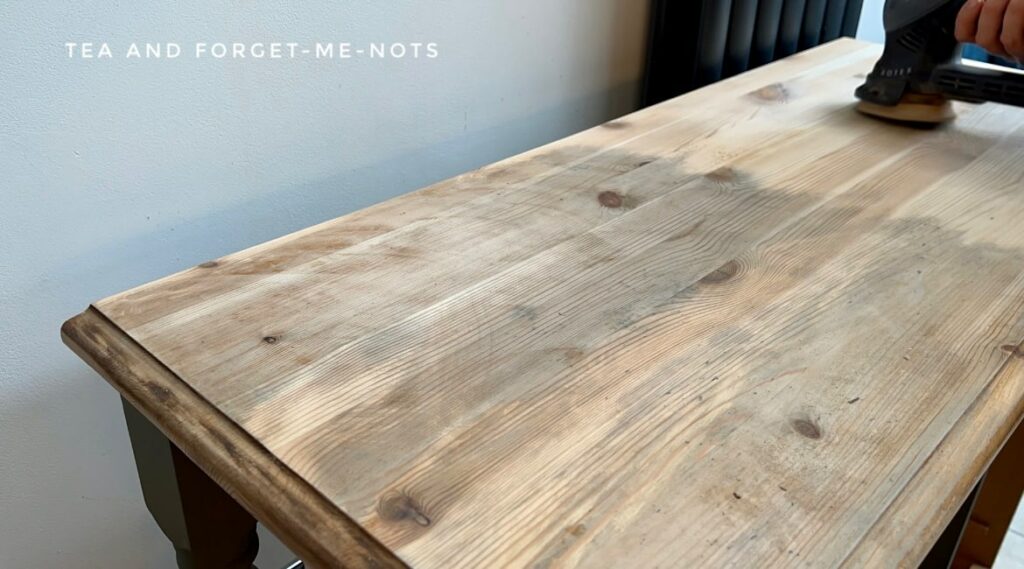
It did still leave some of the varnish though. So the next step was to finish it off with sanding.
I used 80-grit sandpaper and an orbital sander to remove the remaining old top coat. I also used that on the drawers and the base of the desk. That took off the shine to allow the paint to adhere well.
I eventually finished on 180 grit sandpaper to get to the final smooth finish.
It was at this point that I cleaned. Personally, I like to do this after removing the previous coat entirely. But some people clean before.
I used my trusty TSP cleaner, White Lightning. And gave the whole piece a thorough wash down with it. Then rinsed off any leftover cleaner with a mister bottle, clean water and a clean cloth.
So, my blank canvas.
The desktop was already looking much more modern with the orange removed. But as it is pine, it looked a little pale and uninteresting.
What is a paint wash?
So, the first step was to do a paint wash on the top. A paint wash is when you mix paint with some water to make it more translucent and see-through. The more water you add to the paint, the clearer the paint wash will look.
I didn’t want the desktop to be too different to the original natural wood colour. So I used Sand Castle, which is a pale yellow. Or officially described as warm tan.
I eyeballed how much water I added, it was probably 2/3rds water, and stirred it together.
Then I applied it with a brush. The only thing is that it is, naturally, quite runny, so I quickly caught any drips with a paper towel.
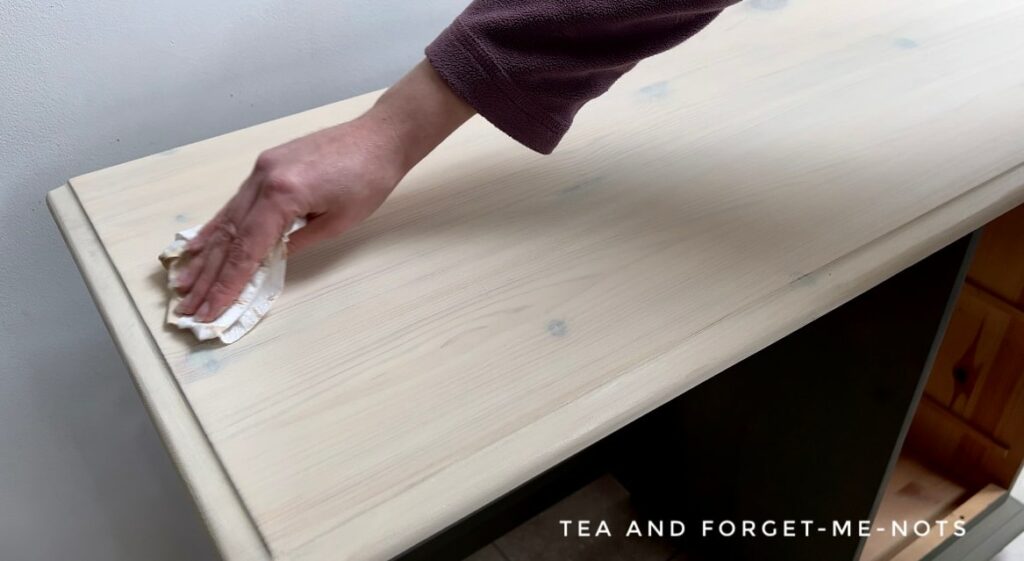
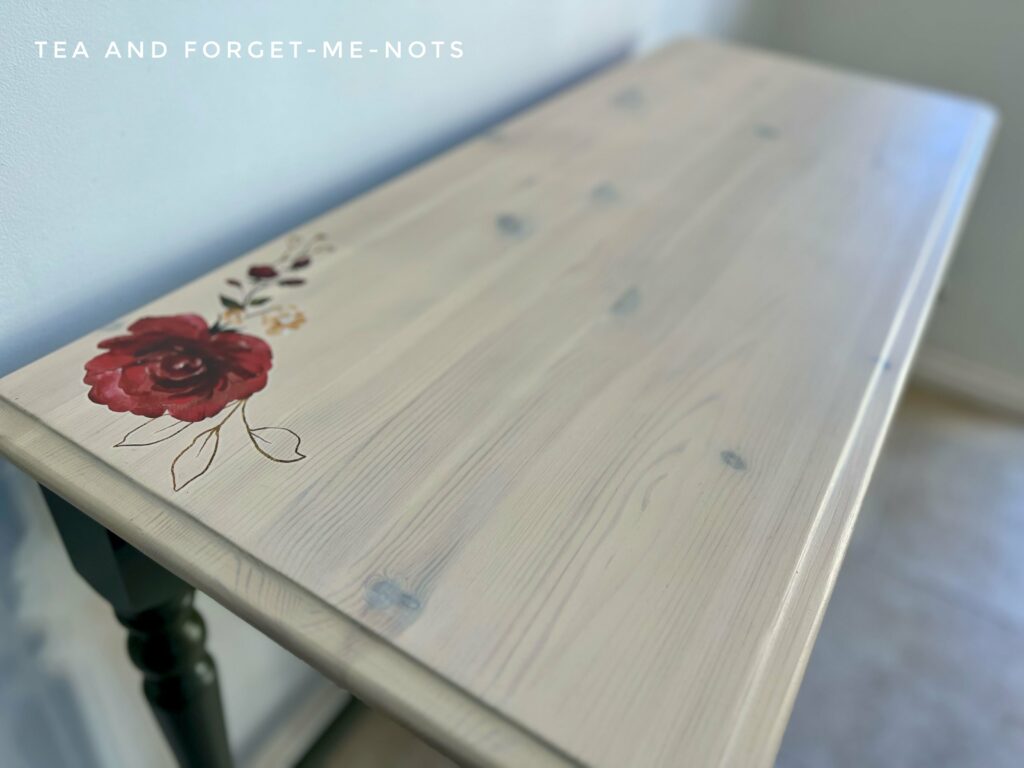
After covering the whole surface with one coat of the paint wash, I wiped it back with a paper towel. This removed some of the pigment and helped the wood grain shine through again.
I love the look of it. It keeps the character of the natural wood but with a more modern look.
Now that my base was sanded and cleaned, time for the good bit. Applying the paint.
What colour to paint an old desk
The new owner wanted green for the drawers and the desk base. No problem for me as I love green so have a lot of them. But they had also chosen a transfer, so I wanted to find a good green to complement it.
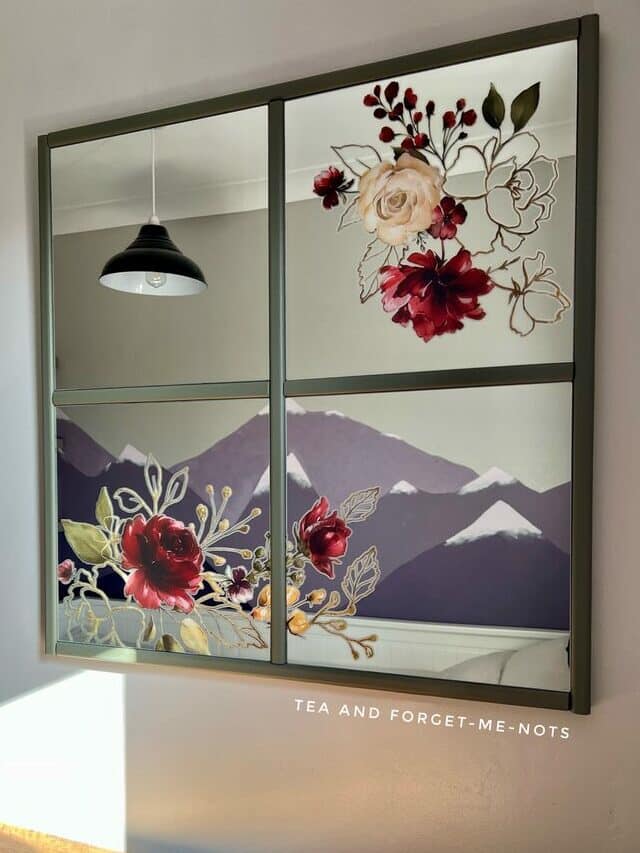
The transfer they liked is called Midnight Floral by Redesign with Prima. And for the paint colour, the perfect choice was Cactus, a muted green.
Here’s when I used Cactus to create a green rainbow!
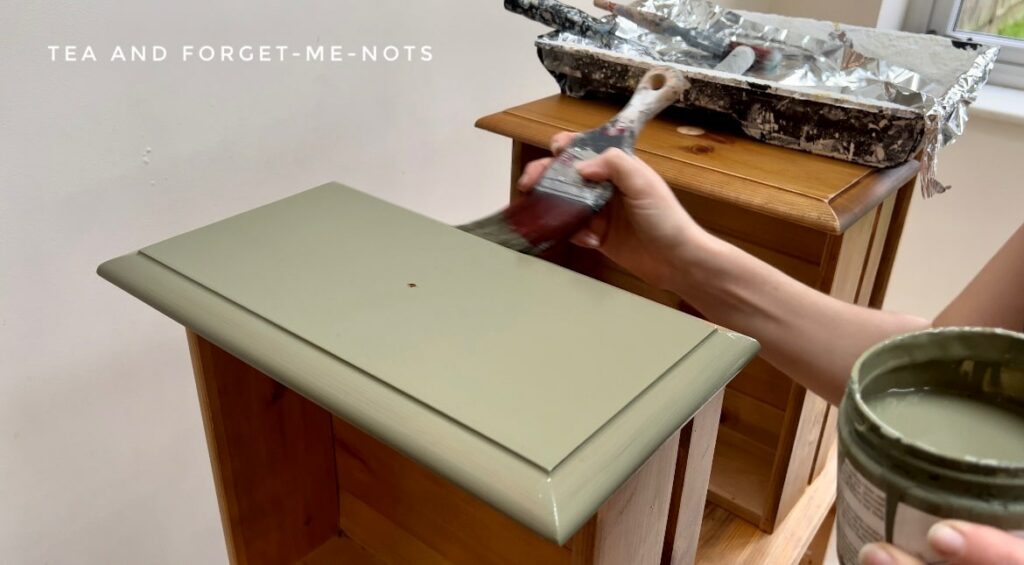
I tend to have a few brushes and a roller on hand when applying paint. The round or smaller brushes for the spindles and the roller for the larger surfaces.
Fortunately, the coverage of Cactus is great. The first coat went on so cleanly that it only needed two coats of paint. And for this small piece, it was finished in no time.
A great way to paint with an easy clean-up is by lining a paint tray with tin foil. It’s best to change this between coats otherwise the old paint dries up and you get flecks in the next layer.
For the second coat, I flipped the entire desk upside down to make sure that I was getting all the areas on the feet nicely. Naturally, I had missed spots. It’s good practice to try and work on pieces at different angles to make sure you paint the whole thing well.
When do you apply a furniture transfer?
Then onto the transfer. Redesign with Prima transfers need to be applied 48 hours to 1 week after the last coat of paint. I waited 36 hours before applying mine.
Here’s when I upcycled a children’s globe with a Redesign transfer!
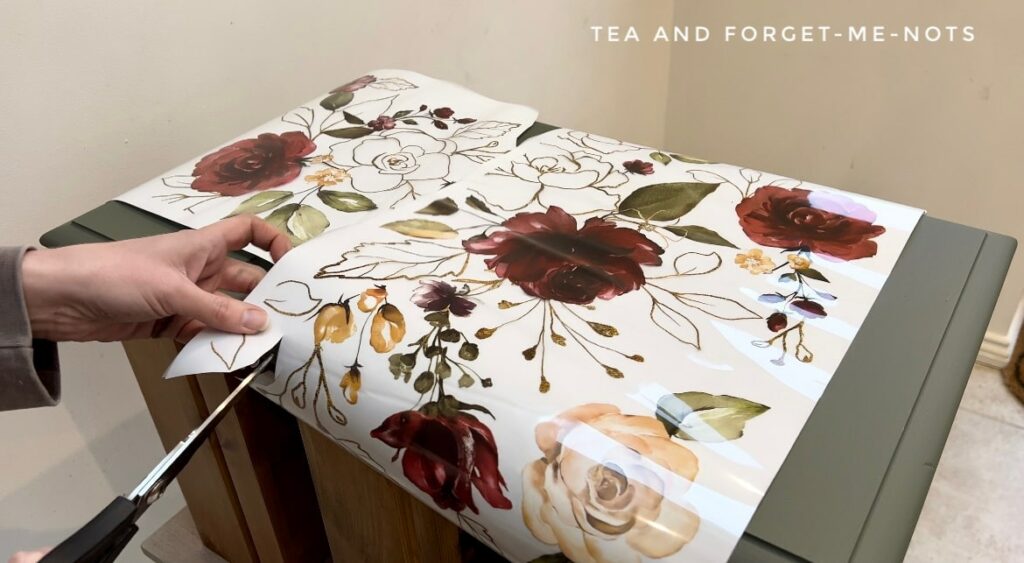
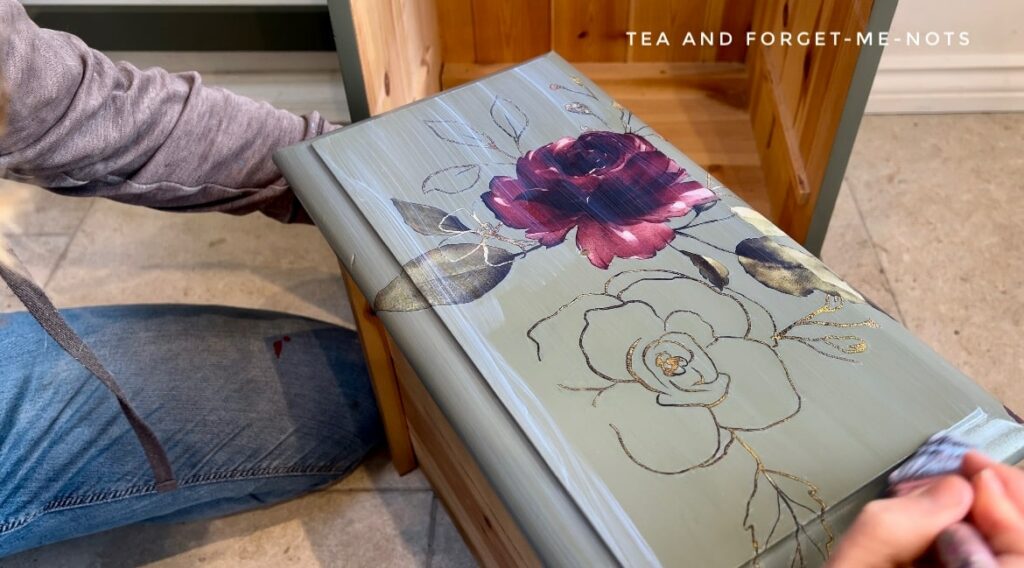
The first thing that I did was take the drawers out to lie them flat on the floor. Then worked out which flowers in the design I was going to use where. It’s much easier to find the perfect place for each transfer without gravity working against you.
Importantly, I only applied the transfer to the first drawer on the floor. For the second and third drawers, I put them back into the wooden desk.
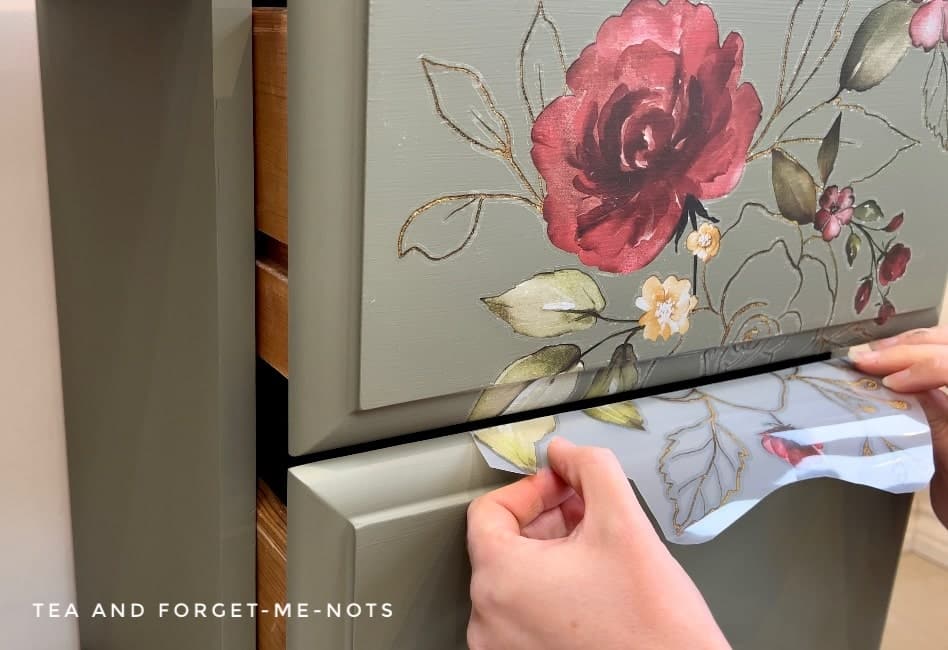
This is because drawers are rarely perfectly lined up. If you apply a transfer where the pattern crosses two drawers, you need to line them up when they are in place.
You can see how misaligned these drawers are. If I put the transfer on with them all perfectly in line on the floor, it would have been out of line when they were back in place.
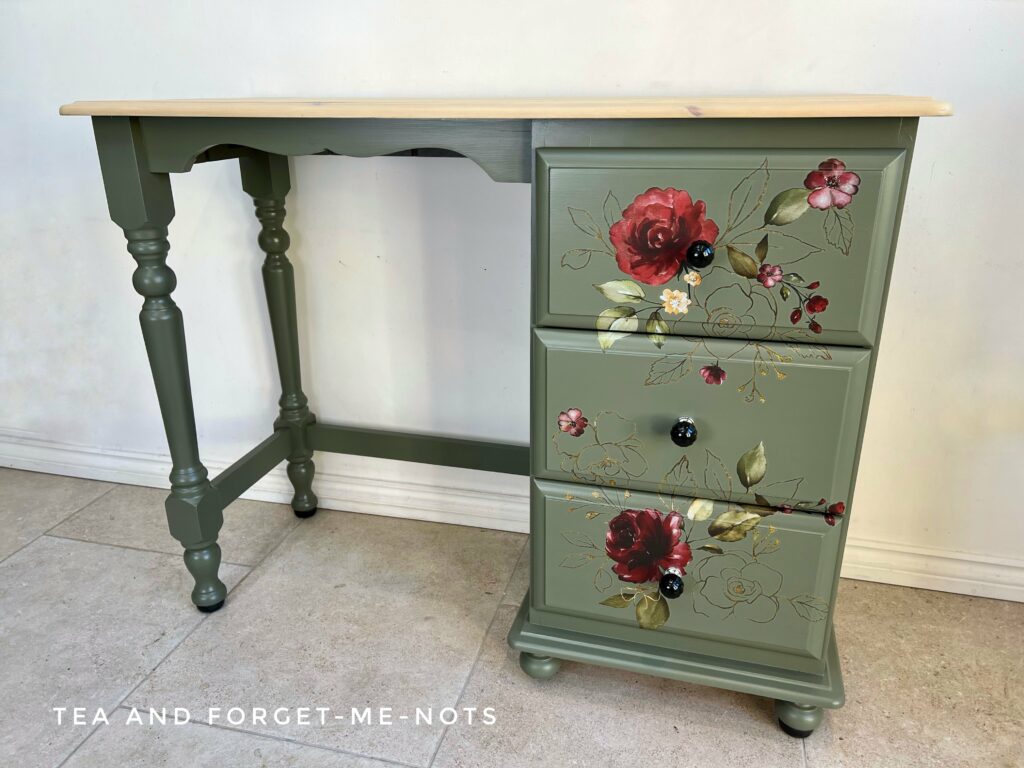
I chose two of the bigger sets of flowers for the top and bottom drawers. With a pattern that flowed across into the center drawer. So it was impactful but not too overwhelming.
I applied it with a felt-edge squeegee. Taking extra care where the ridges were to get the transfer into the edges. These are the places it’s most likely to tear.
The new desk owner wanted some of the transfer on the top of the desk. But transfers are more decorative than durable. However, I did add a small floral transfer to the corner which hopefully will last well.
What do you use to seal paint?
While Cactus does have a built-in sealer, the transfer still needed protecting. I did two coats of Clear Coat in Satin as a top coat. Which gave the piece a lovely satin finish. I also added the protective topcoat to the desk top.
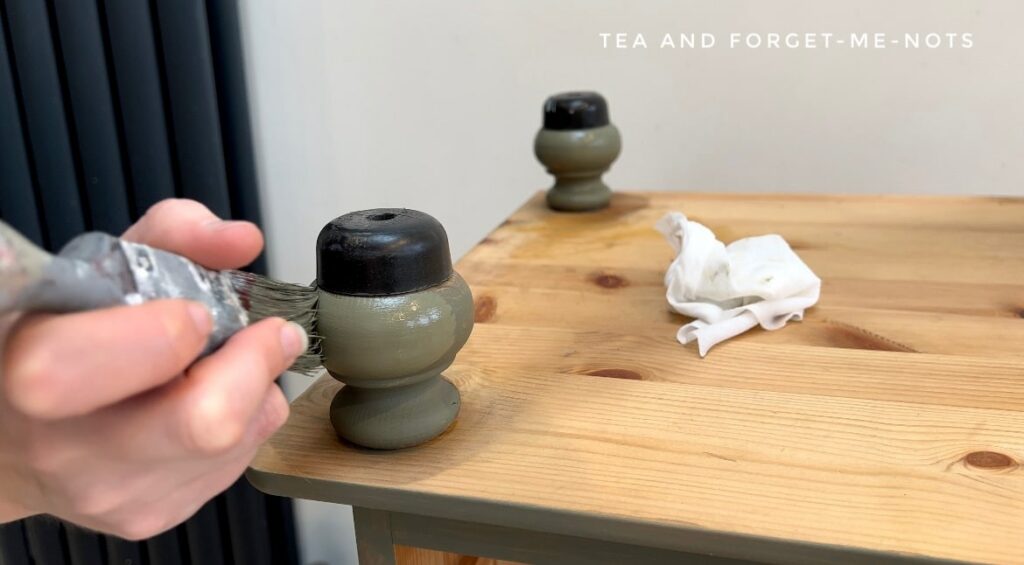
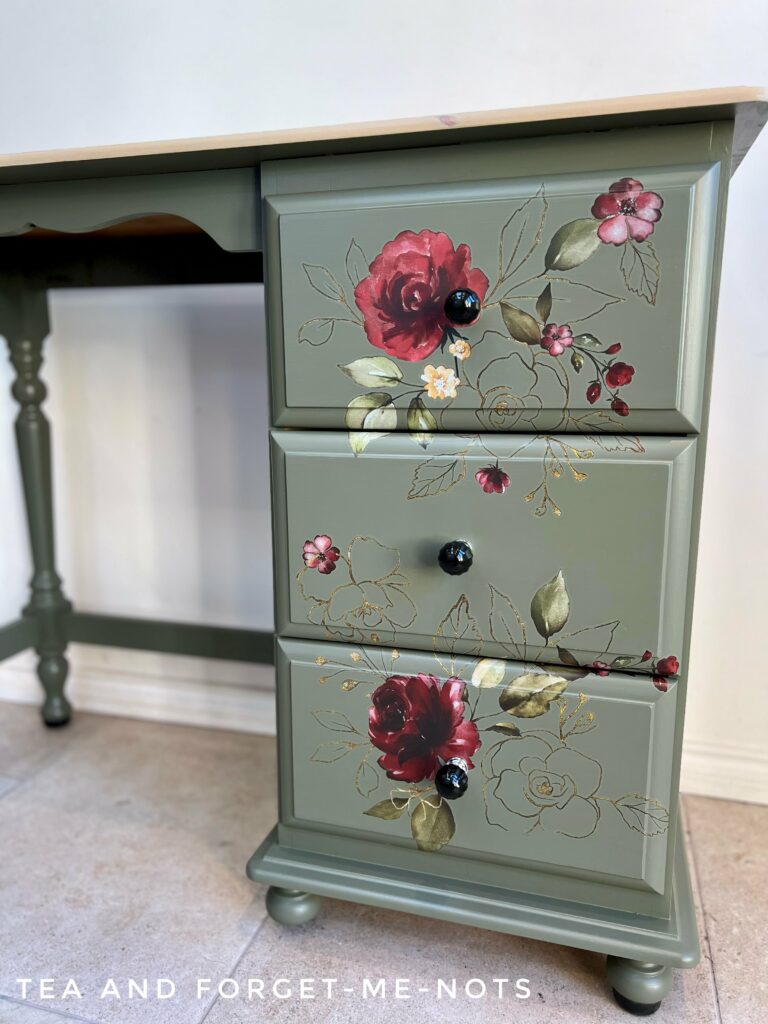
Then for the new hardware. The original hardware was large wooden circles. I removed them because they were no longer the same colour as the stripped wood top.
I thought black would look more sophisticated with this new design. So, I chose these black knobs with a subtle pumpkin shape. They’re almost circular, with indents around the edge to give them a more organic look.
But as the drawer fronts were so thick, I had to use the screws from the old hardware to make them fit in. It was an additional cost but they’re a much better style for its new life as an elegant desk.
DIY Desk Makeover – the finished piece
Excitingly, the new owner of this desk will see the makeover for the first time when the YouTube video comes out. They, of course, chose the design and colour, but the result is a surprise.
It’s a huge difference!
I think they’ll love it but keep your fingers crossed.
Here’s to all the hard work and creative ideas that will take place at this new desk for years to come.
Without the new drawer pulls and the transfer, this project didn’t cost much money at all. You’d be able to create something similar with a fresh coat of paint on a tight budget.
If you enjoyed this DIY desk makeover you might like to see this great project with transfers. Which took a whopping 6 hours to apply!
Pin it for later – DIY Desk Makeover

If you loved this project, you’ll love these projects too:
Did you make something similar?
I love seeing what you do. Please mention @teaandforgetmenots and share your creations with me!

Hi there! I'm Rachel Bowyer, a passionate DIY enthusiast with a knack for transforming the old into something beautifully new. With a deep love for furniture painting, refinishing, and the art of crafting. I've been documenting my DIY projects and restoration journey since 2018. I specialise in techniques like decoupage, stencilling, and decor transfers. Join me as we explore the world of creativity and home improvement, one project at a time.
Rachel, this is such a fabulous makeover! I love the color you painted it and the transfer is gorgeous! You do such great work!
Thanks, Donna, you’re very kind.
Oh WOW!!! That turned out beautifully. I love that transfer. So dramatic and elegant, I’m sure it will to be treasured for many years
Thanks for your kind words, Michelle, I really hope so.