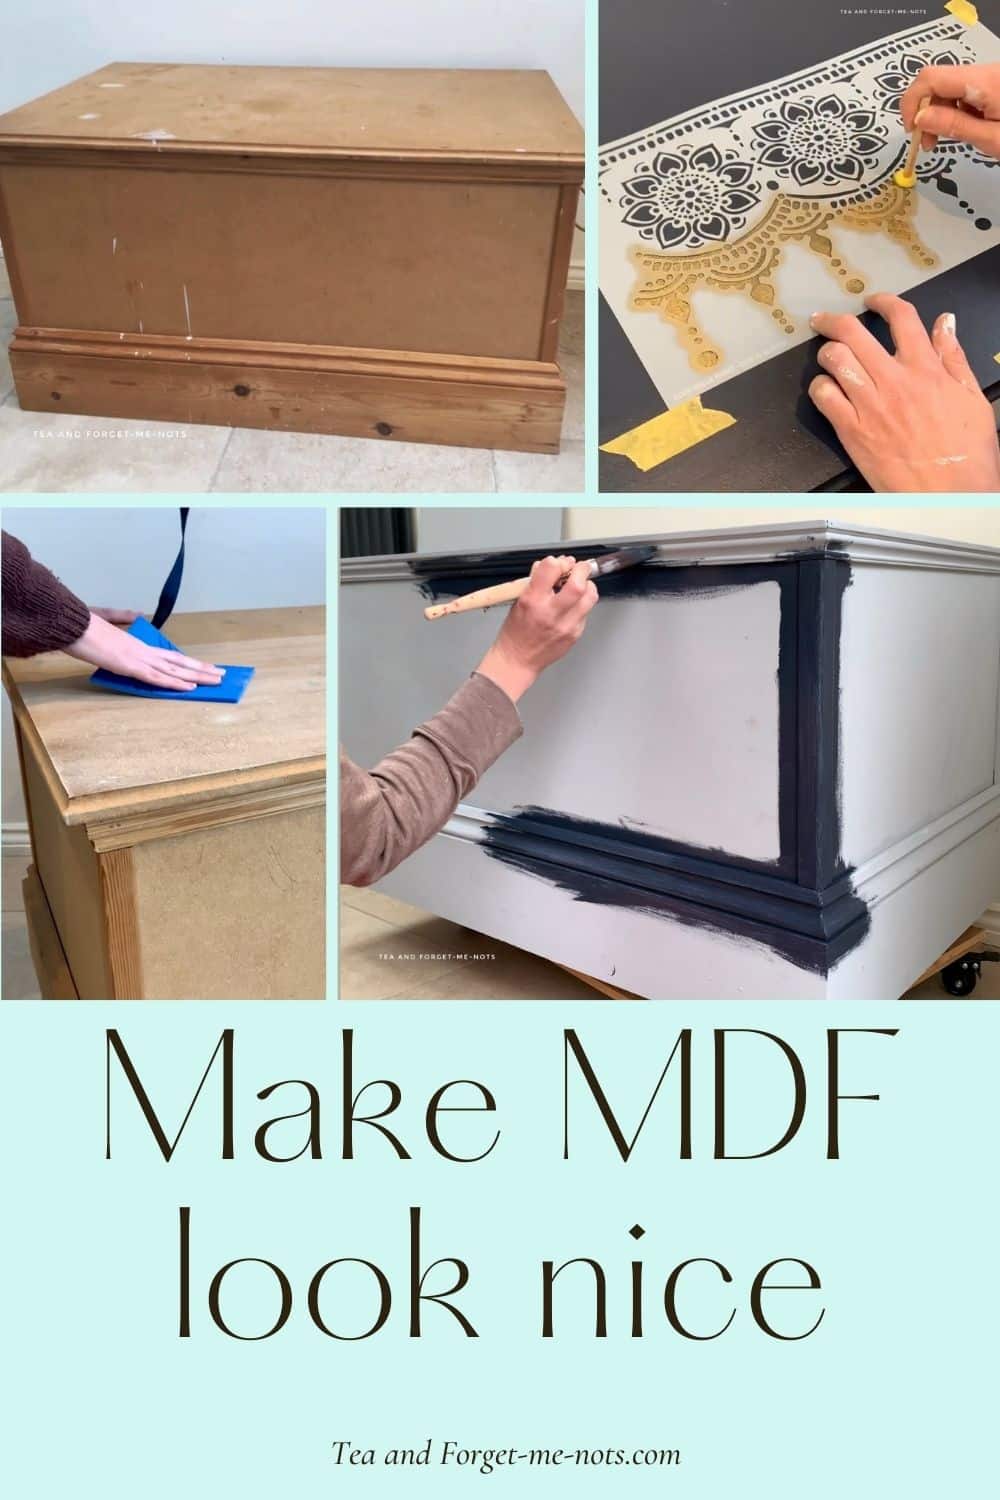
How To Paint MDF Furniture To Make It Look Good
Can you paint MDF Furniture to look good? Yes! But MDF isn’t solid wood. So, you need to know the right products to use to paint it successfully.
MDF is a budget-friendly option but not very pretty.
There are a few things you need to think about when painting MDF boards. Otherwise, there’s a good chance that it won’t last and will be a waste of time and effort.
However, a lick of paint and some decoration goes a long way to help make medium-density fiberboard (MDF) look nice.
How to Paint a MDF Chest Step by Step
See the full MDF Painting step by step video tutorial
Materials you’ll need
Step by Step Instructions
Step 1: Find MDF furniture to paint
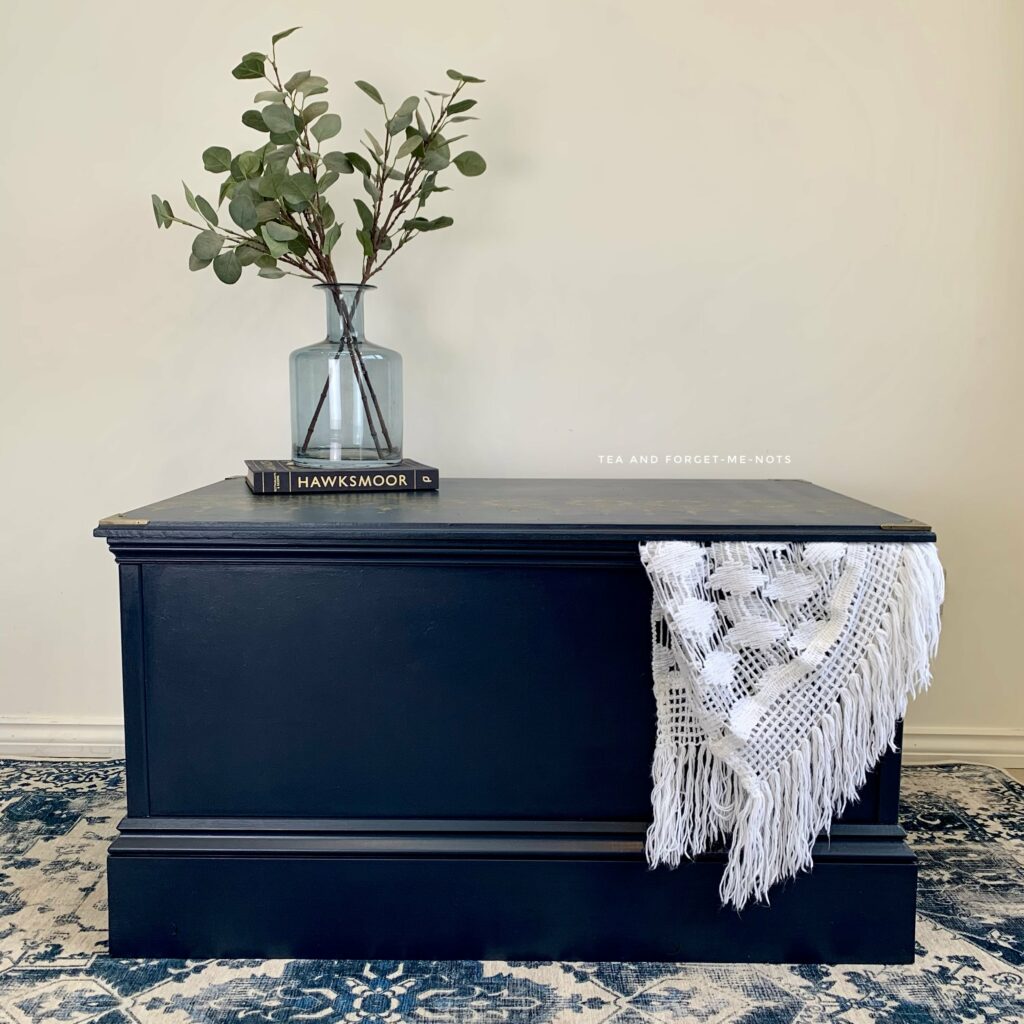
This MDF chest was free on Freecycle.
These types of pieces are often easy to find and affordable. Which is why you shouldn’t overlook them.
They may not be attractive now. But you can make them look good!
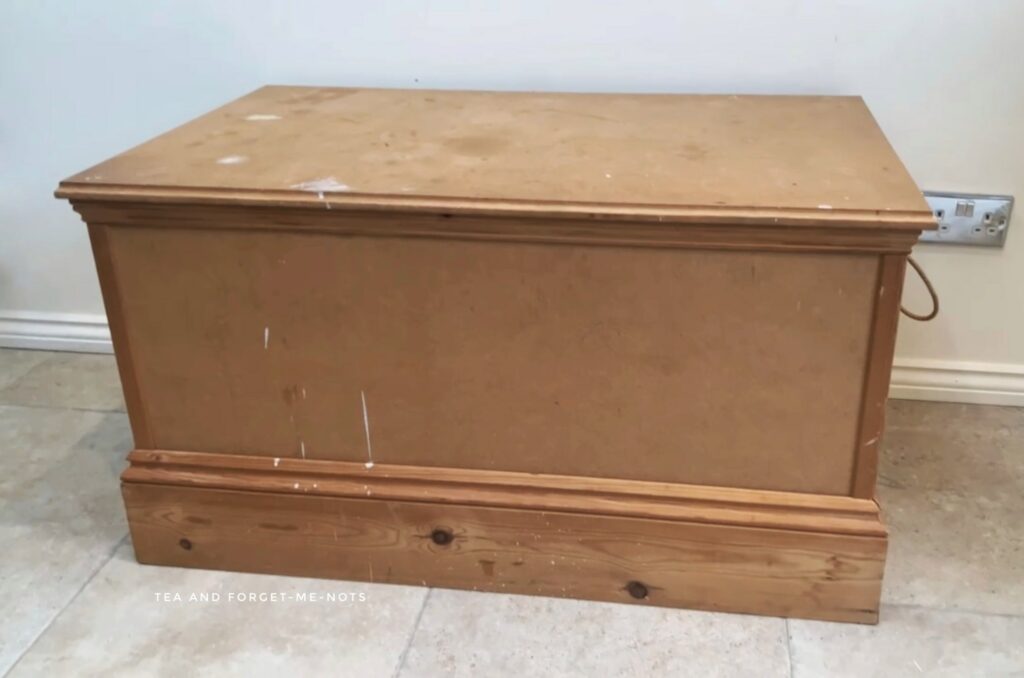
The chest was really heavy due to the MDF and solid wood trim. So much so, that the rope handles looked like that they might break at some point.
It was a handmade gift for someone’s mum, based on a message written under the lid. So, it had a nice story behind it and clearly love had gone into making it.

But because it was big, heavy and not the prettiest, it was eventually given away.
Here are 5 other places to find free furniture!
Step 2: Should you clean or sand MDF before painting?
Unless something is really dirty, you shouldn’t wash MDF. The best way to prep the surface if it’s uneven is to lightly sand it and then remove the dust.
If you don’t need to smooth the surface, that’s ideal. Simply wipe it over with a cloth.
For the first step, you can use a sandpaper like R.A.D pad by SurfPrep, in the fine grit. Which is approximately 220-grit sandpaper.
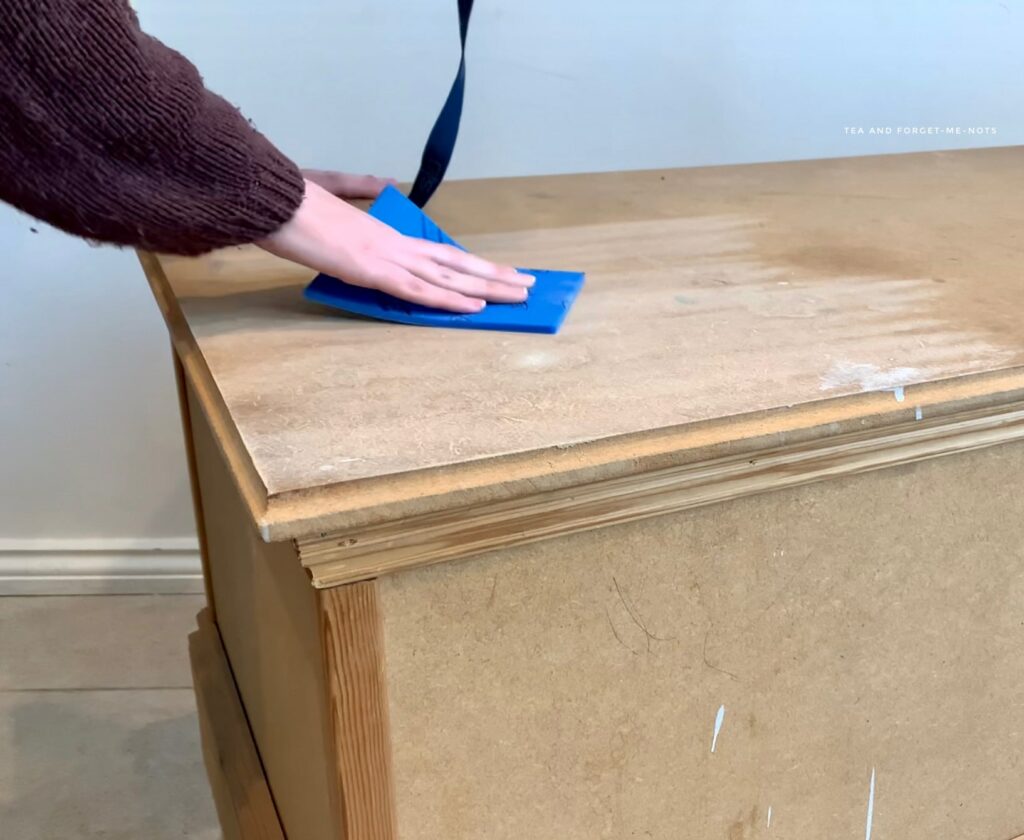
They’re a good idea as they have foam backing.
I find this style comfortable to use and it moulds well around different shapes, like the wooden trim.
Step 3: Does MDF need to be primed?
As MDF is basically wood fibres glued together, water damage is a risk so it needs to be primed.
Priming has two purposes, to create a barrier between the MDF and the paint so that it doesn’t cause the wood fibres to swell and create bubbles.
This needs to be a non-water-based primer. Which means a solvent-based primer (also known as an oil-based primer).
And secondly, primer is good for lower-quality wooden surfaces. This is because they’re generally more absorbent. This means that it takes more paint to get good coverage.
The first coat of primer was important to stop the MDF from swelling and to avoid using more paint than necessary.
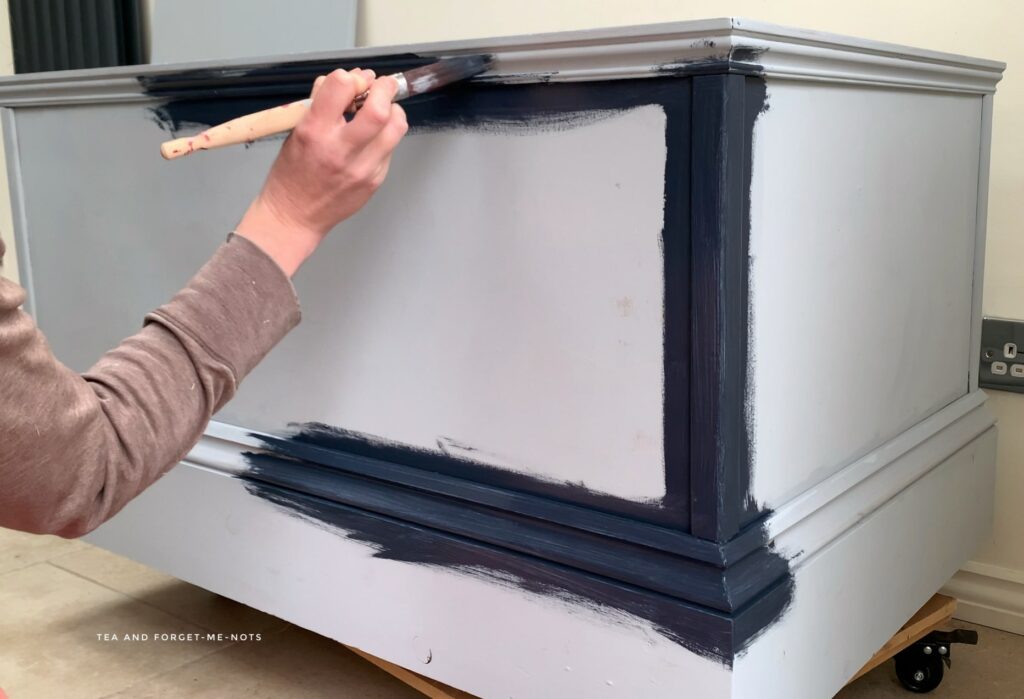
Step 4: What type of paint is the best for MDF furniture?
As long as you have primed with non-water-based paint, you can use any paint for MDF. I get the best results with mineral paint for a smooth surface.
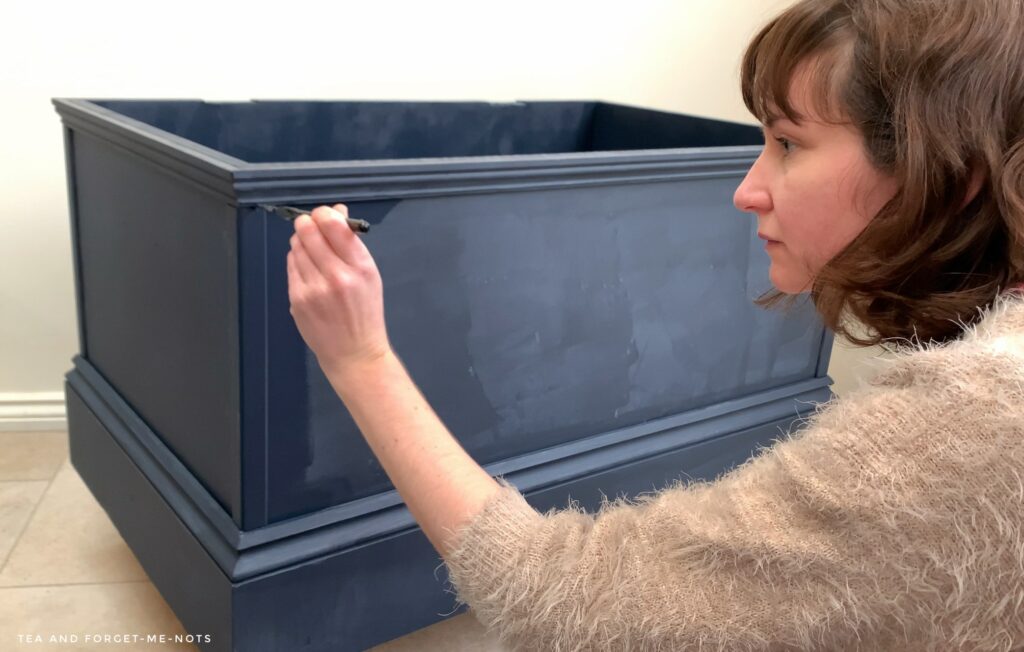
To give this cheap material a more expensive feel, you can choose a rich colour such as this dark navy, Deep Sea.
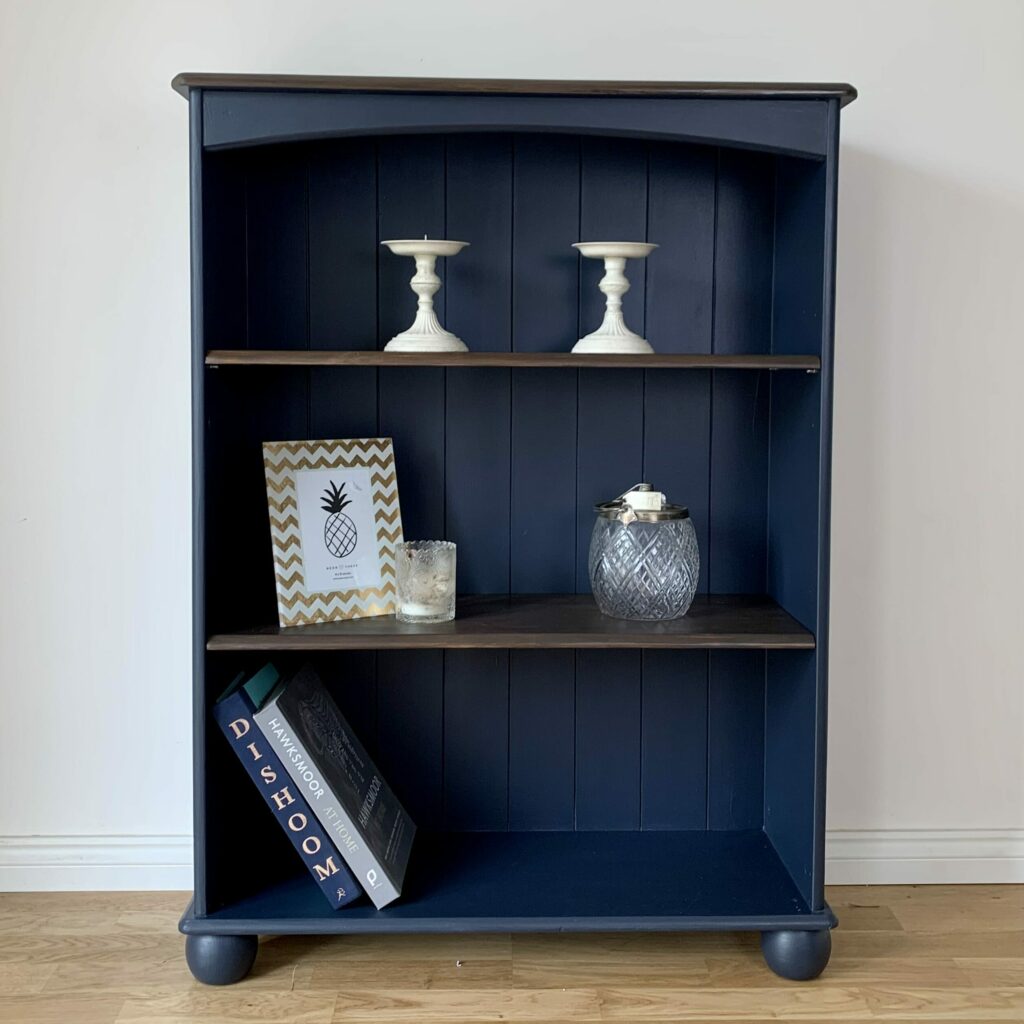
Here’s one of my most-pinned navy blue makeovers.
The MDF areas needed three coats. The real wood trim only needed a second coat.
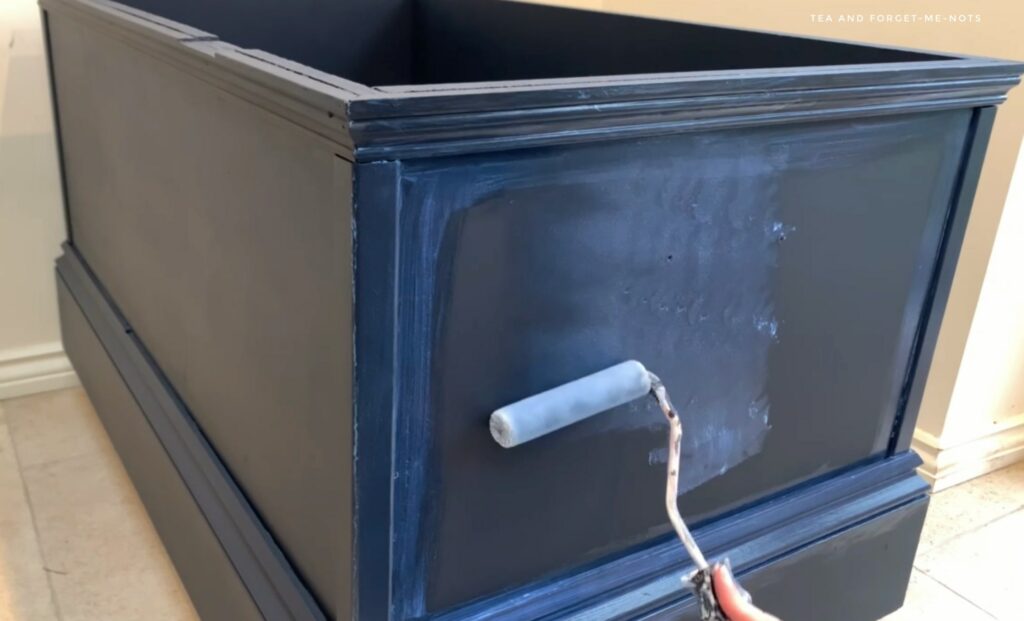
It works well to paint with a combination of brush and roller. Especially because of the different types of surfaces.
For the trim you can use a synthetic brush, and a roller for the large surfaces. Using both at the same time gives me the best smooth finish across the entire surface.
It’s also helpful to line a paint tray with foil to make for a fast clean-up after each day’s painting projects.
A small detail brush is also great for getting into the tiny corners.
Step 5: Should you seal MDF before painting?
For the most durability, ideally you should seal all of your projects. Even if they have a built-in top-coat in the paint. But it was particularly important for this project, to protect the MDF as much as possible.
You should do at least two full applications of a clear coat sealer. This one is Dixie Belle’s Clear Coat in Satin. I chose Satin because of the slightly matte look.
But the glossier the sealer, generally the more protection it offers. It always gives great results.
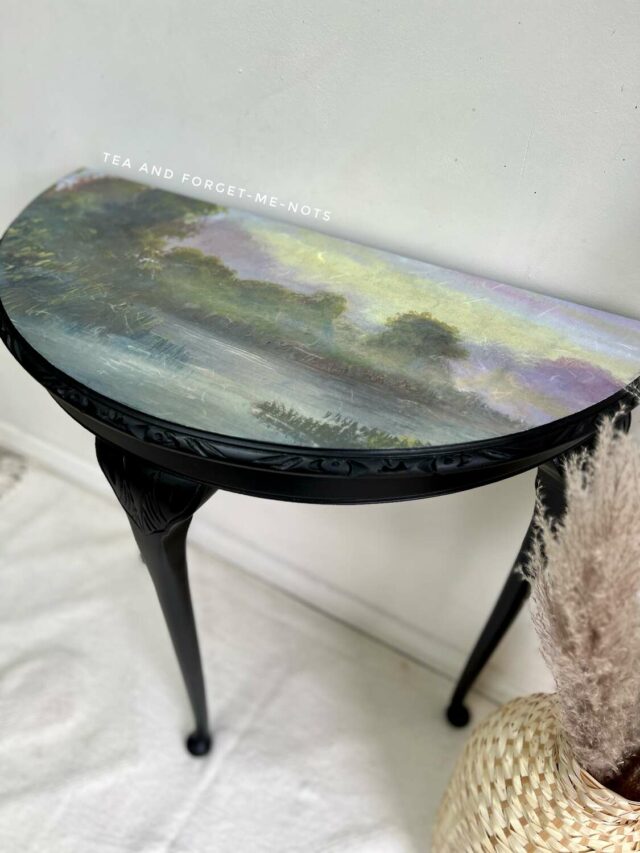
If you’re interested in the gloss top-coat, this is how it looks on these colourful tables.
This top coat added a lovely sheen to the paint which worked well with the extra decorative elements.
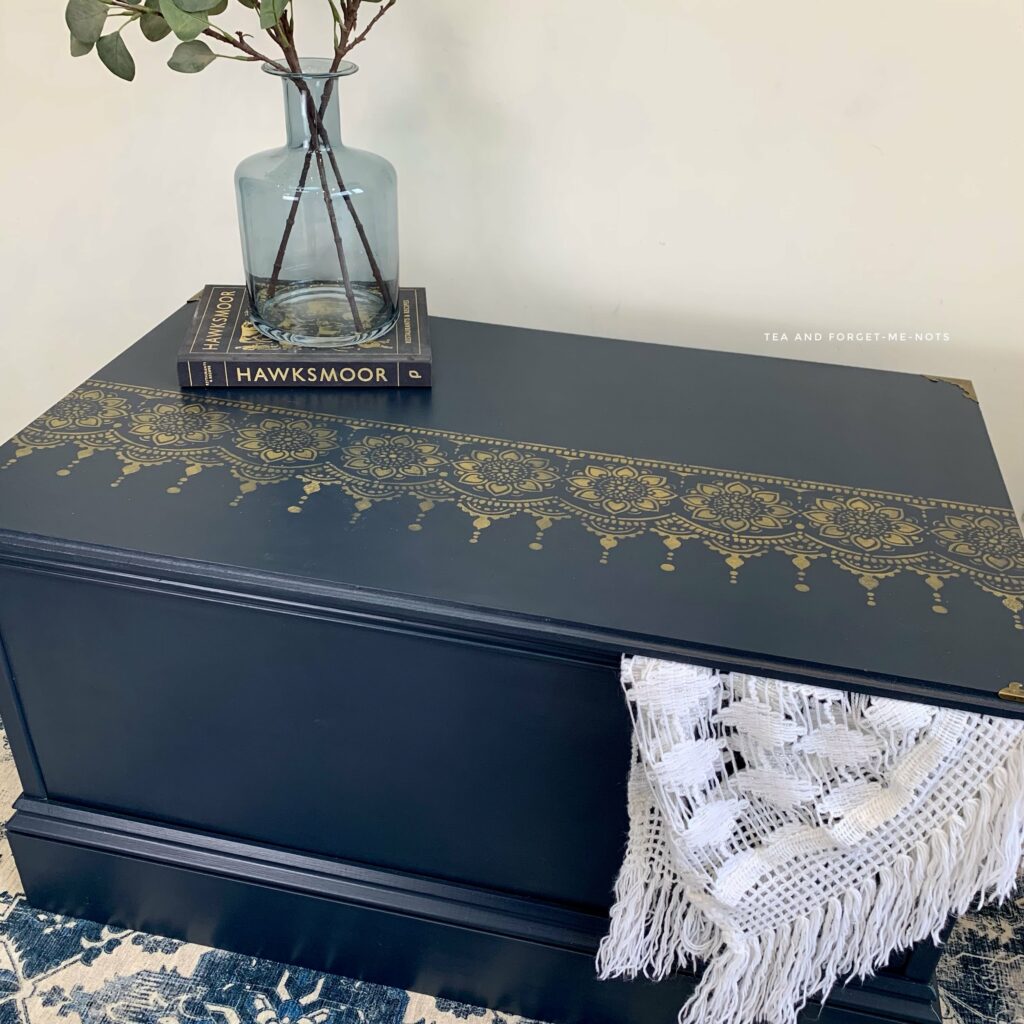
Step 6: Add decorations to make MDF look good
While this chest now has a beautiful deep colour, it was basically a big blue box. So, it needed a little extra something to give it the perfect finish.
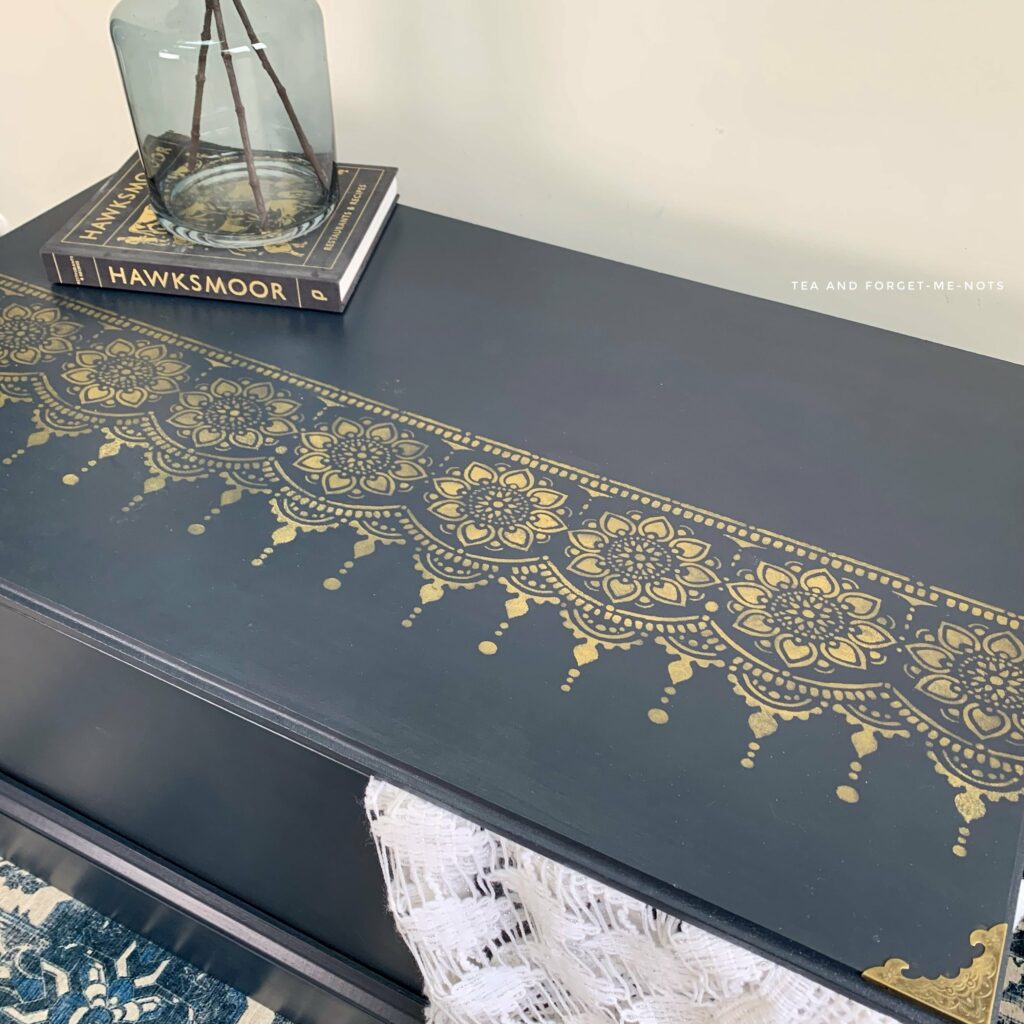
I used the stencil, Lotus Bloom. Which has a mix of floral and Princess Jasmine vibes.
You can secure the stencil with Frog Tape while applying the paint.

To line up the stencil, it’s best to use a tape measure. If you watch the YouTube video you’ll see the back-to-basics method of finding the centre of this chest!
To complement the navy, I used Gemstone Mousse in Gold for the stencil colour. Due to the name, you might think that it would have an airy texture. But it is a thick liquid.
If you’re a fan of golden glamour, check out this popular green side table.
One of the best tools to apply stencils are sponge dabbers. With the bare minimum of paint, simply dab the stencil into place.
Using a stencil with a repeating pattern, you might need several applications to cover a piece. Fortunately, as the layer of the mousse needed to be so minimal, so as not to bleed out of the edges of the stencil, it dried very quickly.
I was able to place the stencil on top of the end flower to match the pattern and continue adding the two extra flowers, almost straight away.
Step 7: Add corner protectors to protect MDF edges
In addition to the stencil, this chest needed corner protectors. MDF is easy to dent the edges of, so this protection will help the most vulnerable areas.
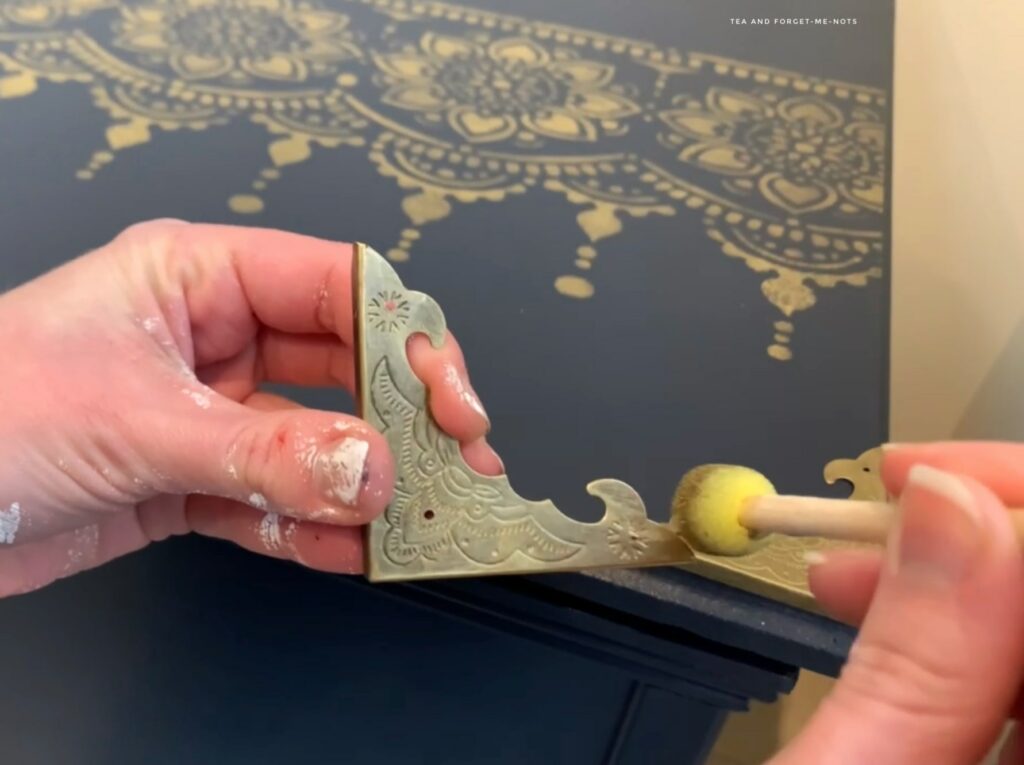
It’s OK if the colour isn’t a perfect match. To tie these bronze corner protectors into the gold look, simply lightly paint them. By lightly brushing them with the same gold paint, you can keep some of the original colour to add dimension.
Step 8: Solid handles for the heavy MDF project
MDF is heavy. So if you have a piece of furniture that is primarily MDF, it will need heavy-duty handles too. Assuming that you need to pick it up like this chest rather than handles for MDF cabinets, for example.
The original rope handles did the job but no longer matched the more glamorous look. These cast iron handles come in a set of two and are reassuringly heavy themselves.
To put less strain on the handles, another great way would be to use wheels or casters.
To attach them, you can use Frog Tape to mark on the back where the screw holes would go. Then put the tape on the chest and use a spirit level to make sure that it is lined up correctly.
Then you can drill holes over the pencil marks, knowing that the handles will be straight.
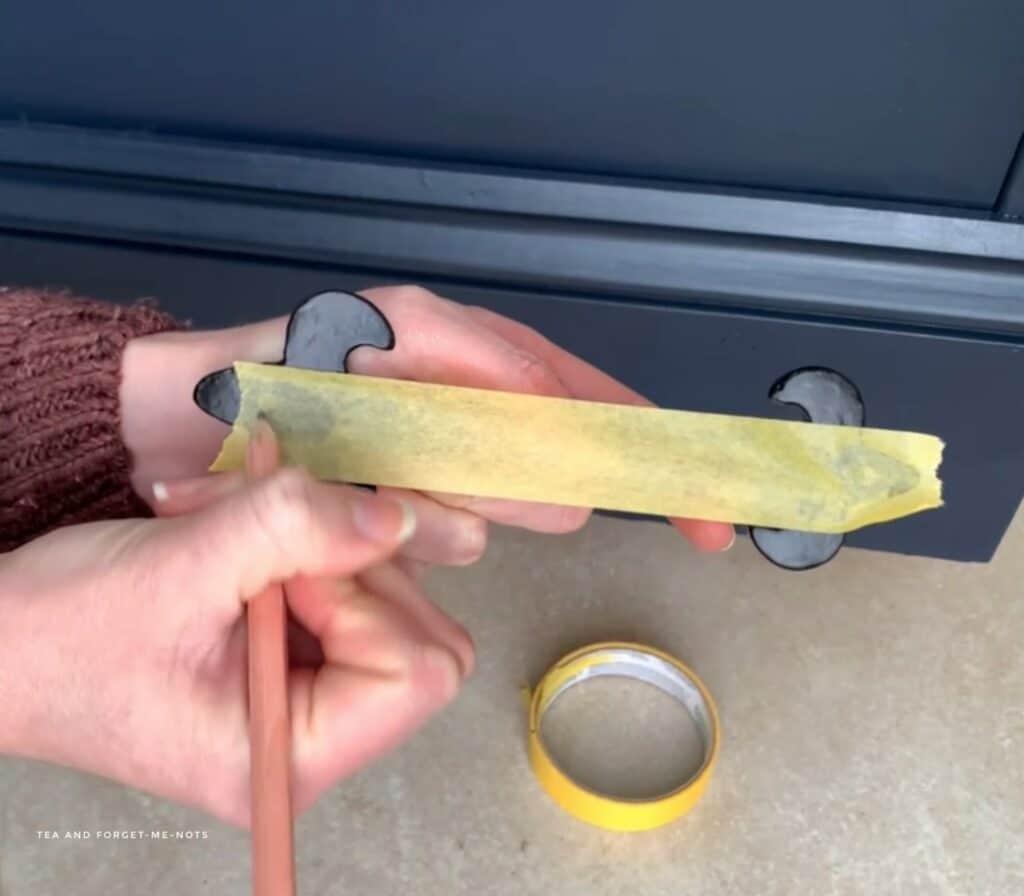
Unfortunately, these handles didn’t come with screws. But you can paint over silver screws with black to match.
To make the black paint last on the metal screw, you can use Slick Stick. Which is a product to use on shiny surfaces to help paint stick to them.
It also works on laminate surfaces like IKEA’s chest of drawers. It mattifies the shiny surfaces so well.
After covering the screw heads with Slick Stick, you can use a dark black, like Anchor, to paint over them. They now blend in perfectly.
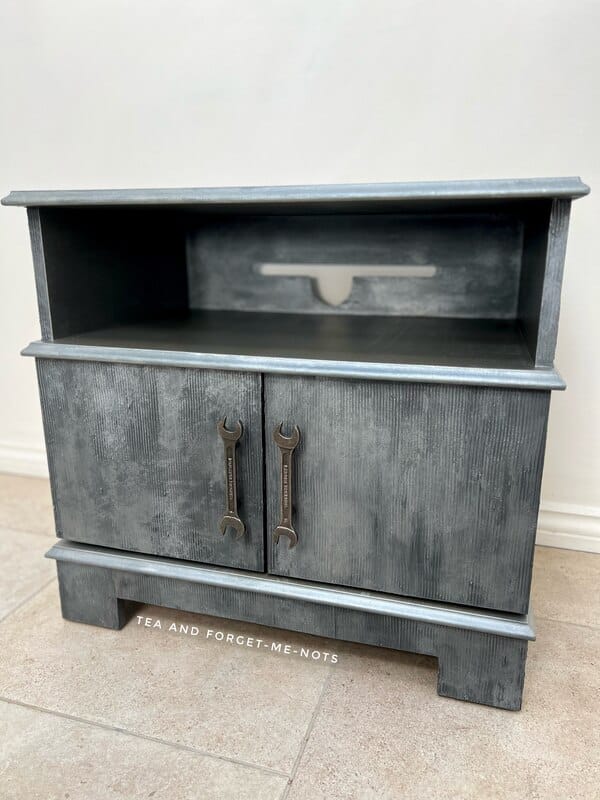
So, can MDF look good painted?
So, can you paint MDF furniture to look nice?
Absolutely. You just have to think about your paint products. You can achieve a smooth paint finish with the right paint types.
I’ll let you be the judge. But I think the transformation is like night and day… Or maybe day and night.
Is it worth it? That depends on the quality that you start with. You can’t make a silk purse out of a sow’s ear, as they say. But you can go a long way to making it a really pretty piece.
Thanks for taking the time to follow this project from start to finish.
I hope it gave you some ideas on how to keep more furniture out of the landfill. Budget materials that are in good condition can still be pretty.
There’s extra time behind the scenes in the YouTube video if you’d like to check that out too.
Answers to Your Questions About Painting MDF Furniture
Q: What is MDF?
A: MDF is an engineered wood product. Made up of small wood fibres from hard and soft woods. Which are bound together under high pressure.
Q: Can you paint medium density fiberboard with latex paint?
A: Latex paint (emulsion in the UK) is a water-based paint. Therefore you can paint MDF with it once it has a first coat of paint or primer with an oil-based paint.
Q: Can you clean MDF?
A: Ideally, clean MDF with just a dry cloth. You can use a damp cloth for stubborn areas. But be cautious as the MDF should ideally not come into direct contact with water-based products.
Q: How do you paint the edges of the MDF?
A: MDF edges will likely be rougher than the surface. To prep it best for paint, you can seal the porous edges with drywall compound first. Alternatively, you can use PVA wood glue (white glue).
This extra step is the best thing to do to get a uniform finish before painting.
If you loved this project, you’ll love these projects too:
Did you paint mdf furniture?
I love seeing what you do. Please mention @teaandforgetmenots and share your creations with me!
Pin it for later – How To Paint MDF Furniture to Look Good

Hi there! I'm Rachel Bowyer, a passionate DIY enthusiast with a knack for transforming the old into something beautifully new. With a deep love for furniture painting, refinishing, and the art of crafting. I've been documenting my DIY projects and restoration journey since 2018. I specialise in techniques like decoupage, stencilling, and decor transfers. Join me as we explore the world of creativity and home improvement, one project at a time.
You did a wonderful job on this project. The end result is beautiful.
Thanks, Paula
Great transformation. Many pass over non-wood because they don’t realize it can be painted. Of course, that’s good for us.
Absolutely. If the condition is good then why not?!
This looks fabulous!
Thank you, that’s kind.
What a beautiful transformation! It looks so elegant now! Well done – love it
Thanks, Crystal, it has come a long way.
It looks amazing. There’s nothing better than giving old furniture new life.
Thanks, Heather, I agree!
Fantastic job! Love the end result.
Thank you, Cindy!
This is lovely! What a difference a little paint and a stencil make, right? So nice to have found your blog, Rachel! We would love you to link-up at Tuesday Turn About! We close tonight at midnight CST, and reopen on Tuesdays at 5pm CST! Hope to see you there each week!
Thanks Julie. I’ll have a look!
Great job on this Rachel! Your idea of using the mousse is so smart – I’m going to try that sometime! Thanks for sharing – pinned 😊
Thanks Cindy. How do you use the mousse? I was thinking of using it on the edge of a mirror.
Thank you for sharing such great info! This is a great transformation! I love it!
Thanks Kim, that’s kind of you to say.
This is a stunning transformation! I love the color you selected and the gold accents are amazing.
I love this and the color. It’s great to recycle an old piece instead of just trashing it.
Thanks so much, Rosemary.
Excellent post! Good information on how to for those pieces we just don’t know what to do with.
Thanks, Linda. Yes there is lots of potential with the less glamorous pieces.