Navy blue transformation of a free bookshelf
Want to transform a free bookshelf from shabby chic (or just shabby) to classic and clean? Here’s how with a navy blue makeover.
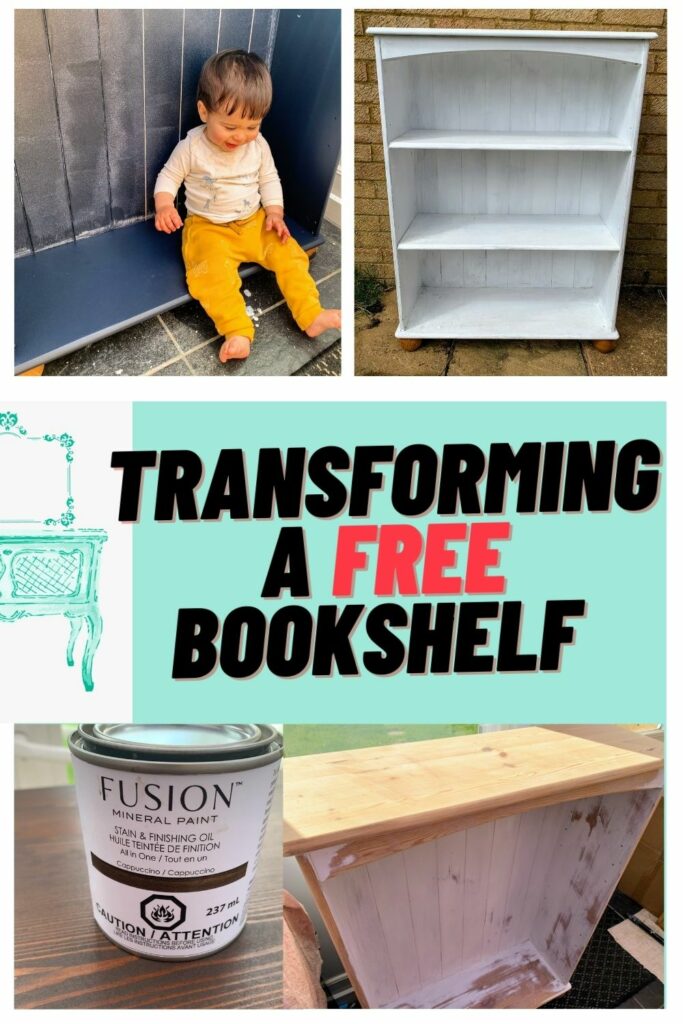
I got this solid pine bookshelf for free. Bargain. Although sometimes a piece that has already been painted is more effort than it’s worth. Not this time, fortunately.
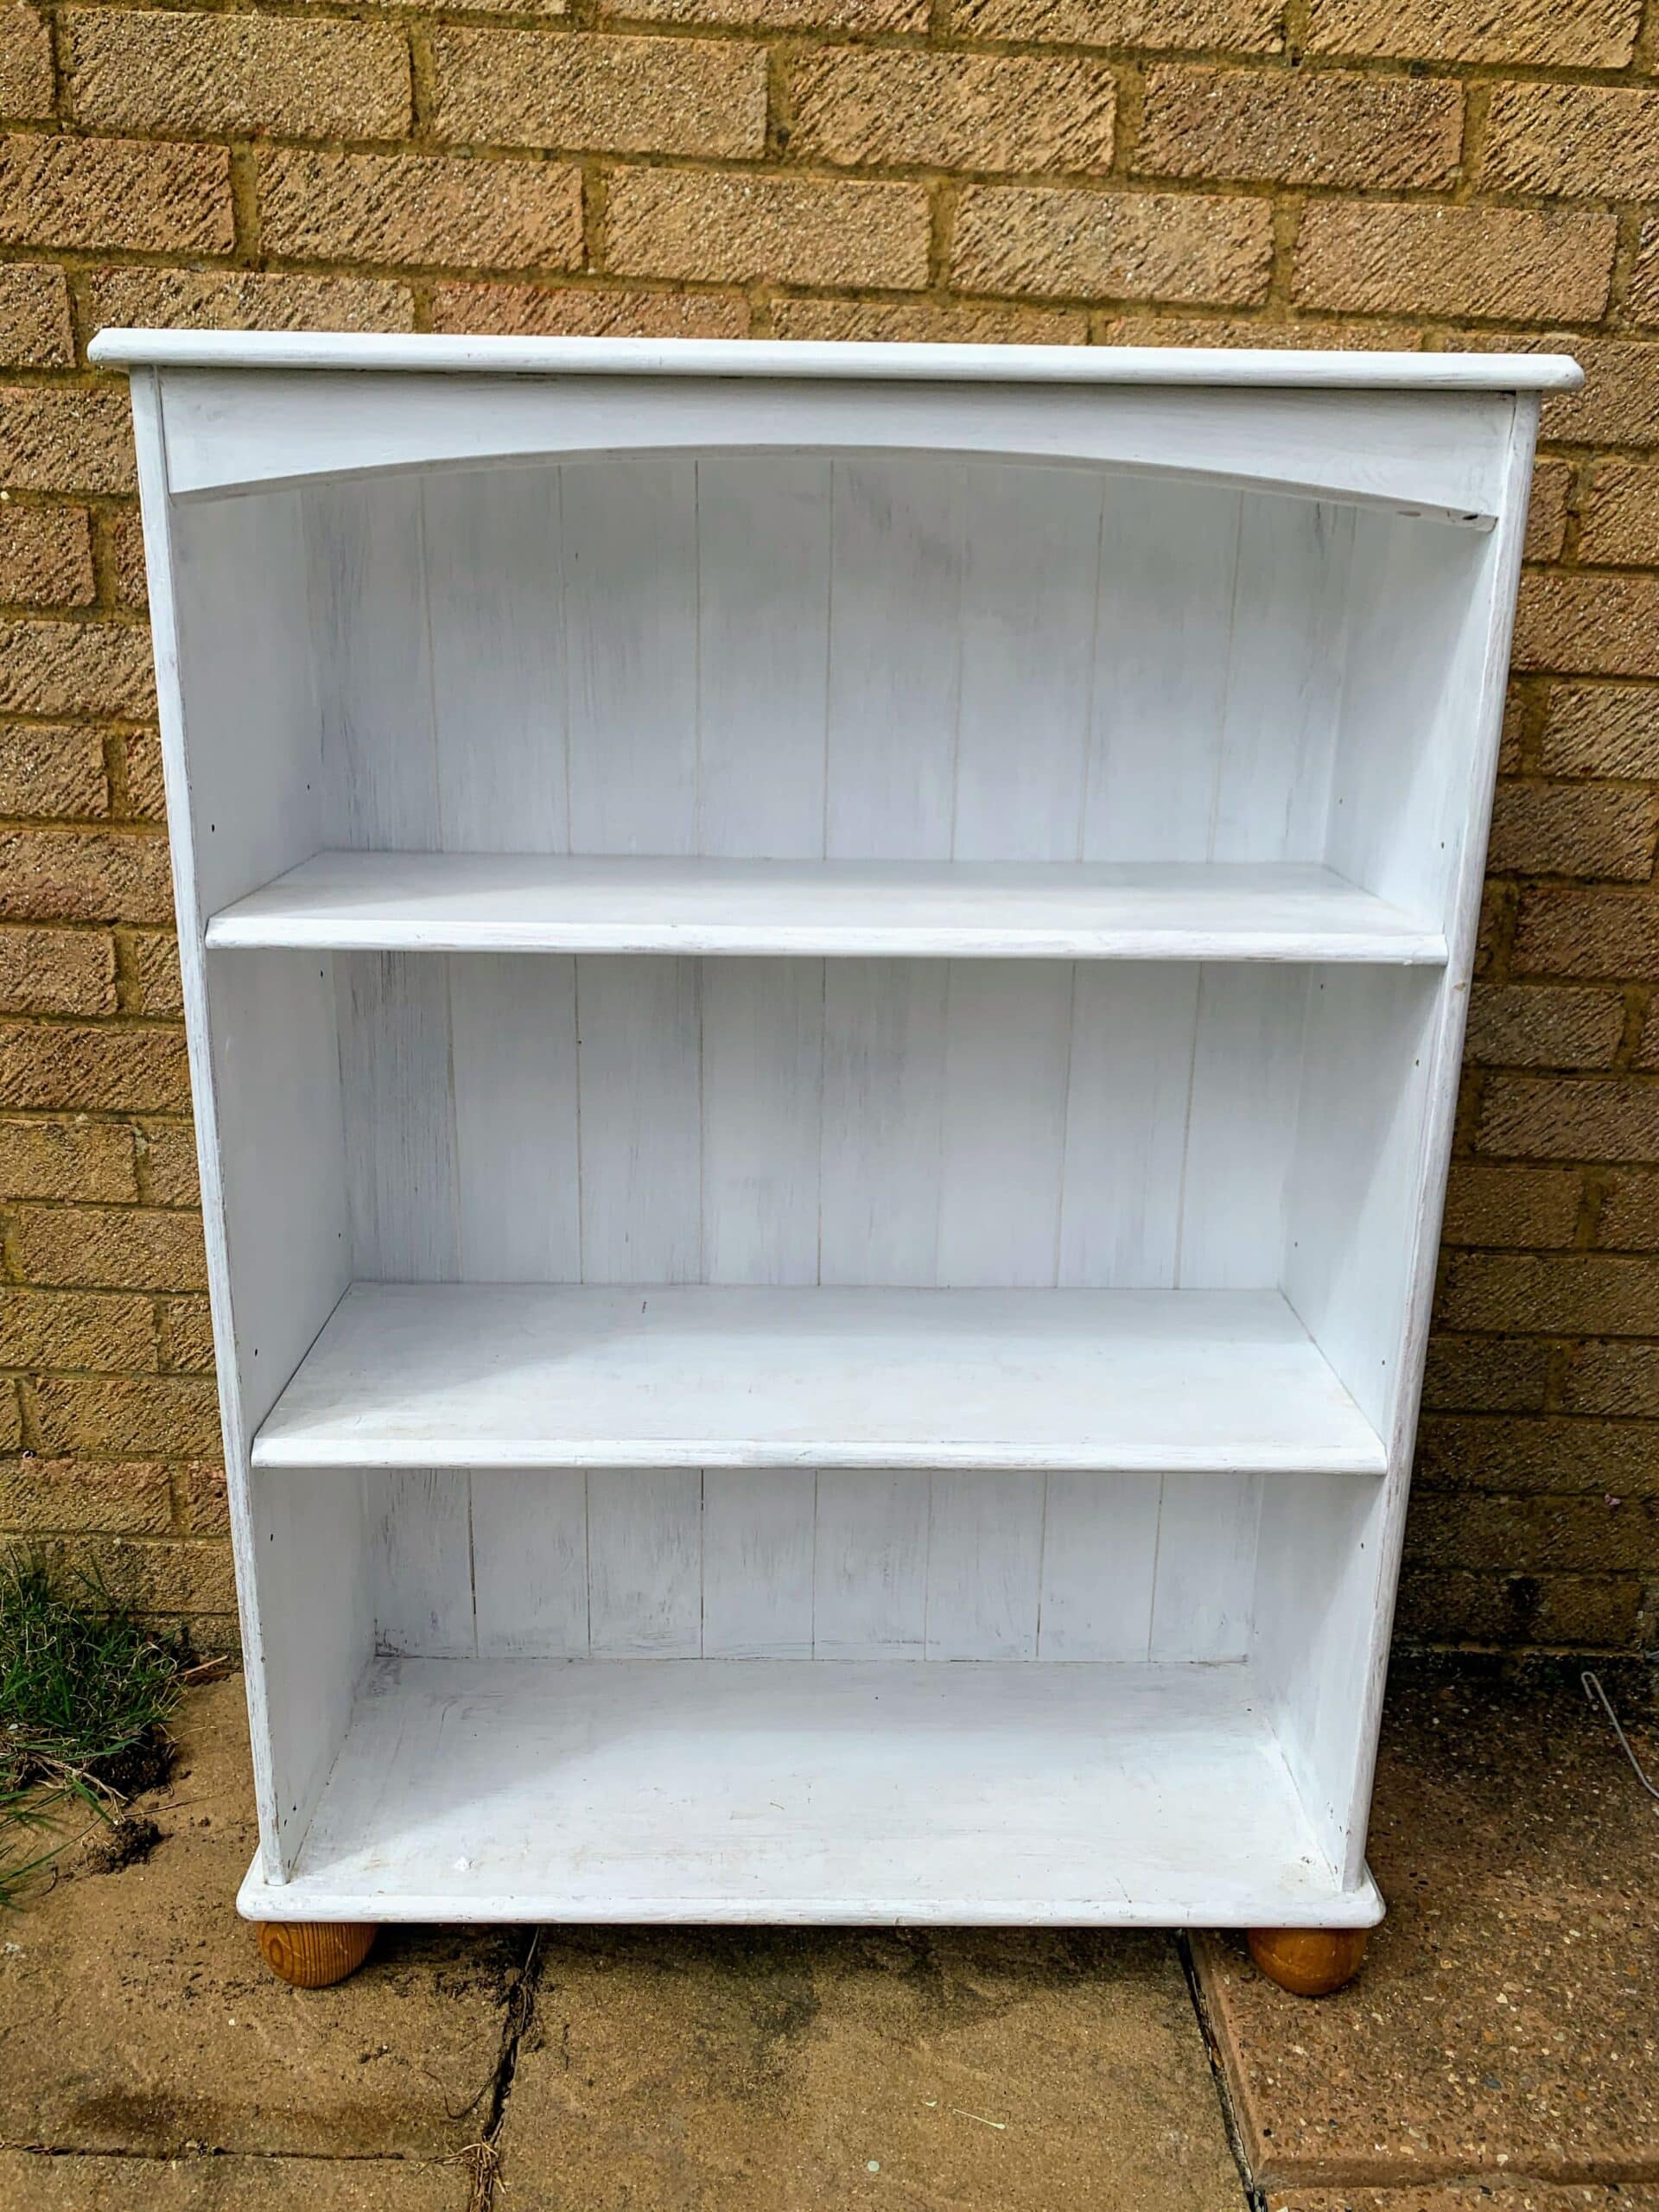
Navy blue transformation of a free bookshelf
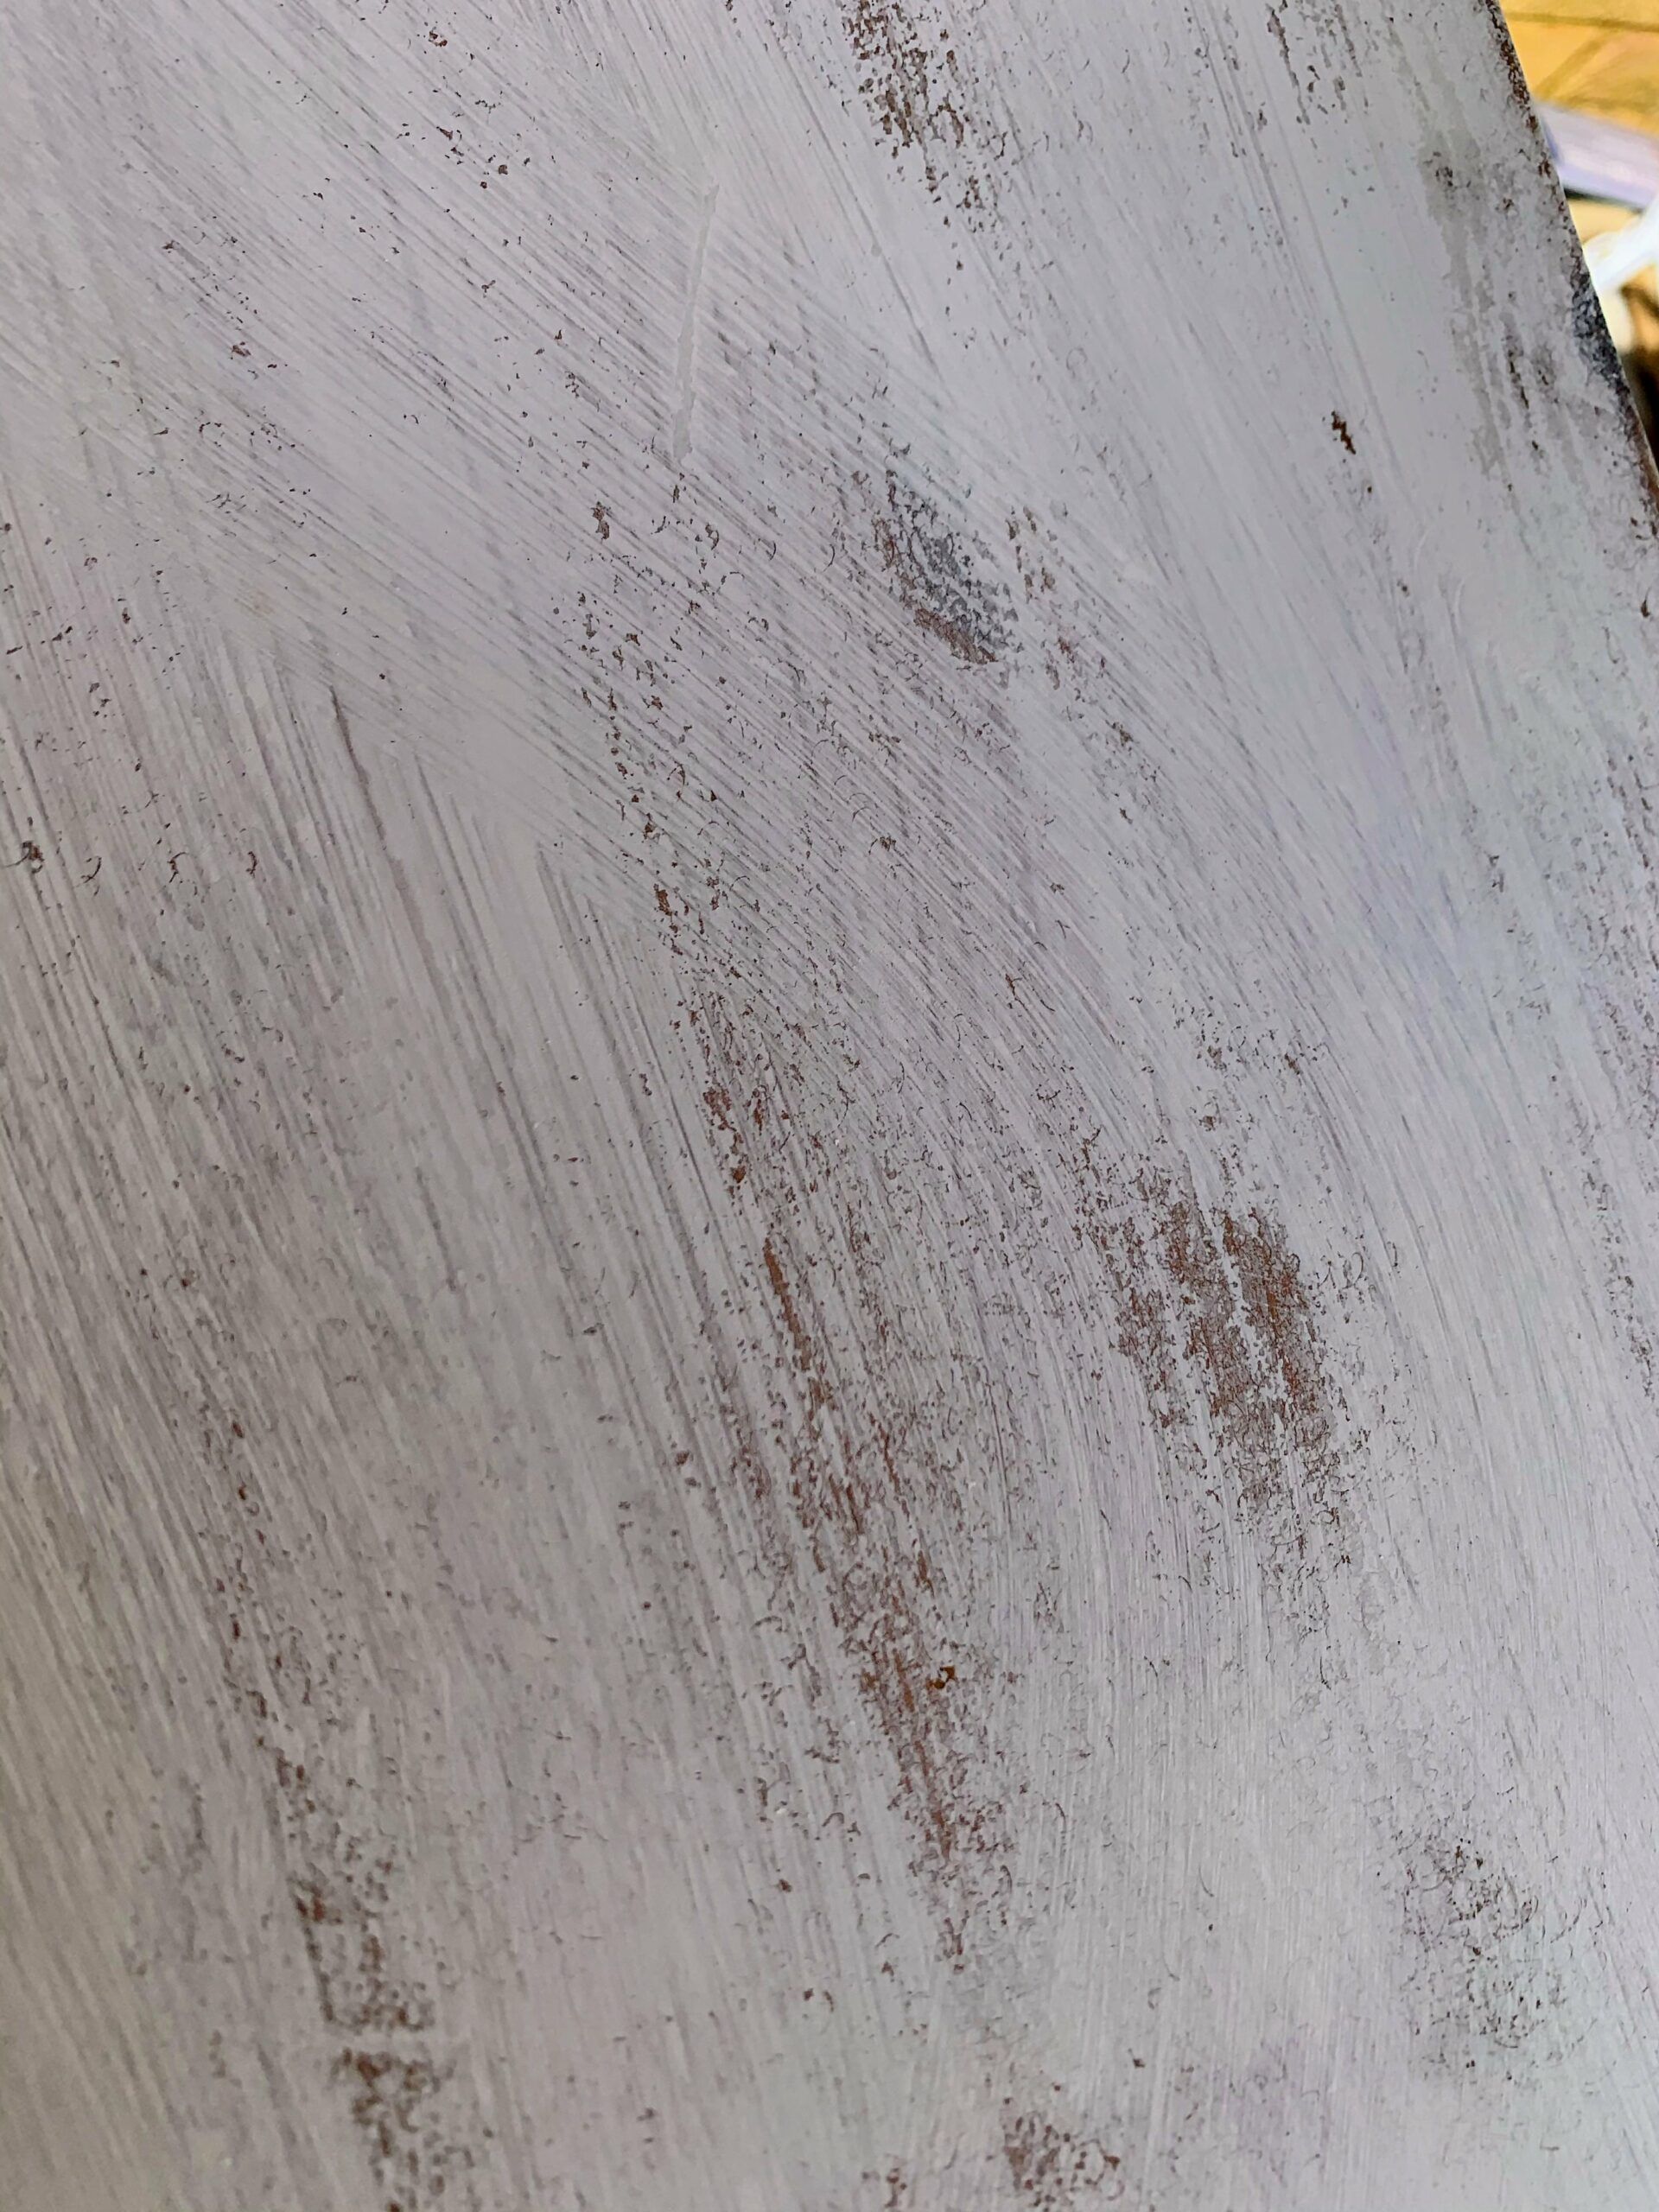
I suspect the previous owner thought this was a shabby chic paint job. Or maybe they just liked this style. You can see from the brush strokes that I wasn’t going to get a smooth finish unless I sanded this paint off first.
This post may include affiliate links so you can easily find the products I love and use myself. If you purchase these products, I may earn a small commission at no extra cost to you.
Here’s a very similar bookshelf with a completely different end result.
The preparation
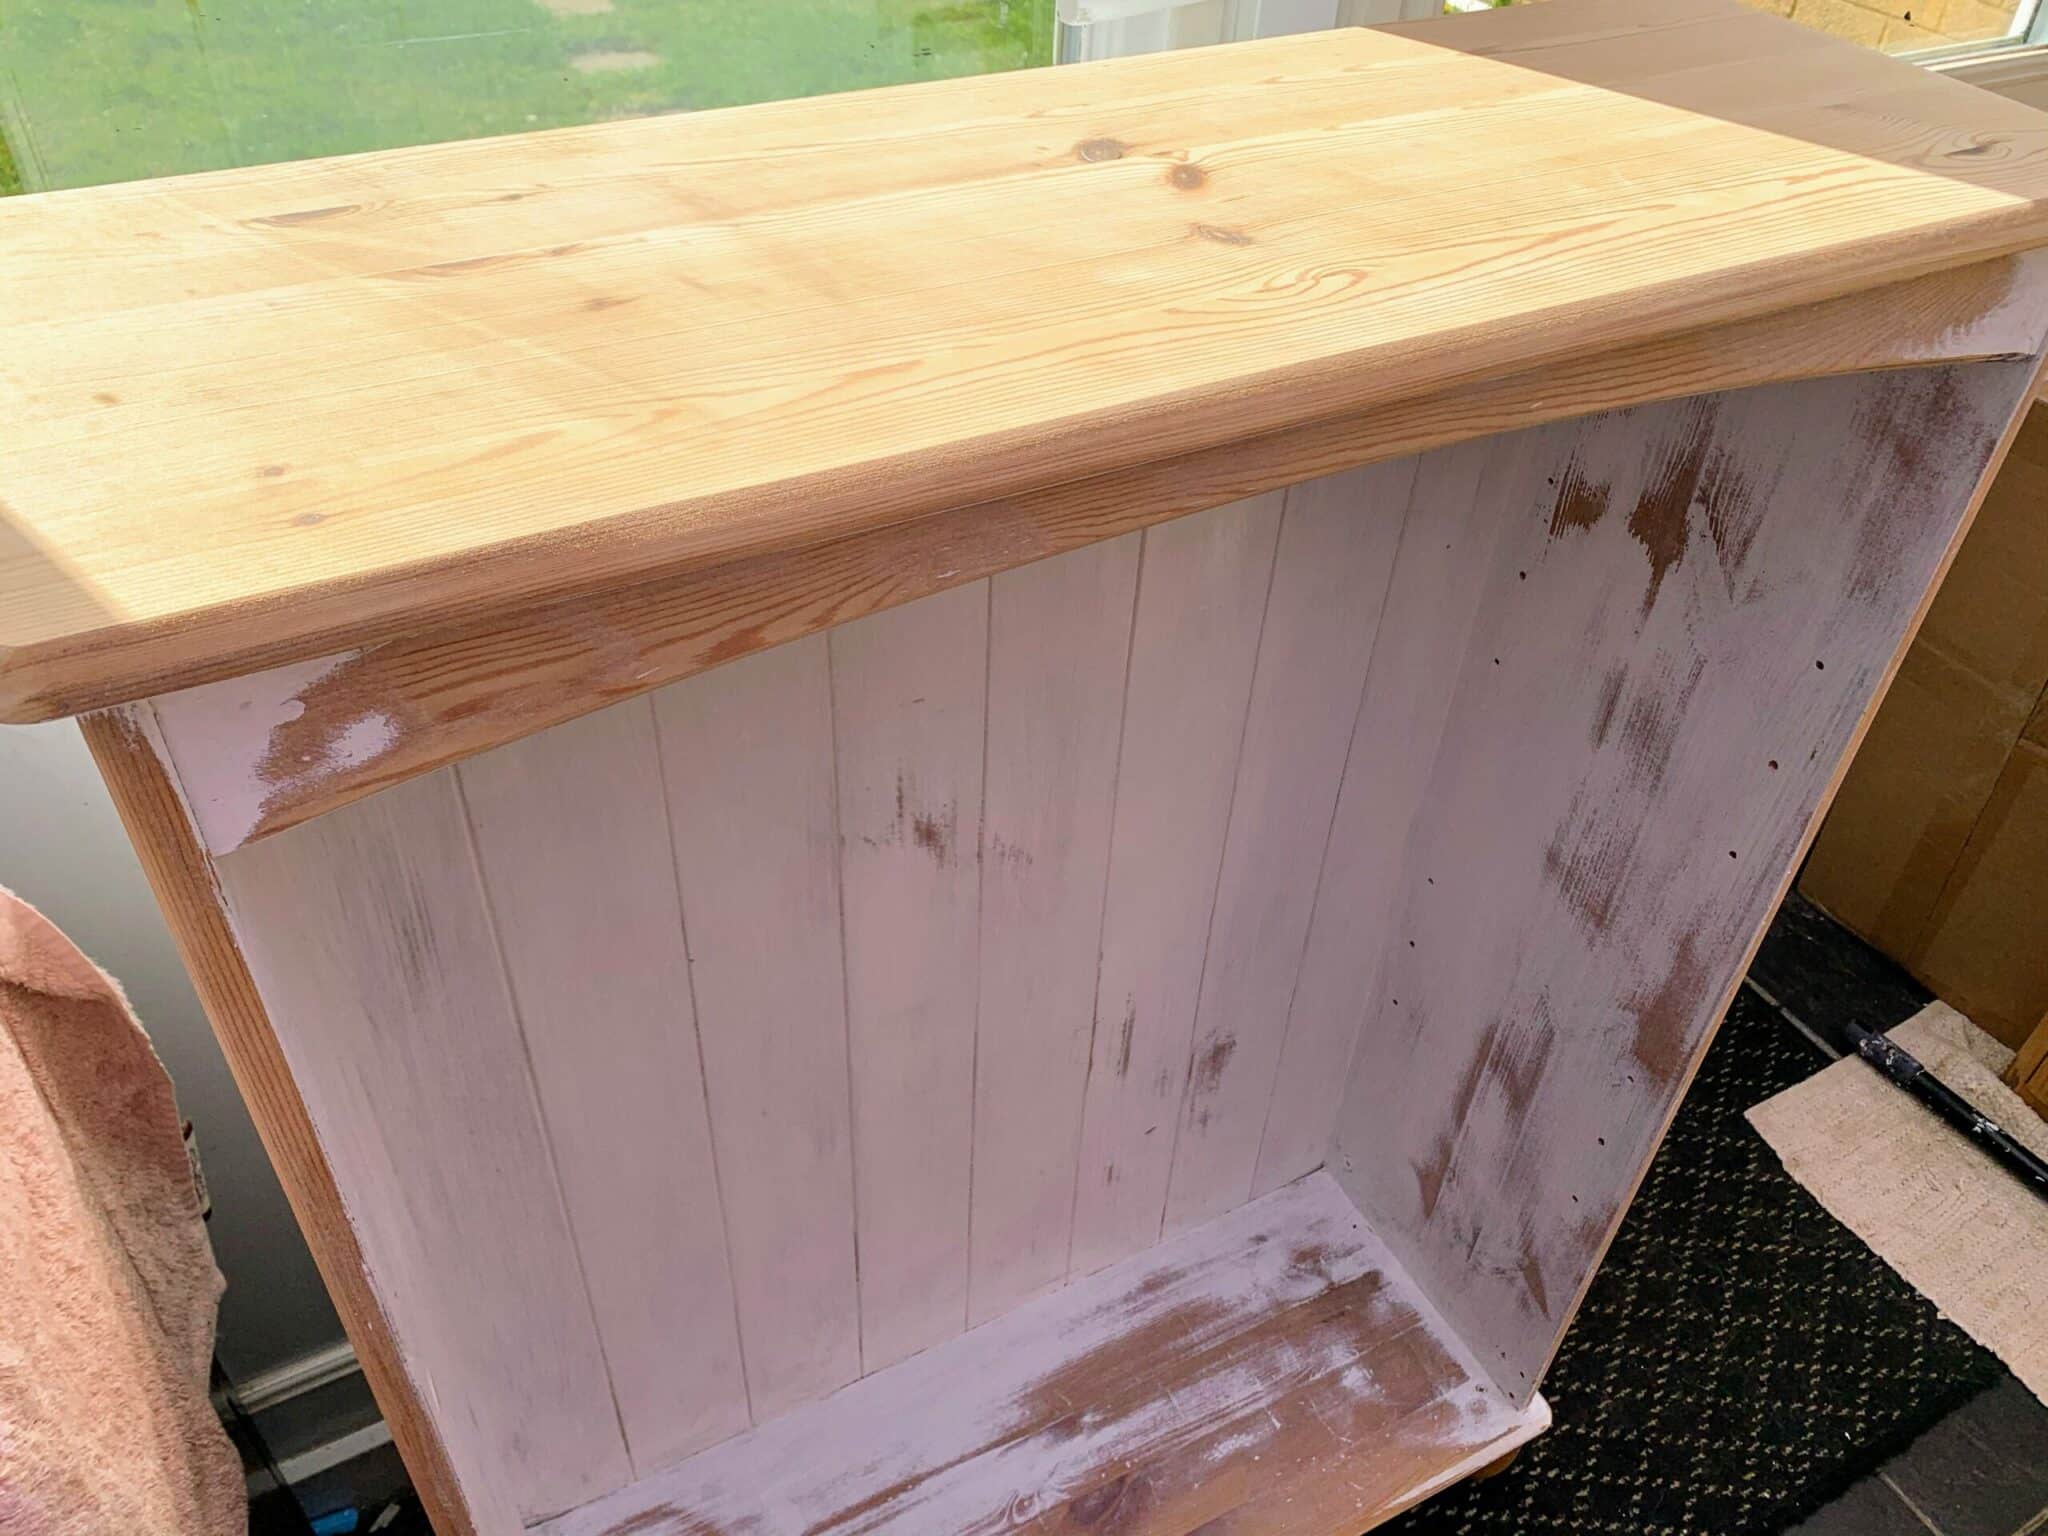
I sanded the top with 180 grit sandpaper and an orbital sander. The paint came away easily which shows that the piece wasn’t primed as the paint would have been harder to remove.
Having sanded the wood so that it was uniform, the piece looked instantly more classic and clean.
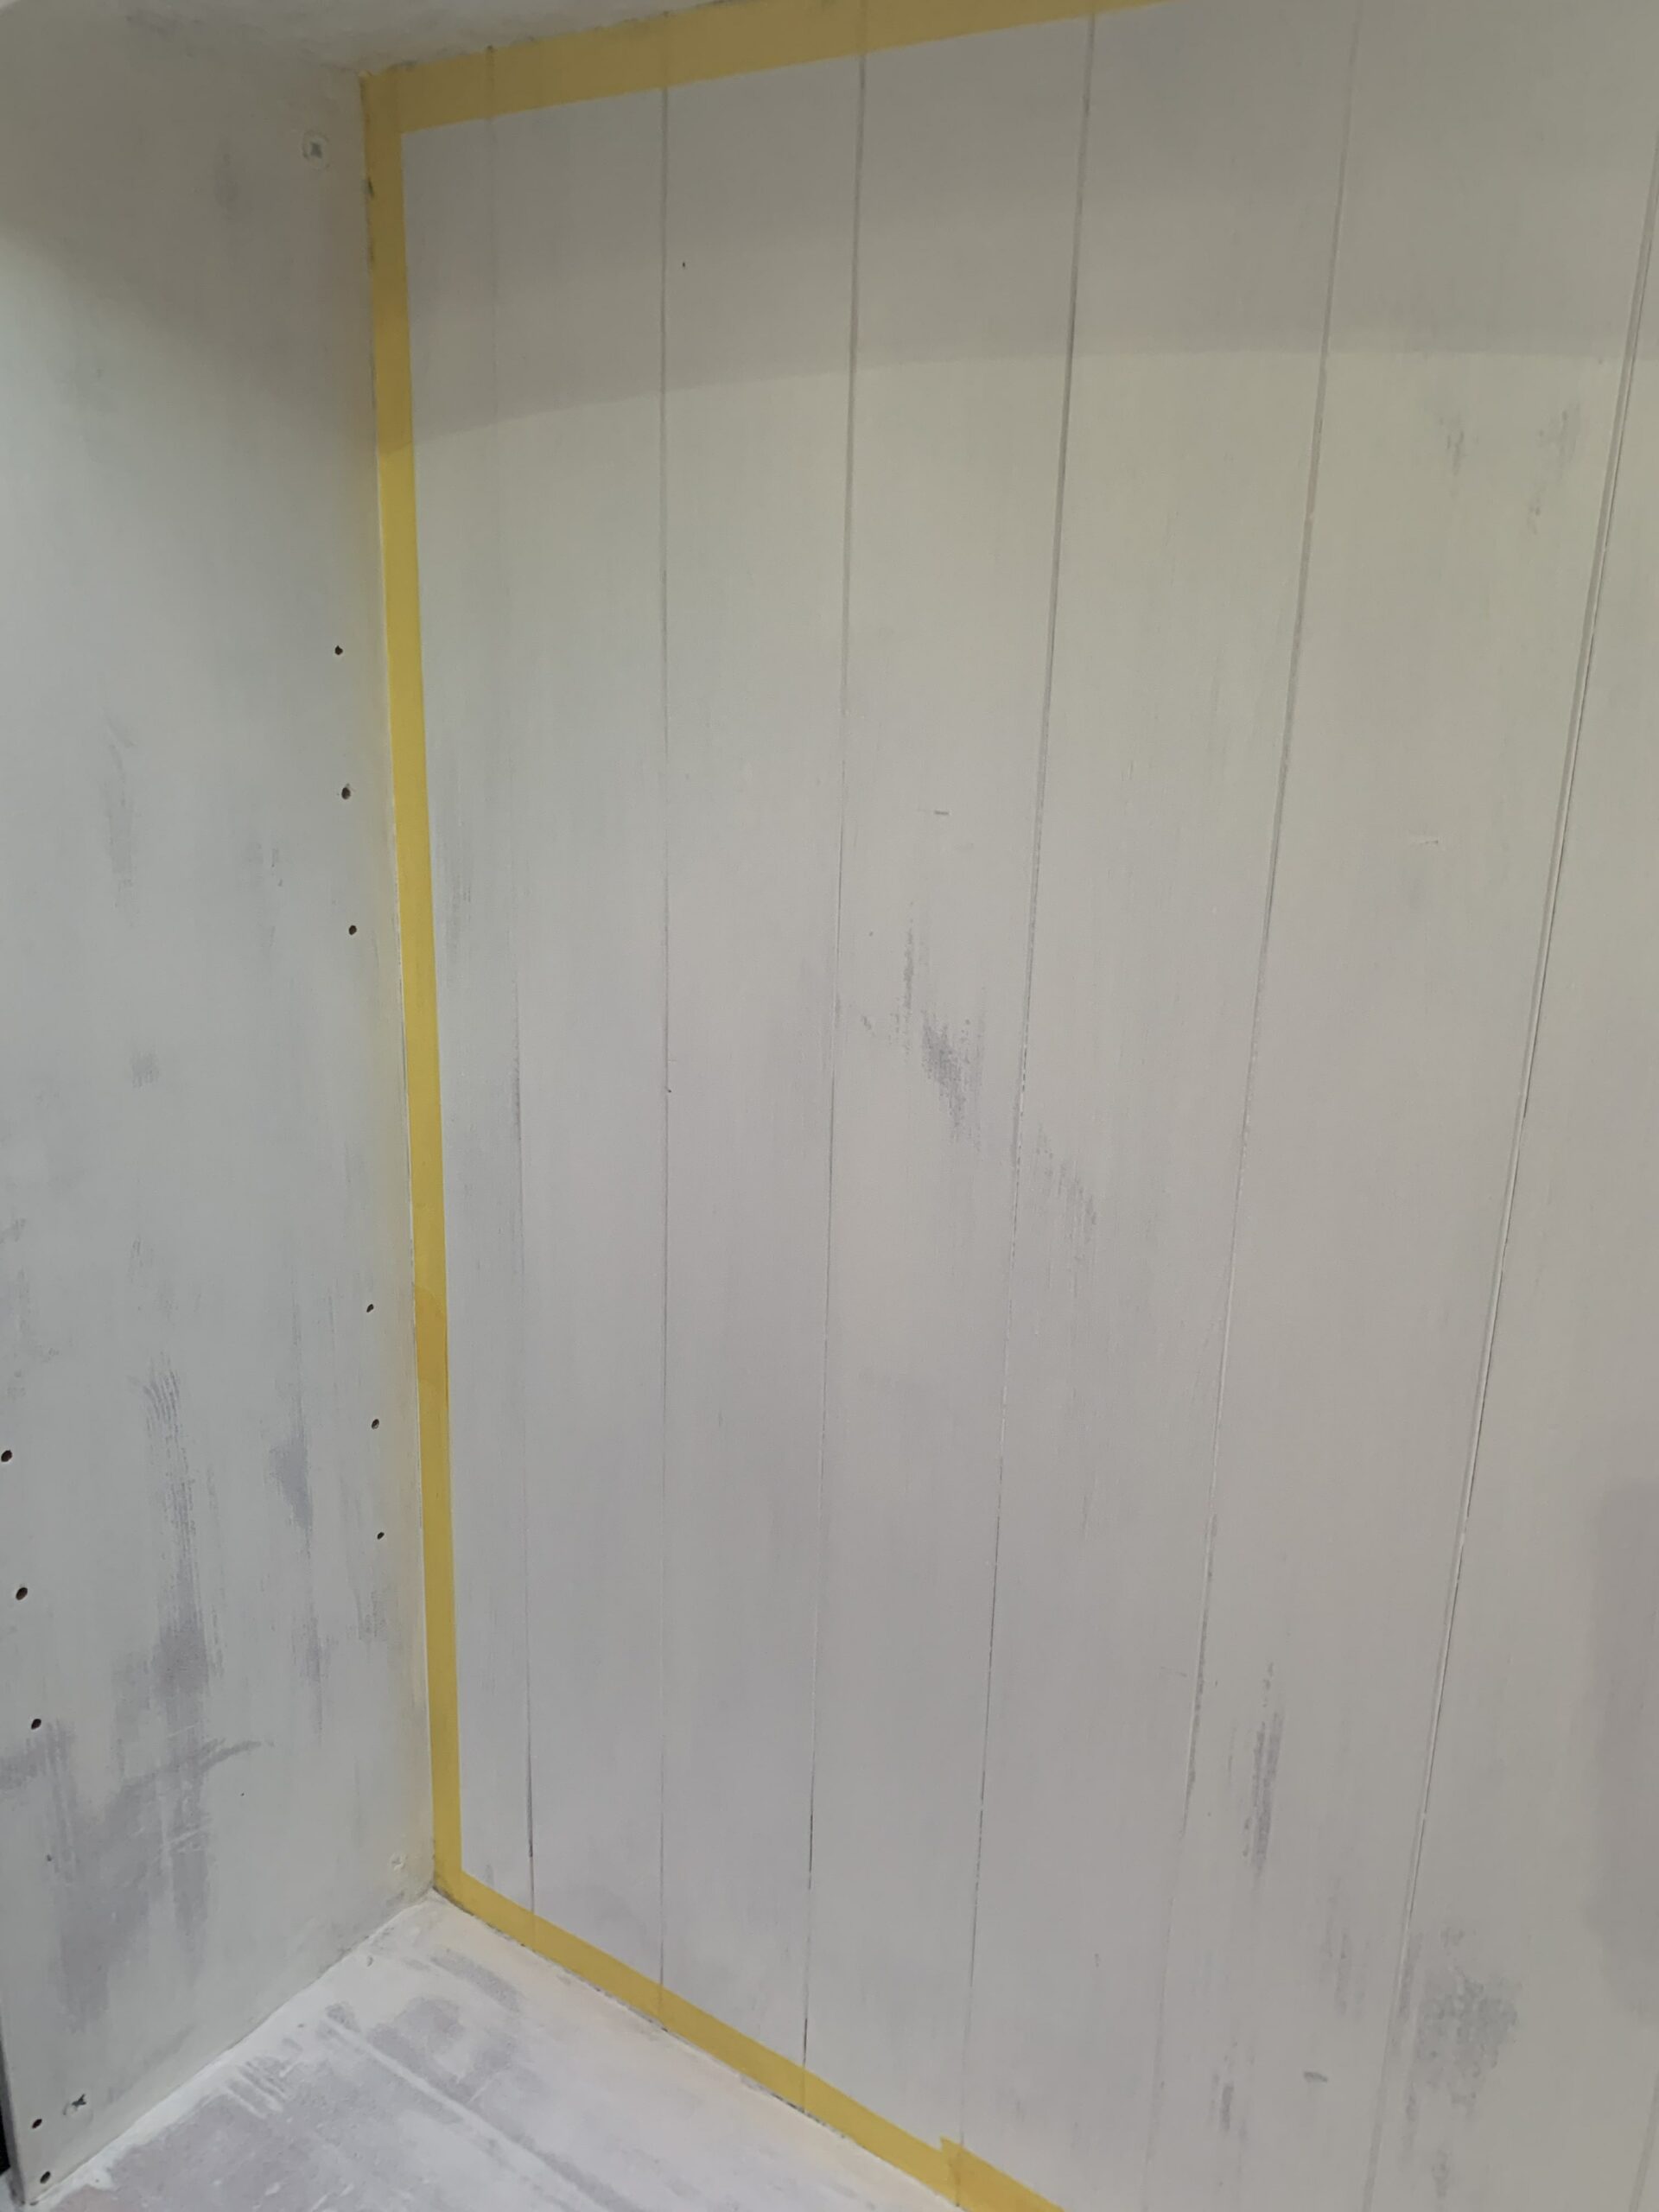
I used Frog tape to tape off the back as I planned to paint the sides and put wallpaper on the back. This was partly to create a feature and also to cover up the back without sanding.
I then considered painting the back and stencilling something on it. In the end, I kept it simple so it would appeal to more people.
Want to know 23 great DIY tools? Get the list!
The paint
My little helper found an end of the tape and peeled it off before I got to my second coat. Fortunately, removing the tape didn’t actually matter as I painted the back blue too.
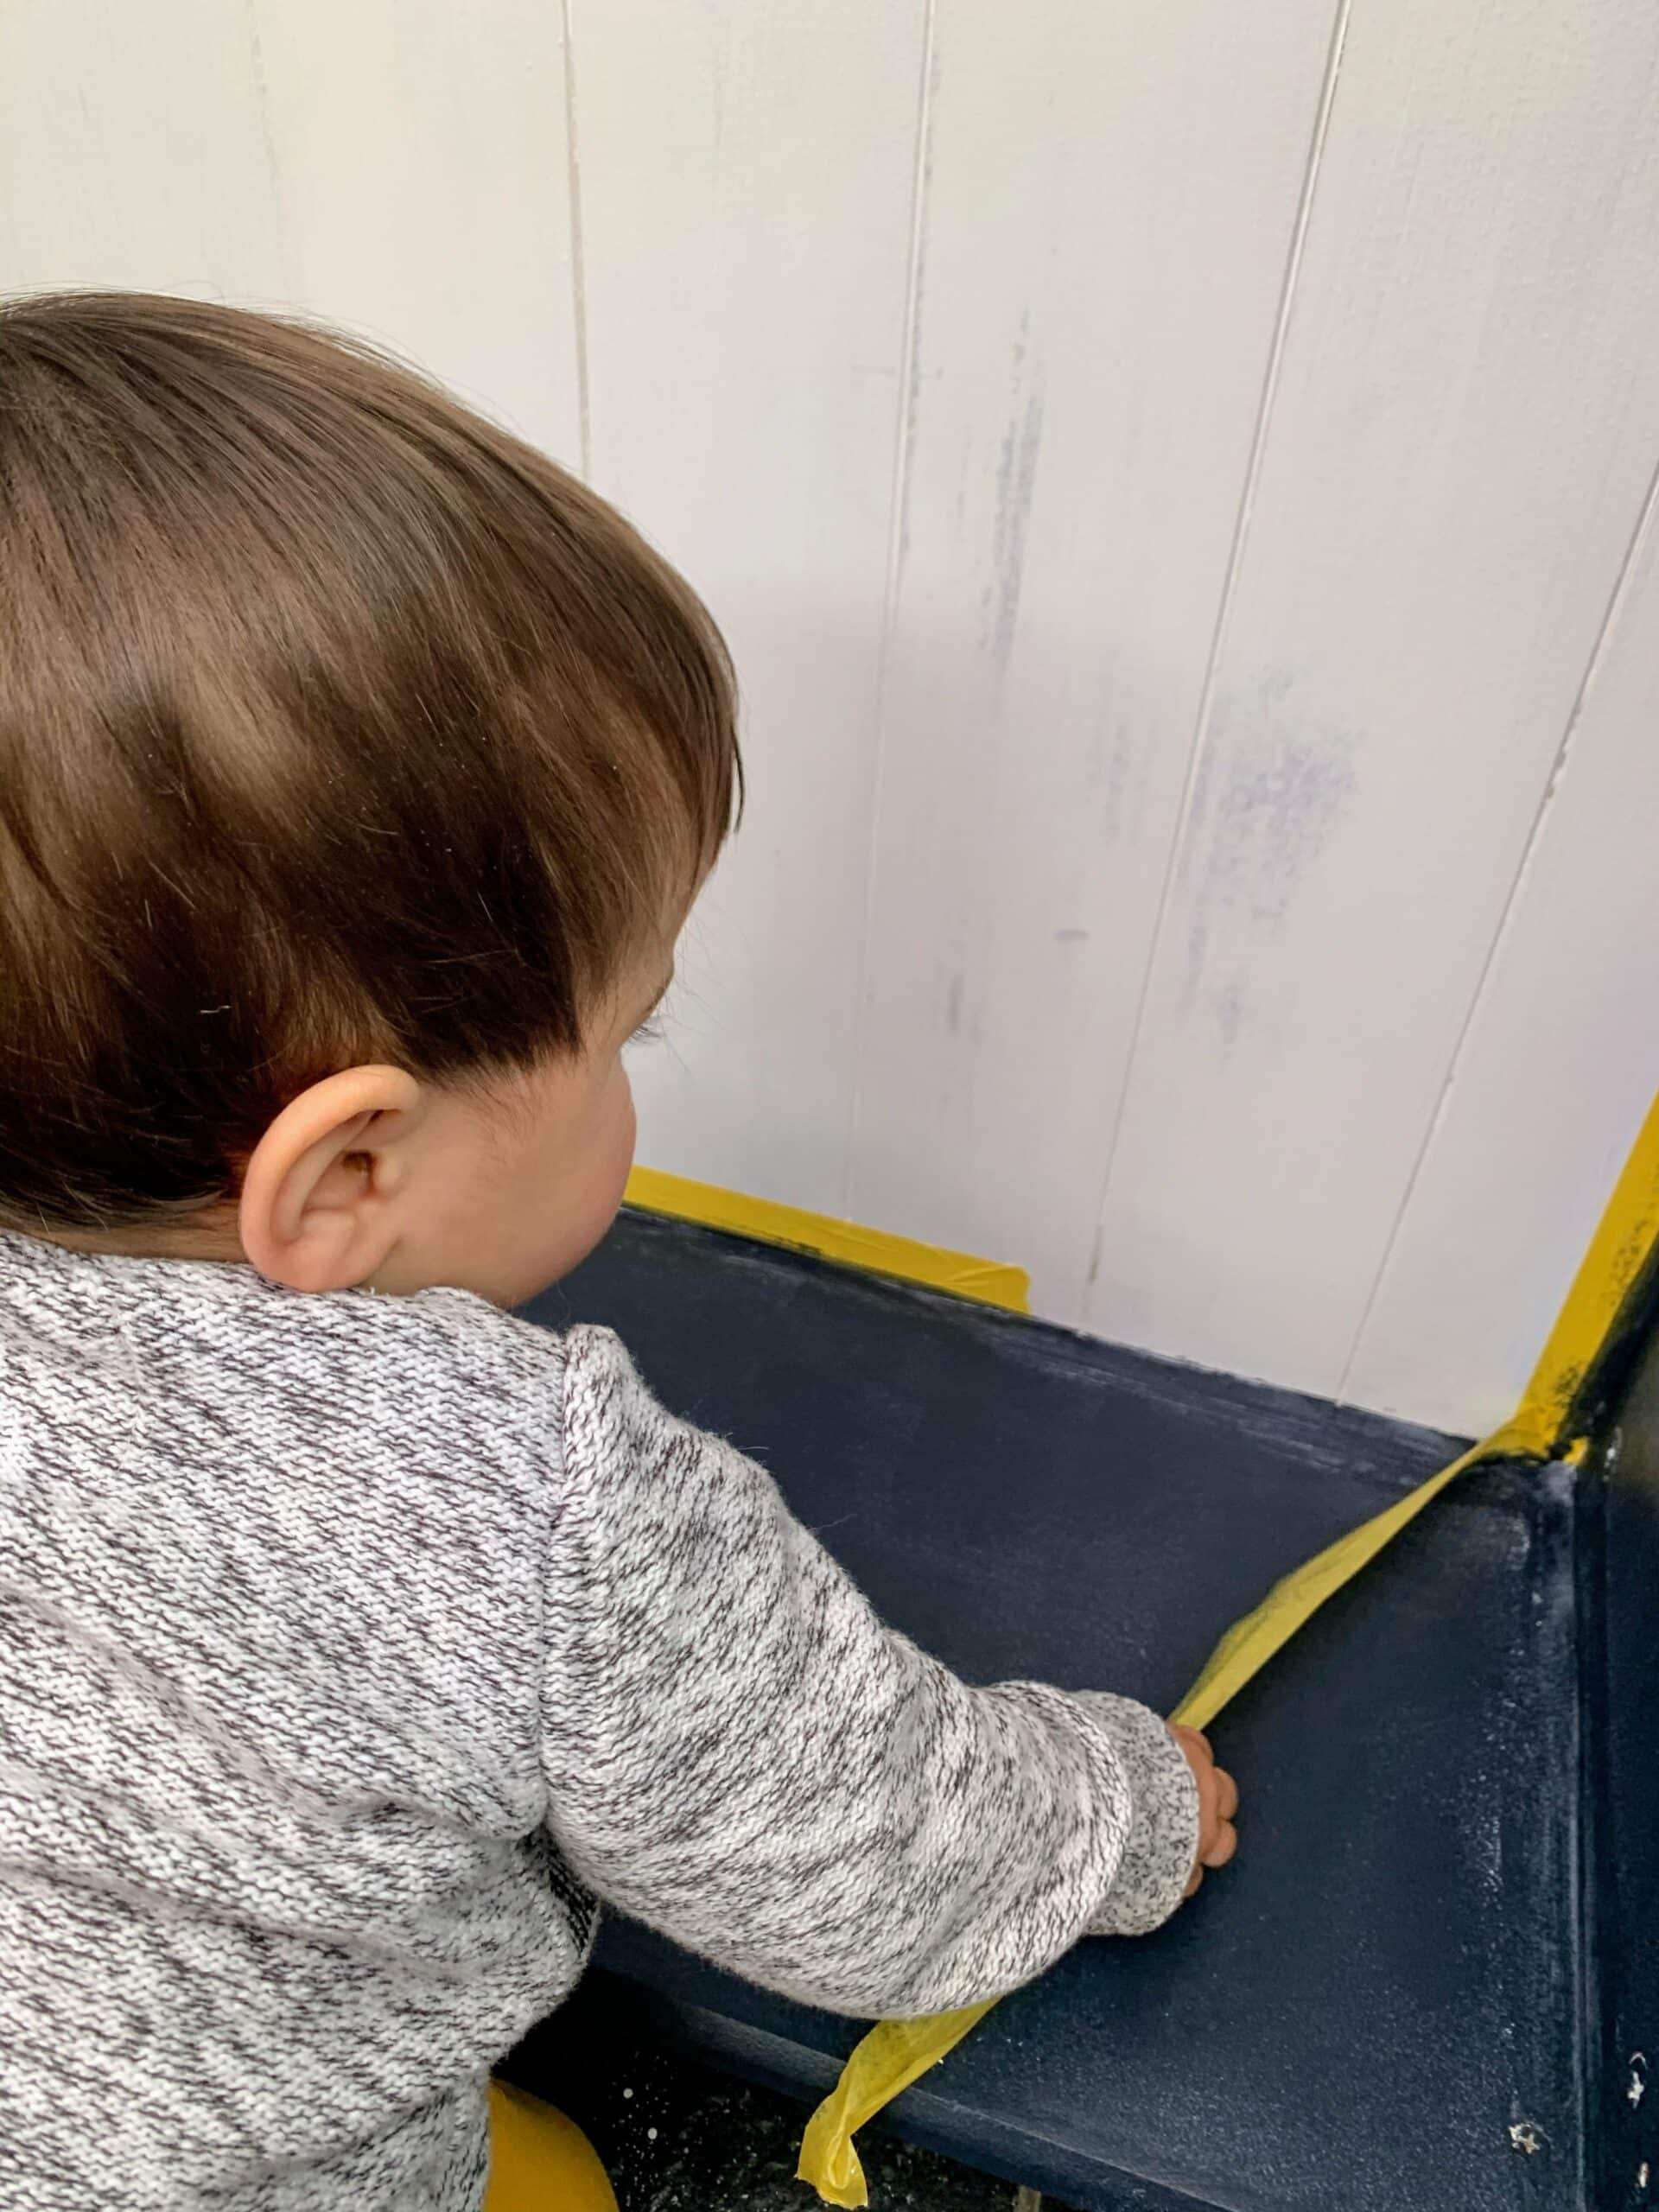
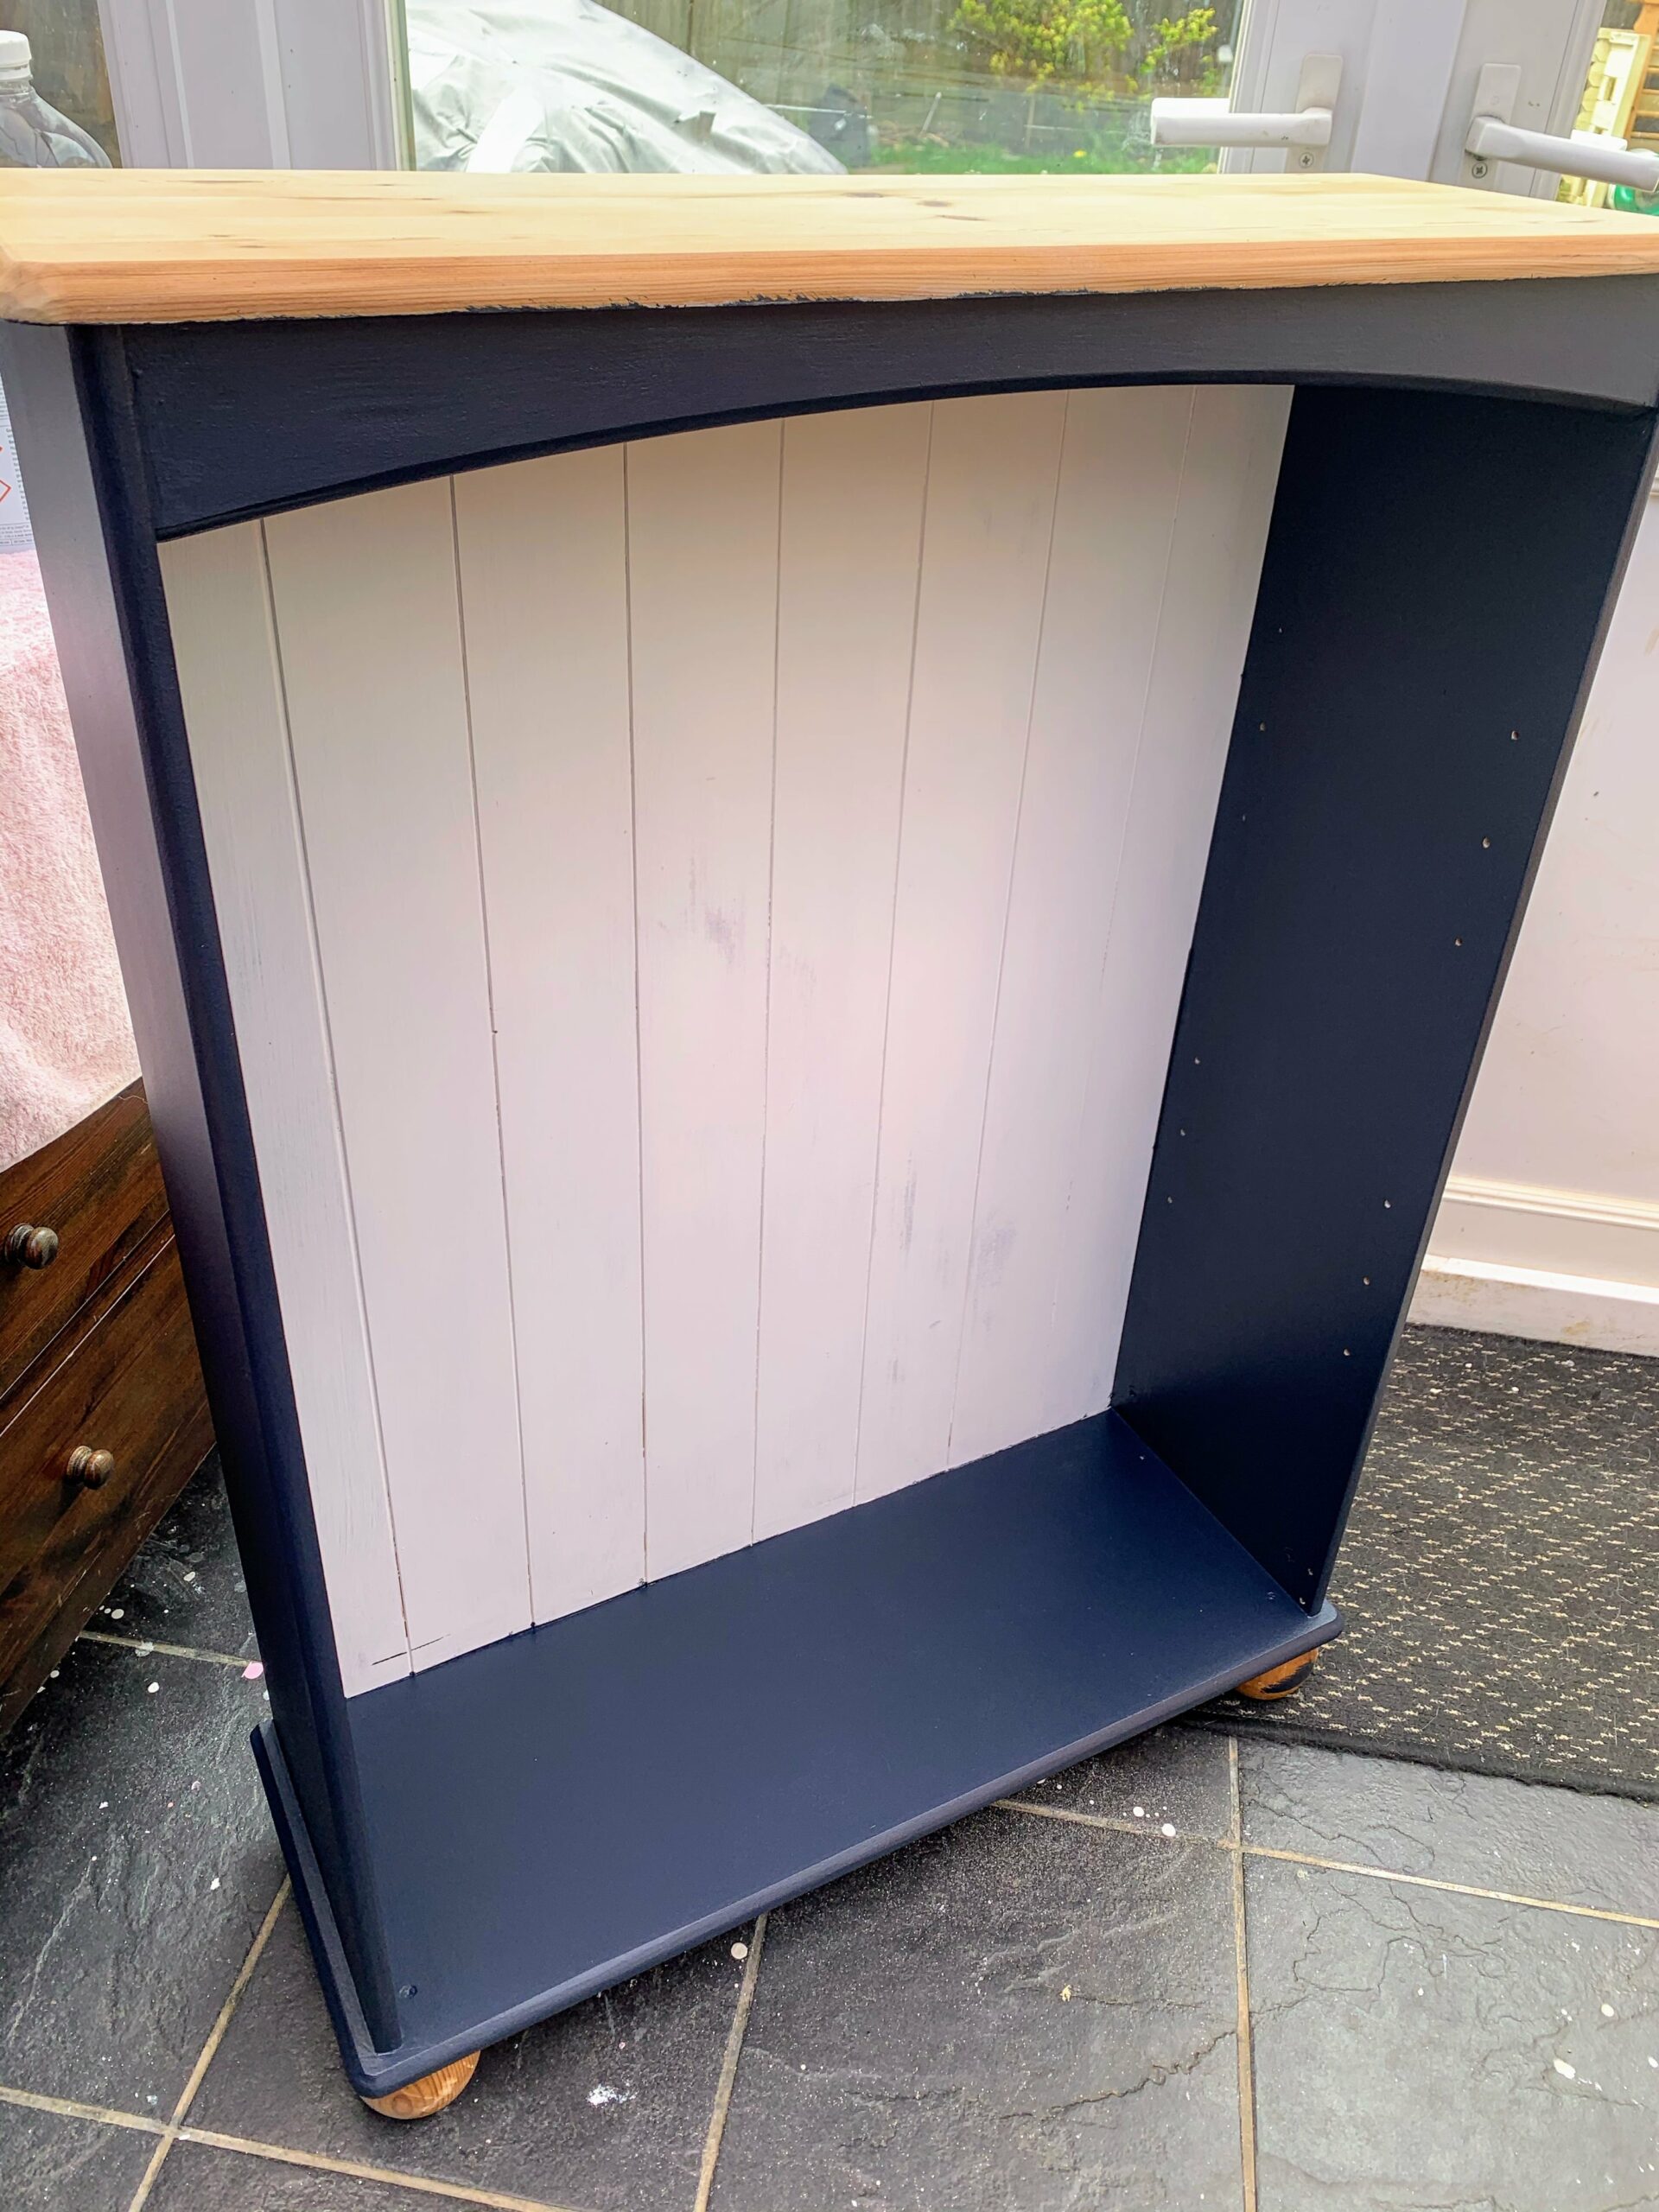
It was starting to come together after two coats of Fusion Mineral Paint’s Midnight Blue. I’ve had so many compliments on this colour, it really is lovely.
My helper came back to conduct a wet paint test. Fortunately it was dry and he had a great time testing it. In fact, he has loved sitting in the bottom of this bookshelf since it arrived. Who needs a sofa to relax on anyway?
He also sat in the bottom of this bookshelf before it turned pink!
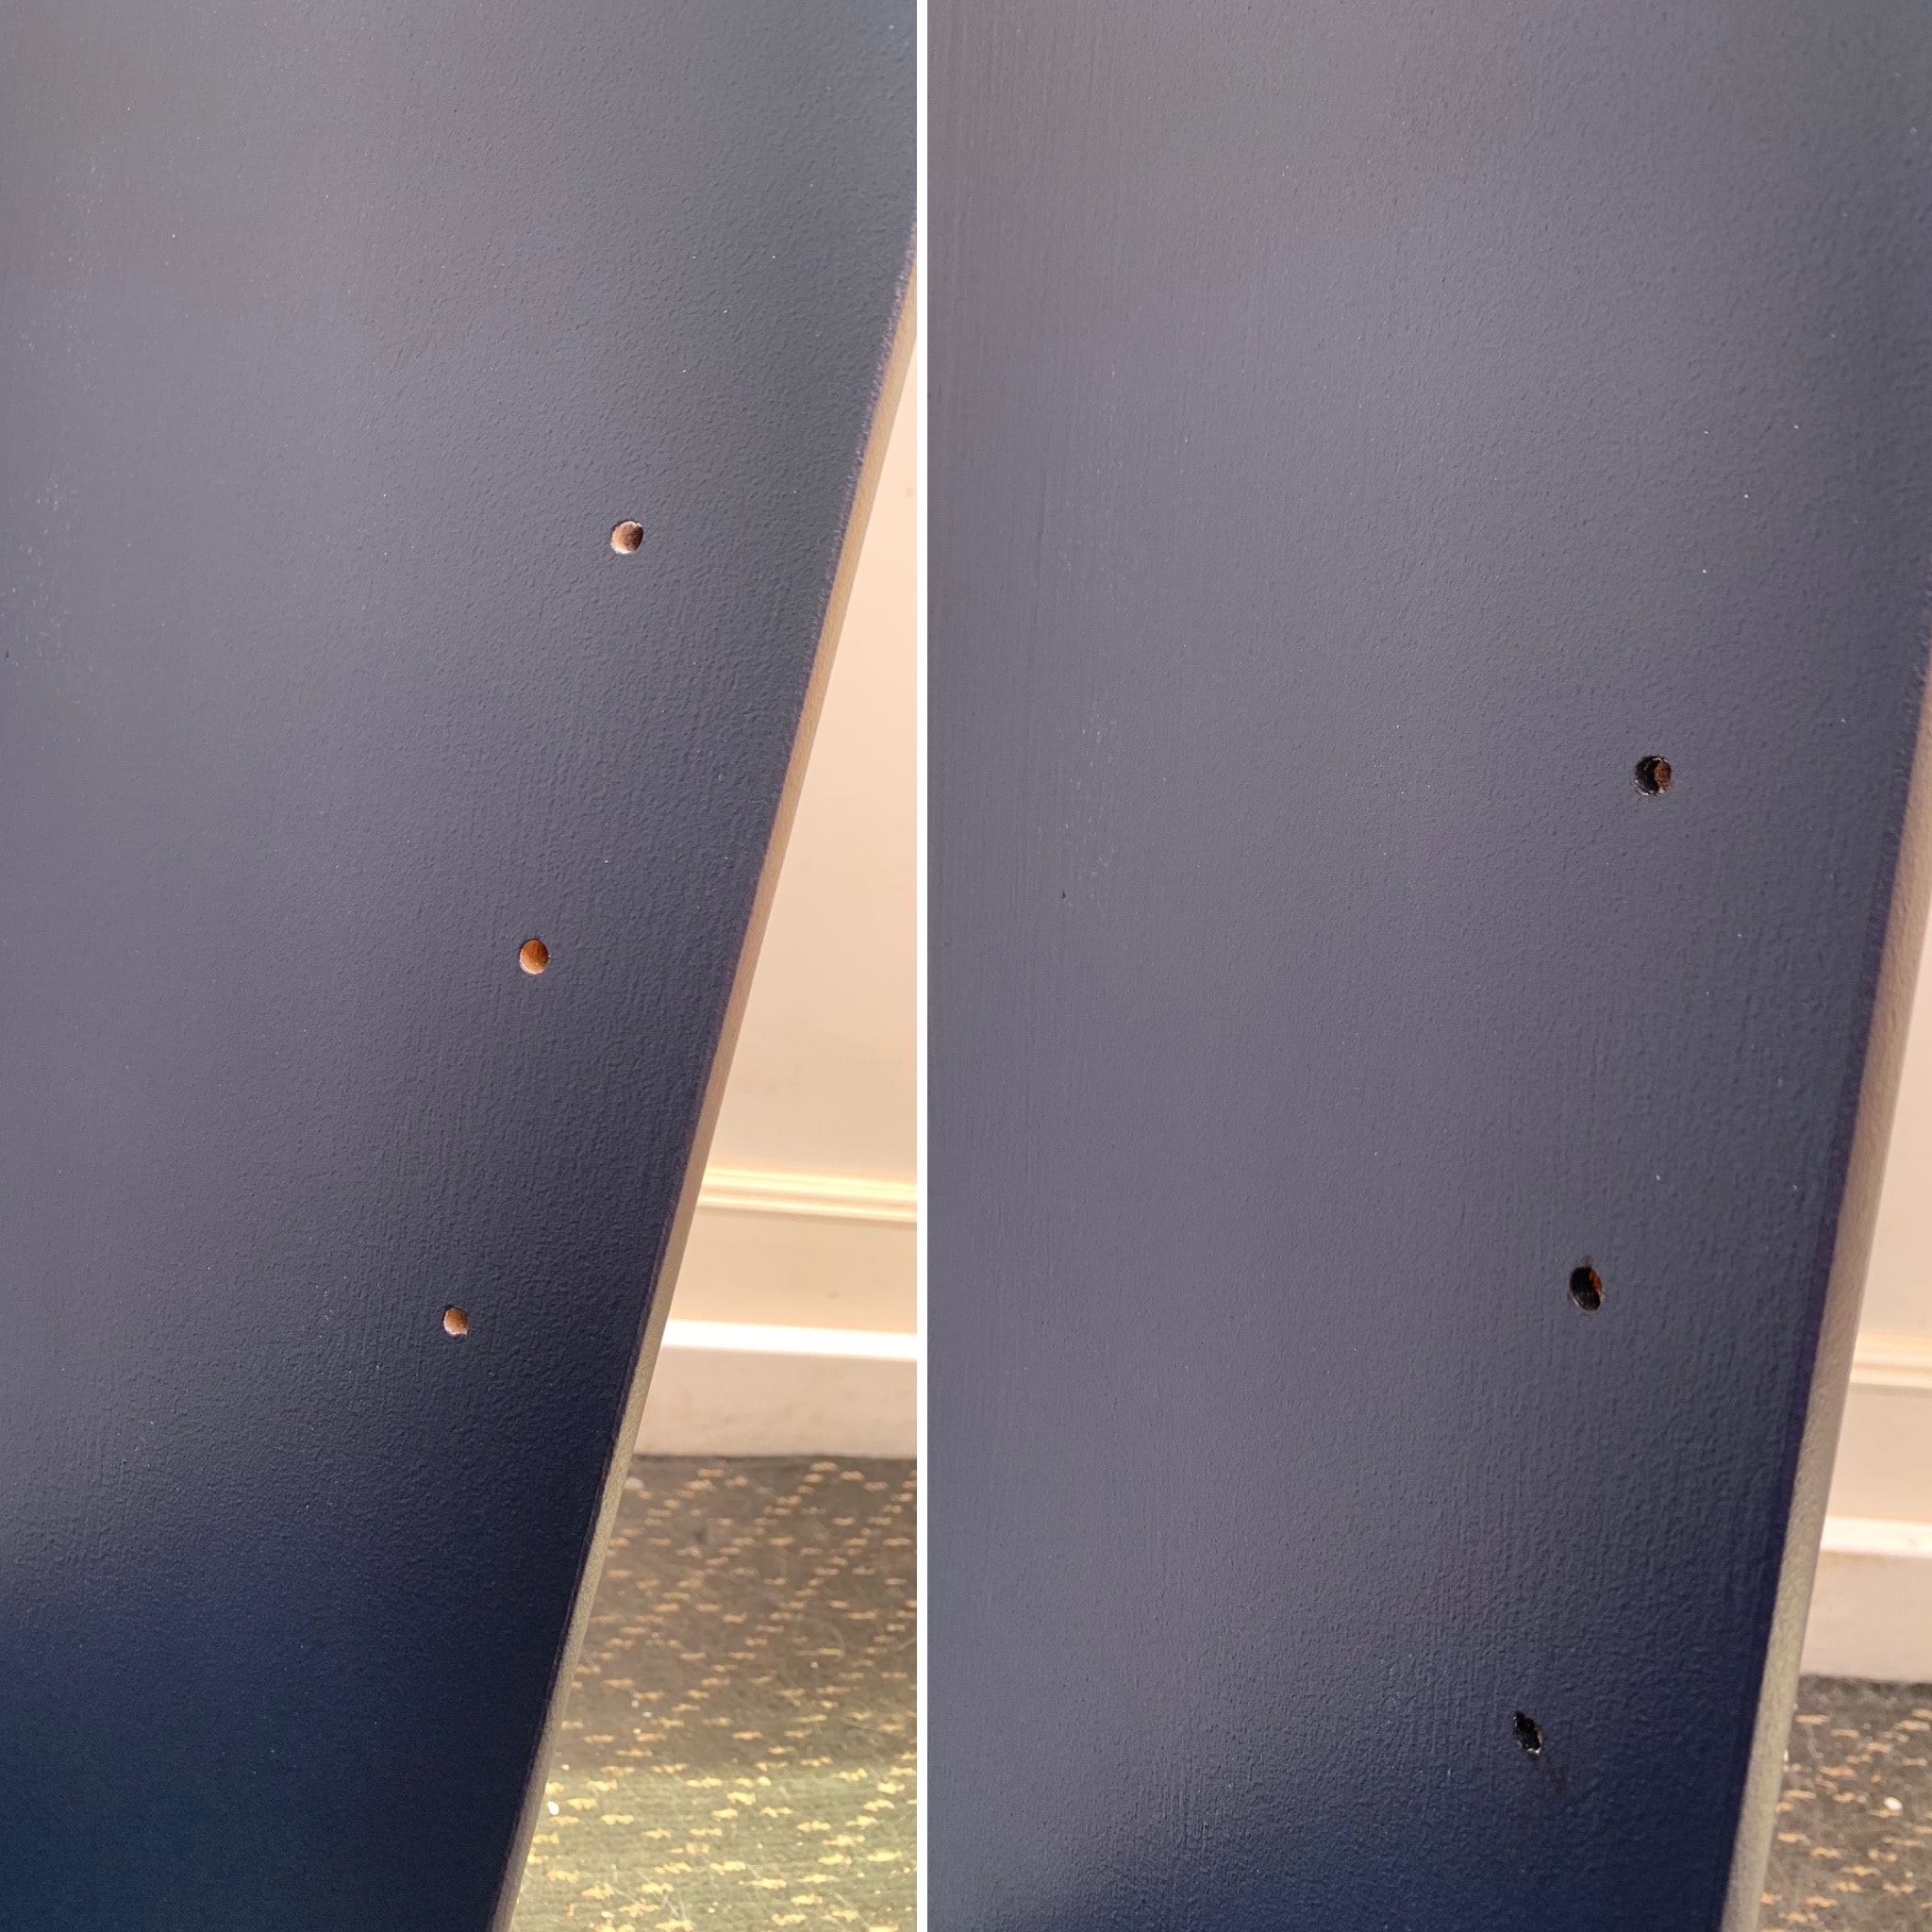
I didn’t fill in the holes for the shelves because I wasn’t keeping the piece and it gives others the option as to where they place them.
By using a black felt tip pen to hide the holes, they stood out less against the dark paint. I used a pen rather than paint because there’s a good chance that the screws which hold up the shelves wouldn’t fit in after they were painted.
The finished free bookshelf makeover
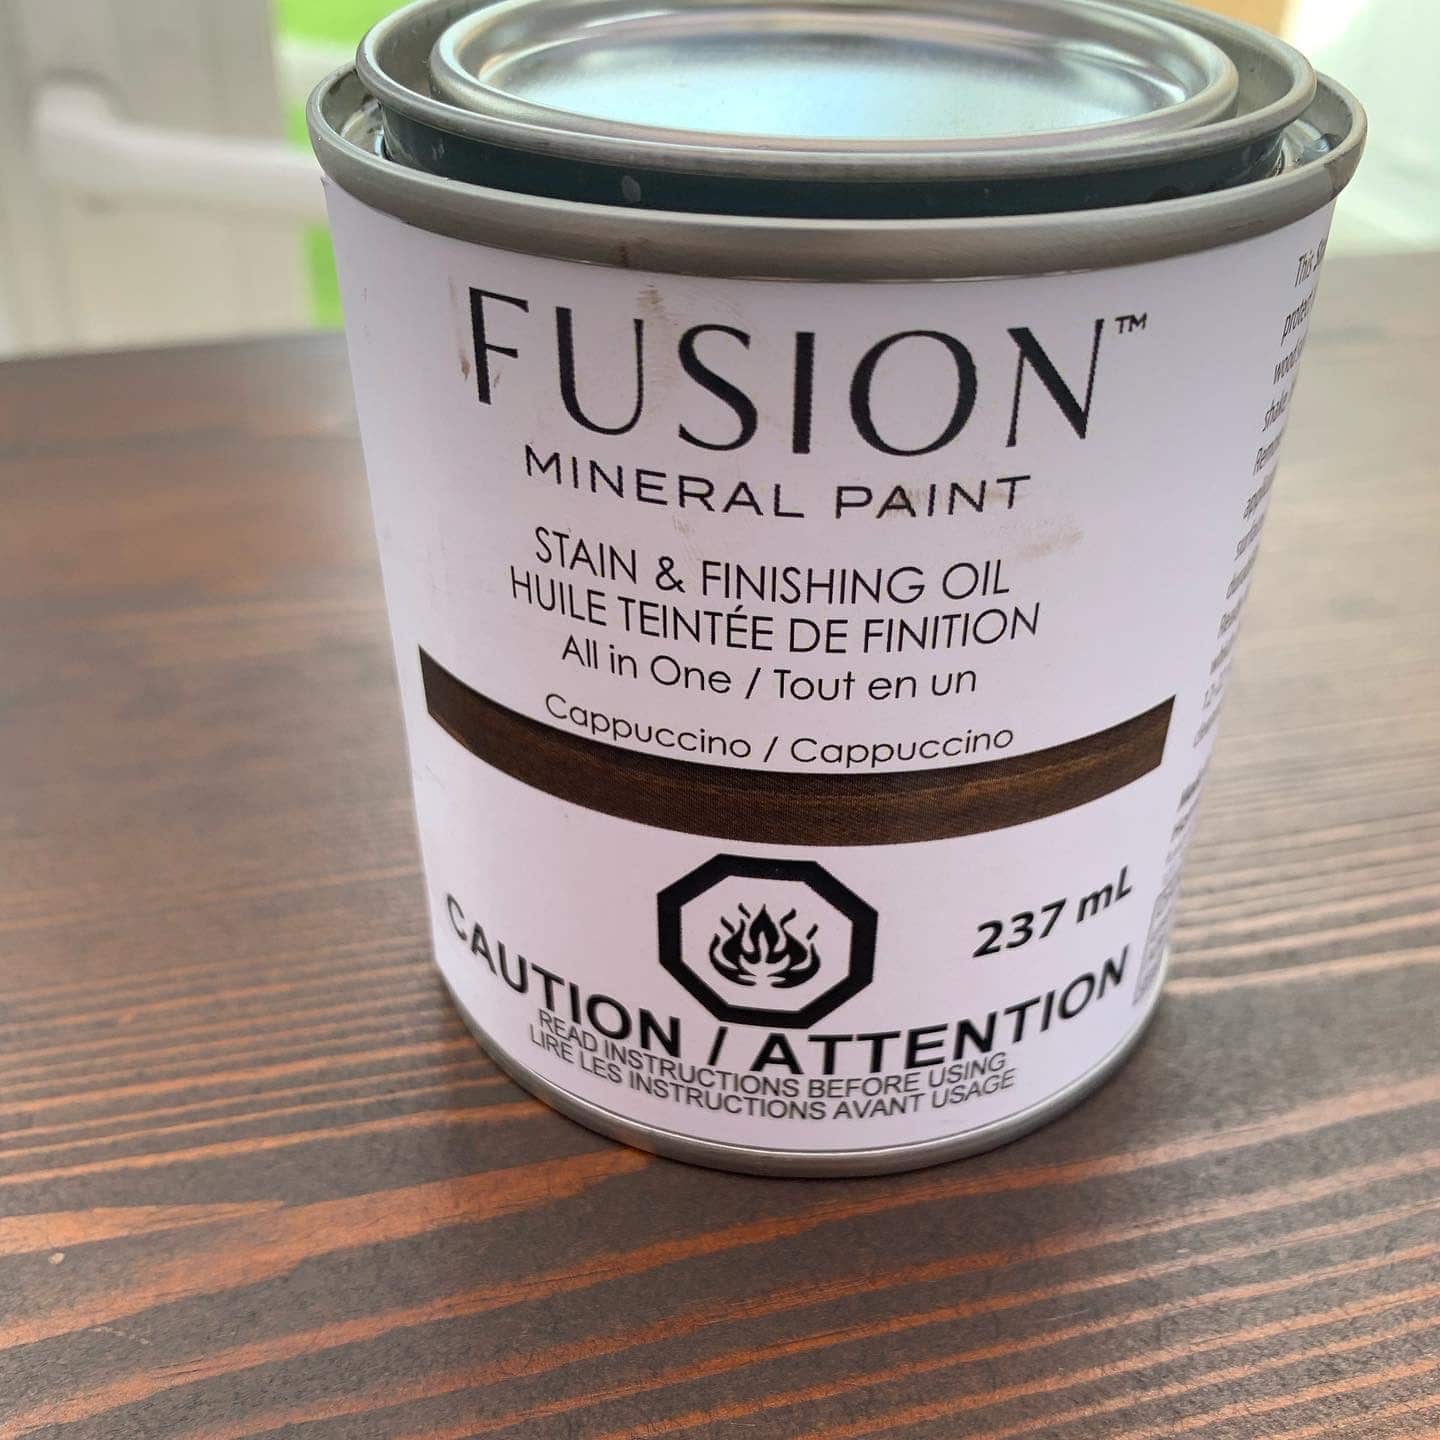
When I was nearly finished, I decided I wanted to stain the pine shelves to give them a richer colour. I chose Fusion’s Stain and Finishing Oil in Cappuccino.
Here are my tips on how to prep wood for stain.
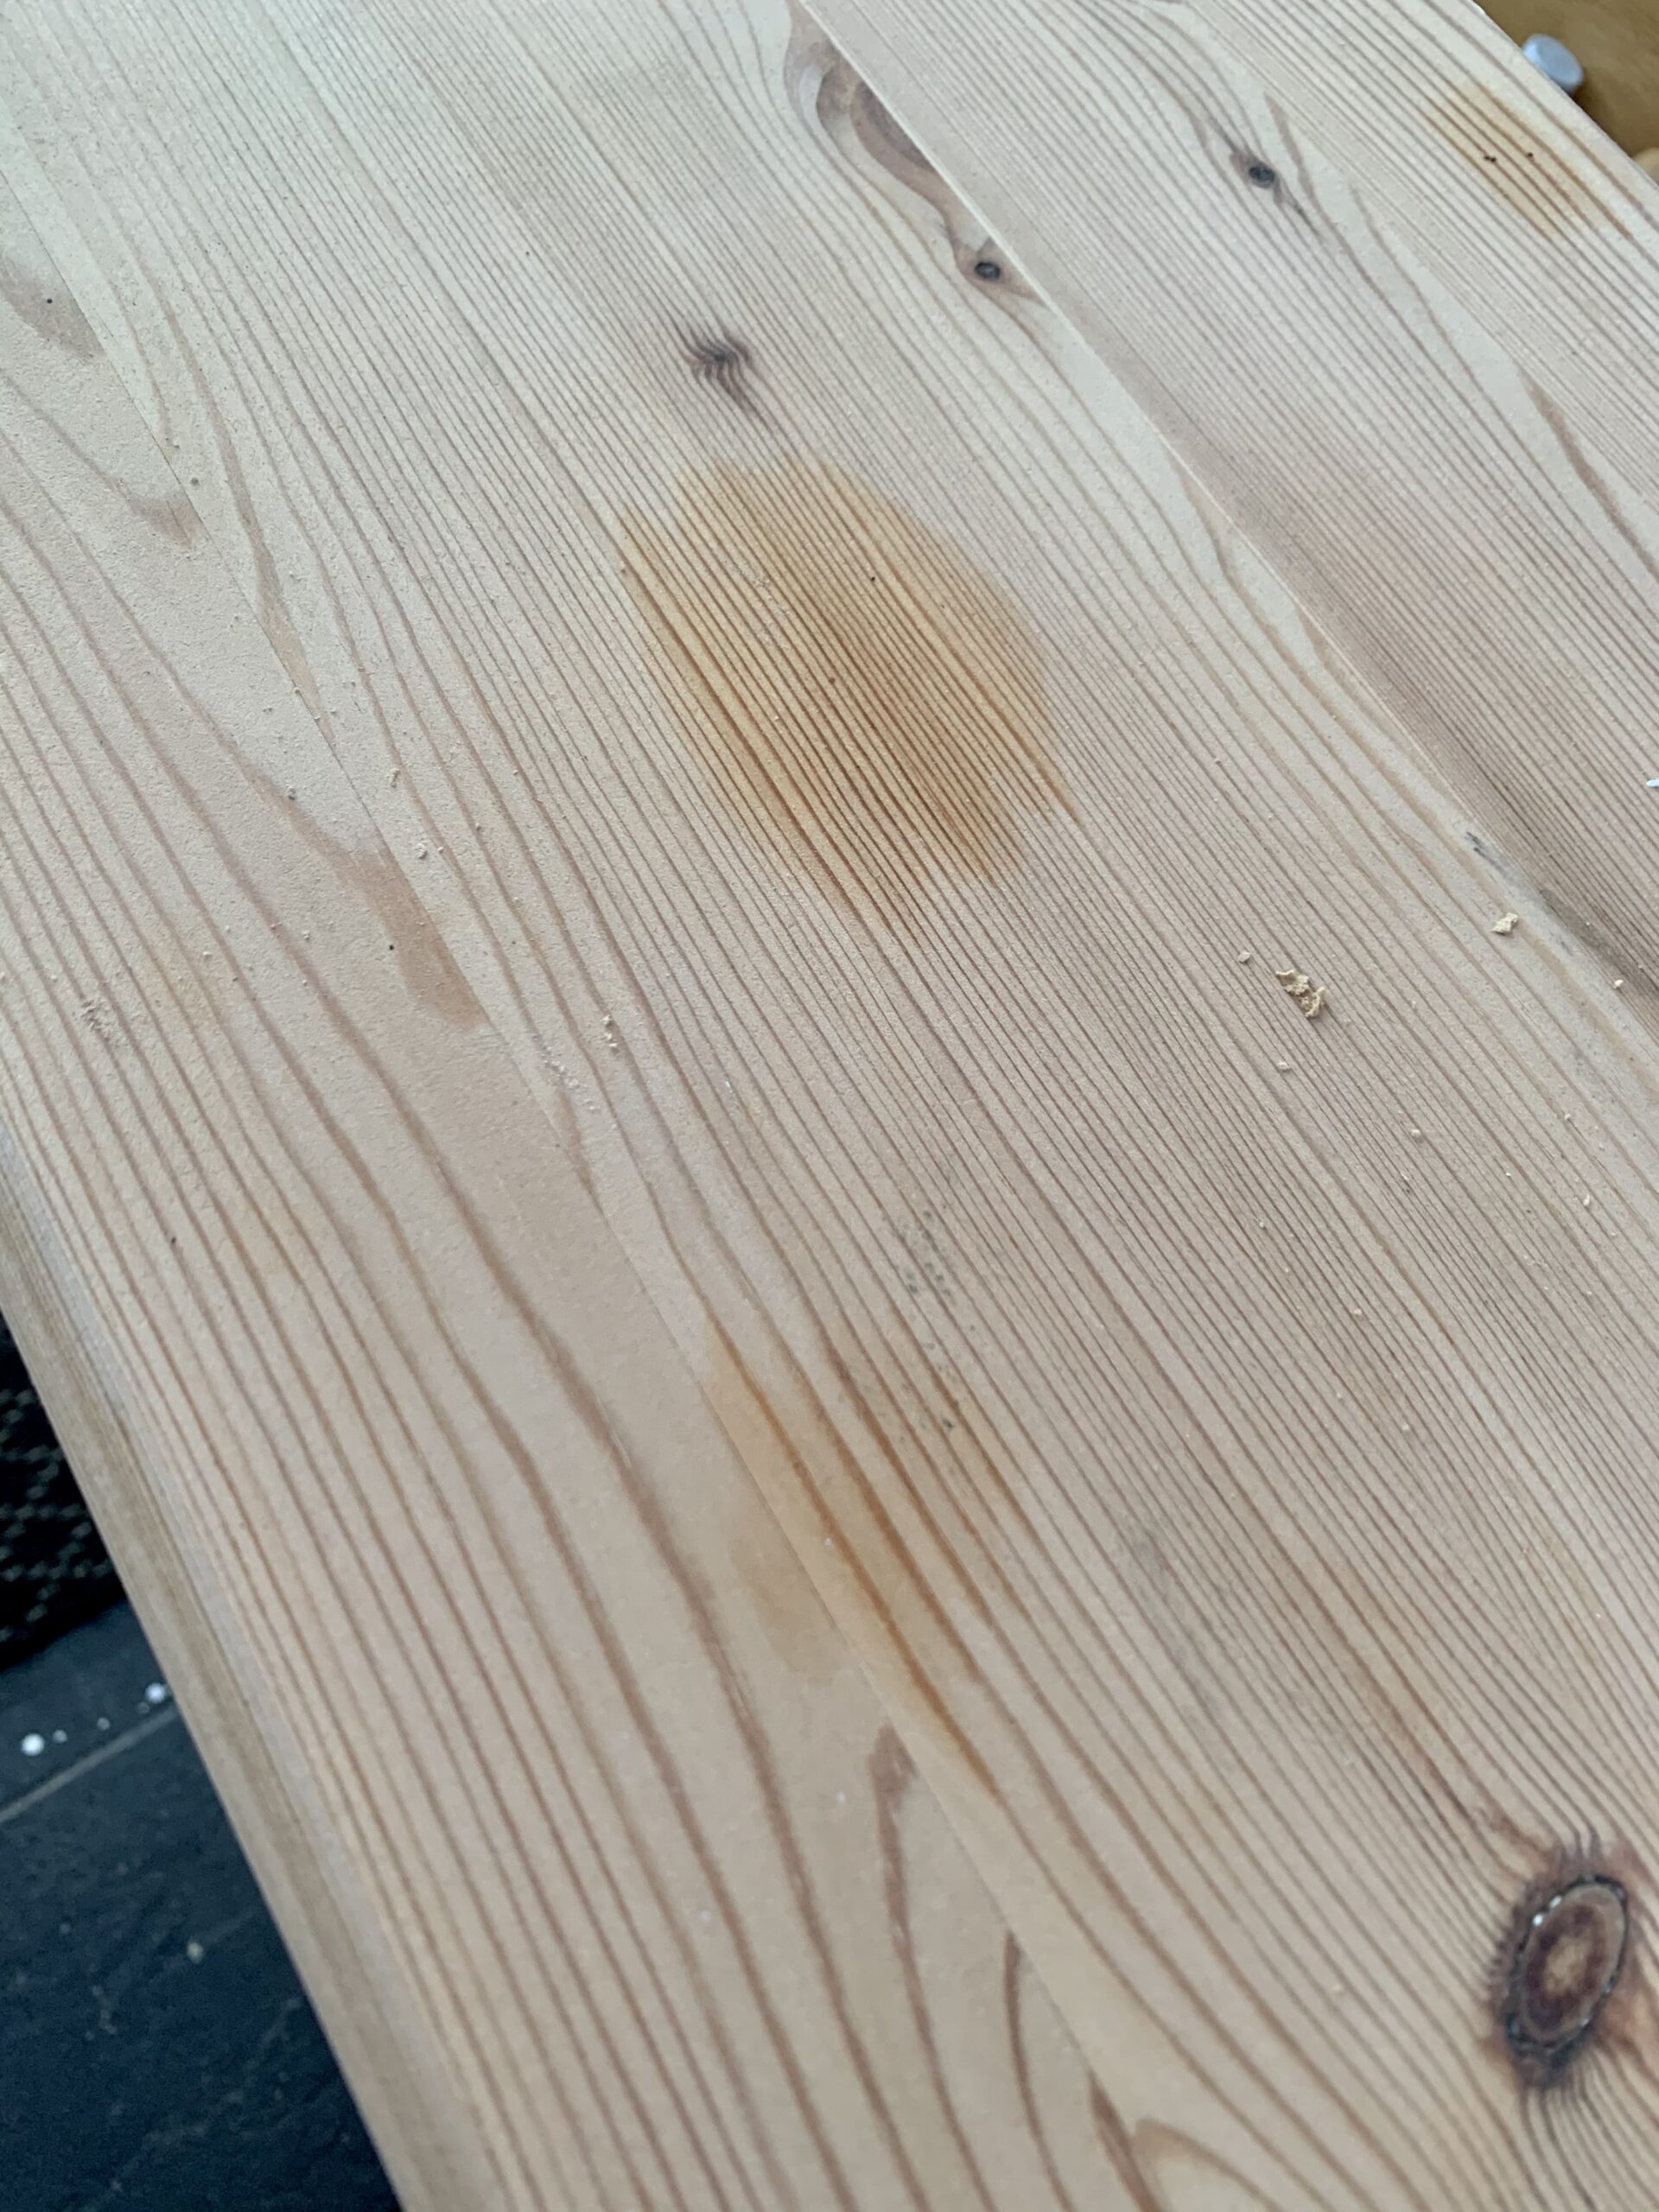
Before the stain arrived, my raw wood somehow developed a few oily patches. I don’t know how they got there, possibly from touching the wood while working on other areas of the piece. Fortunately, the patches were removed with a few coats of white spirit.
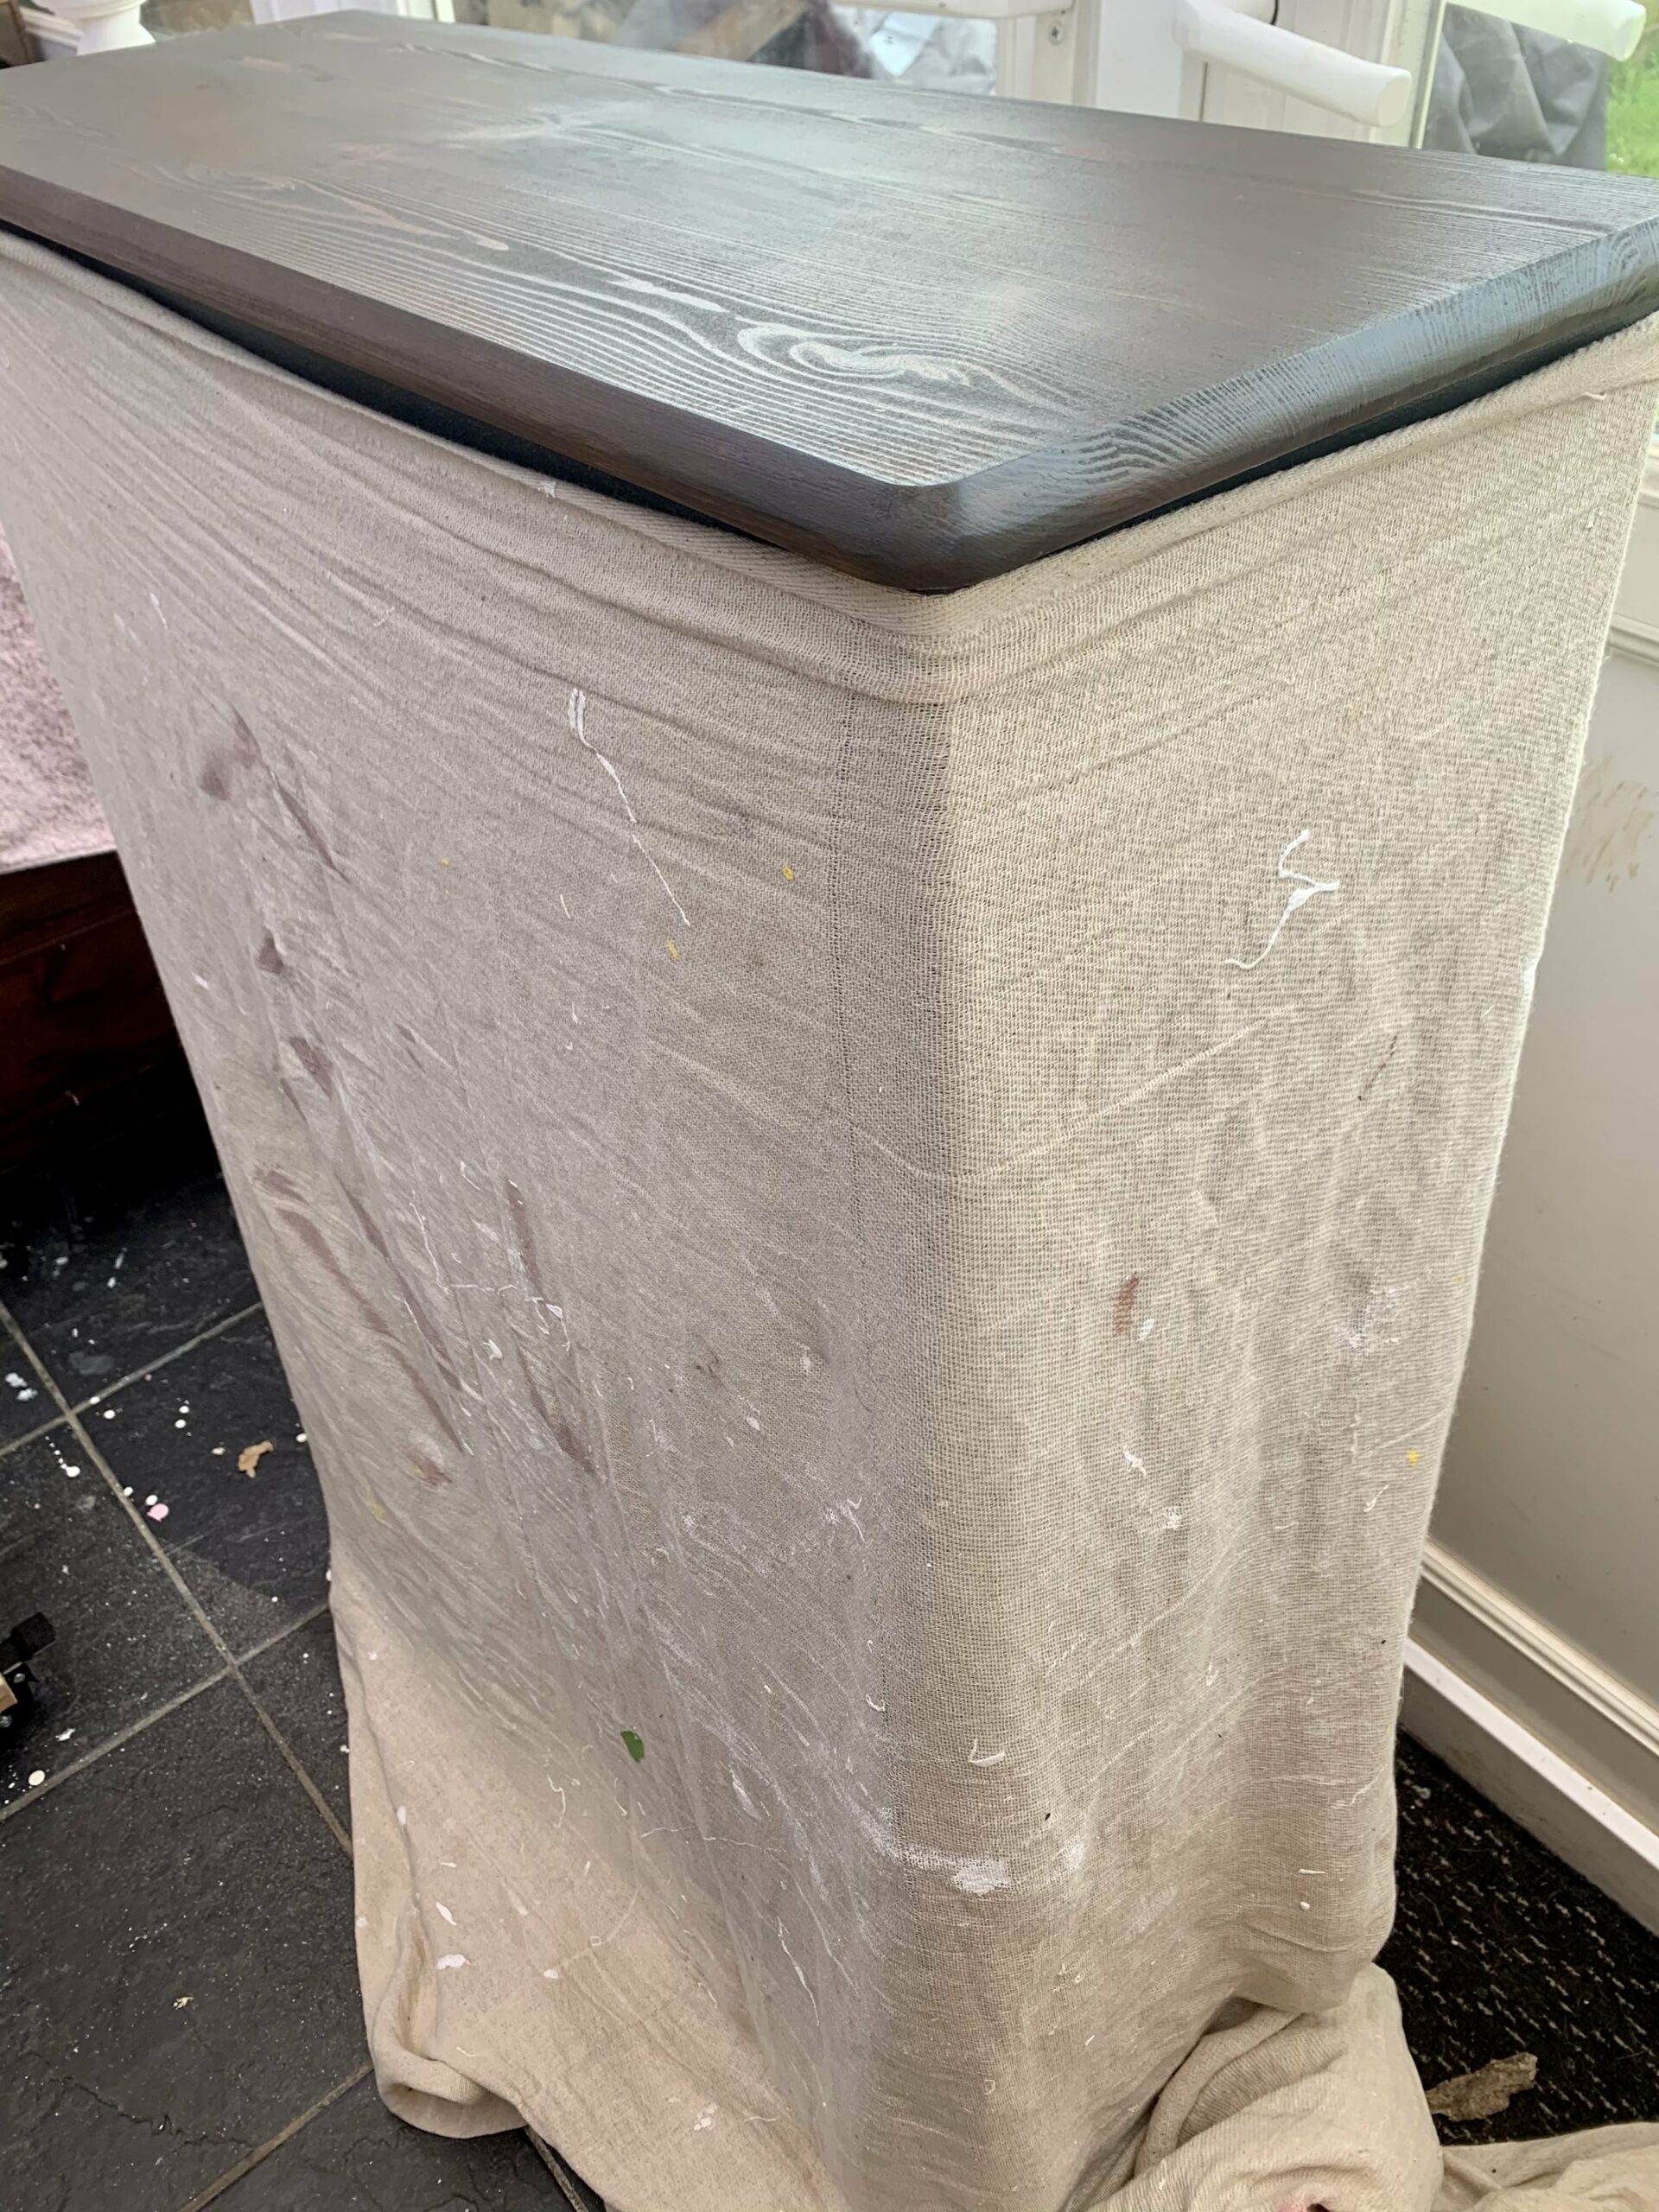
What a difference a stain makes! This was what was in my head when I imagined a stain with the navy paint and I think it looks lovely.
I wanted to keep the grain showing through so I did two coats and stopped before it got too dark or opaque.
When doing my finishing touches to the top, I used a dust sheet to avoid unnecessary dust or stain spatters ruining the finished blue shelves. It stayed up with a peg holding up the back and protected it from rogue animals and children, as a bonus.
Here’s how I used this stain on a re-makeover of a side table.
Also looks like I’m teasing the finished piece, doesn’t it? Well, here it is…
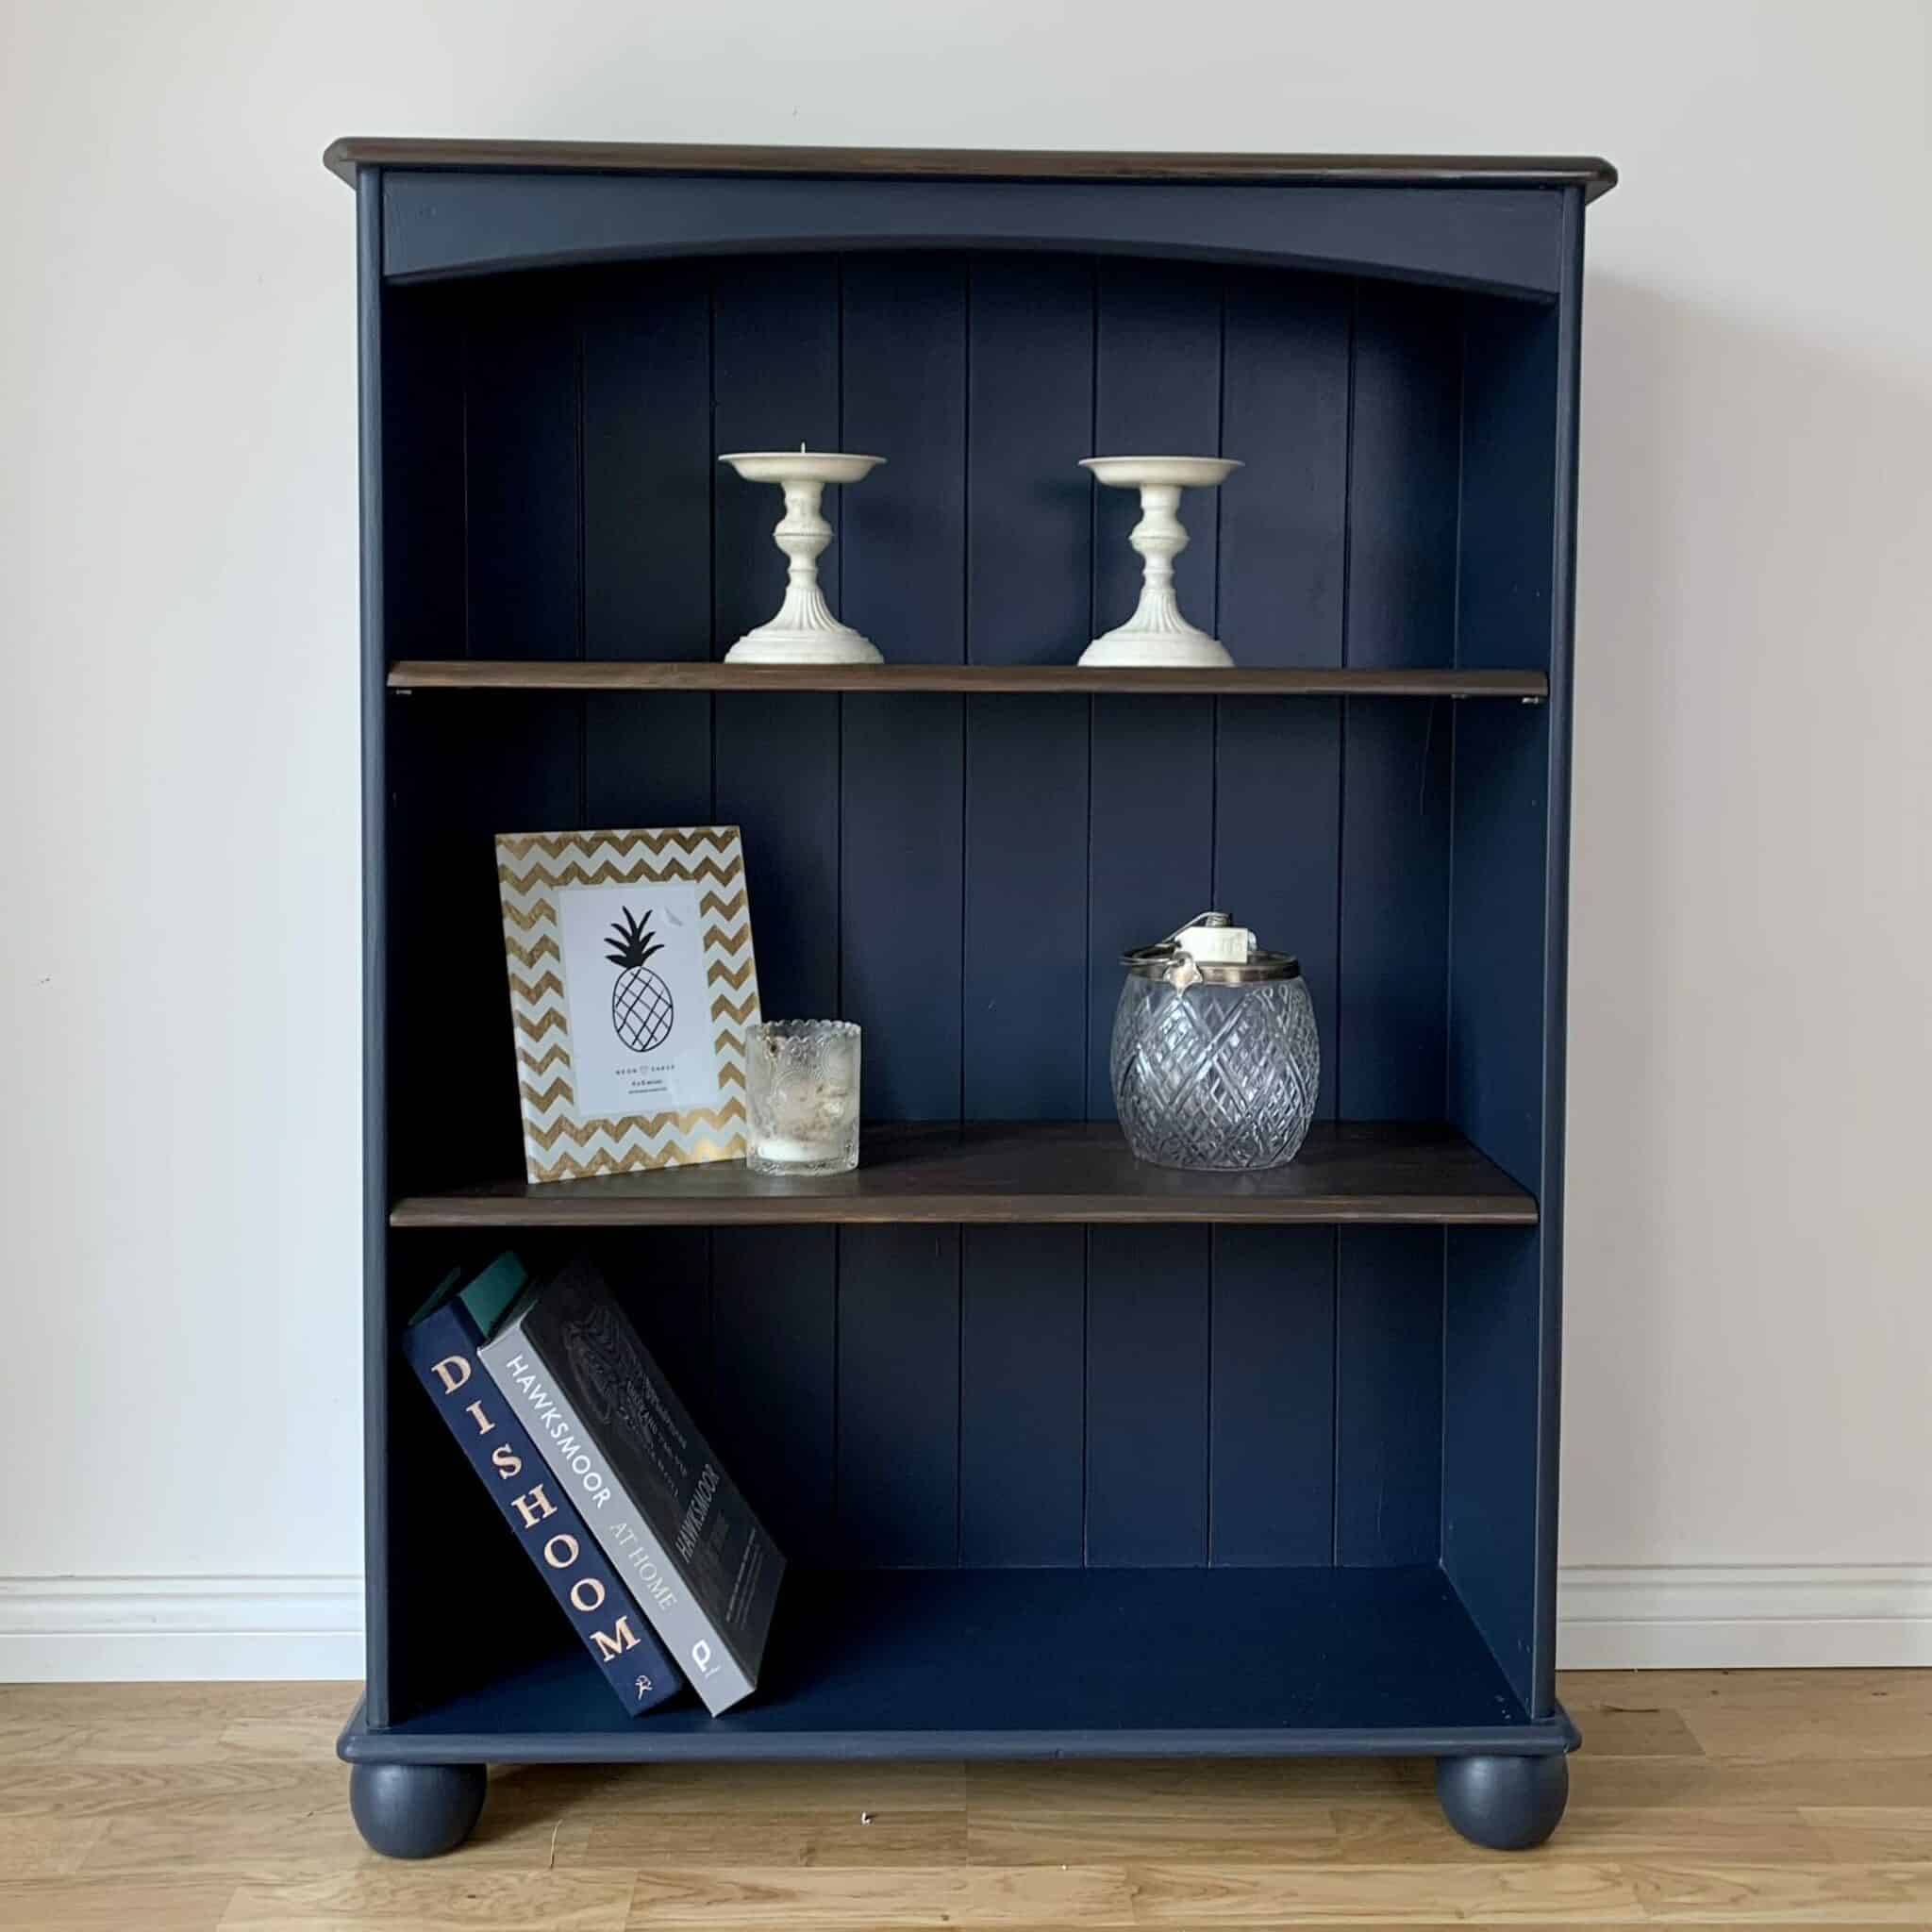
The result
I’m glad I chose this dark stain, it gives it a warm, moody look.
And here it is moved into my booth space at Homemade at The Barn.
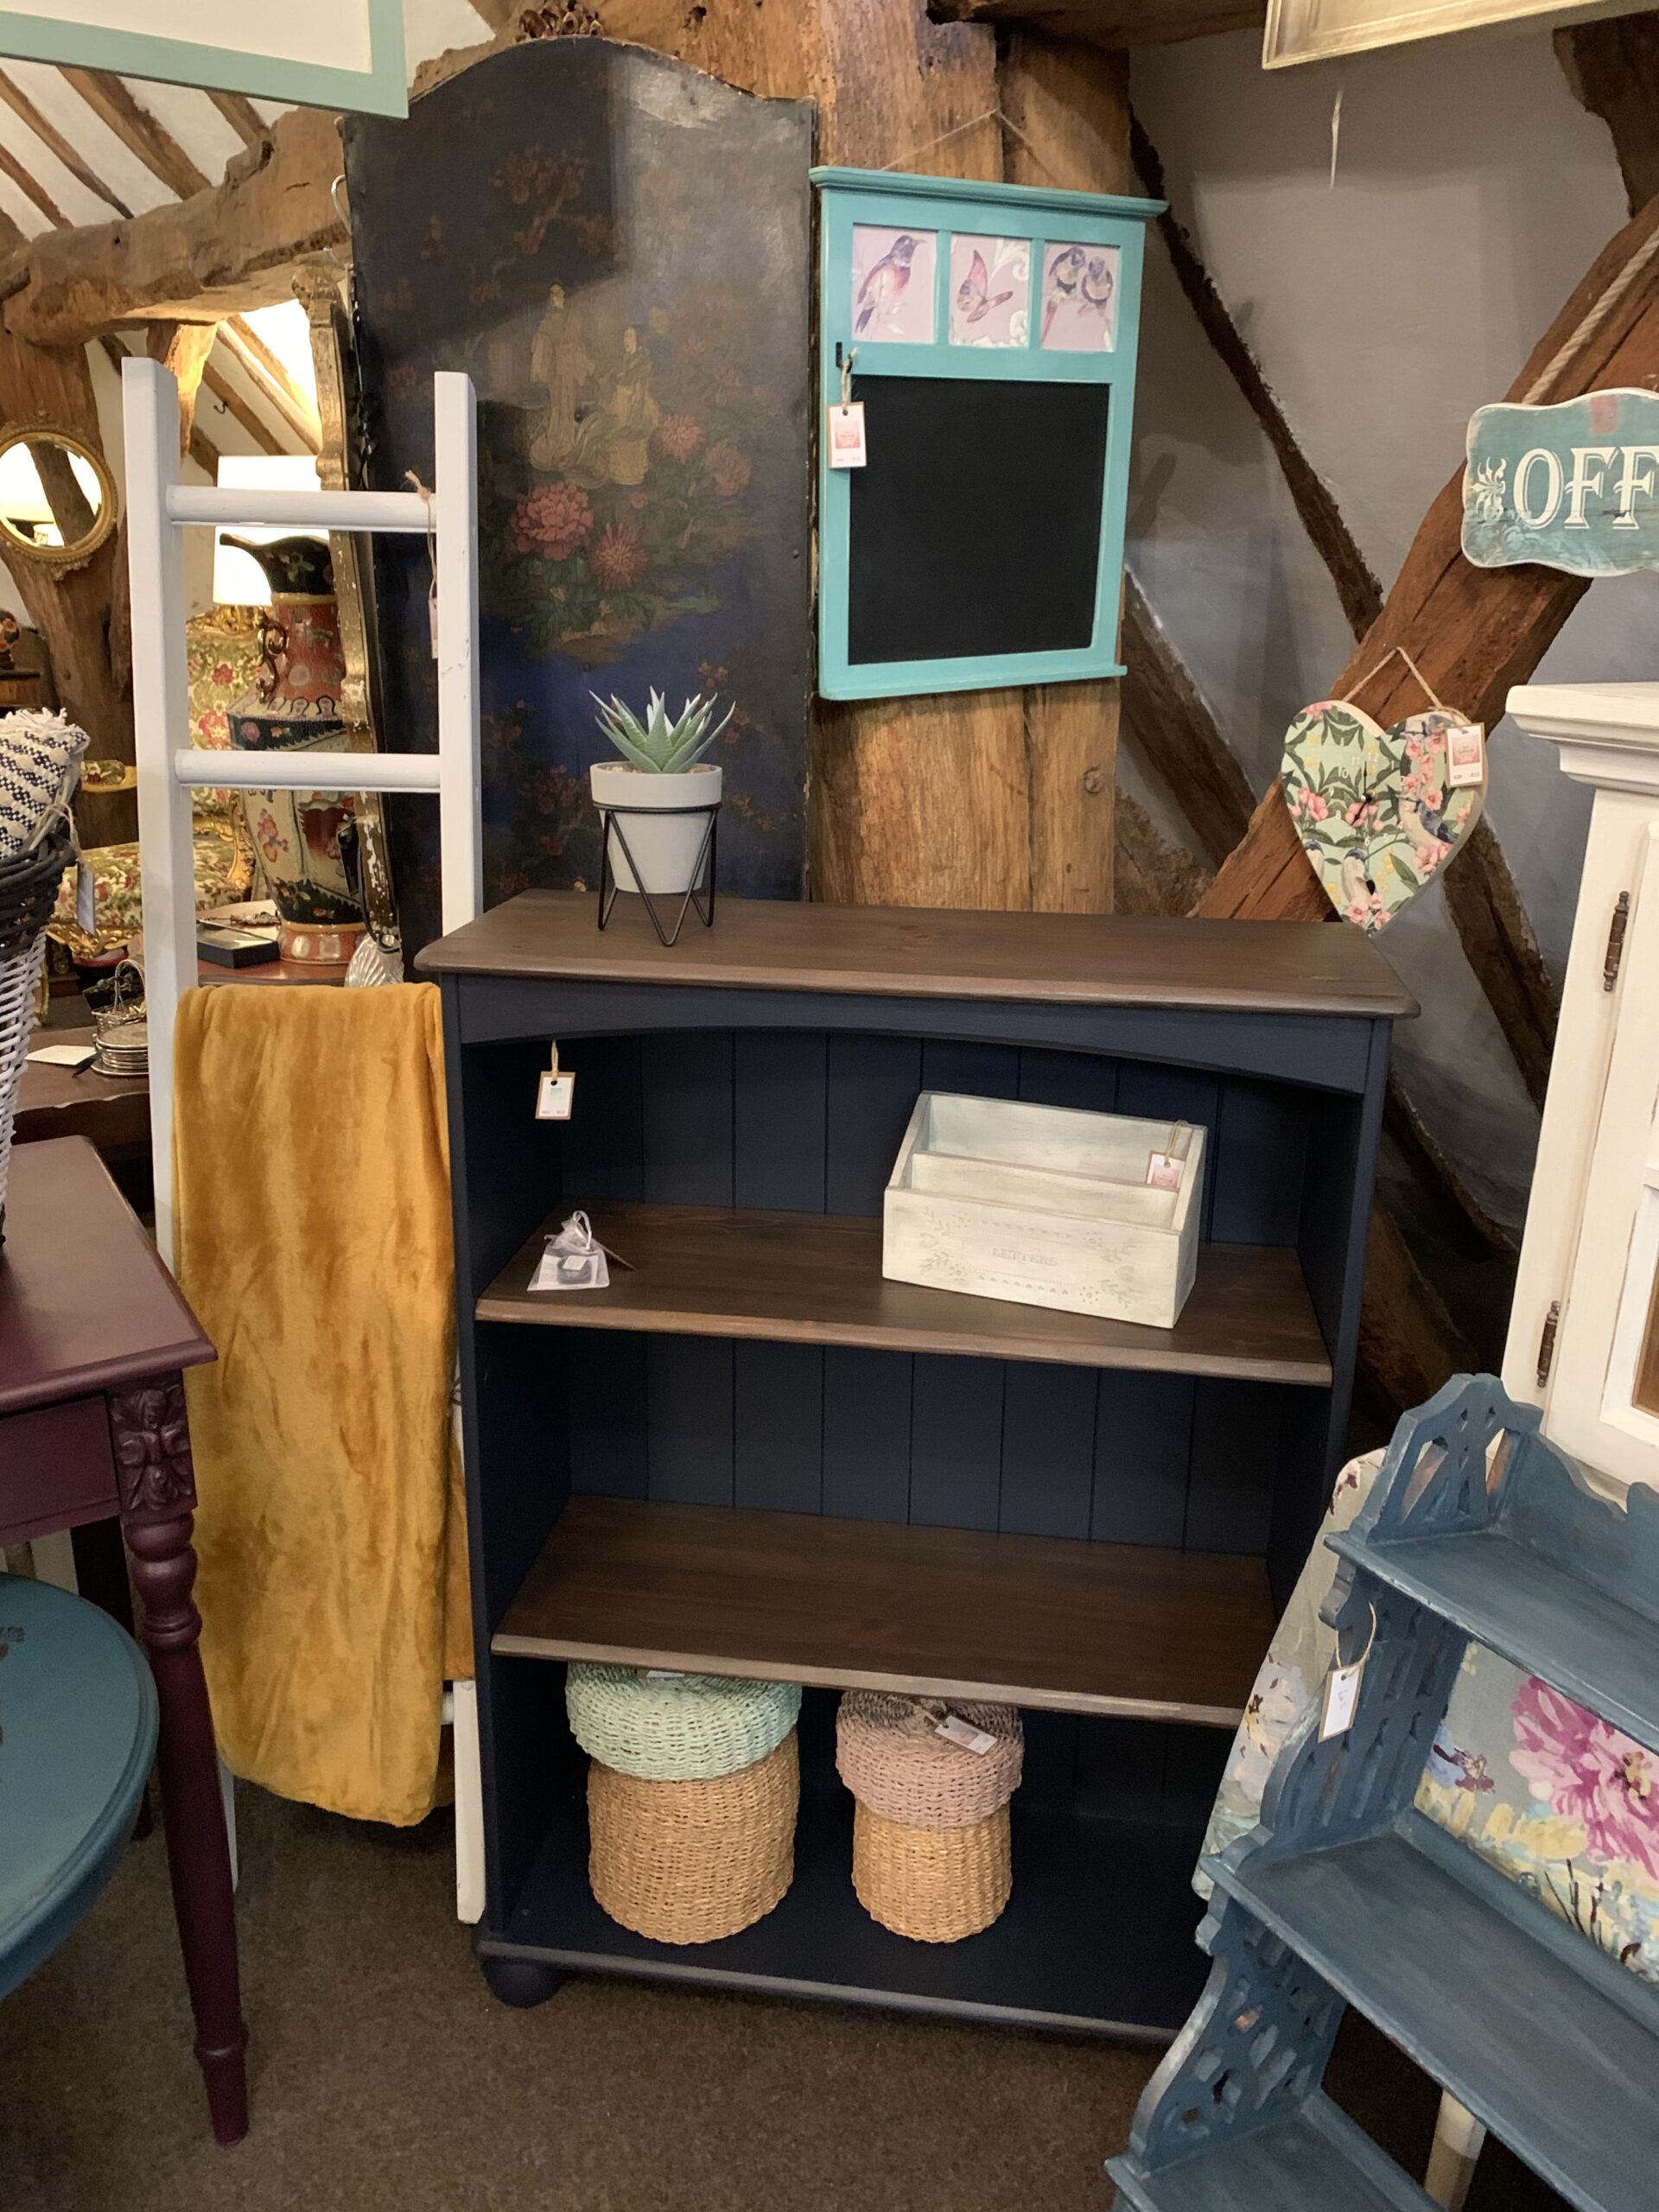
It’s more of a masculine style compared to my usual pieces but navy is very popular at the moment so we’ll see if it sells quickly.
I added this mustard blanket at the same time which nicely compliments the blue also.
All in all, not a bad job for a freebie and some quality materials.
If you liked this post, you might also enjoy this navy blue chest too…
Pin it for later – transform a free bookshelf

Hi there! I'm Rachel Bowyer, a passionate DIY enthusiast with a knack for transforming the old into something beautifully new. With a deep love for furniture painting, refinishing, and the art of crafting. I've been documenting my DIY projects and restoration journey since 2018. I specialise in techniques like decoupage, stencilling, and decor transfers. Join me as we explore the world of creativity and home improvement, one project at a time.
Love that blue color! It looks amazing!
Thank you, I finished the pot, it’s that lovely!