Best Paint Remover for Wood Furniture Restoration Project
Have painted furniture you want to restore to natural wood? Here’s how I found the best paint remover for wood furniture.
See how it turned out!
Best Paint Remover for Wood Furniture Restoration Project
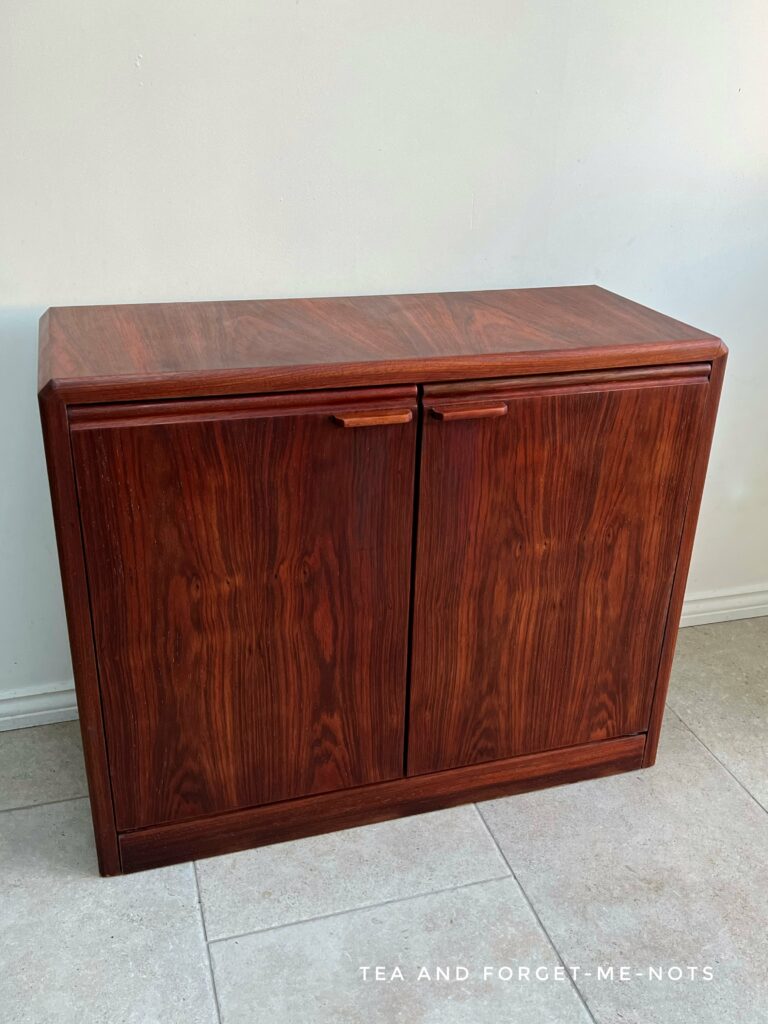
I got this grey cabinet a few years ago. While I generally always document where I bought something and what I paid for it. I don’t have a record for this one.
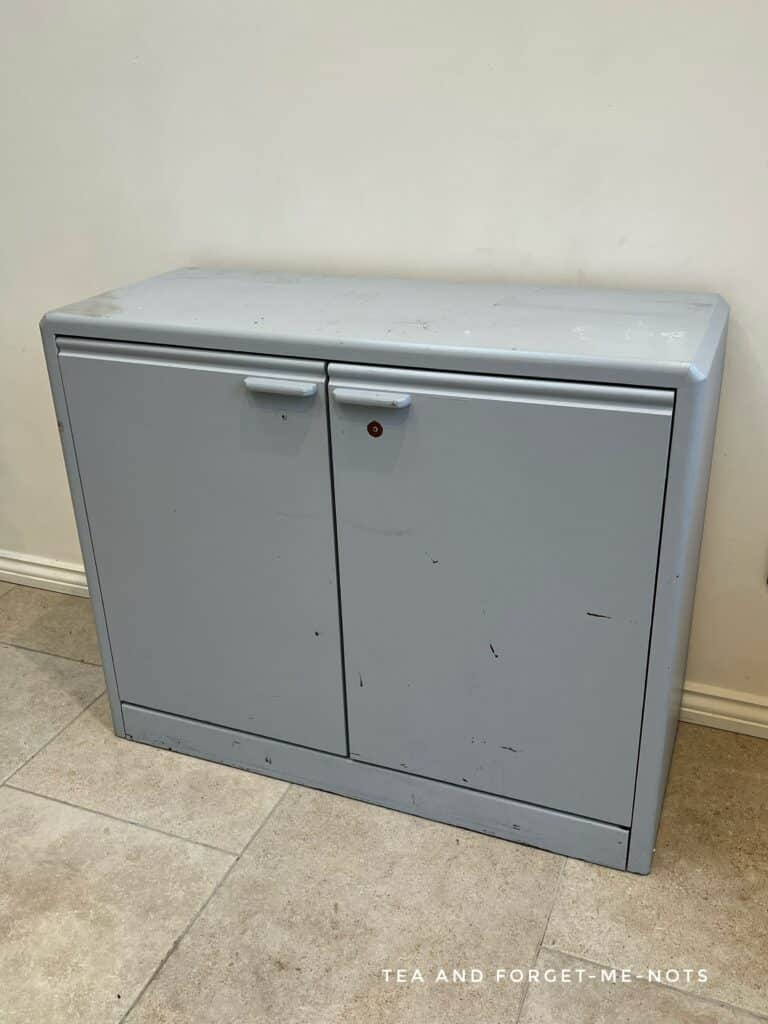
So, my guess is that it was from Facebook. And was under £20. Maybe even free.
As with anything that has good storage in it, it stayed in my shed for longer than it should have. Give me a table and it gets refinished quite quickly. Because it doesn’t have a use other than as a table.
But a cupboard or chest of drawers? Watch how quickly that gets filled with my things!
So, eventually, I made a plan for this cabinet.
Restore Wood Furniture Video

And this is where it comes to the Do It Over blog hop.
Do It Over’ Designers is a group of talented bloggers who love to recycle, upcycle and DIY. It’s about taking something old or unused and ‘doing it over’ into something new.
Check out all the ‘Do It Over Designers’ at the bottom to see their lovely do-overs too!
My initial idea was to use a decoupage paper on the front. Mostly because I have a beautiful floral paper that I want to use. But also because there were visible handle holes on the doors.

I always thought it was strange that someone added new handles but didn’t take the old ones off. But when it came to me the new handles had been removed, so there were two holes to fill.
As the paint was a little chipped, I planned to sand it off completely.
Scuff sanding is all you need to do usually before a new coat of paint. But when there are a couple of chips, those dents will always be visible under paint. No matter how many layers you do.
And there were a few layers of paint on this piece. Including small sections that had a thick layer of paint.
How to remove paint from wood furniture
So, I started removing the paint. And this is where the plan changed…
There were a few false starts with removing this paint.
First of all, my trusty carbide scraper. It needed sharpening. So off I went to buy a diamond stone and sanding guide.
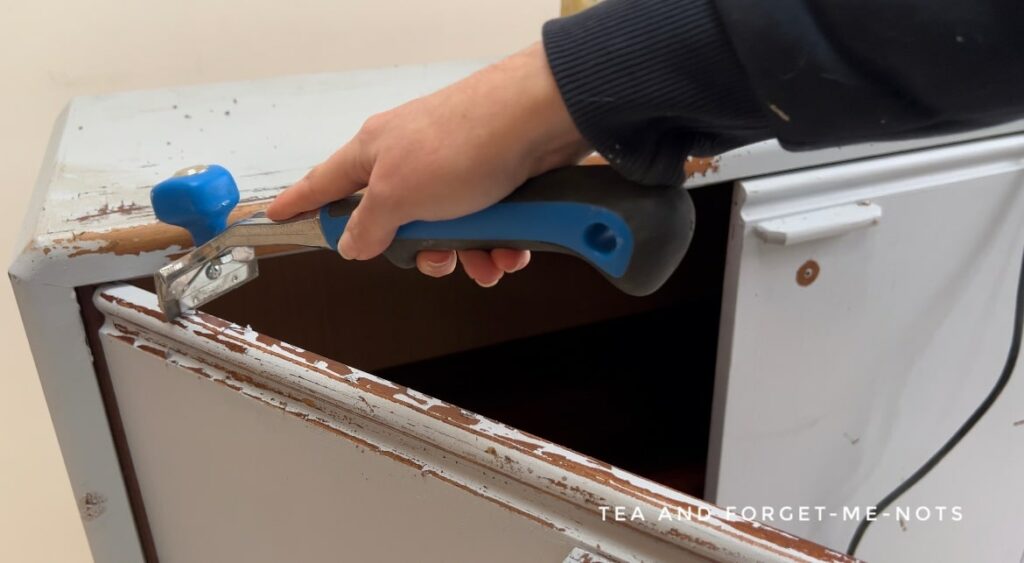
After sharpening, I discovered that the wood top was veneer and not solid wood. Which is asking for trouble when using a tool like a carbide scraper.
It’s a brilliant tool but it needs a delicate hand so as not to gouge the wood. And veneer is not a good match for it.
Here it is an action properly!
Then attempt two. A heat gun. People seem to have a lot of success with removing paint quickly with these. But for me, it didn’t work well.
That’s are unknowns in general when removing someone else’s paint. Old paint could be lead paint, which is a particular risk.
A heat gun works by heating up the paint and causing it to bubble. Then you use a paint scraper to remove the broken-up paint.
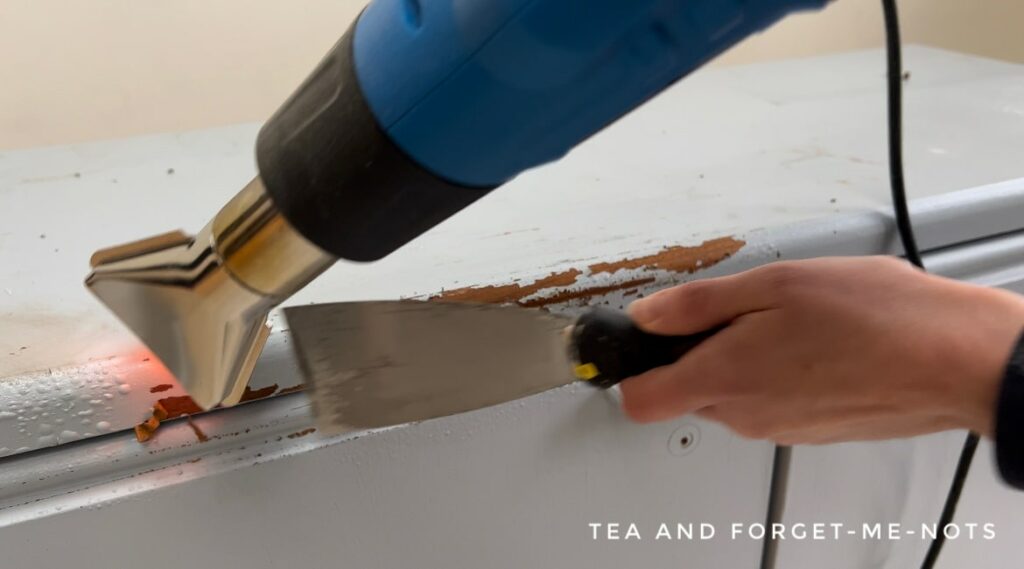
Except for me, only one area bubbled up well. The top of the cabinet only created tiny bubbles, which were not easily scraped off.
Some elbow grease later and a possible reason why materialised. The bottom coat of the grey paint had glitter in it. Maybe because of a higher melting point, is what stopped the bubbles from forming.
The best paint remover for wood furniture
So, attempt three.
Paint stripper. I don’t often use chemical strippers because sometimes they give me a headache. Even the eco-friendly ones.
But it seemed like a good choice for this situation.
I bought a paint stripper called No Nonsense. It had good reviews and worked in only an hour. And most importantly, didn’t give me a headache!
It recommends applying it with a brush but I didn’t want to ruin any of my nice brushes.
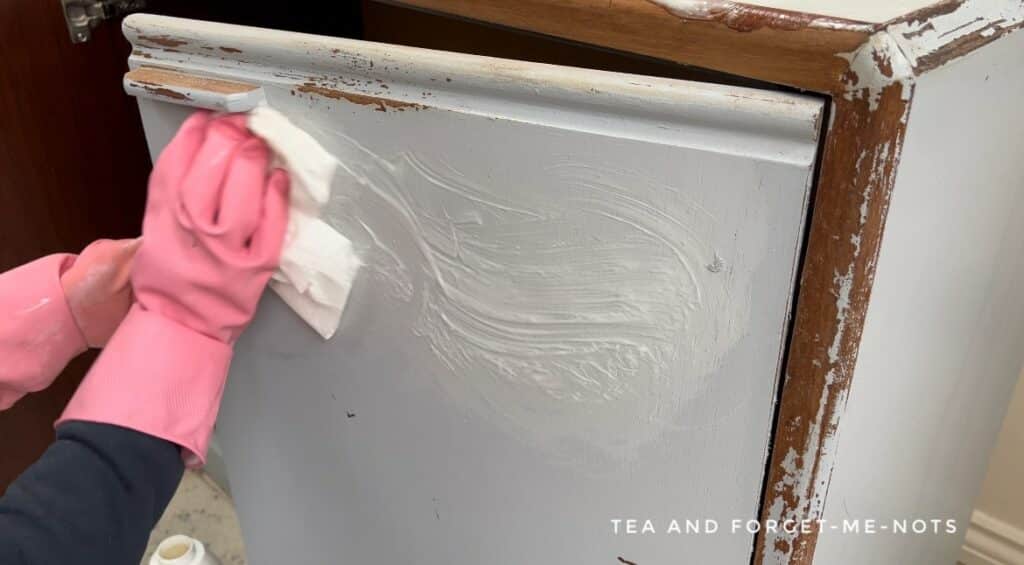
So I wore gloves and used a paper towel. It’s non-caustic and fortunately doesn’t have a strong smell.
It’s suitable for indoor or outdoor use. I used it in my indoor work area with the door open so that it was a well-ventilated area.
It’s also promoted to DIY enthusiasts for beginner use. Probably because it’s safer than caustic paint strippers with harmful chemicals.
I did a combination of using a paint scraper to remove the top layer of paint. Then I washed it down with water and steel wool.
I did a single application on the painted surface. I could have done two or left it for a longer time. But I was already impressed with the results.
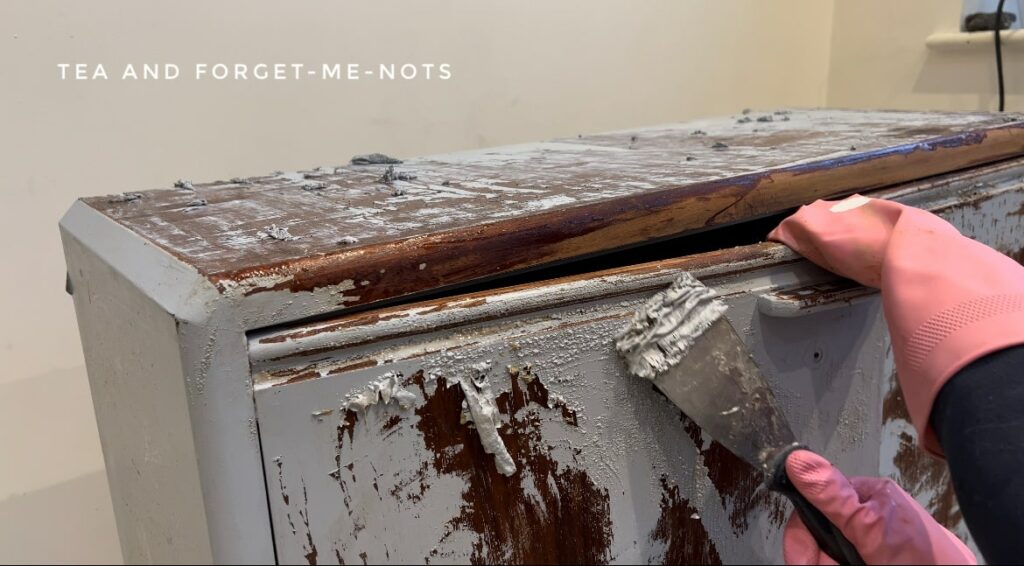
It came away so easily. What a time saver! Definitely an effective paint remover and the best paint stripper that I’ve used.
After these good results, what I saw underneath the layer of paint is what changed my plan. Lovely wood grain. That made me think that it shouldn’t be hidden with decoupage paper.
So it was time to finish perfecting that wood.
How to sand paint back to natural wood
There were still parts of the old varnish visible where the paint stripper hadn’t removed all of it. I could have used another coat of varnish stripping gel. However, it was going to need sanding to even it out anyway.
So I got out my electric sander. I sanded the surface area with 80-grit sandpaper. Being careful to be gentle on the delicate veneer.
I sanded the entire piece to remove the bulk of the old furniture finish. You know when there’s still an old finish left because it has a grey tinge.
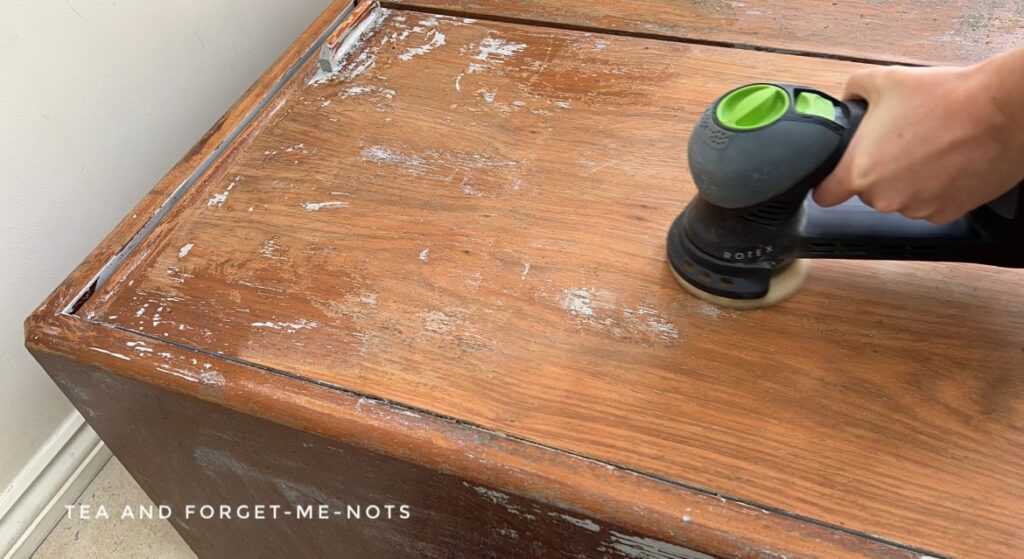
Then I hand-sanded using more 80 grit sandpaper. As veneer is so thin, it was the safe option for the best results.
Then I continued until the whole piece was sanded with 180-grit sandpaper. That’s the level of sandpaper that makes a piece of furniture smooth to the touch. At 80 grit the surface is rough and rustic-feeling.
Sanding is always a slow process if done right. When people ask why there are swirls in their sanded finish, it’s because the sander hasn’t worked for long enough to remove them.
Here are more sanding tips and tricks!
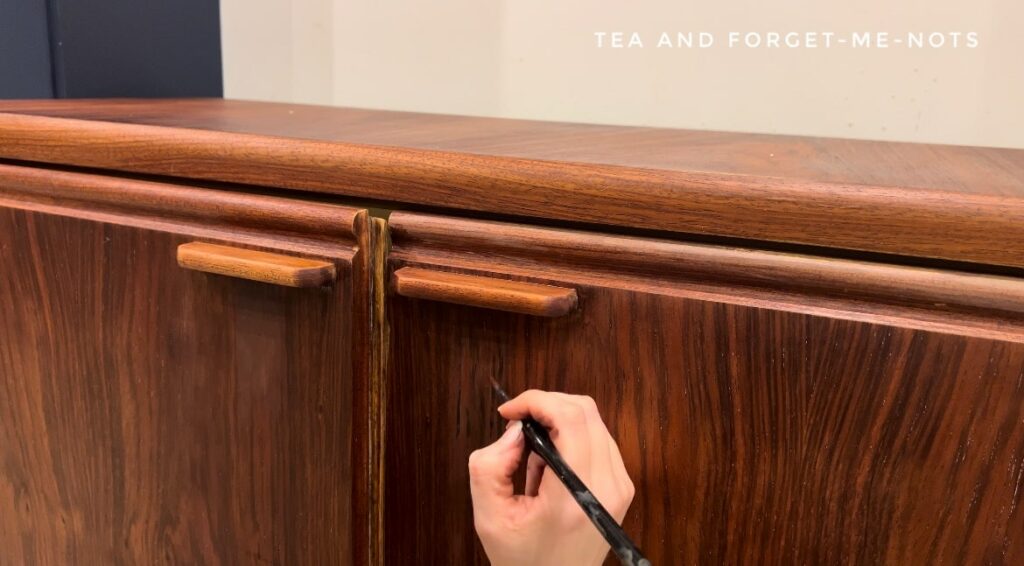
There were some tight spaces where the grey paint was still visible. Such as the join between the door and the handle. I used a very small screwdriver to chip away the paint.
For this type of paint stripper and when sanding, I took safety precautions. For protective clothing, I wore a mask, used rubber gloves and had long sleeves.
Then on to cleaning. Normally the first step but there was no point in getting a clean surface on the paint that I was going to remove.
I cleaned the whole piece thoroughly with a TSP cleaner in a spray bottle. Then washed the cleaner off with plain water.
And if you were going to stain the wood from this stage? The easiest way to see if your sanding is even is to wipe over the entire piece with mineral spirits. This shows if you need to sand some more and saves a lot of time finding out before committing.
That’s how I knew that this bookshelf was ready for stain!
Then onto those handle holes…
Can you paint to match wood stain?
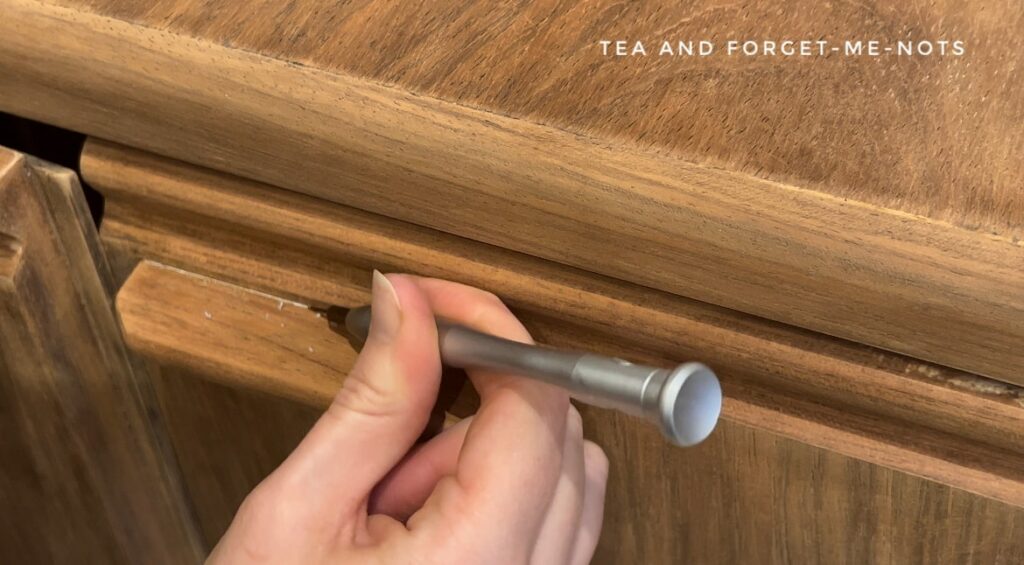
As I now wanted to leave the cabinet unpainted. The visible handle holes were an issue.
So to start the disappearing process, I filled them in with wood filler. I added it to just above the surface line. Then when sanding it back smooth, it was in line with the door.
Once it was dry. I took a risk.
I attempted to paint over them and a small area outside so that they blended in with the door. By using various combinations of orange, grey and black to make them blend in. And it looked ok.
But I had a problem. I still had to seal the piece. If it had been left unsealed then the wood surface would absorb oil and get dirty very quickly.
There was no point perfecting the paint over the wood filler until I had sealed it because that would look different again.
A matte sealer would give minimal change to the stripped surface and could have been a good option. But, I wanted to colour the wood so that it better matched the red wood on the inside of the cabinet.
So, I used Big Mama’s Butta. Which is a wood grain enhancer. I think of it as a conditioner for wood.
And it was a good idea as it did a great job of matching the wood to the inside of the cabinet.
But the snag was in the name, a wood conditioner. It doesn’t work with paint. And of course, I had painted the handle holes. So the Big Mama’s Butta didn’t work on those areas.
So, I painted over those areas to match the colour of the now-conditioned, wood.
Want to know the best brushes for each job? Check out the list.
I used a combination of rustic red to mimic the red undertones and coffee bean for the wood grain. You would need a different combination of colours depending on what type of wood the veneer is.
Now of course the best way to make this all match is to paint the entirety of the flat surfaces. But sometimes that isn’t an option. And you do need to fix and repair a stained or natural wood surface.
Then the final step. To match the sheen of the paint with the Big Mama’s Butta, I did a layer of Hemp Seed Oil. That gave it an all-over shiny look and helped blend in more.
Hemp Seed Oil is also an ingredient in Big Mama’s Butta. So fortunately they worked well together.
Here’s how it looked in this beautiful wood and black paint combination.
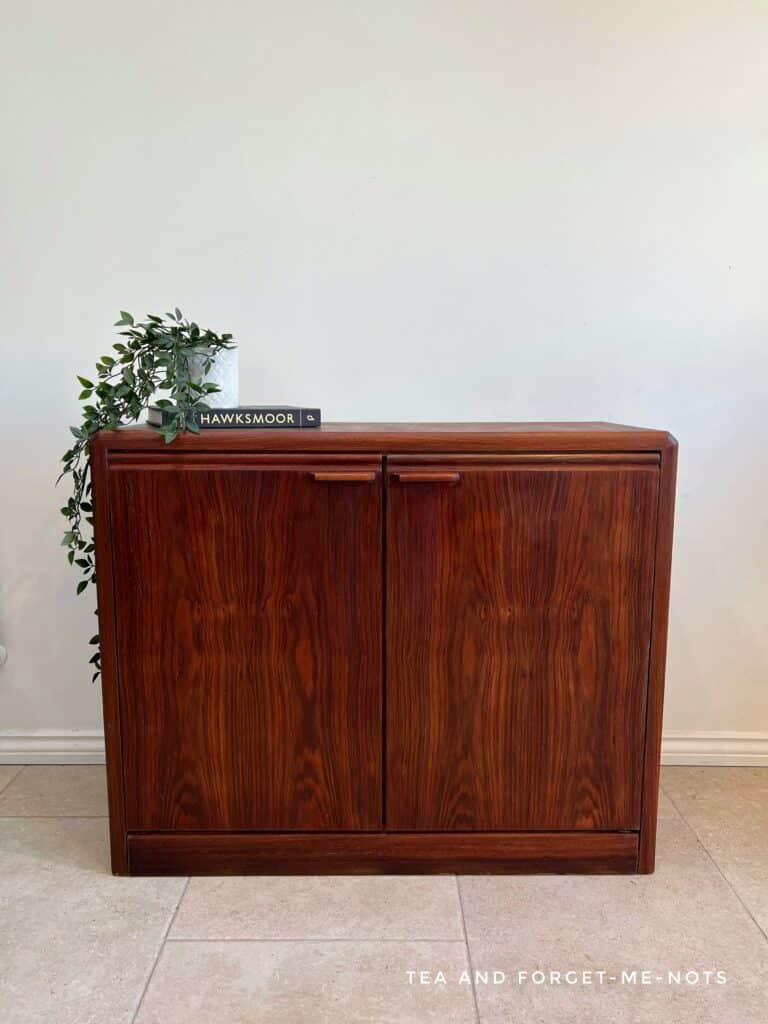
Restored wood furniture
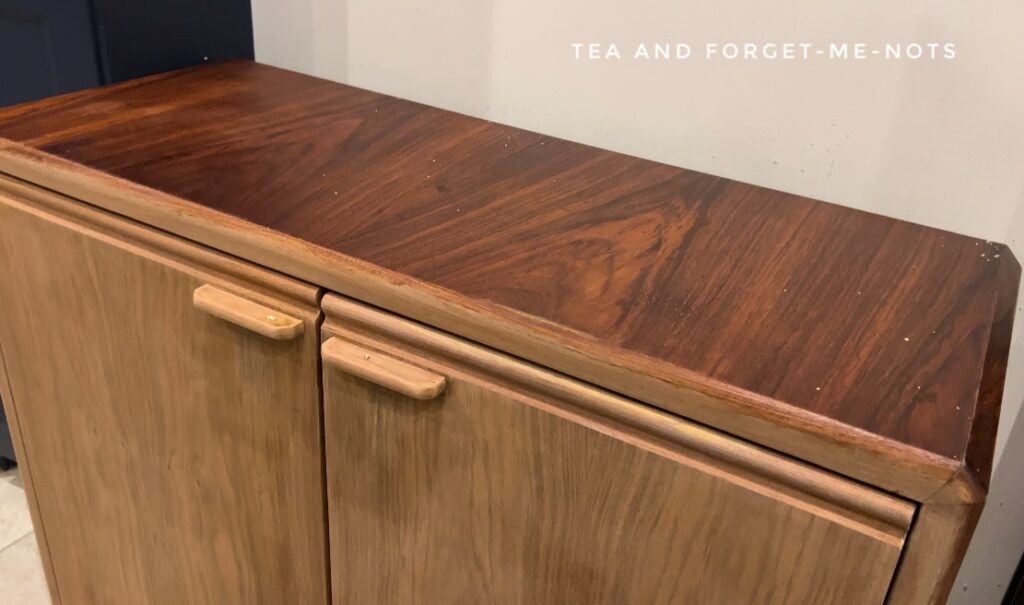
And the final results. I love the rich colour of this restored wood cabinet.
It drawers my eye to the veneer and how it’s the same pattern on the two doors.
It feels so much tidier and cleaner without those missing handles and chipped paint.
Now, I love a good painted piece of furniture, but this might just convince me to restore a few more too.
There’s no right or wrong finish when it comes to furniture. It depends on your style and what you feel like at the time. It’s all an evolution.
Enjoyed the transformation? Take 10 minutes to watch it come to life on YouTube!

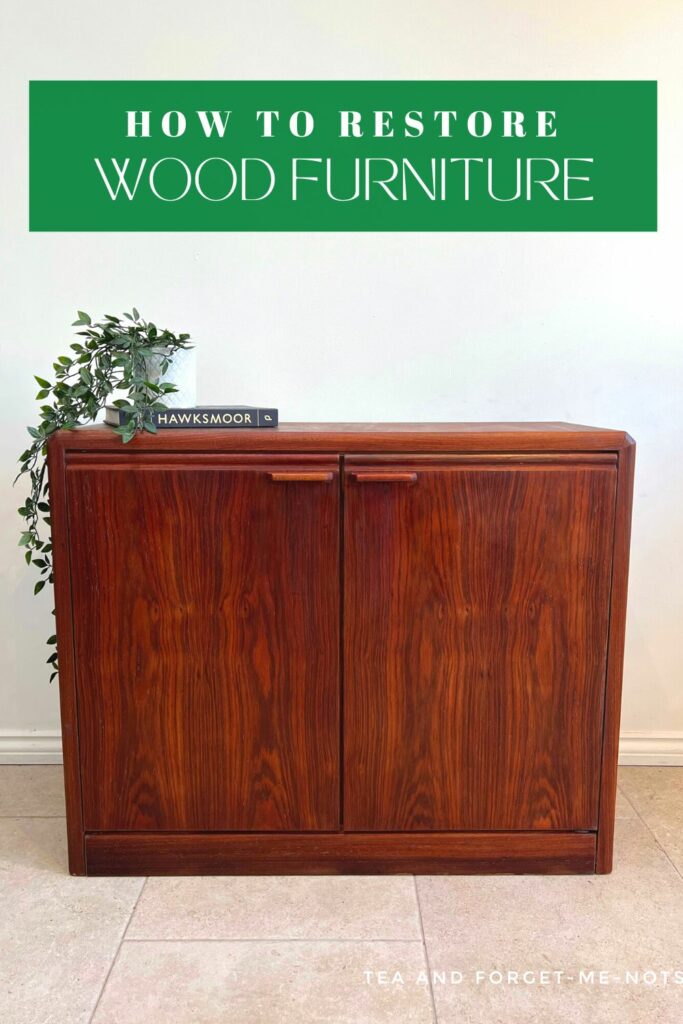
Pin it for later – Best paint remover for wood furniture
If you loved this project, you’ll love these projects too:


Hi there! I'm Rachel Bowyer, a passionate DIY enthusiast with a knack for transforming the old into something beautifully new. With a deep love for furniture painting, refinishing, and the art of crafting. I've been documenting my DIY projects and restoration journey since 2018. I specialise in techniques like decoupage, stencilling, and decor transfers. Join me as we explore the world of creativity and home improvement, one project at a time.
Wow!! That was a lot of work, but the results are outstanding. What a beautiful piece.
Thanks Kim, I’m very lucky that the result paid off.
Wow Rachel – it came out beautiful! It’s been a long time since I’ve stripped anything with chemical, but I’ll have to try out No Nonsense if it’s available here. Great job! Pinning 🙂
Yeah I’m not sure if it’s international. It always amazes me when products don’t do a good job though. Especially in a big shop, how are they still for sale… ha!
Absolutely gorgeous! I just love a project that restores beautiful wood. Those scrapers are the best. I have a similar one and use it often.
Yes, I’m definitely keen to do more restorations now. Thanks, Ann.
Wow, Rachel! This is truly a labor of love and you rocked transforming your cabinet into a beautifully finished piece! The difference between what you started with and the end result is amazing! I am blown away! Great job!
Thanks, Gail. I’m so glad it was worth the effort.
Wow, what a lot of great tips and advice. That No Nonsense product sounds great, thanks for the recommendation. This cabinet is completely transformed, a lot of work but so worth it.
Thanks, Julie. The stripper made a big difference. I do want to try again with the heat gun though with different paint.
WOW! I’m so impressed at your dedication to this piece! I would have given up on it! It looks so beautiful now, what a great job!
Ha, thanks Tania. I must think more of my patience, this isn’t even in the top 5 of pieces I’ve nearly given up on!
I’ve tried several low/no fume paint strippers over the years but this is one I’ve never heard of. I hope we can get it here in Canada because I’d love to give it a try. What a beautiful cabinet restoration, Rachel! The difference is night and day.
Thanks, Marie. I don’t even know if this one is particularly special but it was certainly an upgrade on the last one I used.
The piece looks wonderful! It was a lot of work but I bet you’re glad you stuck with it! Great job!
Thanks, very glad!
Beautiful makeover. I usually avoid refinishing painted wood furniture because it is so tedious to get the paint off. So thanks for sharing a new product to try out.
Thank you. Yes I avoid it too. Funnily enough it wasn’t even with plan with this one, but it just evolved.