May the force be with your new Star Wars furniture
Know a fan who would love themed Star Wars furniture? Here’s how to make a chest of drawers using Star Wars wallpaper decoupage.
A common concern I hear from people wanting to paint furniture is that they’re afraid to start. And if your first piece is a family heirloom then yes, be cautious.
If you want to start then find a reasonable quality, affordable piece of furniture, choose a paint colour you like and just have a go.
The worst thing that happens is you don’t like it. You can sand off the paint and try again. There’s little stress when there’s little pressure.
Feel the fear and do it anyway
Susan Jeffers
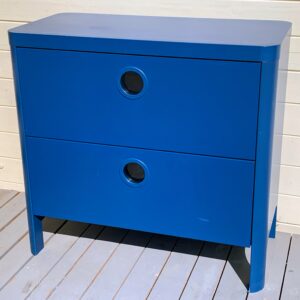
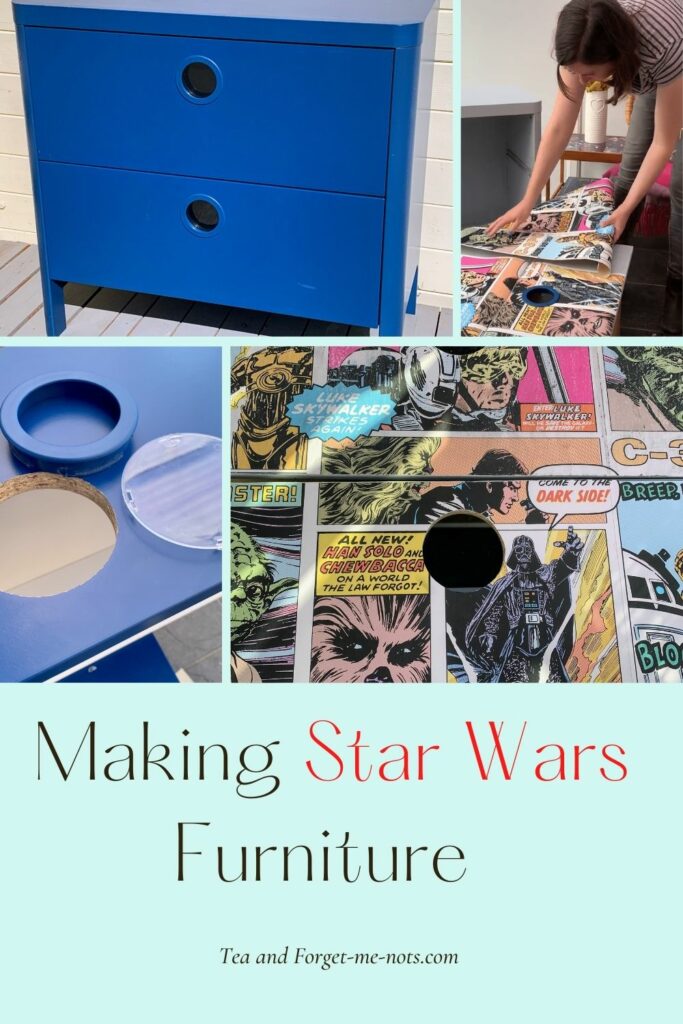
I found this blue, children’s chest of drawers on Freecycle. It was in great condition and I didn’t know initially that it was an IKEA piece called Busunge.
Here are 5 ways to find free furniture!
When I’m upcycling to sell, I rarely use IKEA furniture. Their pieces are reasonably priced and therefore there’s a limit to how much they will sell for, even after a makeover.
Here’s a tip to help you find information about your furniture…
Google Lens
Take a photo of your piece, then open it in Google Photos and select the Google Lens icon. Google Lens shows you photos of similar items which is how I found out that this was an IKEA product.

It’s a great tool to see if your item is still for sale, how much it is or where you can buy it.
For example, if you’re missing a handle, take a photo and you’ll see if there’s somewhere you can buy a matching one.
It’s so helpful!
This post may include affiliate links so you can easily find the products I love and use myself. If you purchase these products, I may earn a small commission at no extra cost to you.
May the force be with your new Star Wars furniture
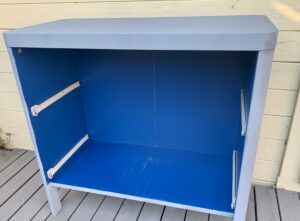
To start, I scuff-sanded the outside but didn’t prime it as it isn’t essential with chalk paint. I used three coats of the paint, French Gray by GraceMary.
Initially, I painted just the outside before I decided to do the inside too. There’s a balance between being a perfectionist and wasting time on areas that will never be seen.
Jumping ahead slightly, I wanted to show a mistake I made on this piece.
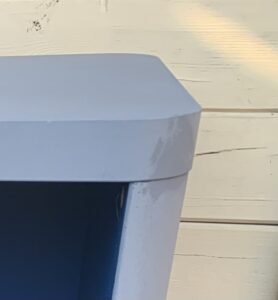
The difficulty with painting is that paint looks a different colour depending on whether it’s wet or dry.
So when doing paint touch-ups, it’s really important to stir the paint thoroughly to ensure the exact colour match.
You won’t be able to see if the colour is off until after it has dried. Which was my mistake.
I needed to do another full coat to cover the imperfect touched-up areas. But, it was a lesson well learned for the cost of paint, time and a bit of pride.
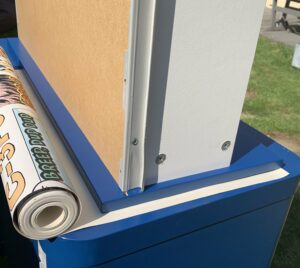
Lining up the wallpaper
I chose to use this comic book-style Star Wars wallpaper.
Here’s a black cabinet that was completely transformed by some wallpaper decoupage.
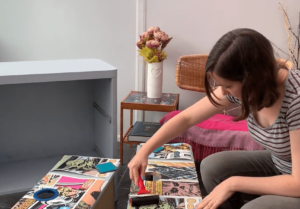
To measure the paper, I placed it under the drawers and drew a line where I wanted to cut.
It’s important to check where the cuts will be between the drawers. For an easy life, avoid cutting between fiddly bits like words that are harder to line up.
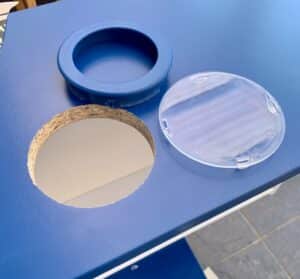
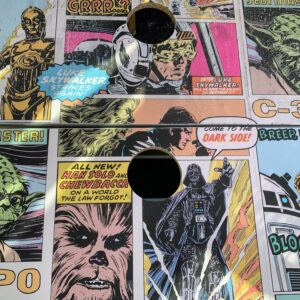
As the piece had removable handles, I used the circle as a template to cut out the hole in the paper.
With decoupage, it’s best to either cut the paper slightly short of the edge or slightly over.
If it’s cut it slightly short, job done. The hard bit about this way is cutting a perfectly straight line, especially when using scissors.
I cut it slightly long. After the glue dried, I used 180 grit sandpaper to sand the paper where it met the drawer edge to tear a clean edge.
The advantage of this method is that you don’t need to precisely cut the paper to size. But you do have the extra sanding step.
Want to know 23 great DIY tools? Get the list!
Applying the wallpaper
I used a foam brush to apply a thin layer of Mod Podge to the drawer front. Before it was dry, I placed the paper and used a brayer to smooth out any bumps or bubbles.
There are other ways to decoupage which I explained here but this method worked out fine.
I then used 180 grit sandpaper and a sanding block to distress the paper lightly.
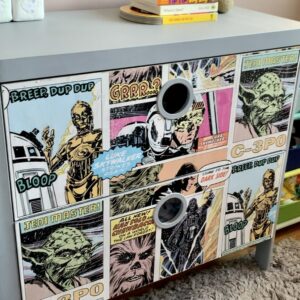
The top drawer in this photo is distressed while the bottom isn’t. It’s subtle but gives it a more worn look which I like.
The finished Star Wars furniture
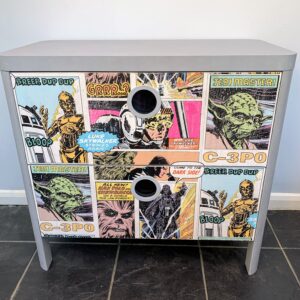
Grey is an easy colour to match with many things. So it’s an easy fix to change the paper to something else down the line.
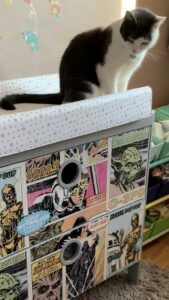
And no piece is signed off as complete without approval from my cat, Pixel. So far so good but she reserves the right to change her mind at any time.
She got quite involved inspecting my DIY IKEA mirror, too!
So we definitely haven’t gone to the dark side with this Star Wars furniture, if anything it’s the light (grey) side.
What themed wallpaper would you use? Let me know in the comments below!
If you liked this post, you might also enjoy this bookshelf revamp.
Pin it for later – Star Wars furniture

Hi there! I'm Rachel Bowyer, a passionate DIY enthusiast with a knack for transforming the old into something beautifully new. With a deep love for furniture painting, refinishing, and the art of crafting. I've been documenting my DIY projects and restoration journey since 2018. I specialise in techniques like decoupage, stencilling, and decor transfers. Join me as we explore the world of creativity and home improvement, one project at a time.
Thank you for your really useful tips. It has inspired me to have a go myself. Wish me luck.
Thank you, good luck!