How to paint a fridge – 6 month update
Want to paint a fridge with a perfect finish so that it lasts? Here’s a 6 month update on a painted fridge makeover.
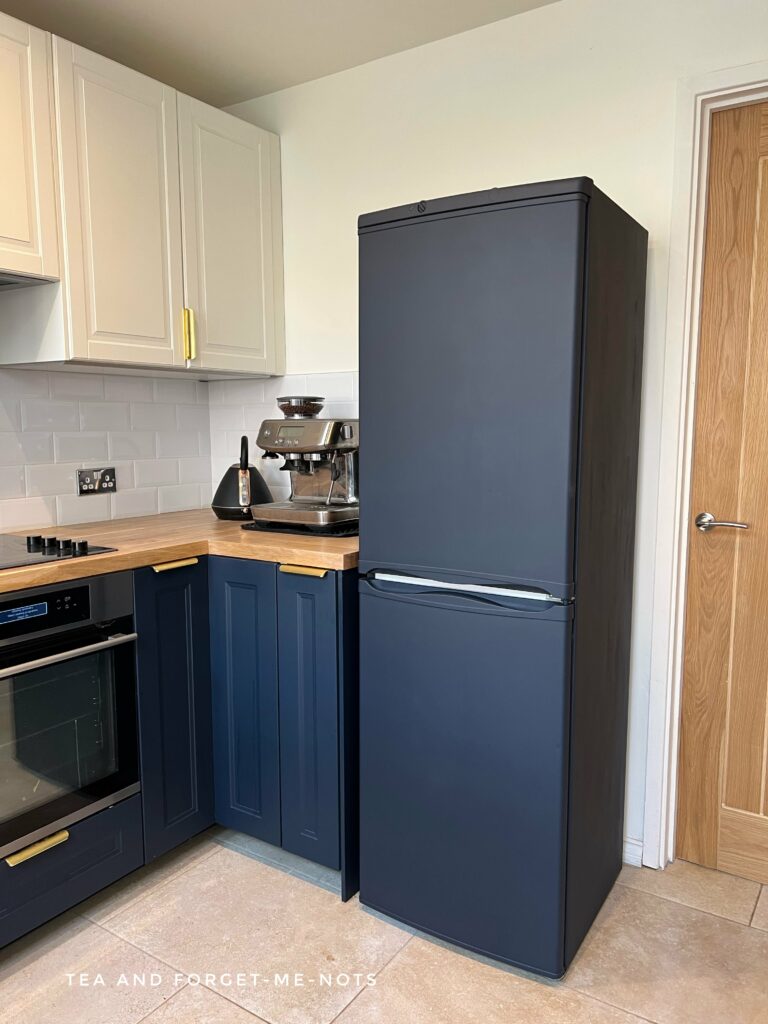
If you’ve seen my painted fridge makeover, you’ll know how thrilled I was with the outcome. And I still love it. But there is an update to share.
Here’s the original video of the makeover.
How to paint a fridge – 6 month update
Most of the time, probably all of the time, I add a top coat to the pieces I paint.
And sometimes I get questioned as to why I do that when I use paint with a built-in top coat. Isn’t it a waste of time?
Well, my update shows you why I do…
With the fridge, I was intrigued. Maybe I don’t need to seal everything.
When I sell furniture I do it because I want to make it as durable as possible for the next owners. But this fridge is staying in my house. So, let’s do a test.

I decided not to seal the fridge and see how it lasted. If it chipped, I can see and easily fix it. And if it lasted perfectly forever, even better.
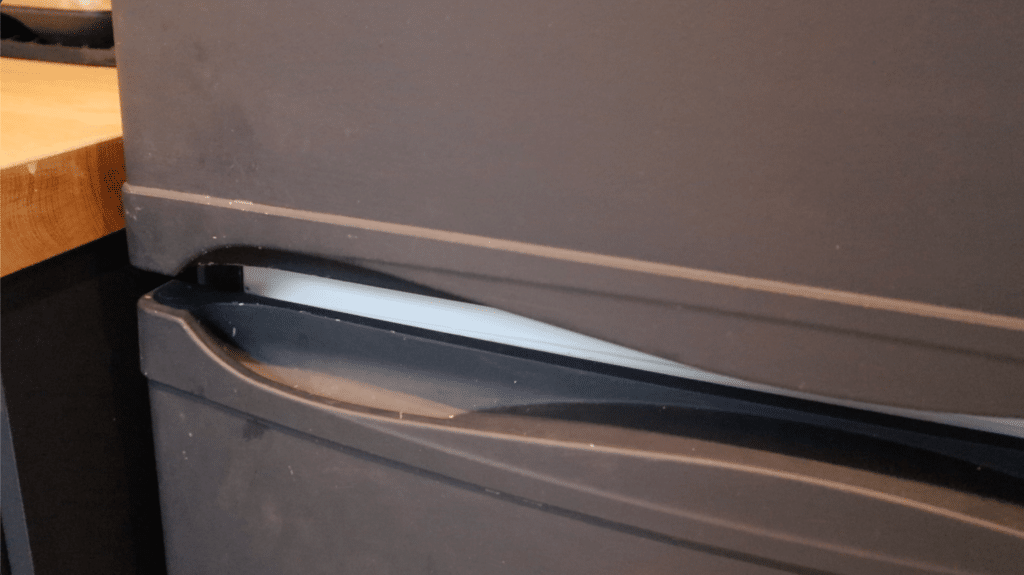
I had around 5 months of a perfect finish. Then a few little scratches started appearing around the door handles. The natural risk area for the paint finish.
And there’s only one person to blame for that. Me and my long nails.
Paint a fridge so it lasts
So, I decided to do a few touch-ups and add some sealer.
And then I added one more task to the list. To fill in the white gap between the doors.
I had debated doing this section in the initial makeover. But I thought it might look nice left white as I have different coloured cabinets on the top and bottom of my kitchen units.
I chose to leave it and see how I felt about it. It was fine. But as I was getting the paintbrush out again, I did this section too.
How to clean painted furniture
Usually, I clean pieces of furniture with a TSP cleaner. But I don’t recommend that for painted pieces. I clean painted pieces with either water only or dish soap and water.
So, I added some dish soap to warm water and wiped across the handles with a cloth. Dish soap is great for removing greasy marks. Handles are a prime location for grease and oil from hands.

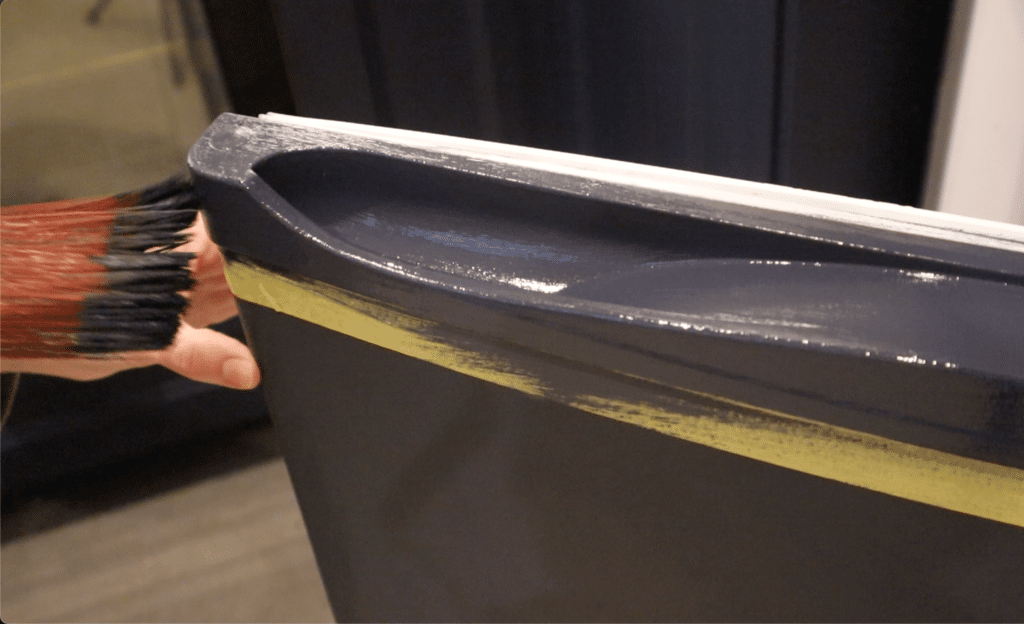
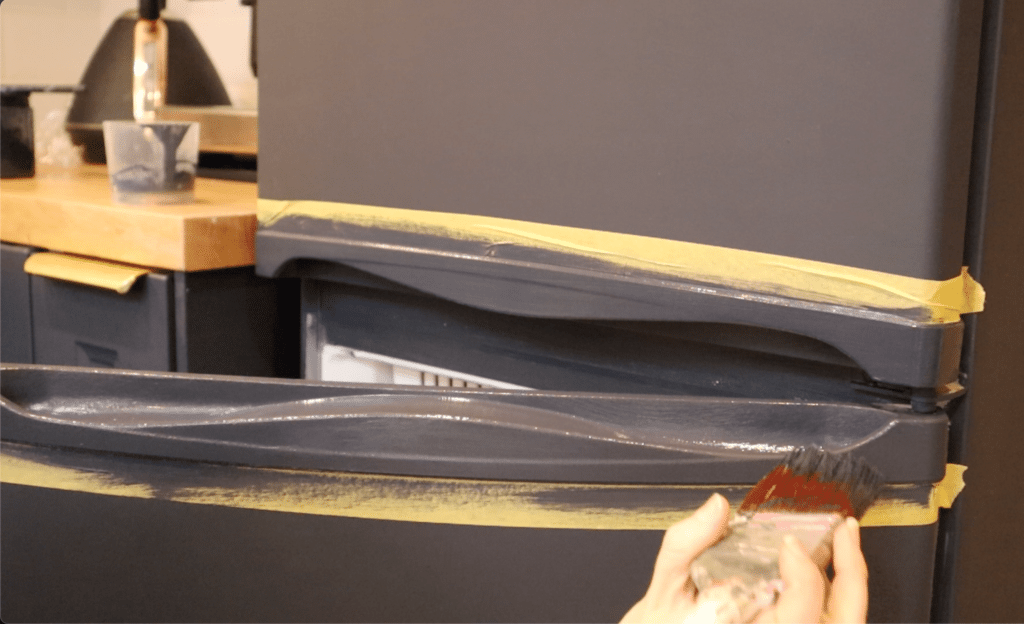
I then added some Frog Tape to the edges of the handles. This is so that the fresh paint didn’t spill onto the doors. Just in case the new and old paint looked different at all.
Frog Tape gives you crisp painted edges. But, it’s important to get it wet first.
It works best if the tape is prepped to seal it tight to the surface. So I wiped the edge of the tape with a damp cloth first.
Then I did just one coat of Deep Sea to hide the scratches. I find it’s better to paint the whole area rather than just go over the scratch marks, as it hides them better.
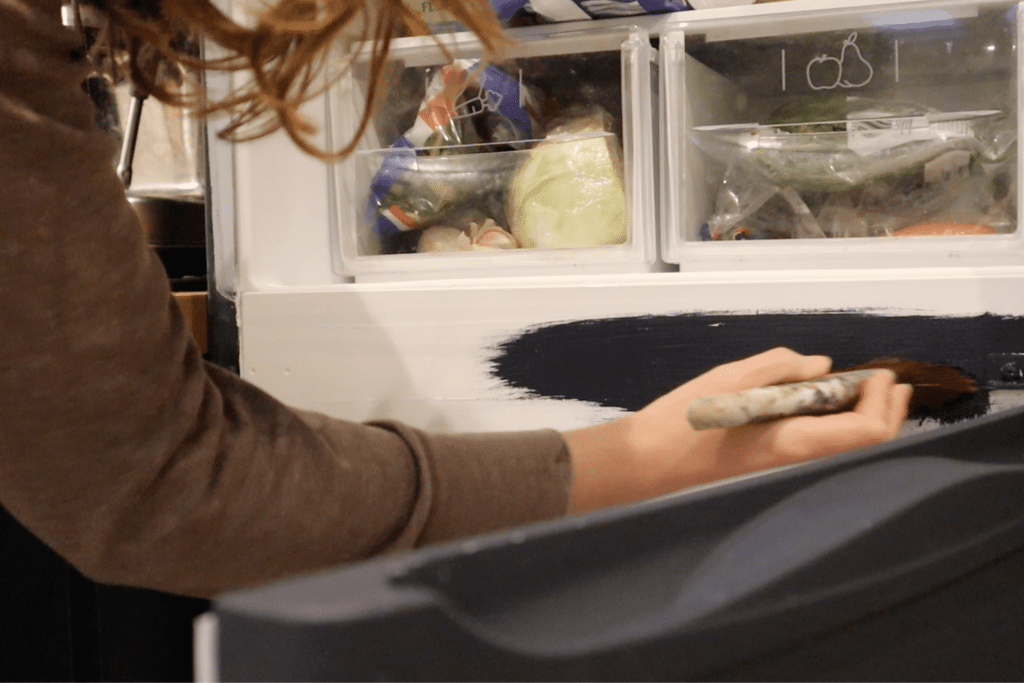
During this time, I also applied a coat of Slick Stick to the gap between the fridge doors. This is a genius product that allows paint to stick well to shiny surfaces.
I did two coats of Slick Stick. The same as when I prepped the rest of the fridge. Then I left it for 24 hours before applying two coats of Deep Sea.
This was a great choice to paint this gap. It ties the whole fridge together much more nicely.
Sealing the painted fridge
Now for the new step, the sealer.
I chose a flat, matte sealer as it dries without a sheen. If I had used a satin or gloss finish, I would have had to seal the entire fridge for a consistent look. But as the rest of the fridge had held up well, it didn’t seem necessary.
With dark colours, it is a good idea to mix a splash of dark paint into the sealer. This makes the sealer less cloudy or streaky which can be a problem with dark colours.
I did two coats of the sealer and paint mix. Then removed the Frog Tape after the last coat while the paint was still wet.
And to keep the paint looking good as new for as long as possible, I even cut my nails.
Hopefully, I’ll avoid any scratches while it’s in the first weeks and the paint is still curing. After four weeks the paint is fully hardened so fingers crossed, this is the solution for a long-lasting paint finish.
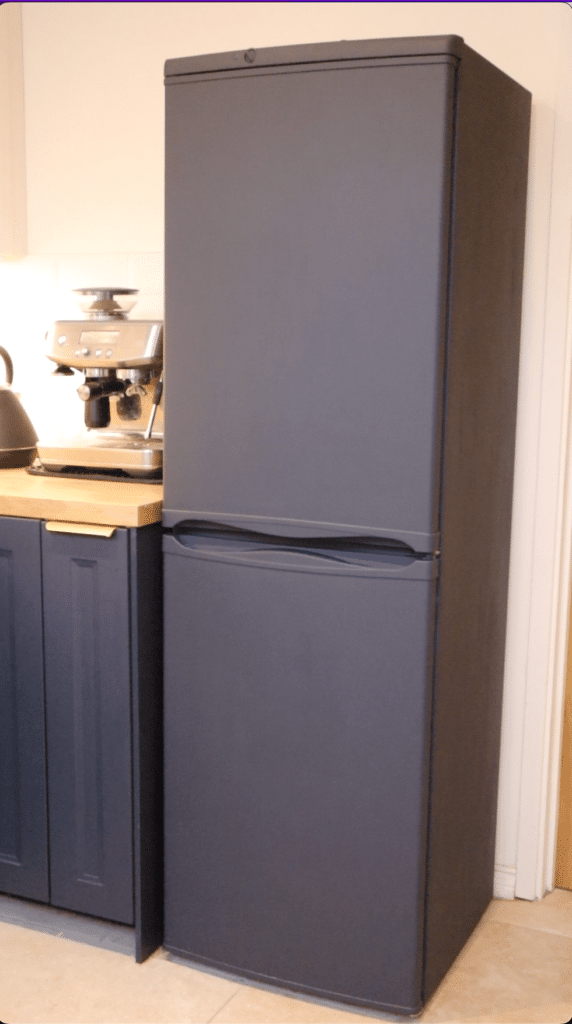
Even on handles that are used all day, every day!
And if they still get scratches further down the line? I’ll add some more durable finishes, such as Satin, and cover the whole fridge so the sheen matches. Paint a fridge so it lasts.
So, just as with my furniture, I’ll continue to add top coats for maximum durability and the best results.

Hi there! I'm Rachel Bowyer, a passionate DIY enthusiast with a knack for transforming the old into something beautifully new. With a deep love for furniture painting, refinishing, and the art of crafting. I've been documenting my DIY projects and restoration journey since 2018. I specialise in techniques like decoupage, stencilling, and decor transfers. Join me as we explore the world of creativity and home improvement, one project at a time.
I’m glad you were able to touch it back up and seal it. I hope it doesn’t scratch again with the extra protection and your trimmed nails!
Fingers crossed! There’s a ‘wet paint’ sign on it to remind me to be careful!
I remember when you did this Rachel! Paint is amazing! Good to know about Slick Stick for future projects.
Thanks, Maria, how times flies!
It looks great! I have always wondered how long painted appliances last. This is will be very helpful for those who decided to take on this project.
Have a wonderful weekend.
The rest of it lasted perfectly so I have high hopes for it lasting well now that the handles are reinforced.
Thanks for the update on your fridge! I think it’s fabulous that you can paint appliances! I bet the sealer will do the trick! Happy day!
I think so too, fingers crossed!
Thank you for this! 🙂
What are your thoughts on painting a stove? Would you use special heat resistant paint?
I would, it’s not worth the risk of it blistering.