Laser Engraving Slate For DIY Valentine’s Day Gift
Looking for a personalised DIY gift for a loved one? By laser engraving slate, you can make an impressive and beautiful keepsake.
Laser-engraved coasters are some of the most popular slate gifts. But how about we take the scale up a notch?
Here I’ll share with you how to engrave a piece of slate more like the size of a slate cheese board. More of a statement piece.
And perfect as a heartfelt gift.
Would you rather opt for video tutorials instead of step-by-step instructions? Here’s a video tutorial that guides you through the process of creating a laser-engraved slate heart.

Do It Over’ Designers is a group of talented bloggers who love to recycle, upcycle and DIY.
Check out all the ‘Do It Over Designers’ at the bottom to see their lovely do-overs too!
This post includes gifted products and affiliate links so you can easily find the products I use myself and recommend to friends. If you purchase these products, I may earn a small commission at no extra cost to you.
How to Make a Laser Engraved Heart Step by Step
Materials Needed
Step by Step Instructions
Step 1: How To Laser Engrave Slate with Diode Laser
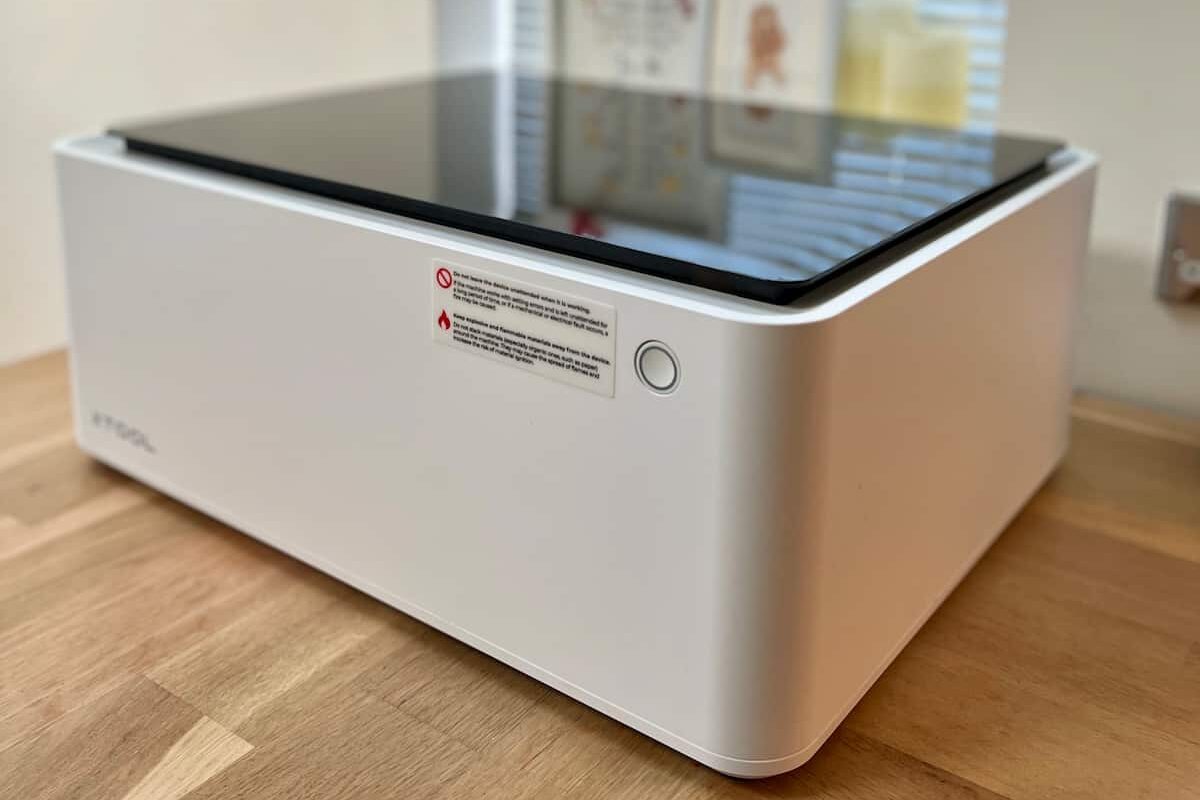
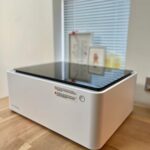
To create this DIY Valentine’s gift, I’m going to use the xTool M1 laser etching machine. This machine is a laser cutter, engraver and blade cutter. A versatile tool and perfect for this project.
Step 2: Choose Laser Engrave Settings for Slate
The first place to check what settings you need to engrave your material is within the xTool XCS software itself. Which is the free software you use with this engraving machine. Selecting the material as ‘Stone Coaster’, will set the power and speed settings for the engraving.
This is a good place to start and may work perfectly well. But as you’re going to do a test grid of other setting variations, where else can you look?
Firstly, check the xTool materials settings page. Make sure that you select the right xTool machine, the material and then the laser power.
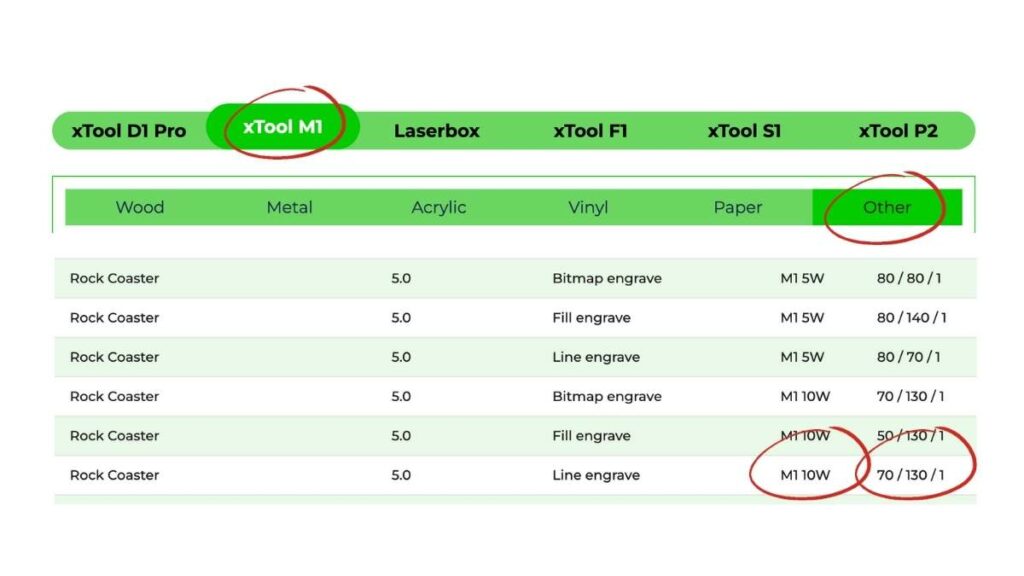
That will give you three numbers. The power, the speed and the number of passes (how many times it will engrave the image).
Secondly, check out projects shared by members of the various xTool Facebook groups. People happily share their successful projects and the settings they used so others can recreate them.
With these numbers as a guide, you can create a test grid. The better results will be clear and you can use those settings for your final project.
Step 3: Best Setting For Engraving Slate Using Test Grid
You can create a test grid in XCS software. Vary each setting slightly.
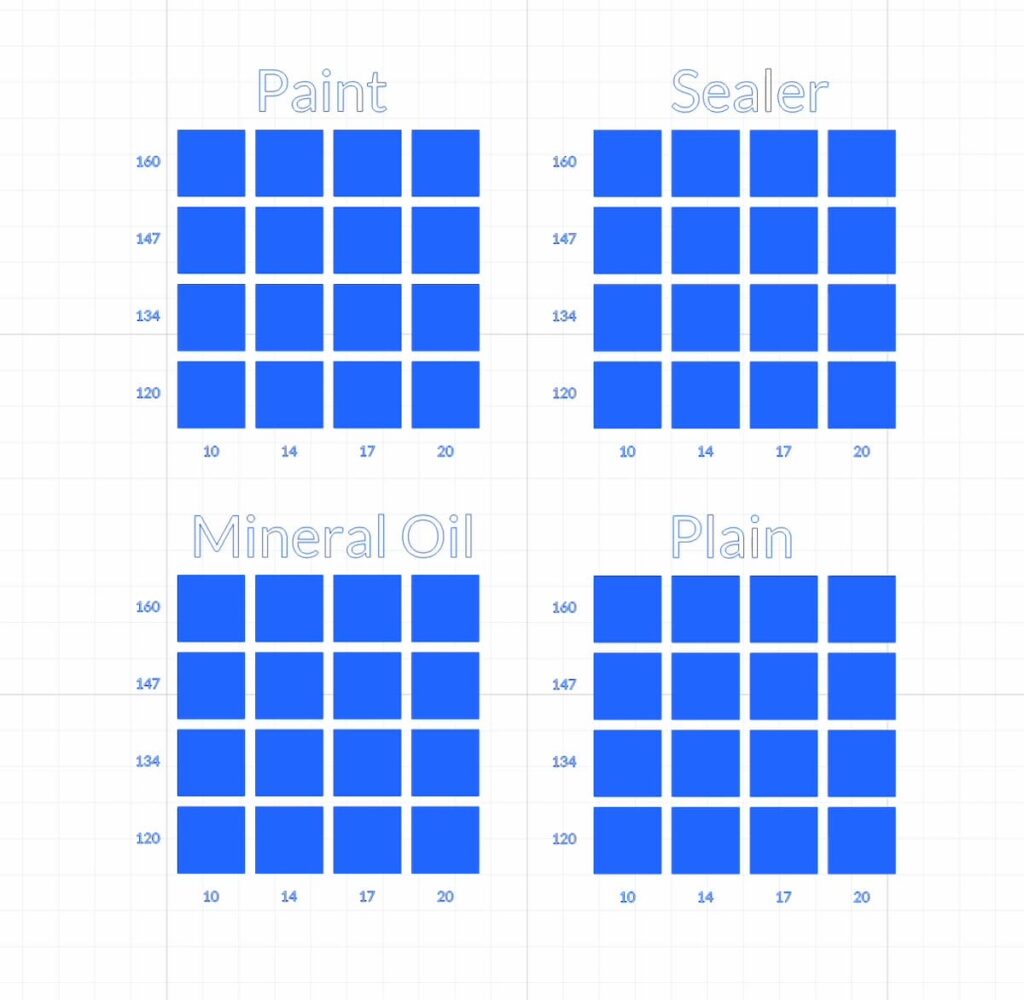
Based on other people’s recommendations, I varied the speed from 120 to 160. And the power from 10 to 20. All of those combinations should work, but it will determine which the best option is.
Step 4: Prep the Slate for Laser Engraving
Additionally, I prepped the slate coaster for the test grid with different base coats. This was to see which base made the engraving look the best. The base coats were with black spray paint, a clear sealer, mineral oil and also the natural slate.
As expected, based on the settings research already done, they were all a decent result. A higher power and faster speed such as 17 power and 147 speed worked well. But other than the low power settings of 10, most of these different speeds would have done a good job.
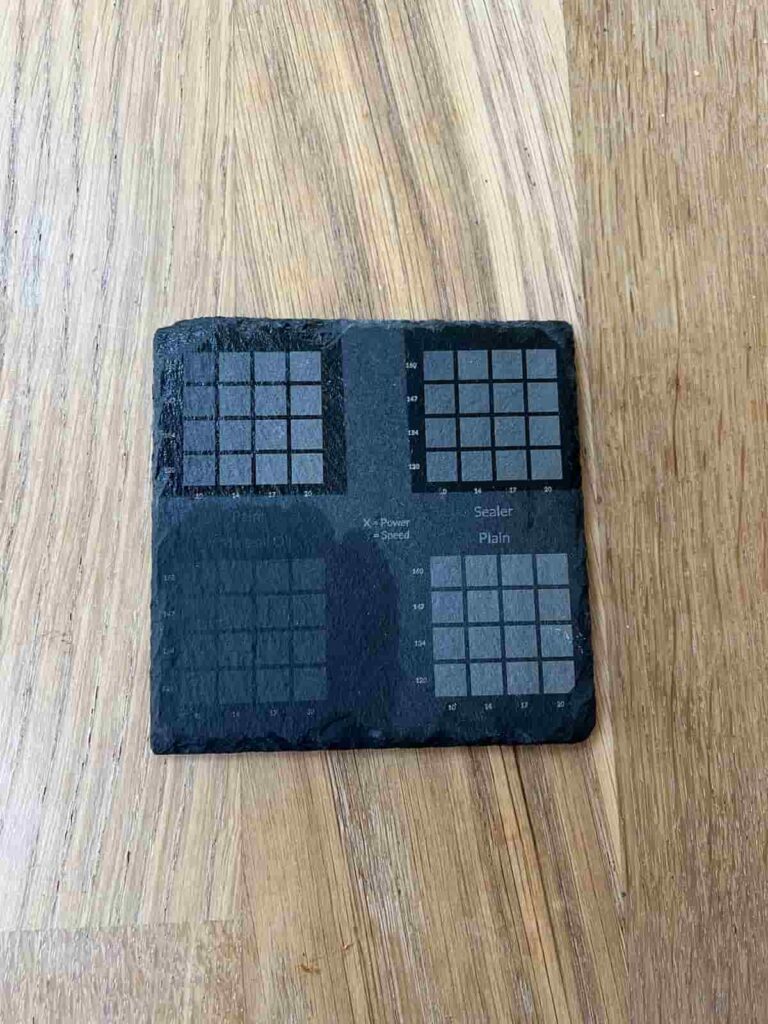
For the base coat, the look you like is a personal preference. I was torn between the darker black helping the engraved surface to really stand out and the natural prettiness of the slate.
It might seem like the mineral oil was clearly the worst choice.
However, slate easily absorbs oil from things like your fingers. So preparing it in advance with oil will prevent it from getting oily marks on it in the future.
Another advantage of mineral oil is that it is food-safe. So an ideal top coat if you’re going to use your slate as a charcuterie board or similar.
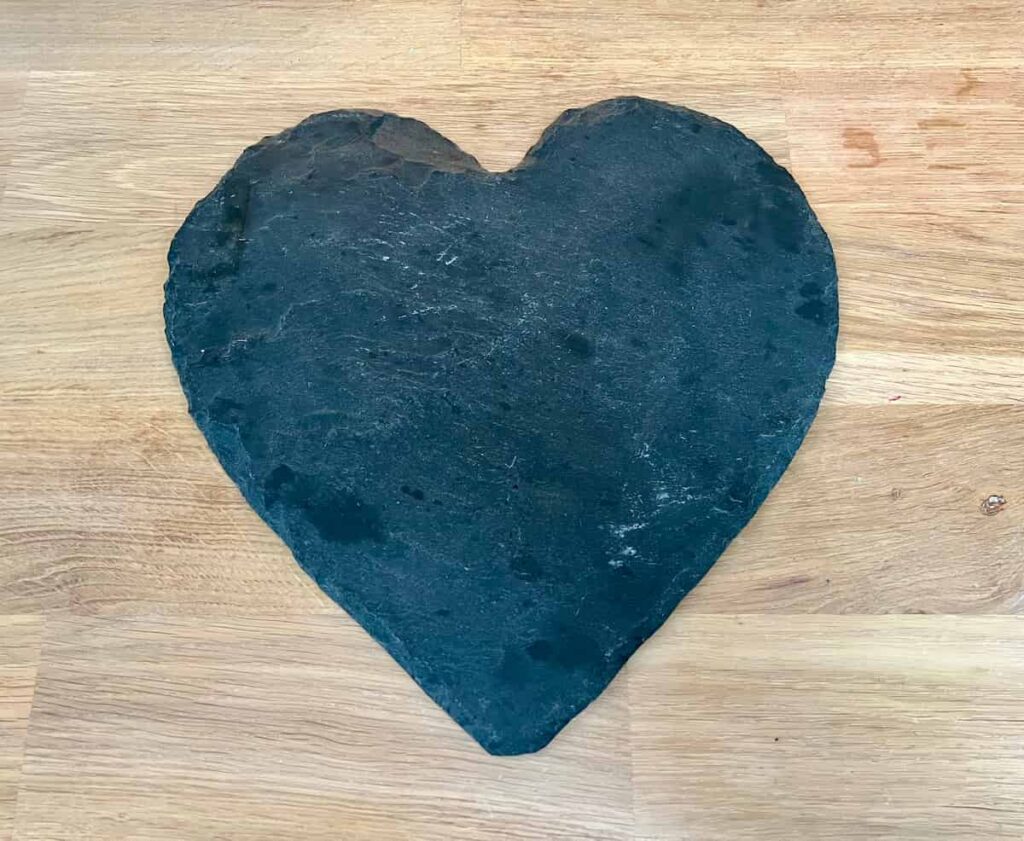
Step 5: Heart Slate Test Material
Slate is a natural material and therefore comes with variations in its surface. The more uneven the surface, the harder it will be to get a consistent engraving across it.
As the laser beam works by being set at a certain distance from the object, a variation in the height of the material, will have an impact on the finish.
To avoid this, you can sand the slate more smooth with 80-grit sandpaper before starting. Then you need to clean the slate with soap and water and let dry before you begin.
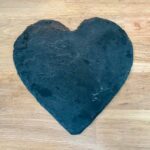
I used two slate hearts for this Valentine’s project. One is a test of the design, which will be repurposed for another project. And the large heart for the actual gift.
I didn’t sand smooth either of these hearts as they didn’t need it.
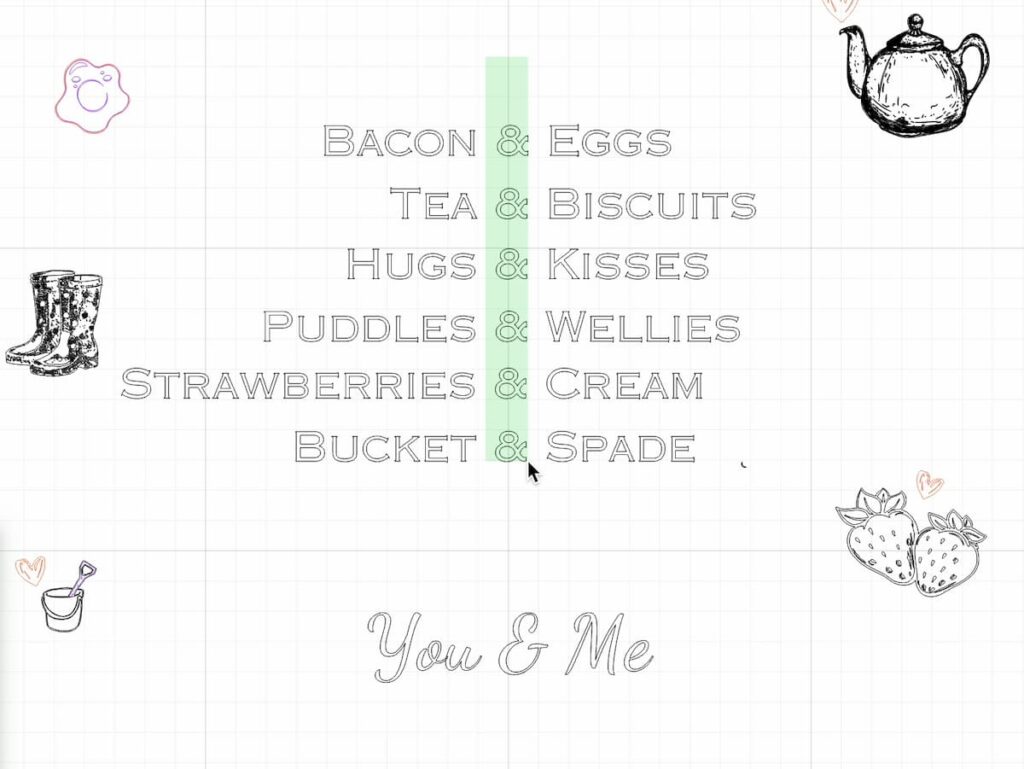
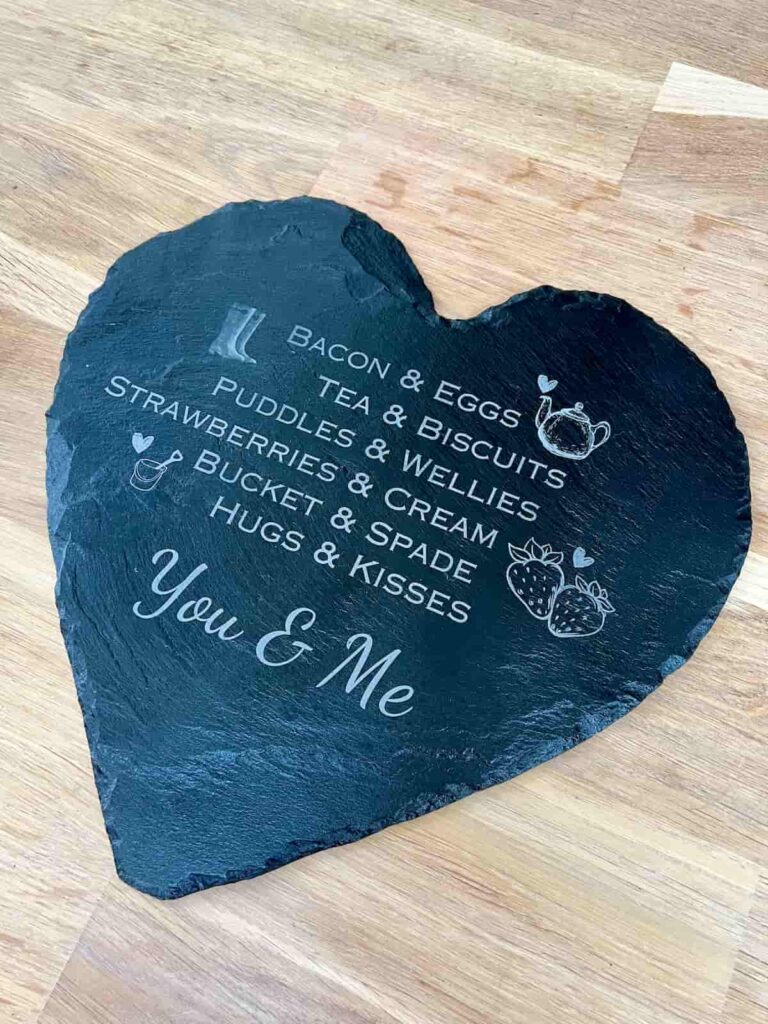
Step 6: Choose Engraving Design
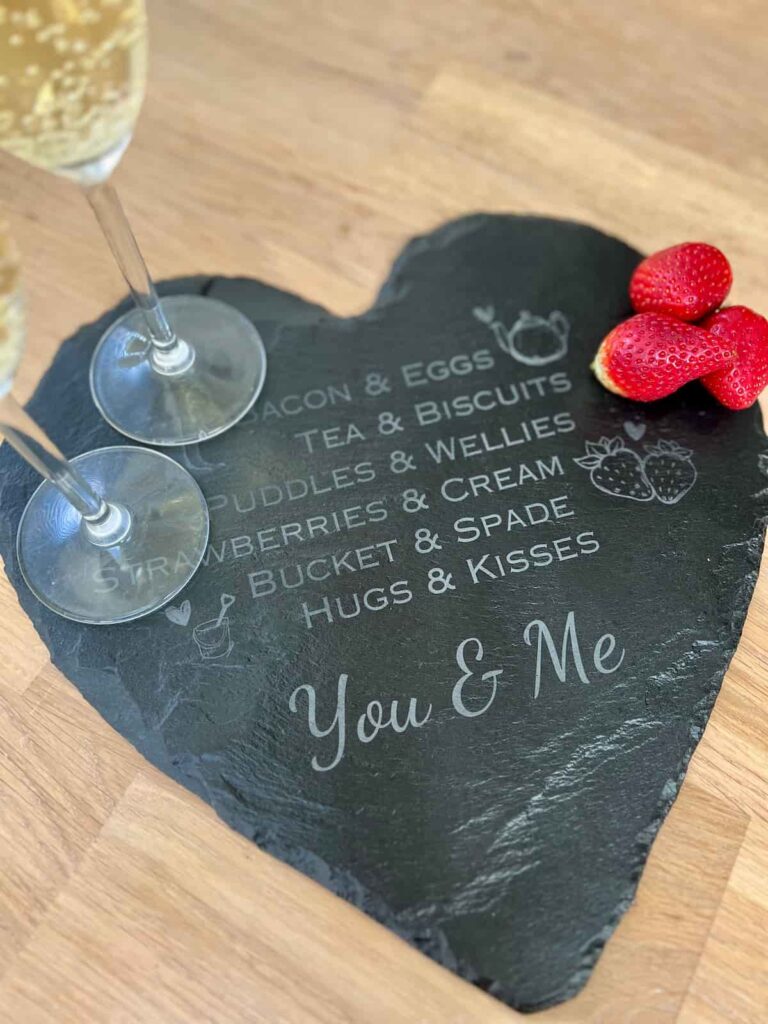
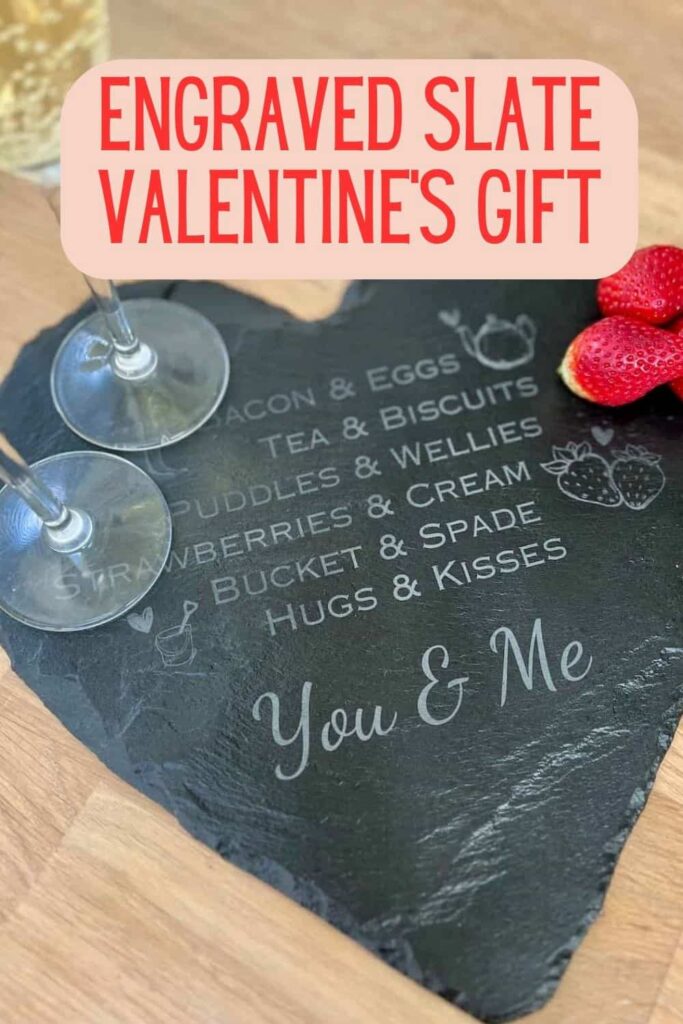
The design for this heart slate is something anyone could adapt and create. I used pairs of things that people love and go together. Such as strawberries and cream, hugs and kisses and puddles and wellies.
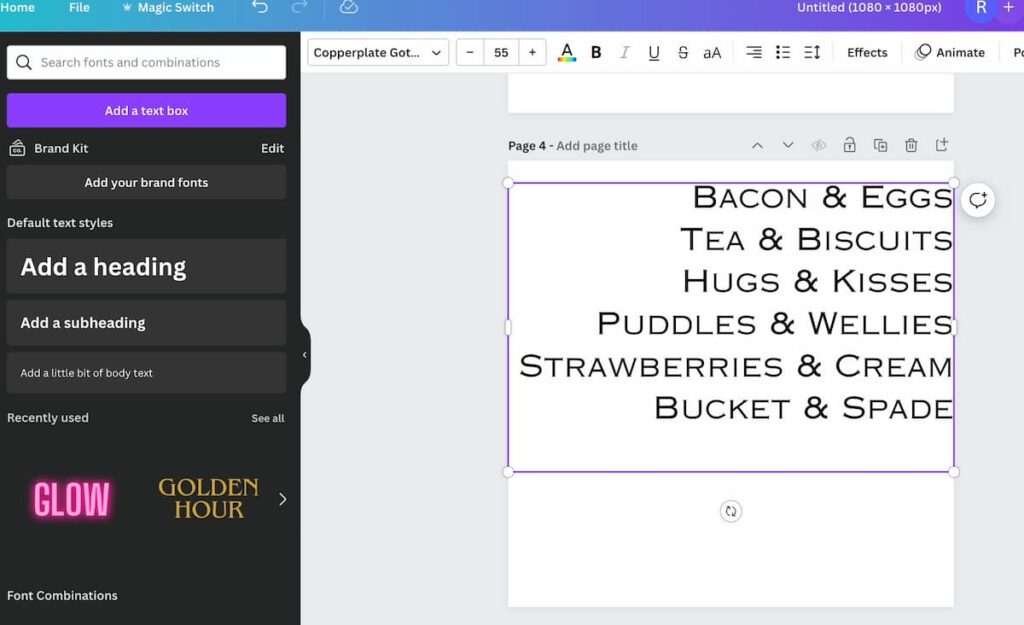
This could be easily adapted to personalised things for yourself. Your own favourite drinks, your takeaway order, anything that makes you think of special memories.
There are several typefaces in XCS but I used Canva to have more options. I went for an easy-to-read typeface. But something more ornate or that looks like handwriting could work really well too.
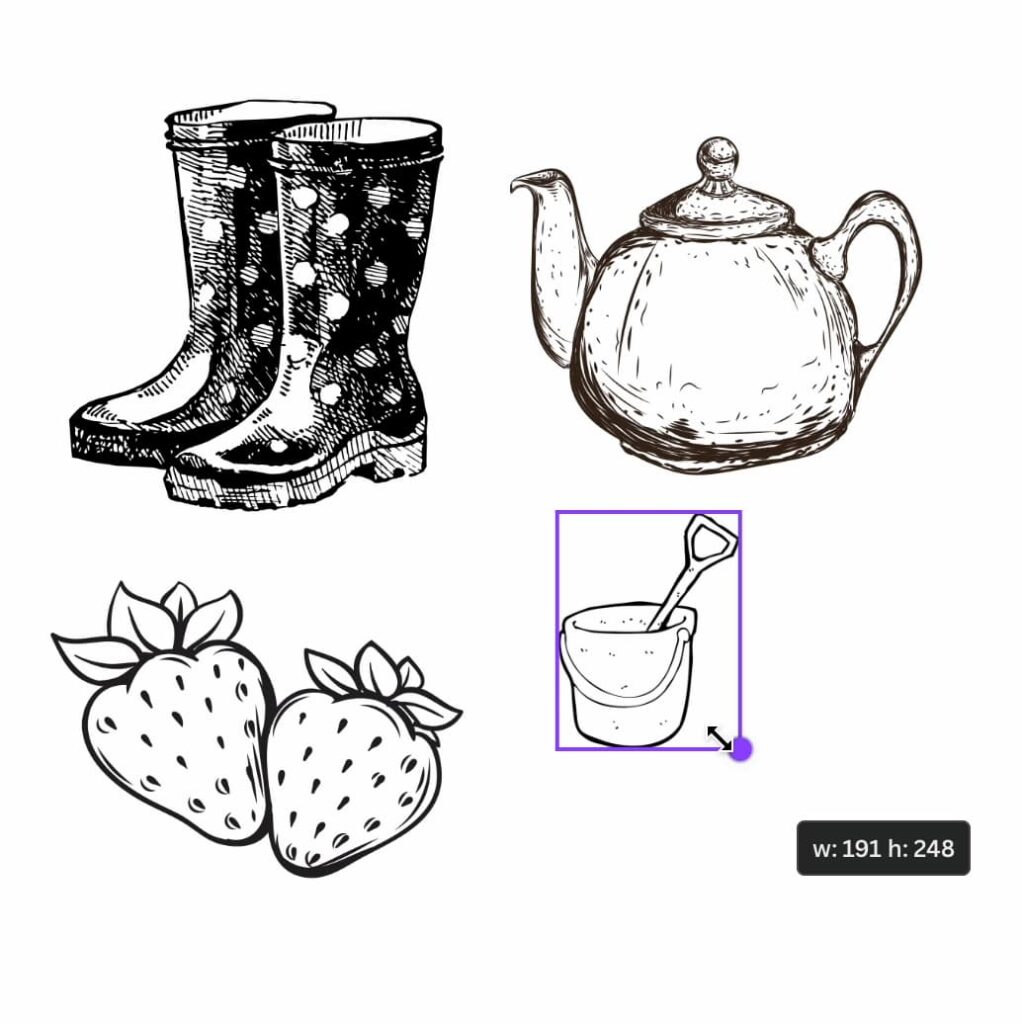
Step 7: Choosing Images to Engrave on Slate
It is difficult to do subtle shading on slate, so a simpler line drawing will be more successful.
To match the wording on this slate, I also used Canva to select the images. I selected cute, basic drawings that paired with the words.
Step 8: Laser Engraving Pictures on Slate
Ideally, export the image and text as SVG files. This file type means that you can increase or decrease the size without losing any quality.
But this also separates the images into lines rather than staying as a whole. For the engraving test, I used different power and speed settings for each group of words.
This works out the best combination for the final piece.
Step 9: Add Slate to Laser Engraving Machine
After the design is ready, you can add the slate to the xTool machine. Try and line up the slate so that it is in the centre of the machine and straighten it so that the design will engrave how you expect it to.
The camera shows how the design will be displayed on the material. This is where you can move the design around.
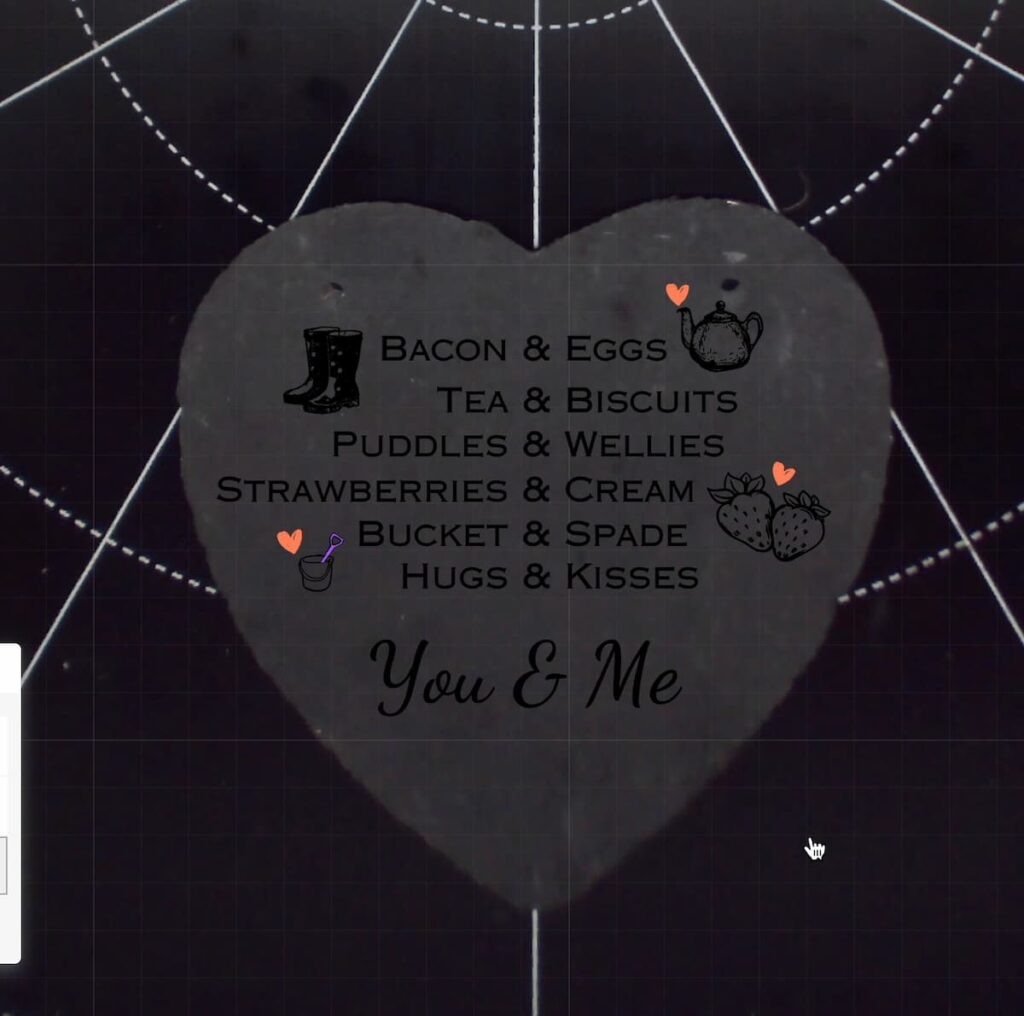
Engraving doesn’t make colour, so if the image isn’t in black and white, you can make it greyscale to see what it will look like.
I left the colour of the hearts when importing it into XCS but they would always turn out grey.
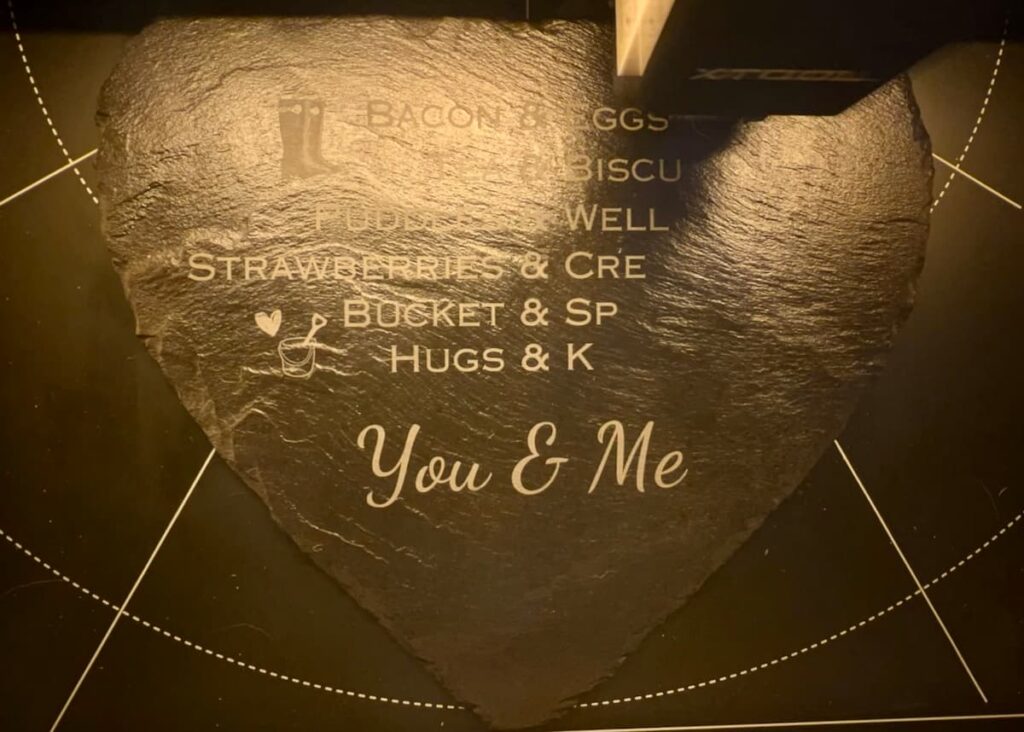
Step 10: Laser Engraving The Image Onto Slate
With any material, you should do a test engrave to check the settings are as good as possible. Ideally, you should have two of the same material. One is the test and the other is the final project.
With each word pair having different settings, this is where you can compare the best combination. While almost everything was engraved nicely, ‘Strawberries and Cream’ and ‘Bucket and Spade’ were fainter. These were the middle power and middle speed settings.
After the test engraving, I changed the wellies to a design with less detail.
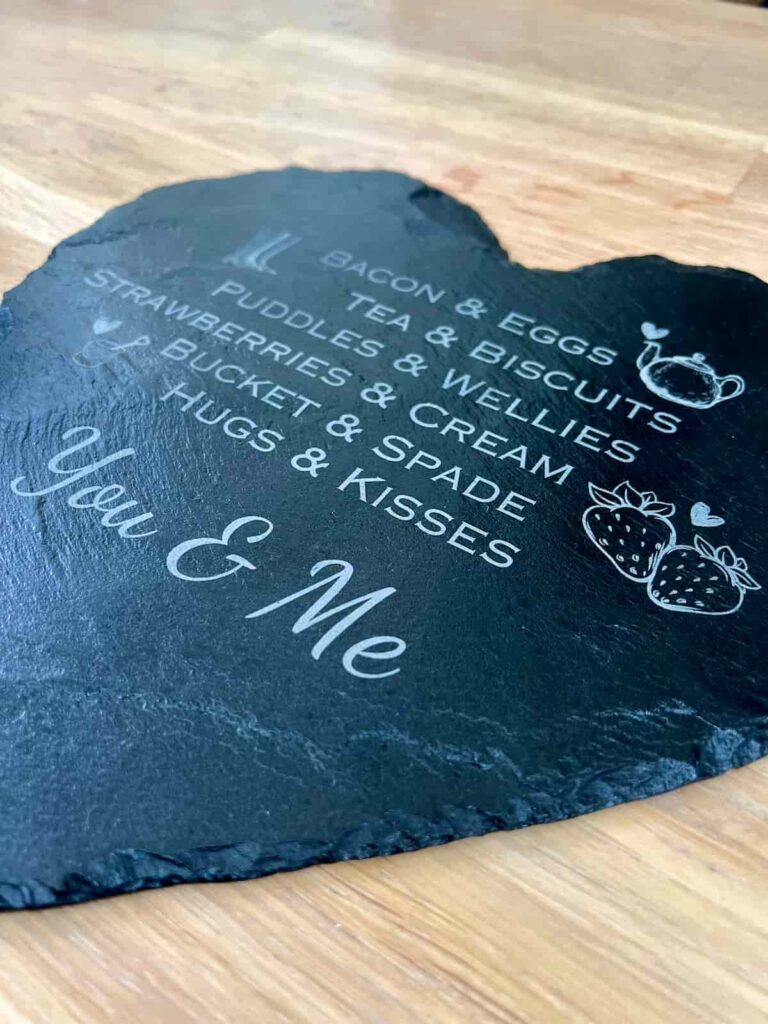
Step 11: Spraying Black Base Coat on Slate Before Engraving
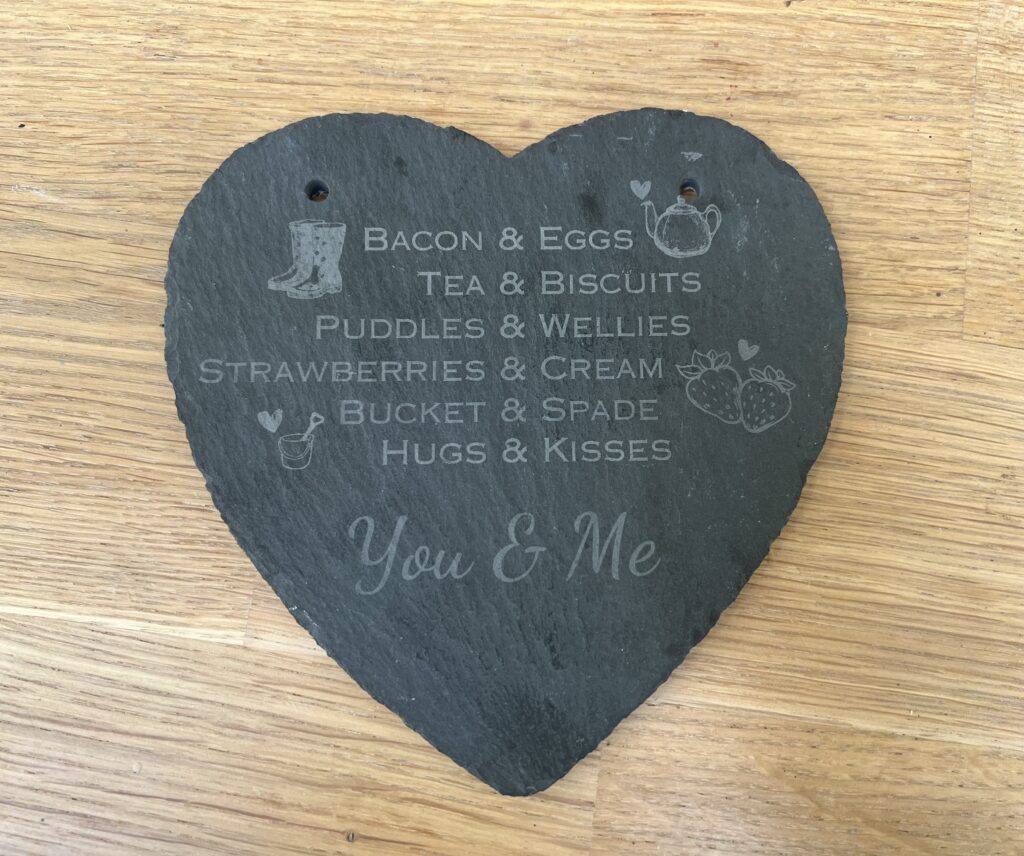
Then onto the final piece. This slate is much larger than the test heart.
As the heart slate board I was engraving wasn’t perfectly consistent in colour, I went with spray painting with black first.
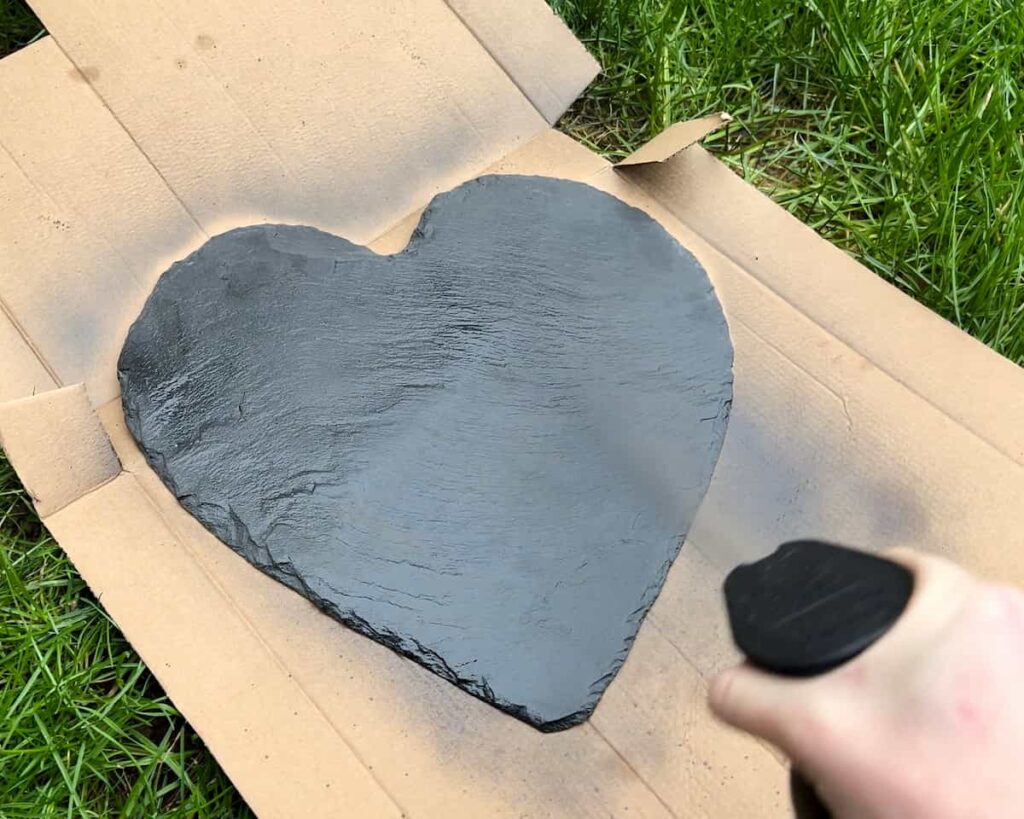
This would help the engraving stand out more rather than get lost amongst any little imperfections in the slate stone colour.
Make sure that the paint is dry before engraving it.
Step 12: Laser Engraving Final Project
You should stay near the machine while it is working to ensure that everything goes to plan. You can pause the process if need be and come back to it later.
This slate took about 1 hour to engrave.
To clean off any residue after the lasering process, simply use a damp cloth.
Step 13: Sealing the Engraved Slate
You don’t have to seal the slate if it’s going to be purely decorative or used as a coaster. However, if it’s going to be in contact with food, it should be sealed. You can use a small amount of mineral oil or a sealer suitable for countertops.
The advantage of sealing is that it will make the engraving more durable. However, it is likely to impact the colour of the engraving slightly.
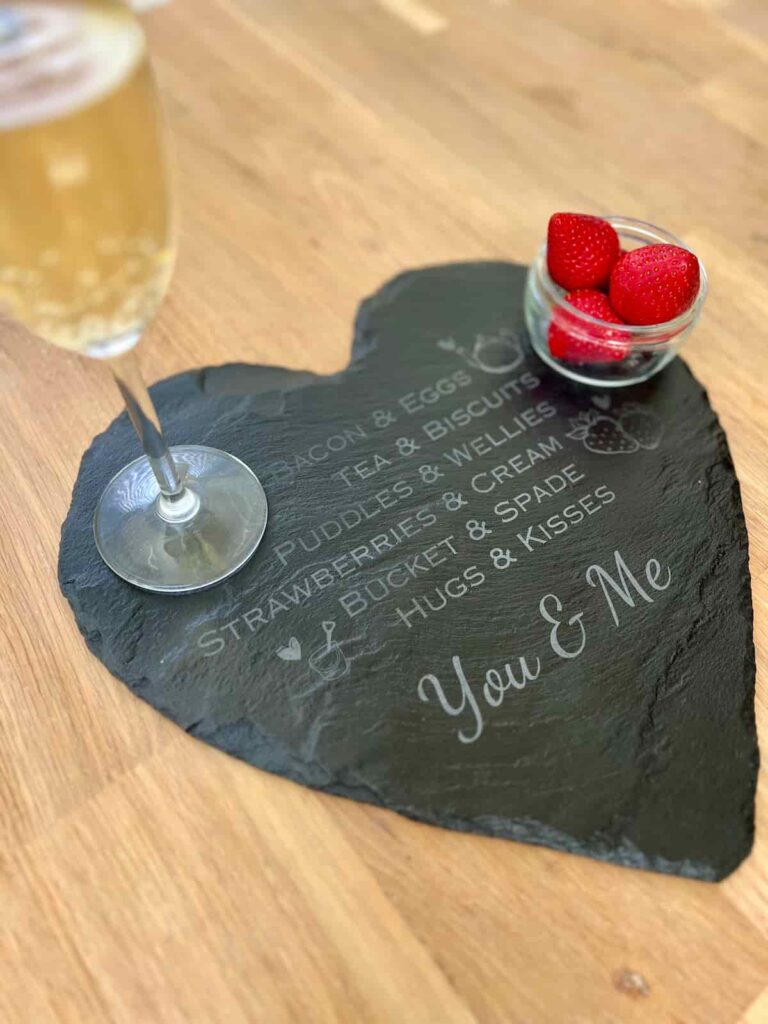
One of my favourite things about engraving is that you have the freedom to engrave whatever words or messages you like. You could engrave a loving message, a special date, your initials or create custom designs.
Engraved slate looks impressive and feels special. And it’s not difficult to do. It’s a win all round.
And it’s a durable gift that can last for years.
And the great thing is, if you make a mistake or want to change the design in the future, it’s not a wasted slate. Just sand it off and start again.
It really is the perfect gift for loved ones.
How to Make a Laser Engraved Gift Instruction Video
You can find more video tutorials on our Youtube Channel
My Favourite Supplies
Here are some of the supplies that I used when making this project!
xtool m1 machine
A versatile tool combining laser and blade cutting and engraving.
slate
A beautiful material to make personalised gifts with.
Answers to Your Questions About Laser Engraving Slate
How long does it take to laser engrave?
There is no one-size-fits-all answer as it depends on the size and complexity of the engraving. This Valentine’s slate engraving took one hour on the xTool M1 laser machine.
What is the most popular product to laser engrave?
Laser engraving slate coasters are the most popular slate product. They’re cheap to source, fast to engrave and something many people use.
how to prepare slate for laser engraving?
Firstly wipe over the slate with a damp cloth and dish soap. Then wash off the soap and leave it to dry.
If you loved this project, you’ll love these projects too:
Did you make a similar diy gift?
I love seeing what you do. Please mention @teaandforgetmenots and share your creations with me!
Pin It For Later – Laser Engraving Slate Valentine’s Gift
Do It Over Designers
Check out more upcycled and unique creations from my blogging friends below.

Hi there! I'm Rachel Bowyer, a passionate DIY enthusiast with a knack for transforming the old into something beautifully new. With a deep love for furniture painting, refinishing, and the art of crafting. I've been documenting my DIY projects and restoration journey since 2018. I specialise in techniques like decoupage, stencilling, and decor transfers. Join me as we explore the world of creativity and home improvement, one project at a time.
I love that Tea & Biscuits is included – the best combo of course! What a lovely project, wouldn’t it make a wonderful wedding, anniversary or housewarming gift too? I love personalised gifts, this machine looks like a lot of fun to play with!
Thanks Julie. Tea and biscuits, a winning combination. There are so many ways that this would make a lovely gift, it’s exciting.
Great pairings Rachel! This certainly is a special and memorable Valentines gift! I had no idea you could even sand this off; good to know.
I know, sanding it off is going to make this so versatile.
Well that’s a neat tool!! I can see so many uses for it and it really does create a lovely gift. I painted a slate years ago, for Christmas, but this idea takes slate decorating up a notch. Very cool!
Thanks Kim. Yes it’s going to create some great gifts in the future.
Great tutorial on using the xtool, Rachel. It’s quite a machine!
Thanks Ann, it certainly is.
Wow – this is all new to me! What a fabulous idea to make personalized gifts! Thanks for sharing this craft idea – what a perfect tutorial!
Thanks Patti. It’s quite new to me too but easy to pick up.
Wow, Rachel! This laser engraving technique is quite fascinating! And your engraved heart is beautiful! What a lovely transformation!
Thanks so much, Gail.
Oh, I love this and I have the same laser engraving tool!!
Tania
Thanks, Tania. I’ll have to come and check out your creations.
Wow! That is one very cool project. Your engraved heart looks amazing, and I can see how there are so many possibilities for customization.
Thank you. Yes it’d hard to pick what to do sometimes.
Beautiful project. I have never tried engraving before and your tutorial was wonderful. Thanks for sharing.
Thank you so much, Donna.
The laser machine really made your design come to life. Your “you & me” comparison list is adorable, especially for a gift to a loved one. Very impressive project beginning to end!
Thanks so much, Allyson. It’s a lovely piece to have.