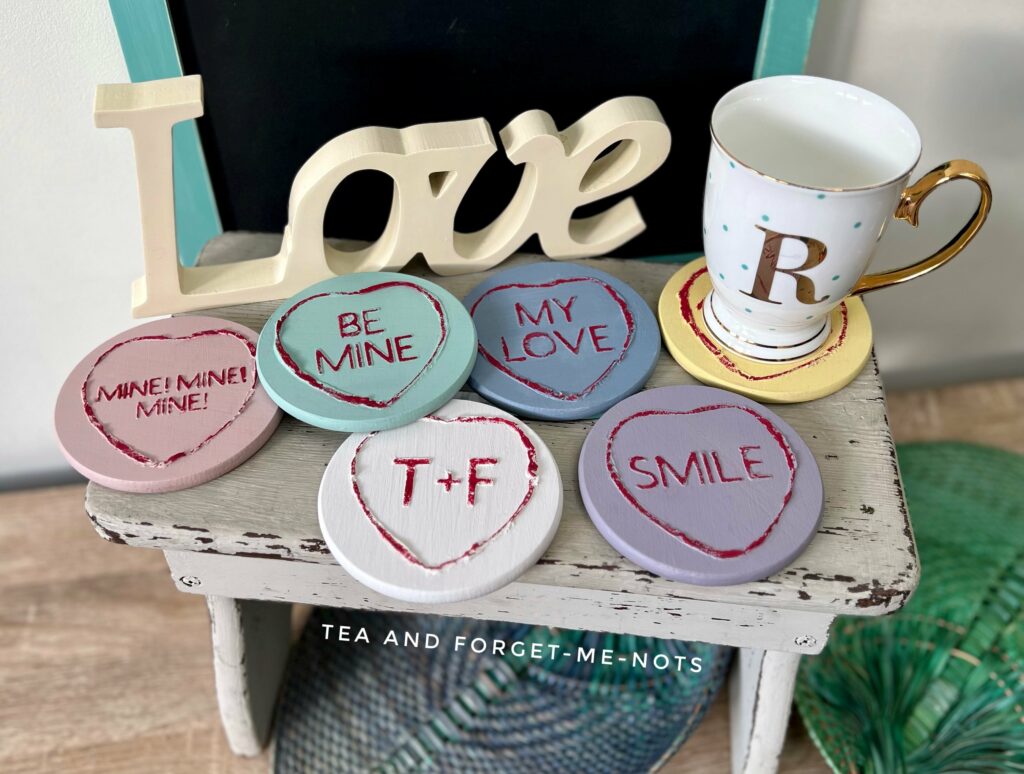
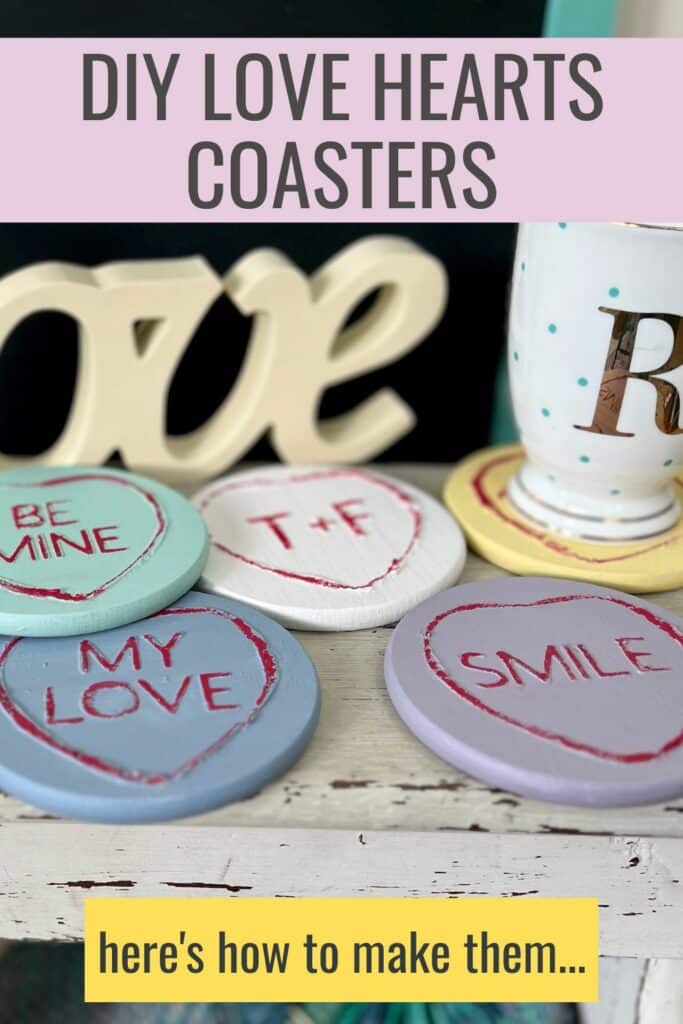
Easy DIY Wood Valentines Gift – Love Hearts Coaster
Looking for an adorable DIY wood Valentines gift? Here’s an easy tutorial for painting a coaster like the Love Hearts sweets.
I’m a big fan of Love Hearts. You might know them as Conversation Hearts.
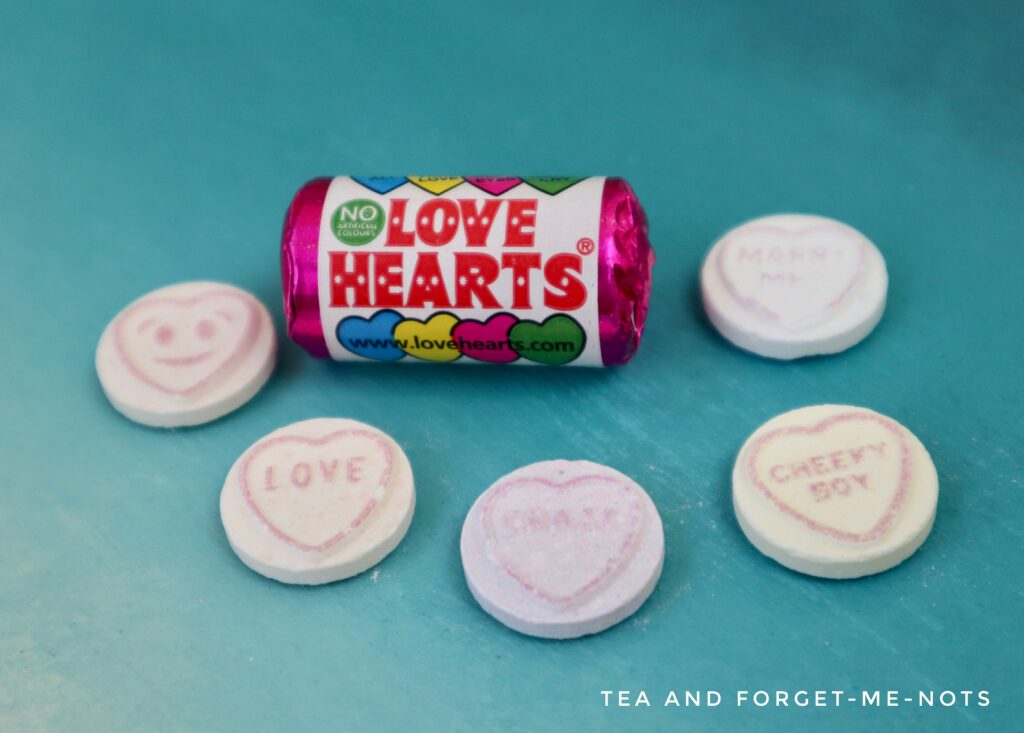
They were my only craving during pregnancy. Or maybe I just wanted to eat lots of them. Either way, they’re great tasty treats.
So when I thought about making a coaster for Valentine’s Day, the heart-shaped sweet treats seemed like the perfect start.
Coasters are great gifts because you can personalise them and they’re actually useful presents. Although if the ‘gift’ is really just for yourself, that’s fine too!
Either way, it’s an adorable Valentine’s Day craft!
This post includes gifted products and affiliate links so you can easily find the products I use myself and recommend to friends. If you purchase these products, I may earn a small commission at no extra cost to you.
Make a Love Hearts coaster in 5 simple steps
- Paint the coaster
- Create the stencil
- Apply the stencil
- Paint the stencil
- Seal the coaster
I’ve been looking for plain wooden coasters in charity shops for a while, with no luck.
Charity and thrift shops are a great place to find treasure. But only if you’re really lucky is it the exact thing you’re looking for at any given time.
Here are my tips on how to find free stuff!
Eventually, I bought a set on Amazon. I got a 12-pack of unfinished wood coasters. And was impressed by how good quality they are for making wood crafts.
The best part is that it’s a good DIY project if you want to try out your woodworking skills. You can use any wood. It would be a great way to use up wood slices or scrap wood.
My coasters are 4 inches, made from pine and come with foam pads for the bottom.
To start, I gave the coasters a quick clean with TSP cleaner. To remove any dust or dirt that it picked up in the warehouse.
As they were unfinished, they are great crafts materials. It meant there was no varnish or protective coating to scuff sand. So, I was able to get straight to the fun part.
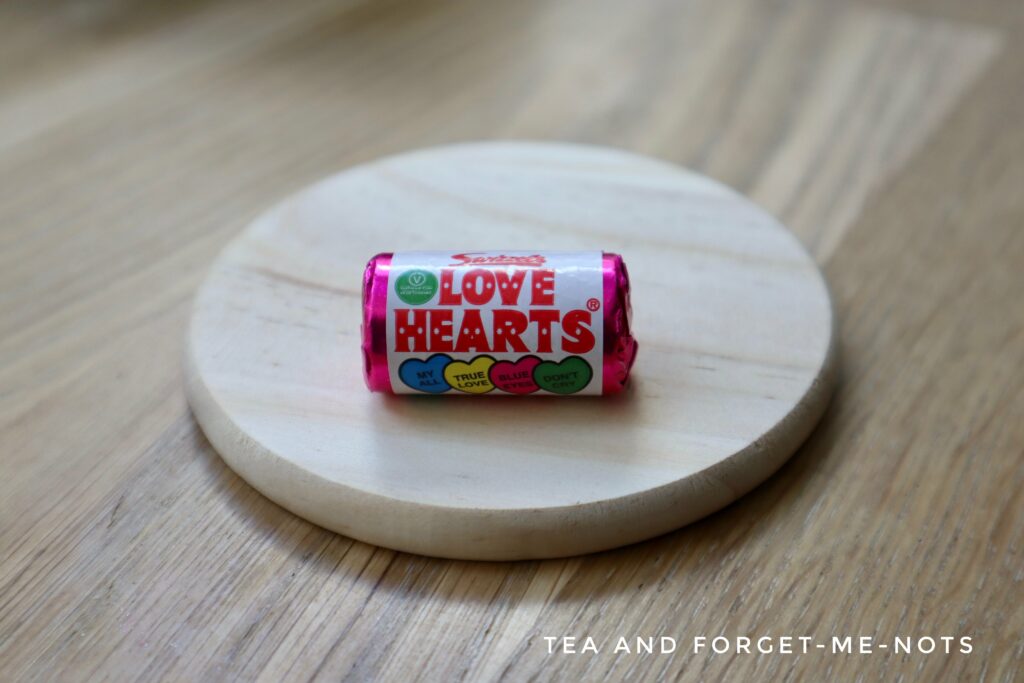
I had already planned to do the Love Hearts design. And as luck would have it, I was given two free packs of Love Hearts the week before starting.
So, I didn’t even have to buy them for the absolutely necessary research for this project.
What colours are Love Hearts sweets?
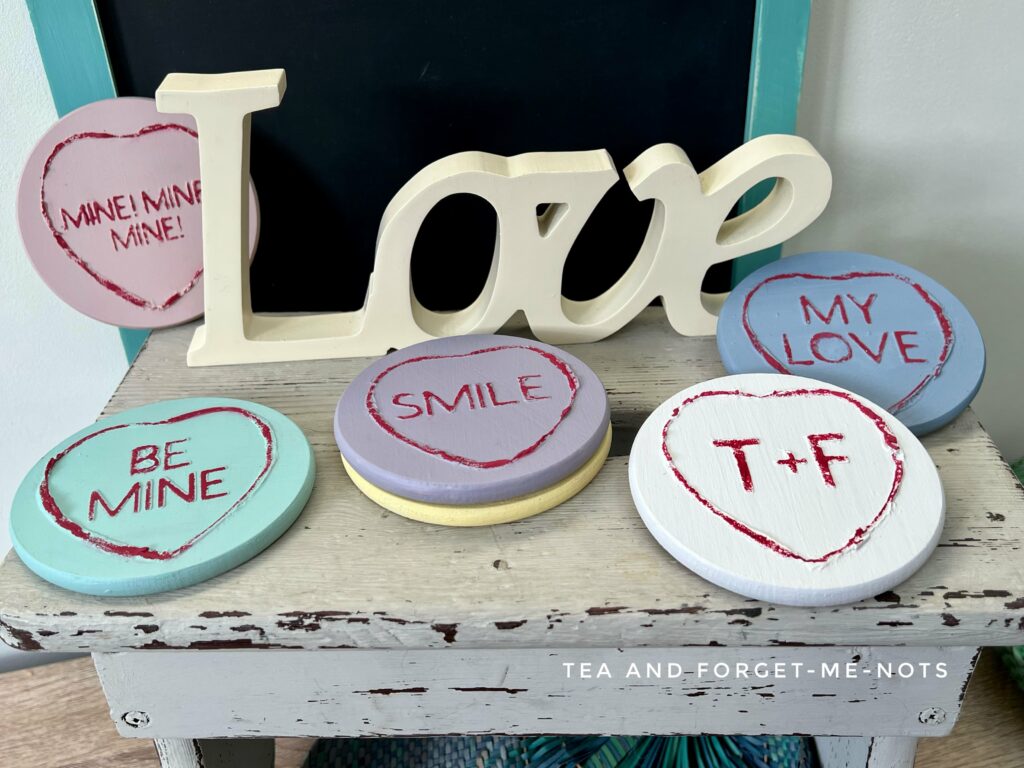
First of all, I chose a selection of 6 pastel colours. I went with pink (Conch), lilac (Morning Sunrise), blue (Quiet Cove), green (Tide Pool), yellow and white (Fluff).
The only colour I mixed to create a more pastel colour was yellow. I used Daffodil and lightened it with Fluff. If I had it, the colour Sand Castle would work well.
I painted one or two coats depending on the coverage. The green, for example, had perfect coverage with just one coat. I also painted the underside of the coasters so it would look more like the actual sweet.
The best ways to paint the wood pieces is to do one side and the edge first. Then raise it off the surface with a small, flat object until it dries. Then flip it and paint the other side.
You can usually recoat within an hour or two.
How to make a Love Hearts stencil
For the design on the front, I used my Cricut Explore Air 2 to create a stencil. This is what creates the personal touch.
I searched for a free, simple heart outline on Cricut Design Space. I cut out two of them, for the inner and outer edge of the heart shape.
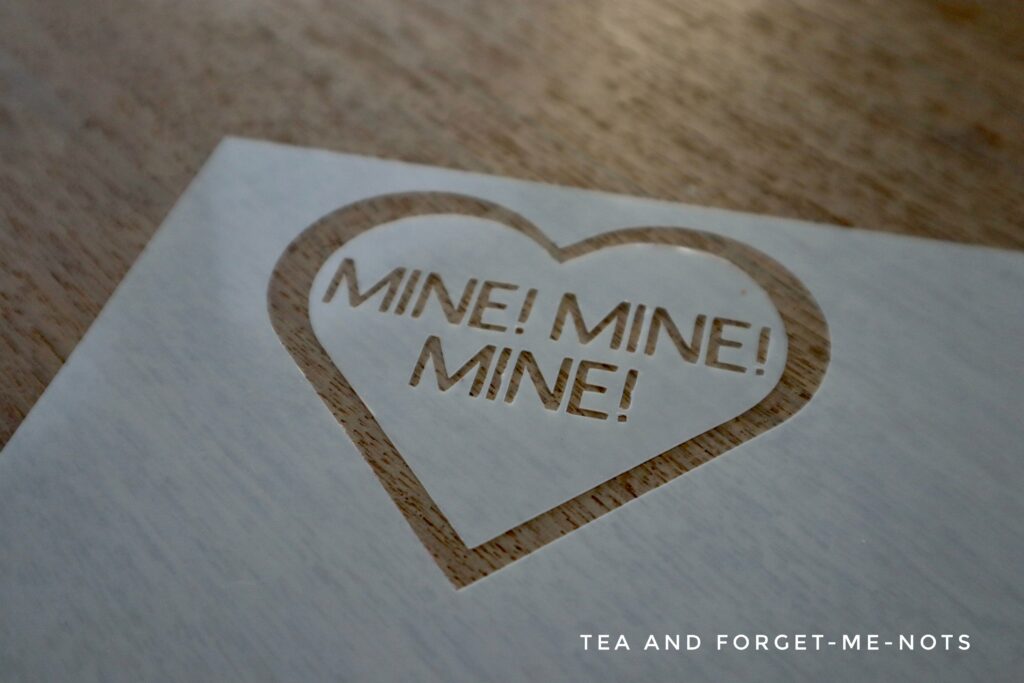
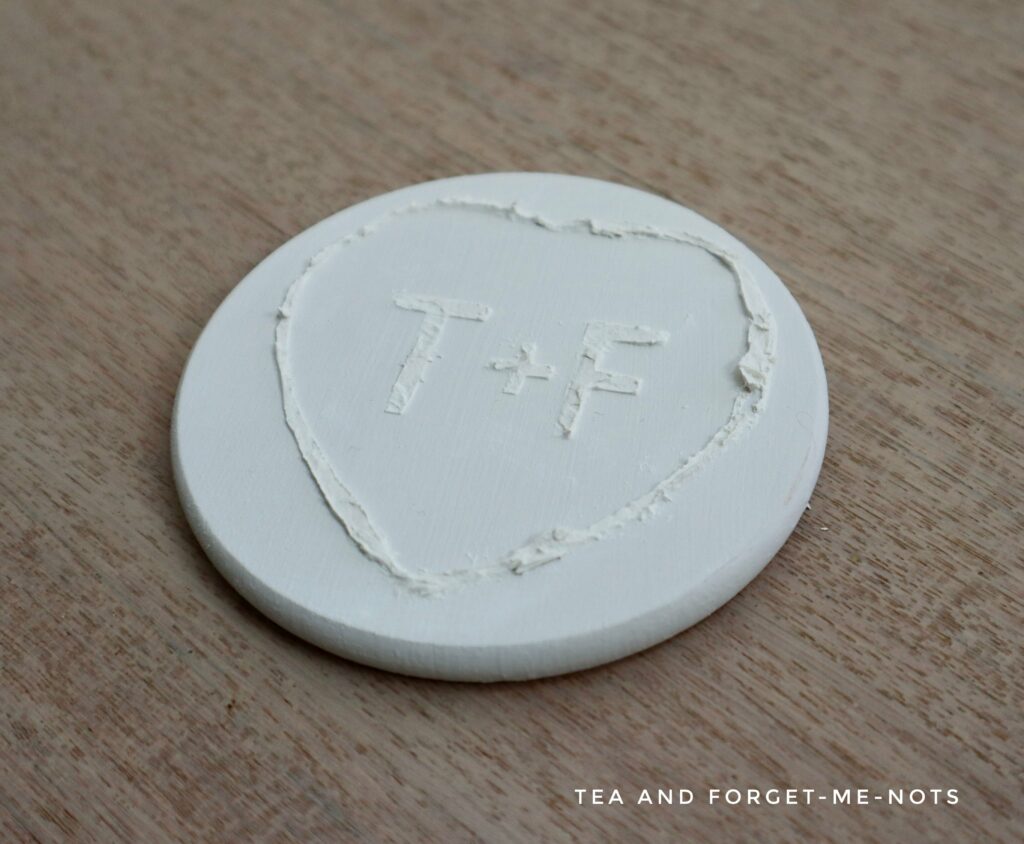
The Love Hearts heart shape is more rounded than a typical heart shape. So, I left the central parts of the heart out when applying the stencil. Then I filled them in by hand, to better match the traditional shape.
If you don’t have a Cricut, you can use a cookie cutter to create the heart shape. Or even freehand it.
The best gift is often a DIY version which shows thought and time has gone into it.
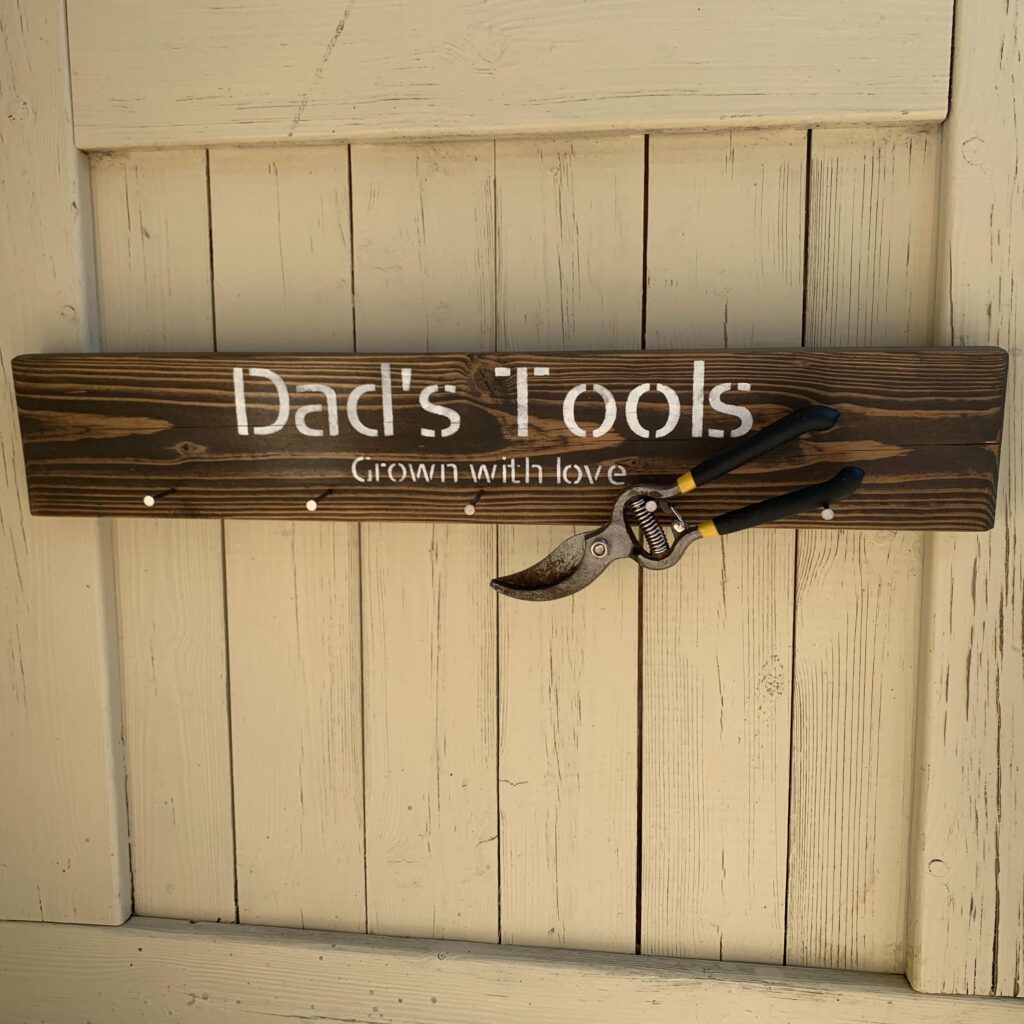
Here’s another way to use a stencil on rustic wood…
Create a personalised DIY wood Valentines gift
After the initial design of the pastel colours and heart shape, the wording is where you can personalise this. This is the part that makes it a lovely DIY Valentine’s Day gift idea.
There isn’t a lot of space to create a long, sweet message but enough to write something meaningful. What you write can make it a romantic valentine’s day gift or the perfect gift for a friend.
I measured the space for the words to make sure they fitted within the heart.
I created a selection of messages. From the Love Hearts classic “Be Mine” to “Always” and “Mine! Mine! Mine!” (from Finding Nemo!). The best ideas are whatever suits your own personal taste and what a heartfelt message is to you.
But you could create any thoughtful message you like. You could write initials or a name, or for a Mother’s Day gift you could add ‘mum’.
If you use a stencil typeface then the loose middles of the letters stay in place, which is how the stencil works. Love Hearts use distinctive capital letters, so stencil typefaces didn’t look right.
So, for the detached areas of the letters, such as the middle of the ‘O’, I placed it in by hand and painted around it.
How to make a raised stencil
If you’re not familiar with the design of Love Hearts, the heart and message are embossed.
To make the coasters a more interesting handmade gift, I wanted to create a raised, 3D effect. But only with a slight rise, so as not to cause problems with using it as a coaster.
Dixie Mud is great for creating raised stencils. I used the white version and applied it with a plastic spatula.
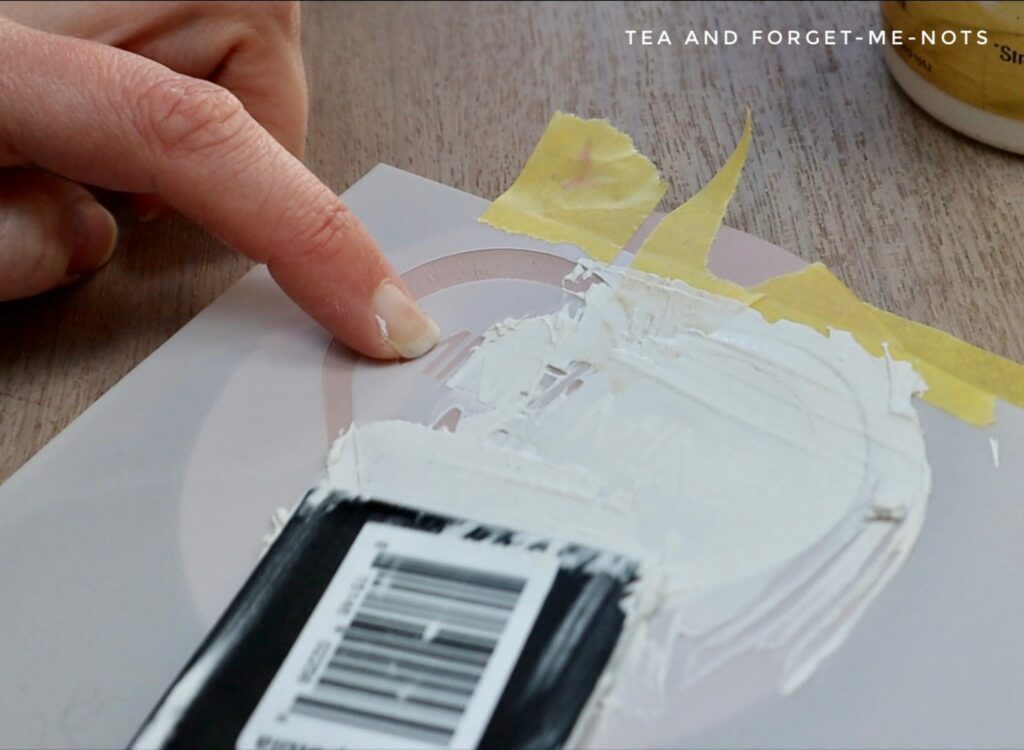
I left it overnight to harden. Then painted the Dixie Mud to match the colour of the coaster.
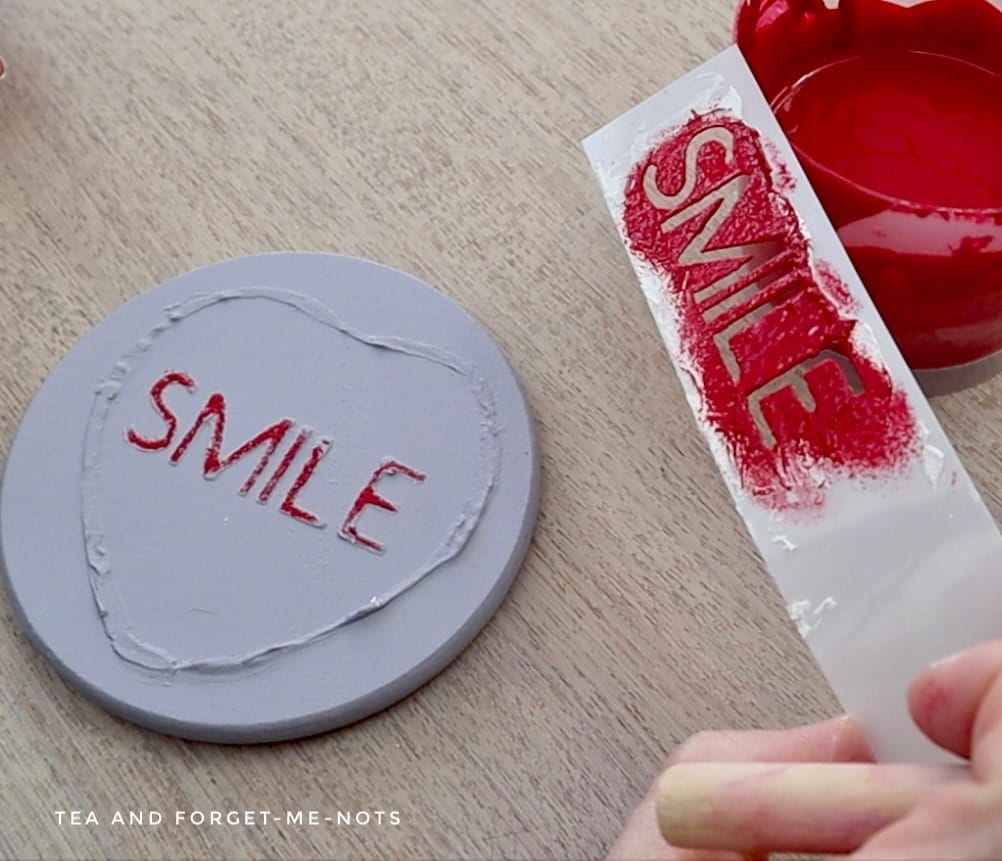
The style of Love Hearts is that the raised sections are printed with a slightly blotchy, dappled red colour. Not a fully solid line.
This is why it was important to paint over the raised stencil with the matching colour of the coaster. As the white Dixie Mud would have been partially visible under the speckled red.
I replaced the stencil and went over it with red paint and a sponge. This dabbing of the sponge is what created the dappled look.
For the red colour, I mixed the red of Fiery Sky and the hot pink, Prickly Pear.
Interested in making layered stencils? Here’s how…
How to seal painted wooden coasters
With the chalky look of Love Hearts, I wanted the protective coating to mimic that finish. So I needed a matte sealer.
The paints I used were a mixture of chalk, mineral and clay-based. Therefore they needed different finishes.
Clay-based paint can be reactivated by water and water-based products. So for the yellow coaster, where I had mixed Daffodil clay paint, I used Terra Tuff. Terra Tuff is a very durable polyurethane top coat.
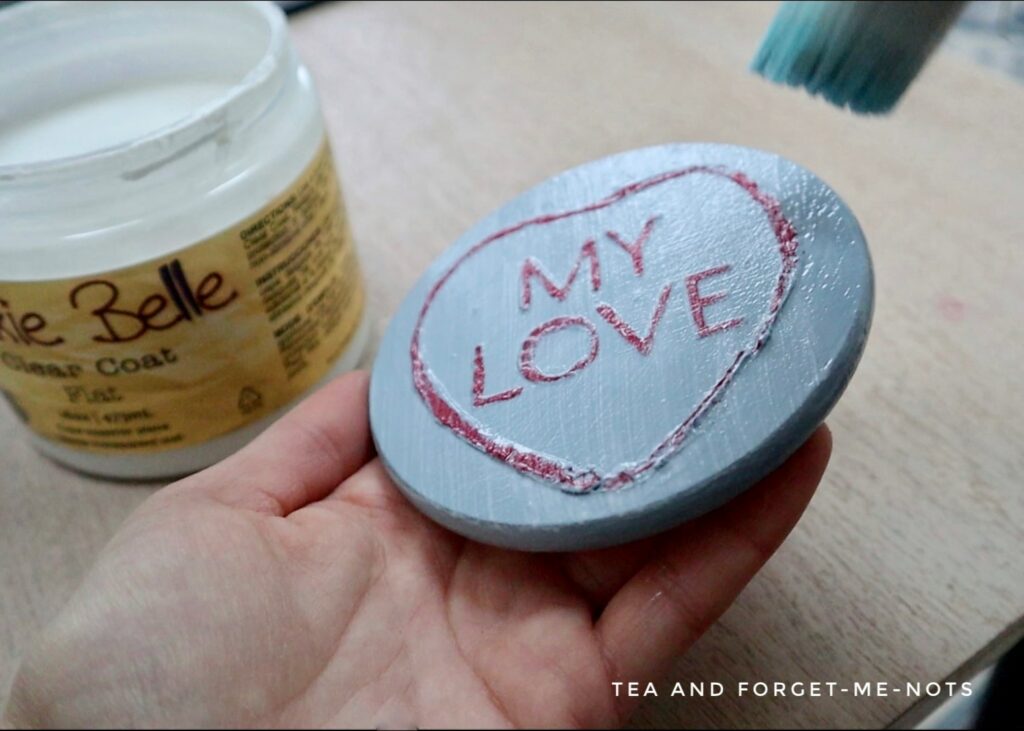
For the chalk and mineral paints, I did two coats of Clear Coat in Flat. Which is polycrylic and the perfect way to get the matte finish I was looking for.
I love how these coasters turned out. They have such a cute, nostalgic feel to them. I’d be touched if someone made me one as a gift.
Looking for a handmade gift idea for the DIYer in you life?
For Valentine’s Day crafts, this one is a simple craft but effective. It’s easy peasy, especially if you don’t create the raised stencil.
You could create a set of coasters for one person with their favourite things on them. Or have a coaster each within a friendship group. It’s a really sweet way to give a cute Valentine’s Day Gift.

Would you try this fun Valentine’s Day craft? It’s an achievable skill level for most people and makes for a lovely homemade gift. Or could simply be cute Valentine’s Day decor for your home.
Fancy decoupaging coasters instead? Here’s how!
DIY Wood Valentines Gift Craft supplies:
Pin it for later – DIY Wood Valentines Gift (Love Hearts Coasters)
If you loved this project, you’ll love these projects too:

Hi there! I'm Rachel Bowyer, a passionate DIY enthusiast with a knack for transforming the old into something beautifully new. With a deep love for furniture painting, refinishing, and the art of crafting. I've been documenting my DIY projects and restoration journey since 2018. I specialise in techniques like decoupage, stencilling, and decor transfers. Join me as we explore the world of creativity and home improvement, one project at a time.
Your coasters turned out so cute! What a fun DIY and perfect gift for Valentine’s Day! Thanks for sharing your creativity!!
Thanks Donna, they were a lot of fun to make.