3 DIY Mother’s Day Laser Engraving Gift Ideas
Looking for special Mother’s Day gift this year? Here are 3 Mother’s Day Laser engraving ideas on a chopping board, notebook and slate keepsake.
Whether you’re looking for a gift for your mum, a cat mum, a grandma, or a special Mother figure in your life, these all have the personal touch.
These 3 Mother’s Day gift ideas represent different stages of motherhood. There’s one for a grandmotherly figure. The best gift for a new mother. And a thoughtful gift for any stage.
Video Tutorial for Mother’s Day Engraving Ideas
The wonderful thing is that you can personalise them. Have a special quote? Favourite song? Heartfelt recipe? Using a laser engraver is an easy way to take your gift-giving to a new level.
And if you don’t have a laser engraver yourself? This might give you the inspiration for what Mother’s Day gifts to order from a small business.
Thank you to xTool for gifting me this machine. This post includes gifted products and affiliate links so you can easily find the products I use myself and recommend to friends. If you purchase these products, I may earn a small commission at no extra cost to you.
How to Make 3 Laser Engraved Gifts Step by Step
Materials you’ll need
Engraved Chopping Board
Step 1: Choose Chopping Board
Chopping boards double up as a functional gift and also pretty kitchen decor. Bamboo is a cheaper material as it is not solid wood. This set cost £2.99. It’s the perfect set as it comes with a smaller chopping board to test the engraving settings on.

You could also engrave an old chopping board that is used within your family already. That might add a more sentimental touch.
If it will be used, rather than just as a decoration, you can engrave the back of the board. That way you can maintain the quality of the engraving and still keep the functionality of the chopping board.
Step 2: Write Out Recipe for Engraving
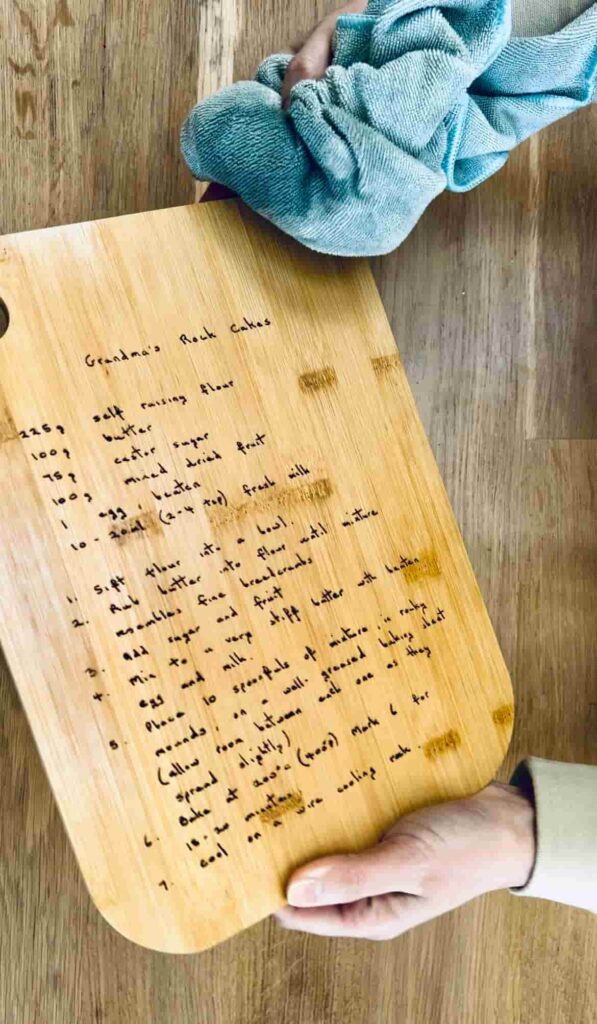
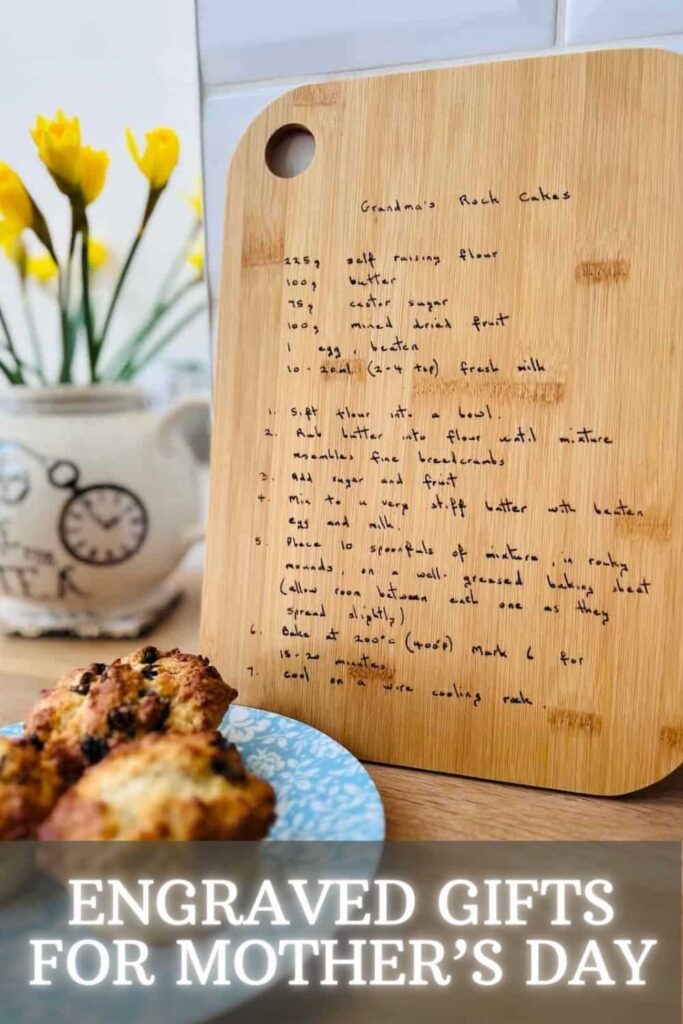
This board will have a special family recipe engraved on it. You might already have a handwritten recipe that you treasure. For this project, I asked my mum to write out the cake she’s best known for making, Rock Cakes. A classic of my childhood.
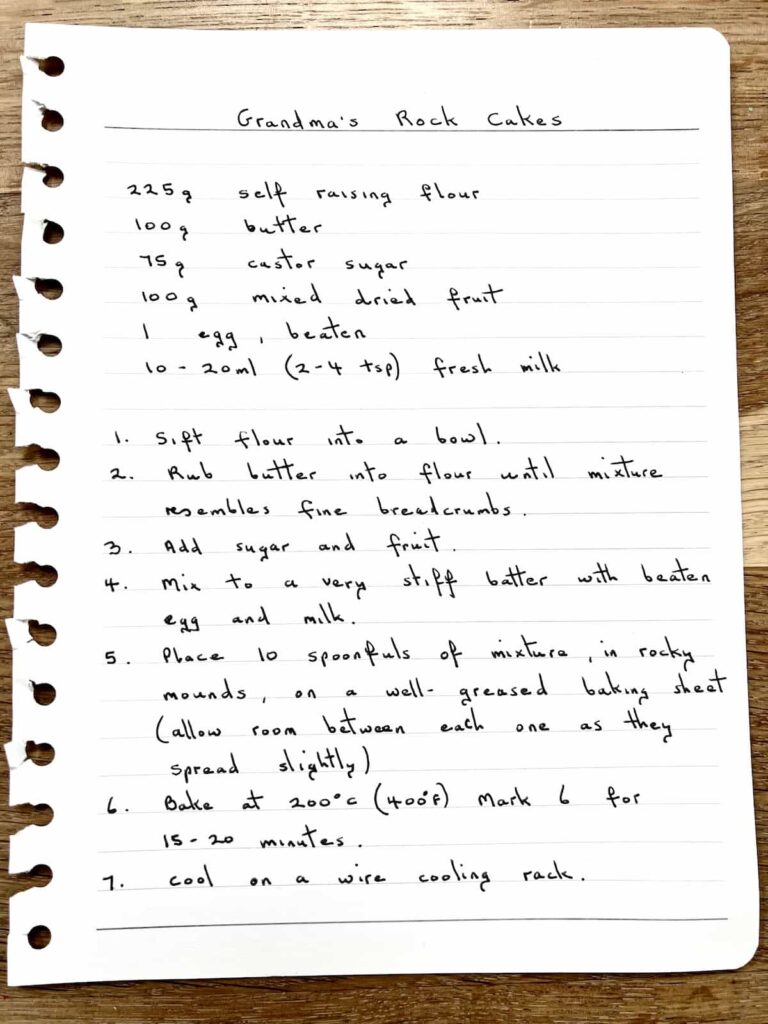
After taking a photo of the recipe, you’ll need to edit it slightly. By increasing the contrast of the photo, the writing will stand out the most from the background.
Step 3: Edit Handwritten Recipe
The easiest way to remove the lines from the notebook page is to trace the image. Within the xTool laser engraving software, simply select the ‘trace’ option. This duplicates the image and makes it editable.
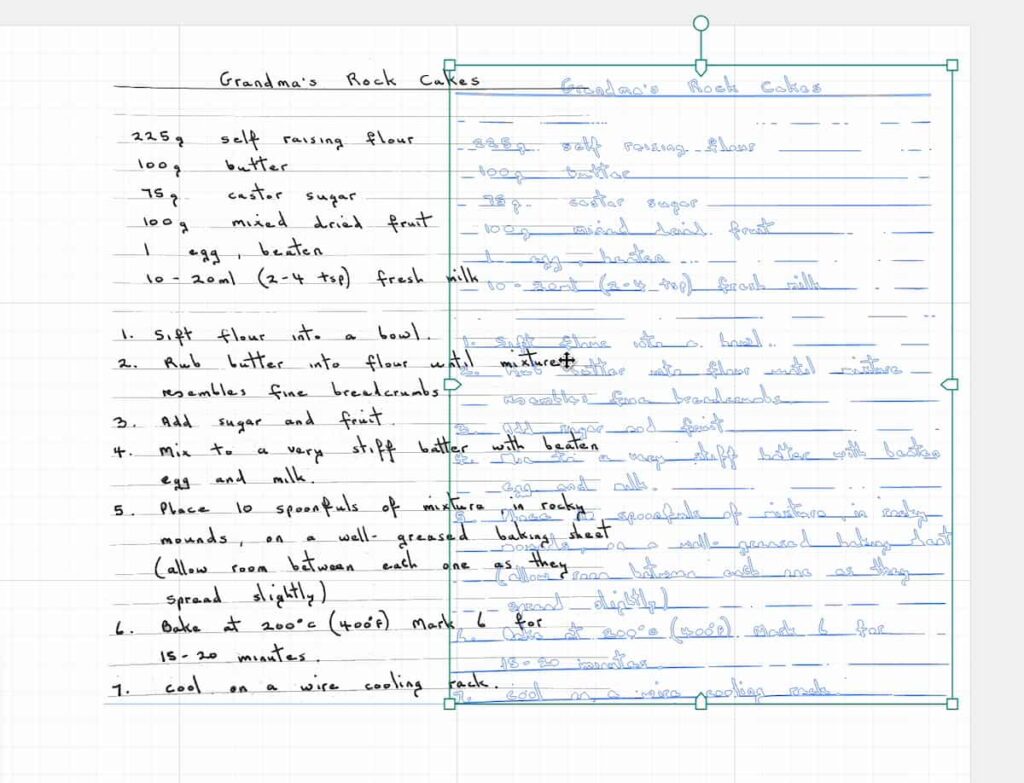
Then by clicking on the lines, you can delete them. This is also helpful if there is a mistake or something on the page that you don’t want to include.
Step 4: Test Engrave Chopping Board
As there were two chopping boards, I did a test engrave on the smaller one. This was also a test to see if using masking tape was a good option. Masking tape helps reduce charring around the edges of the engraving.
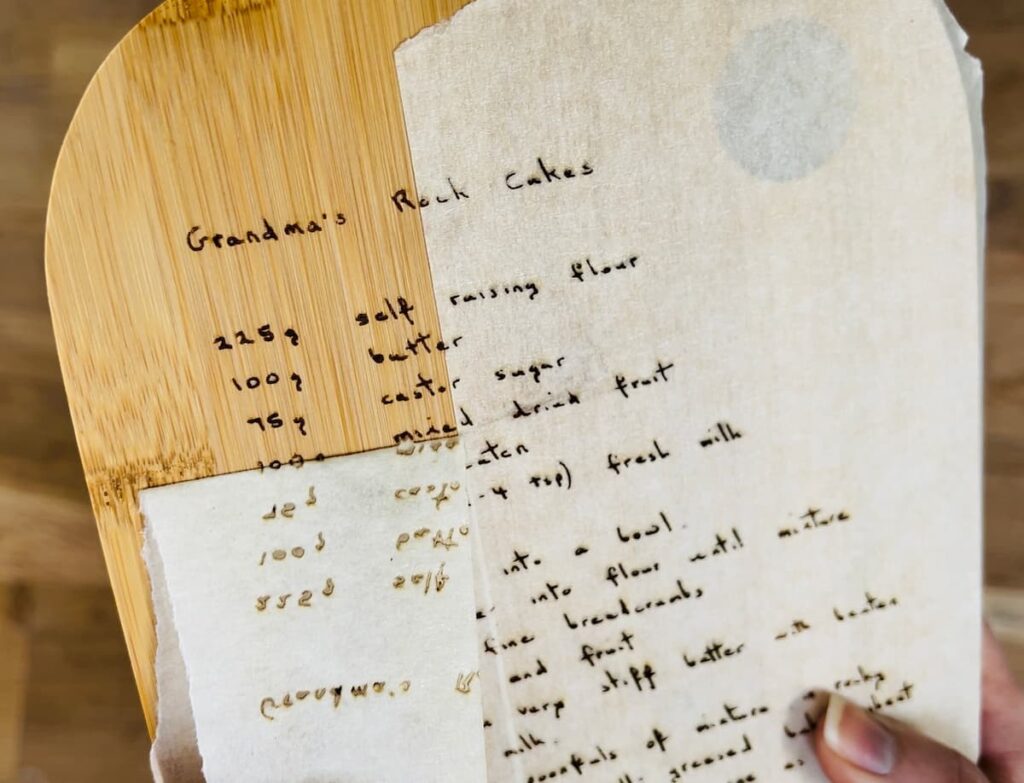
Only two parts didn’t engrave perfectly. That was due to the masking tape not being completely flat against the surface. With a material such as bamboo, you can expect some variations in the engraving. It’s the nature of using a material that is not solid wood.
For this chopping board, I used Speed 100 and Power 45.
Step 5: Clean and Seal Engraved Chopping Board
Once the engraving is complete, you need to clean and seal it. To clean the engraving, you can simply use a wet wipe to remove any residue.
Let it dry, then seal it with a food-safe sealer. For this, you can use mineral oil or hemp seed oil. Hemp seed oil seeps into the wood and hardens to give a protective finish.
If you don’t intend to use the chopping board, then you don’t need to seal it. But if this is a gift, you might not know if or how it will be used in the future.
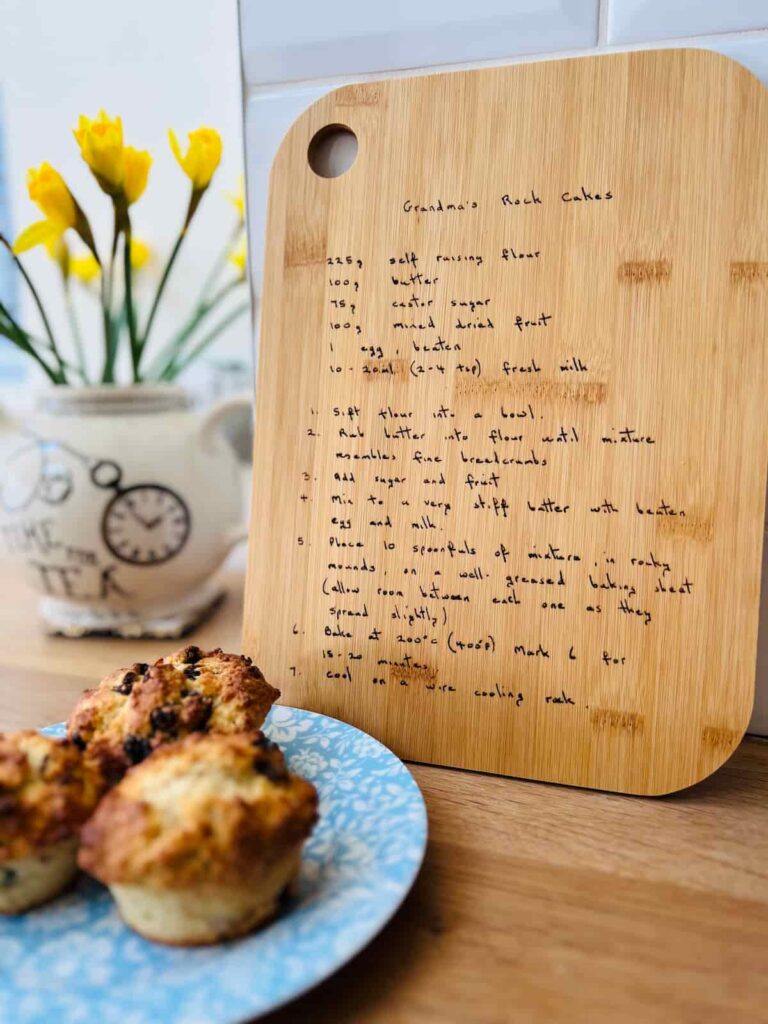
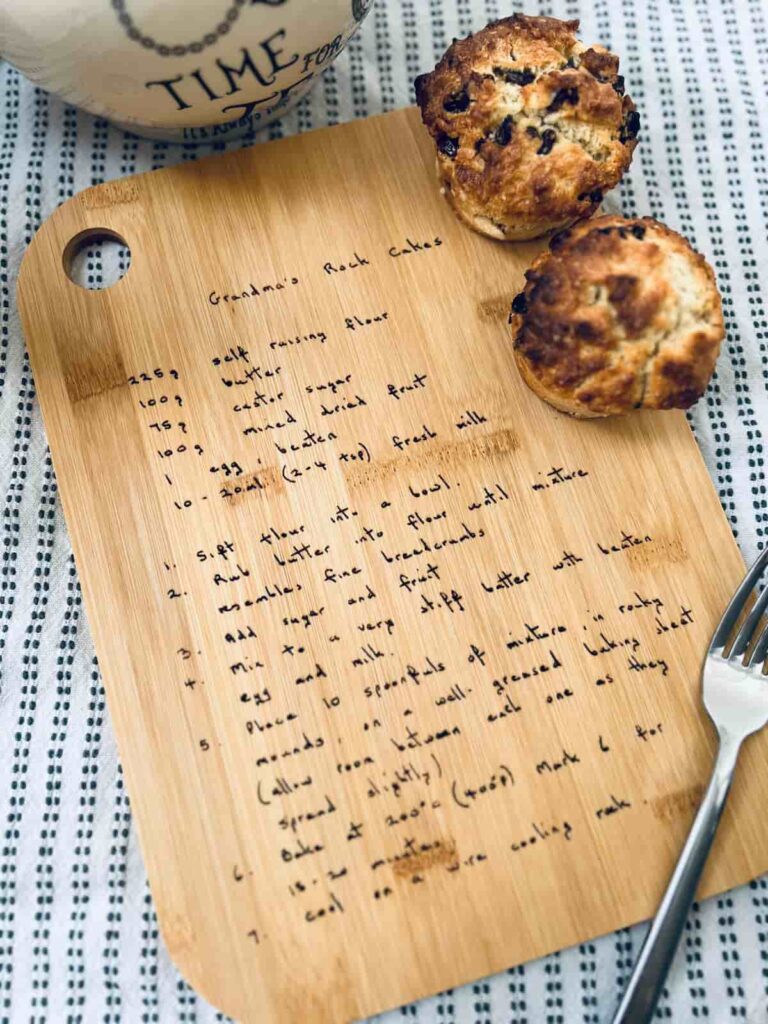
Laser Engraved Chopping Board with Handwritten Recipe
What better way to capture a special family recipe than within a chopping board? Especially if the recipe is from someone known for making it. Just think about the special person and you’ll be able to find the perfect quote or heartfelt words.
If you don’t have an original handwritten recipe, you can always use a handwriting typeface to mimic it.
This would also work as cheese boards to be displayed in a kitchen. Wooden gifts always give a cosy feel and even more so with meaningful writing on them.
Personalised Notebook
Step 1: Choose Notebook for Personalising
A notebook is such a simple and useful gift. If you have a writer, planner or organiser in your life, chances are they love a good notebook.
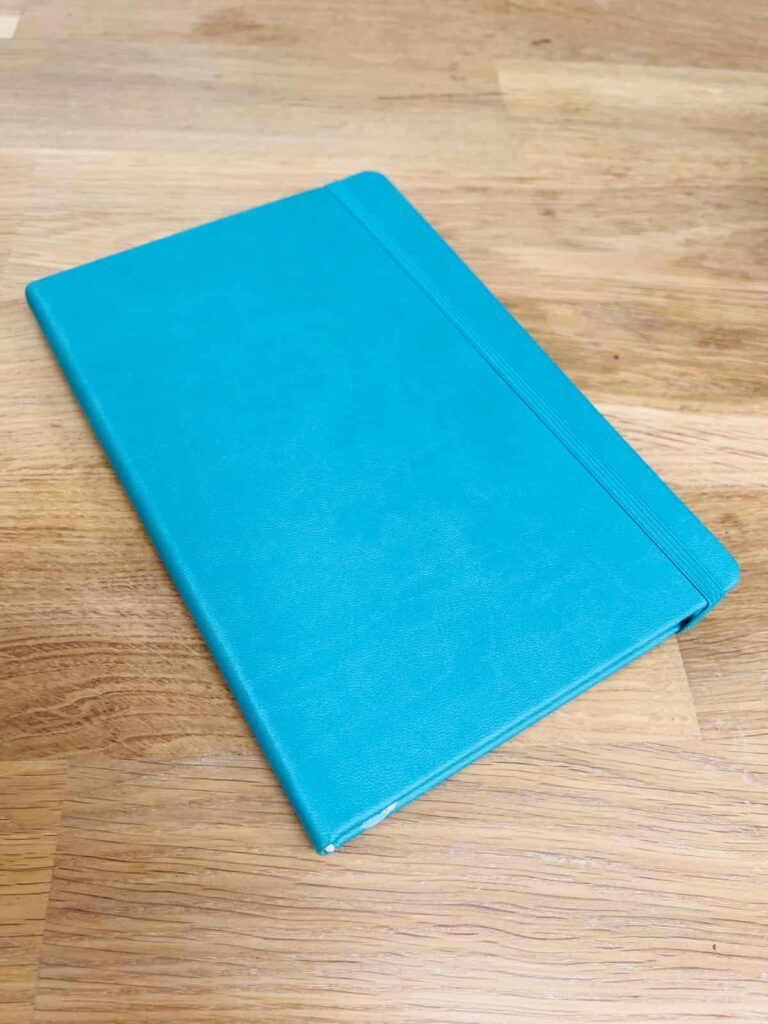
The key to engraving a notebook is ensuring that it is safe to engrave. This notebook is made from PU faux leather. You can also engrave real leather. Check that the material you buy is safe for the laser to engrave.
It should also be a hardback notebook.
Step 2: Select Image or Message to Engrave
You will get the best results by engraving simple shapes and lines. You can use the in-built shapes within the xTool software. Or often I use Canva as it has a large selection of designs. By searching for line drawings, you will get lots of options.
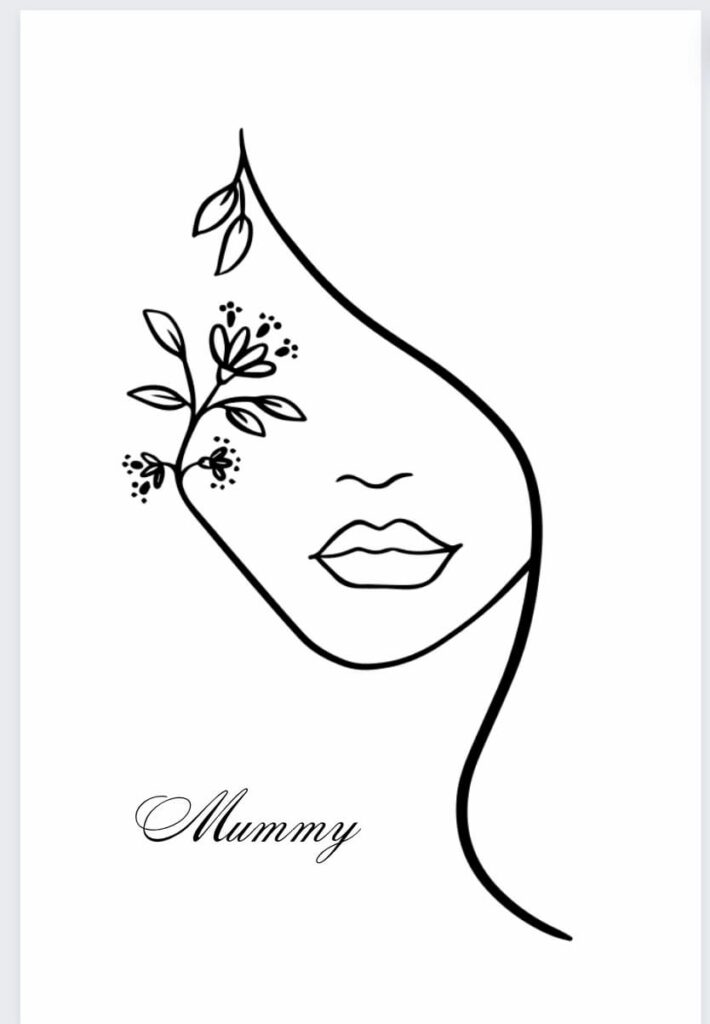
I chose a pretty floral outline of a feminine face. Then for an extra touch, I write the word ‘Mummy’ too. But you could add famous quotes or a personalised name. Anything that will make the giftee feel special when they use the notebook.
By saving the image as an SVG file, it will work well within the software.
Step 3: Test Engrave PU Leather Notebook
Remember how I said with the chopping board that you should do a test of the settings before you start? That’s ideal. But what if you only have one of the products you’re working on? Then you need to research what others have used and what might work for you.
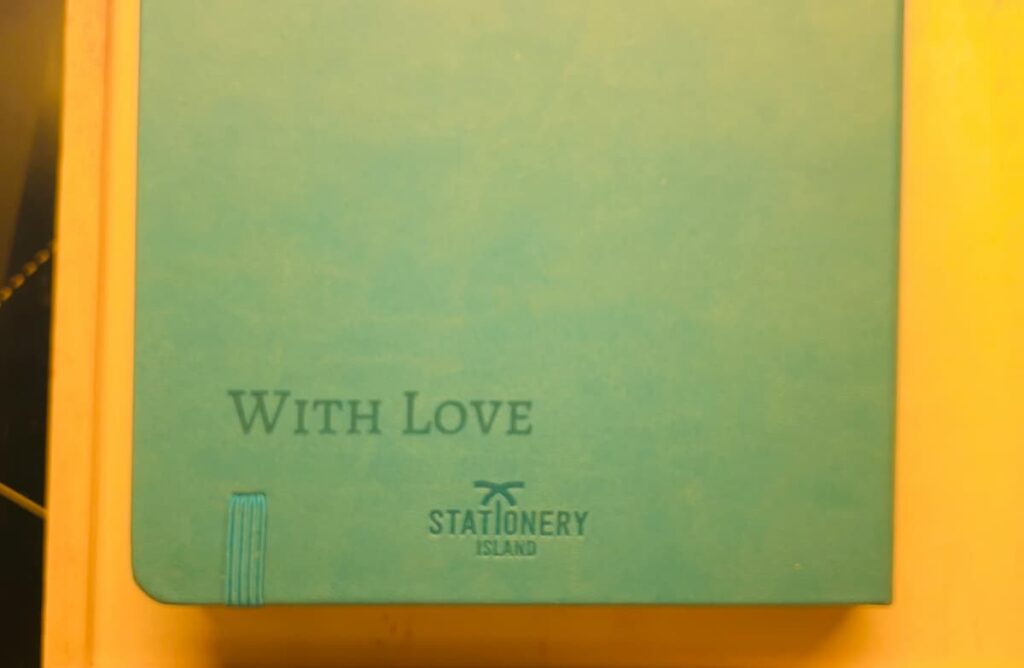
For this PU leather notebook, I found examples of the settings in the Official xTool M1 Facebook group. I did a test of the words ‘With love’ on the back to see if the settings worked well. And fortunately, it did. If you want to test my settings for your project, I used Power 20 and Speed 80.
Step 4: Insert Image into Software and Adjust Settings
One thing to think about when engraving a notebook is that it might be too thick for the standard machine set-up. With the xTool M1 machine, you can work on materials up to about 1 cm / 0.4 inches. So, as this notebook is thicker than that, there’s an extra step needed.
You need to remove the baseplate of the machine and raise the machine off the tabletop. To do this, unscrew the baseplate and use the wooden blocks to lift the level of the machine.
Then change the setting from the normal ‘Laser Flat’ to ‘Open Plane’.
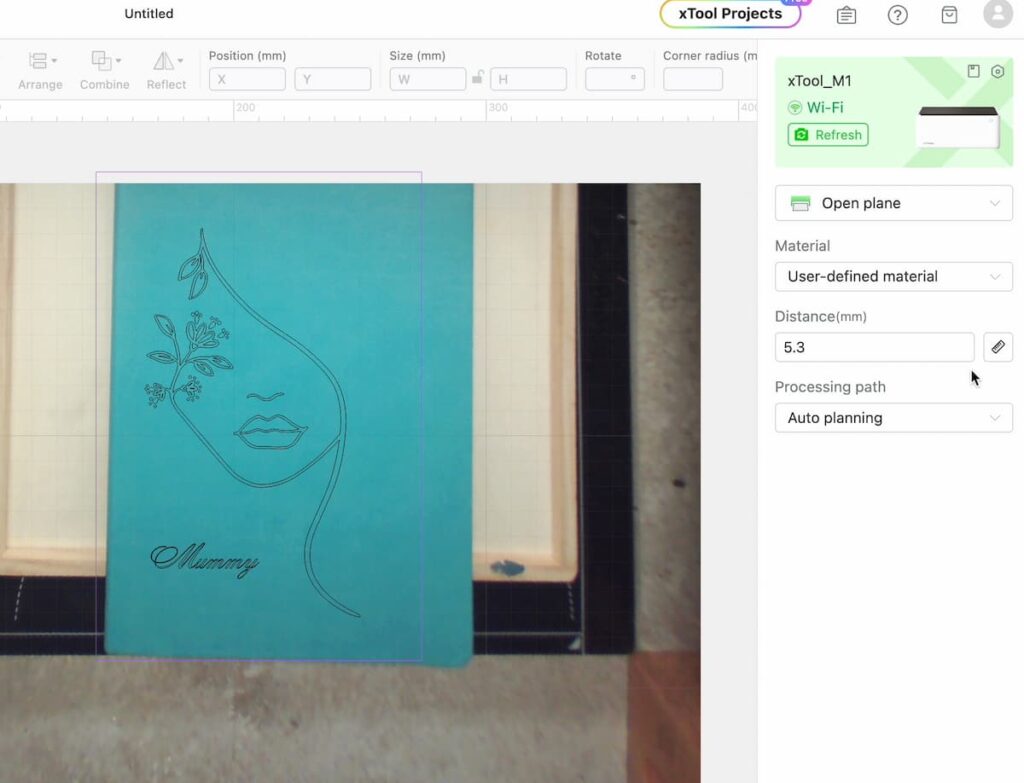
The real-time camera shows what the image will look like on top of the notebook when it’s in place. I deliberately avoided having the design near the elastic band on the right side of the notebook.
Laser Engraved Personalised Notebook
As someone who uses a notebook every day, this is a wonderful gift. It’s a great way to show that you know a person by giving a gift that will be well-used.

And by adding a special message or custom engraving to the front cover, makes it extra thoughtful.
Engraved Slate Handprint
Step 1: Get Plain Slate
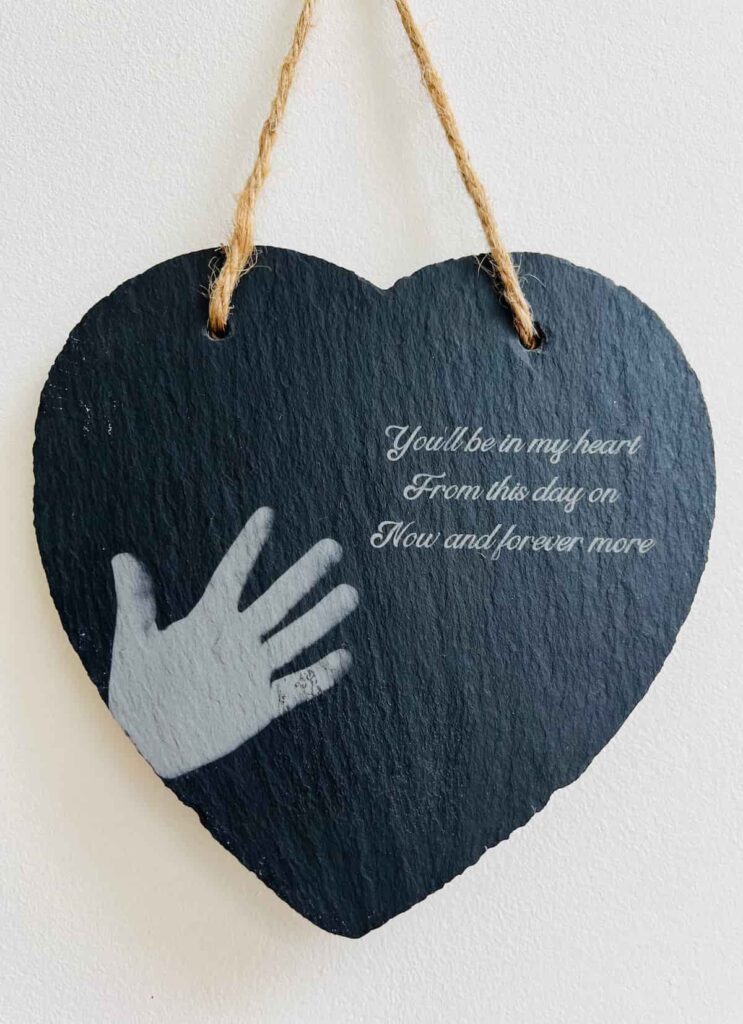
Slate always makes for attractive gifts. It’s a material that just feels like good quality. On this slate heart, I’m going to create a classic handprint image. You know the one, often accompanied by messy paint and kids’ names. This one will be a bit more simplistic.
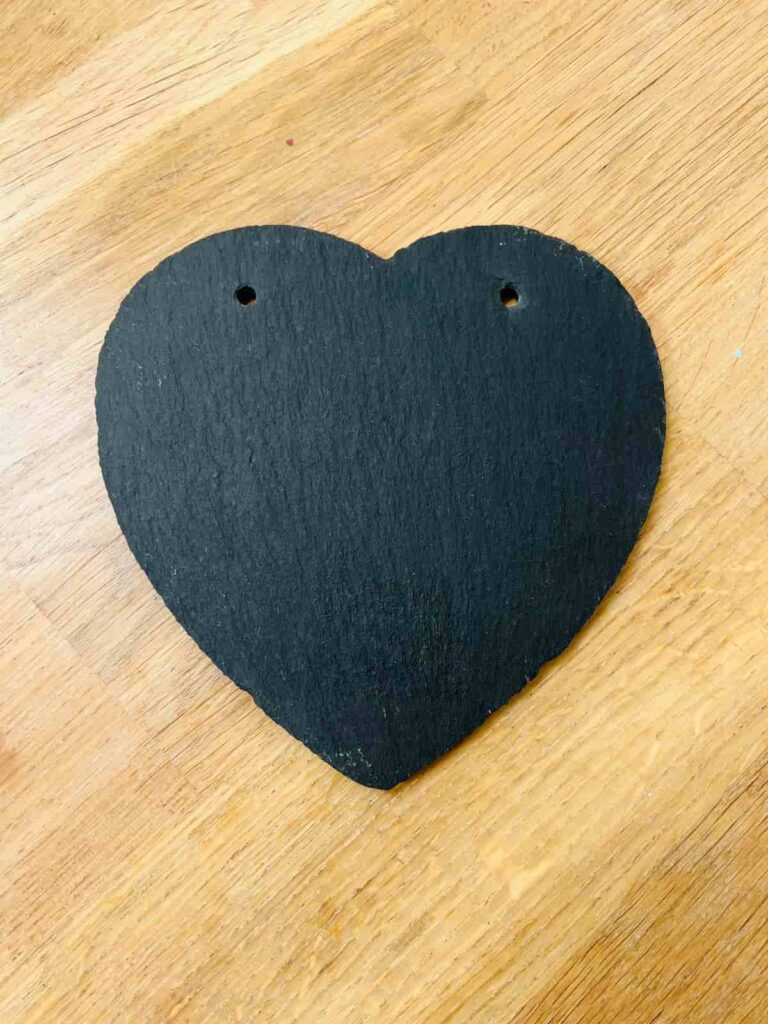
The slate was coated with mineral oil before engraving. This gives it a consistent, darker background which helps the engraving stand out. It should be left to dry for 24 hours before engraving. And any extra wiped off first.
Step 2: Take Photo for Handprint
Assuming this gift is for a newish mum, you’ll take a photo of the baby’s hand. A photo with the fingers slightly parted, and the hand flat will work best.
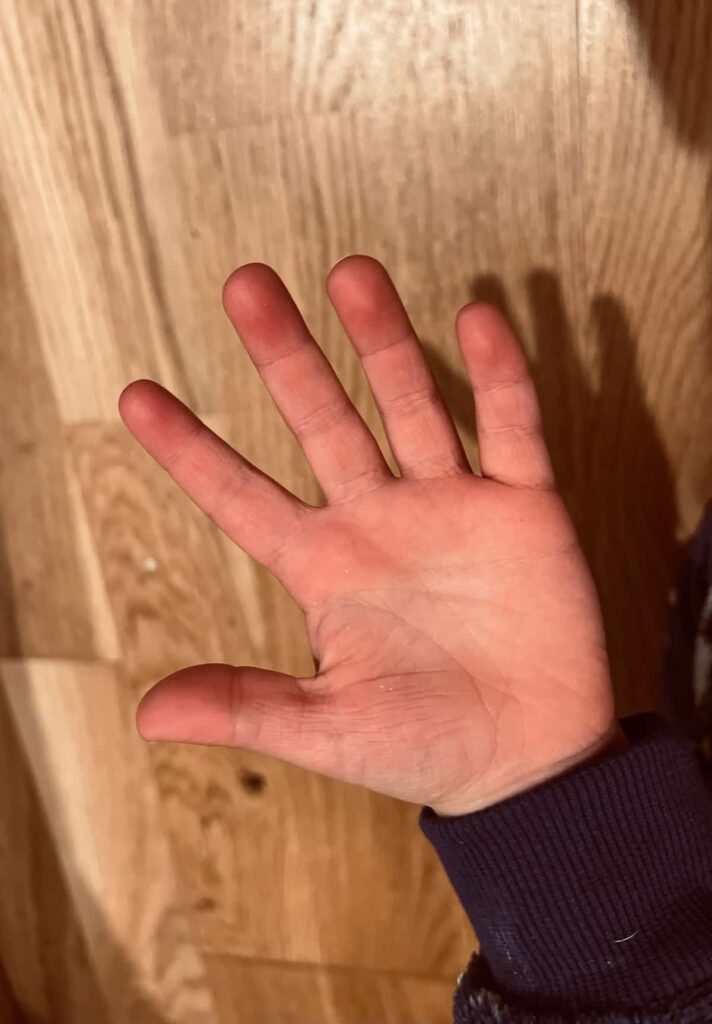
An engraving won’t capture all the detail in the image. The shape is the important thing to get right, for it to look good.
Step 3: Edit Photo to Remove Background
The best-engraved image has minimal distractions around it. To get a good engraved handprint, you want to remove the background first.
In Canva, you can use BG Remover to do this. It will likely still leave parts such as the arm, as that isn’t the background. You can then use the Magic Eraser tool to take out anything that you don’t need.
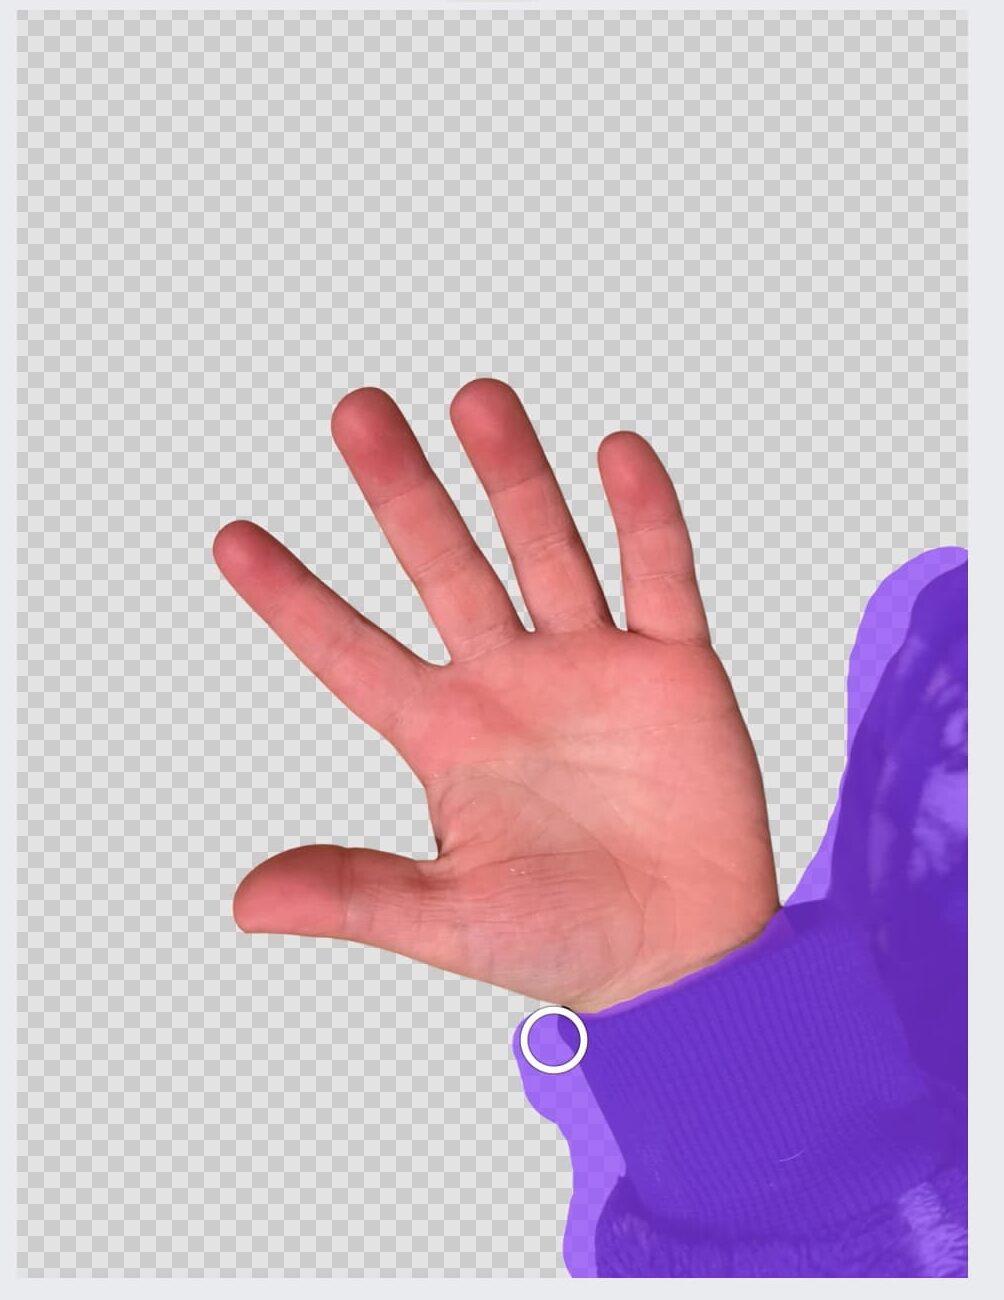
Then you reduce the saturation of the image, which makes it grey.
If the image is lighter than the material it is being engraved on, inverting it will help it to look right. You can invert the image within the xTool software.
Step 4: Add Quote or Message to Engraved Slate
You can also add a special meaning or words to the handprint. I chose song lyrics from the song ‘You’ll Be in My Heart’ by Phil Collins. It’s a beautiful song written for the film, Tarzan.
There are so many meaningful engraving quotes that you could include. Maybe an important quote, bible scripture or even an inside joke.

And if you’re not sure of an engraved message, then you could write something simple like “Mum. Est. 2024”. Or an important date such as the child’s birth.
Having created a beautiful Valentine’s slate, I had already tested the settings for the slate previously. I used Power 110 and Speed 17.
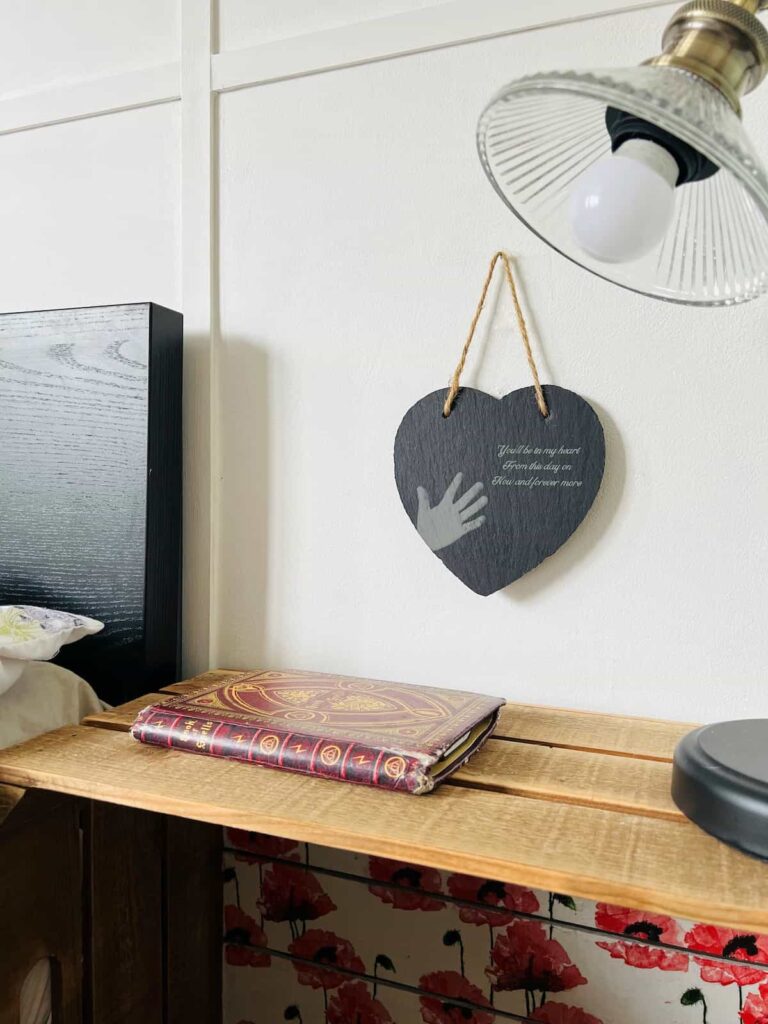
Engraved Slate Handprint
Engraved handprints are the perfect gift for a first time mum. It’s something that would be a treasured keepsake.
You can make it with all the family members or just a mother and child. There are lots of variations that would look beautiful.
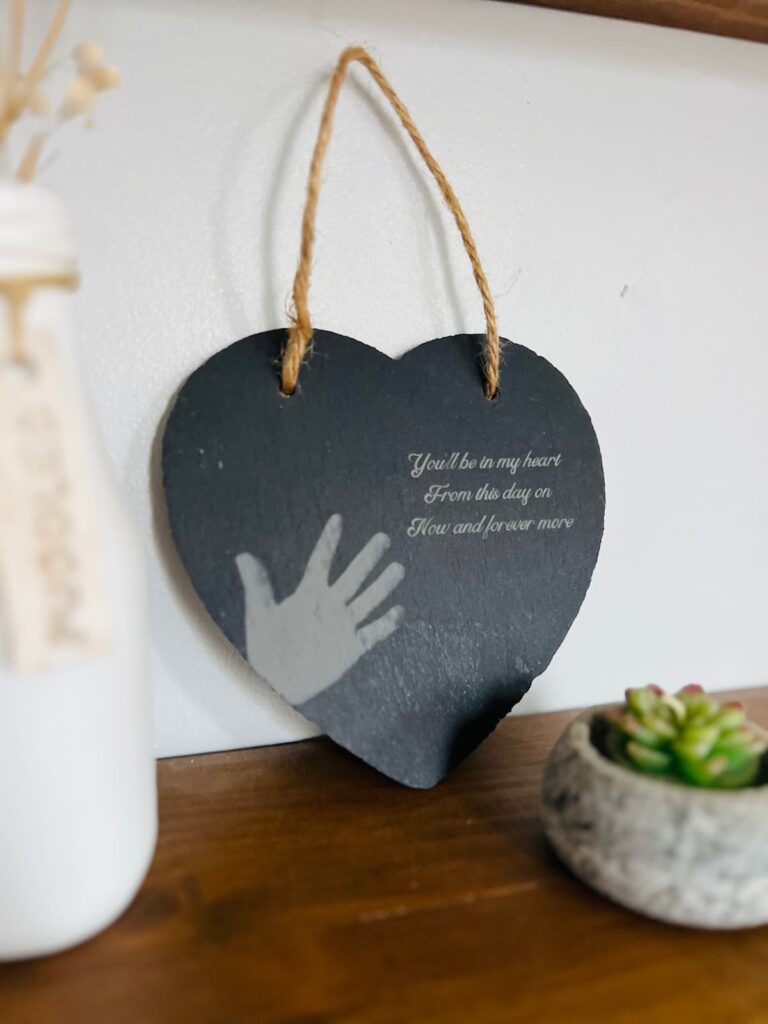
It just depends on what a mother’s love means to you.
The perfect Mother’s Day gift will be unique to you and your family. But there is no greater joy than giving someone something meaningful which shows how much you care.
The materials don’t have to be expensive. It’s all about the idea which makes this a special gift. And if you don’t have a machine yourself, you can still use these laser-engraved gift ideas to find the perfect way to celebrate Mother’s Day.
Answers to Your Questions About Making Laser Engraved Gifts
Q: What are popular gifts for Mother’s Day?
A: Customisable gifts are great laser-engraved items. Such as unique jewellery, a high quality leather journal, a personalised coffee mug or special photo frames.
Q: What laser-engraved items sell well?
A: Some of the bestselling engraved items are phone cases, signs, coasters and jewellery.
Q: What images are best for laser engraving?
A: Simple line drawings will be best for laser engraving. Alternatively, use images with high contrast to show the different elements the best.
If you loved this project, you’ll love these projects too:


Did you make one of these engraved gifts?
I love seeing what you do. Please mention @teaandforgetmenots and share your creations with me!
Pin it for later – Mother’s Day Laser Engraving Gift Ideas

Hi there! I'm Rachel Bowyer, a passionate DIY enthusiast with a knack for transforming the old into something beautifully new. With a deep love for furniture painting, refinishing, and the art of crafting. I've been documenting my DIY projects and restoration journey since 2018. I specialise in techniques like decoupage, stencilling, and decor transfers. Join me as we explore the world of creativity and home improvement, one project at a time.
I love these, especially the recipes. I would love to have some done from my Mom’s handwriting.
Thank you, yes it is really special.