15 Tips on How to Paint Furniture Without Leaving Brush Marks
Don’t let brush marks spoil your hard work. Here are 15 tips on how to paint furniture without leaving brush marks which can ruin a beautiful finish.
This ultimate guide will take you through the right tools and techniques to get a smooth surface on your painted furniture piece.
This post includes gifted products and affiliate links so you can easily find the products I use myself and recommend to friends. If you purchase these products, I may earn a small commission at no extra cost to you.
The Tools For How to Paint Furniture Without Leaving Brush Marks
There’s only so much success you can have avoiding brush marks if you don’t have the right tools. But these don’t have to cost a lot.
It’s about making the right decisions before you buy.
1
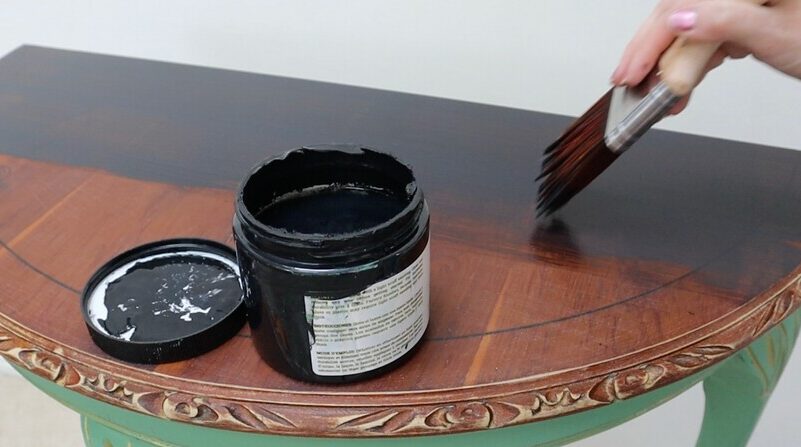
Choose the Right Paint
Choosing the right paint has a big impact on how visible the brush marks will be. But you don’t need to understand the in-depth ingredients of each type of paint brand.
A quick way to work out if the paint is more likely to give a smooth finish is if it’s labelled as self-levelling.
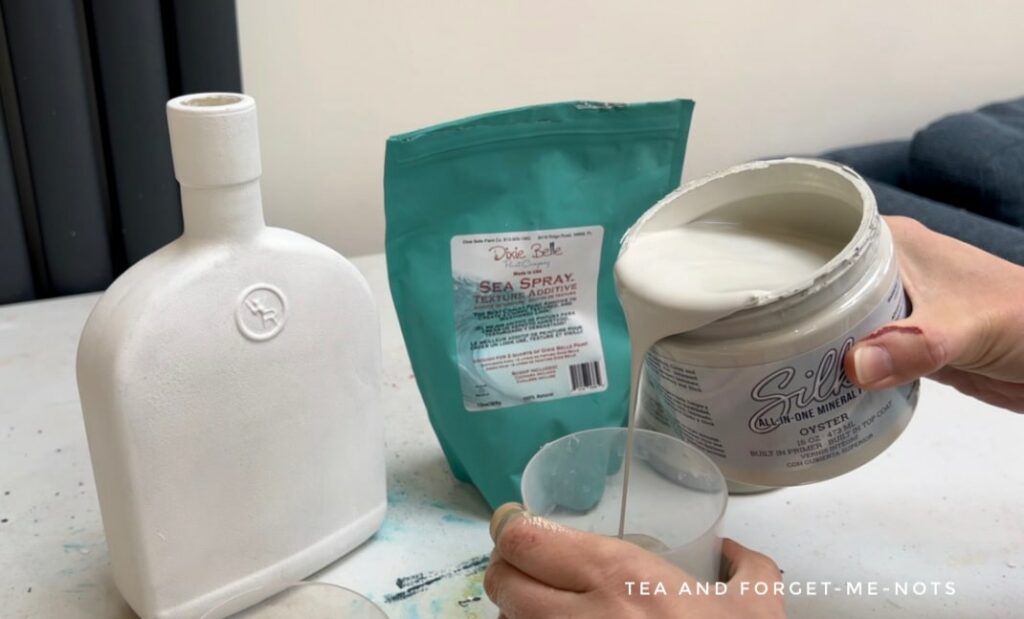
Acrylic paints such as Dixie Belle Paint and Fusion Mineral Paint are self-levelling. This means that the paint evens out and gets smoother as it dries. This naturally minimises the texture of brush strokes.
A lot of furniture painters enjoy using chalk paint on their pieces of furniture. Chalk paint is typically thick paint. Which works best with the right techniques (see below).
2
Use a Lower Sheen Paint
Choosing the right sheen of paint also has an impact on the visibility of brush strokes. A lower sheen paint, like matte, helps reduce the visibility of brush strokes due to its smoother texture.
The lower the sheen, the less light is reflected off the surface. Reflections in something like gloss paint will highlight imperfections and make them more noticeable.
So, a matte finish minimises the appearance of texture from brush strokes.
By selecting a paint type that is designed for smooth finishes. And a sheen that helps reduce the visibility of brush marks. You’ll have the best chance of achieving a brush stroke-free finish.
3
Add an Extender
An extender is a medium that you apply to paint to keep it wet for longer. How long a paint is wet, or the length of time you can work with it, is called the open time.
Why do you want to keep the paint wet for longer? Because the quicker it dries, the more likely you are to get brush strokes.
By lengthening the time you have before the paint dries, the longer you have to get a smooth paint finish. With less time pressure, it gives you the best chance of getting the result you want.
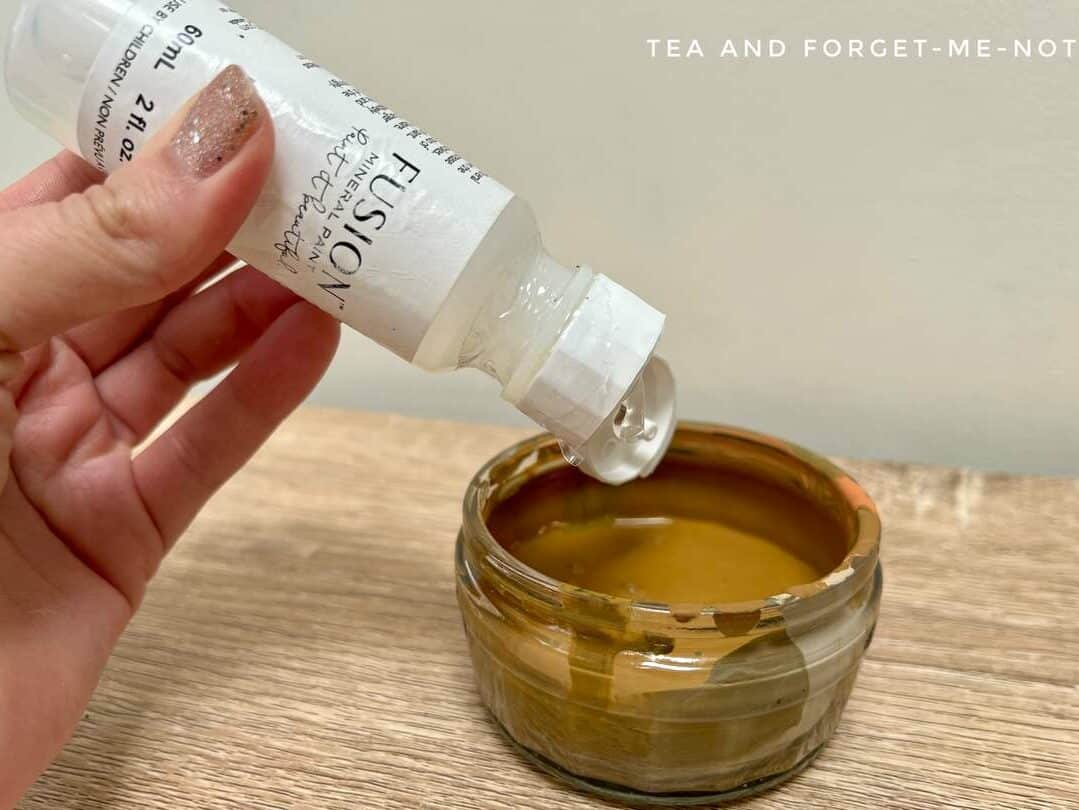
Floetrol and Fusion Extender are both good options to improve the flow of your paint.
Using an extender is also helpful when you’re blending paint. This gives you more time to move the paint around.
4
Pick the Right Brush
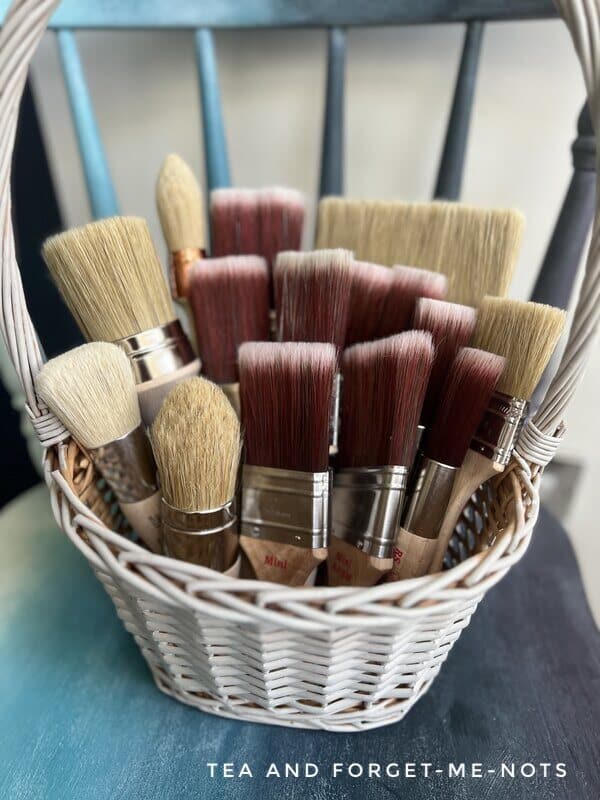
The right brushes make all the difference as to whether you can achieve the smoothest finish.
The best type of brush for a nice smooth finish is high-quality brushes with synthetic bristles. Synthetic bristles are usually made from nylon or polyester, which are man-made and therefore have a consistent texture.
Whereas natural bristles have variations in thickness and texture. As they are generally rougher, they create more brush marks. Which leads to more work to get a flawless finish.
So, synthetic bristles are a more reliable way to apply paint evenly. Which is a big advantage when painting large areas.
Here’s a full guide on how to choose a good paint brush.
Synthetic brushes are often cheaper than natural bristle brushes but the important thing is the quality of the brush. The extra cost of a good quality brush is often worth it as they last for years, if well cared for.
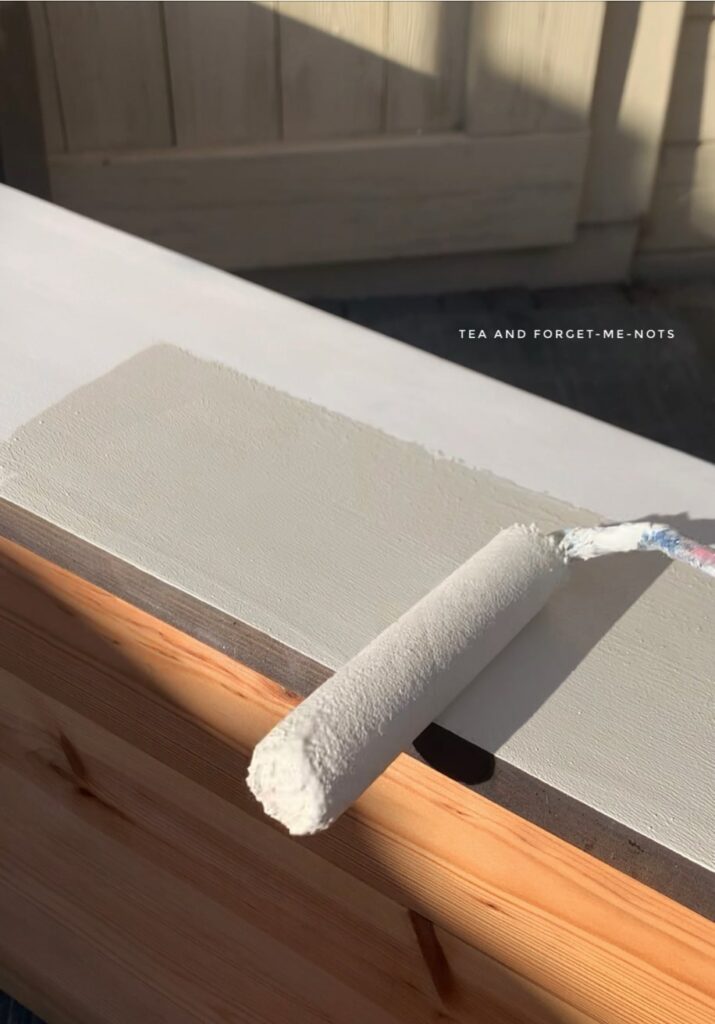
5
Use a Roller
Of course, rollers avoid brush strokes because they don’t have bristles. So why would you still have brush strokes if you aren’t using a brush? Because you are using one!
Rollers are a great choice to smooth out brush strokes after applying the paint with a brush. They’re especially good for smoothing out strokes when painting a large surface area.
A brush and roller is a good set of tools. Which is the combination I used on this front door.
You apply the paint with a synthetic brush. Then smooth it out with a roller.
This is a great option when there are large flat areas and details, which naturally leads to brush marks going in different directions.
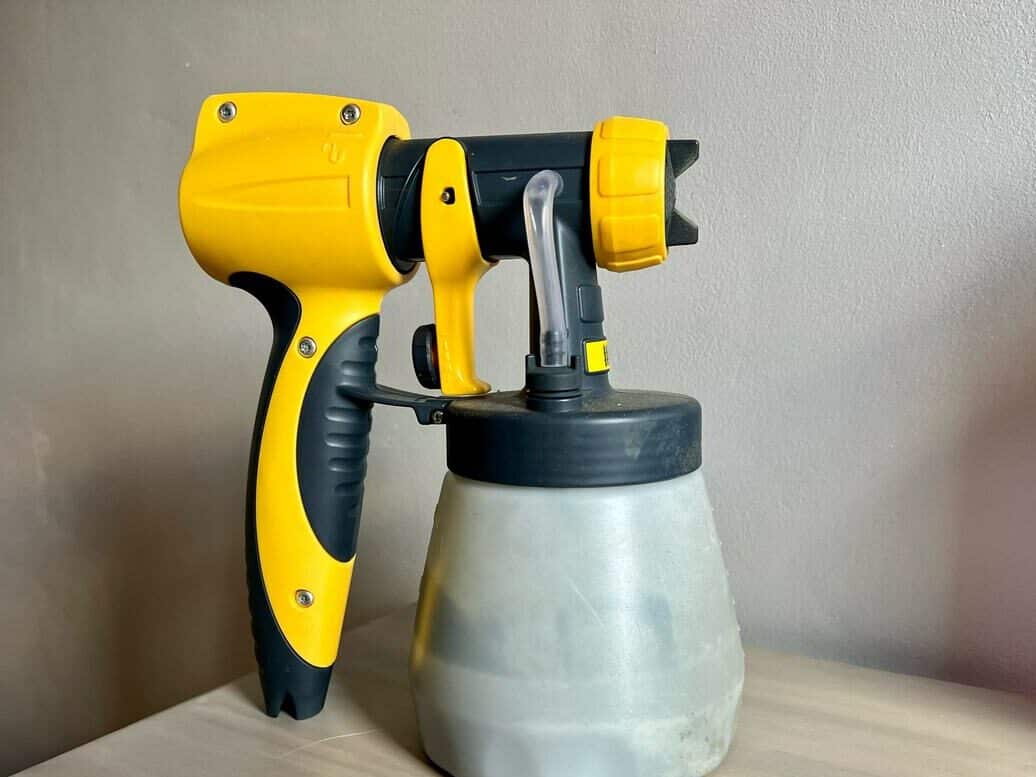
6
Consider Spray Painting
If you want an ultra-smooth finish, consider using a paint sprayer. Naturally, just as with a roller, a paint sprayer avoids brush strokes.
The spray paint can create a crisp smooth finish when done well. However, it is not an easy alternative.
There’s a learning curve to using a paint sprayer. One of the best tips for using one is to do thin coats. And to practise on a piece of spare wood or cardboard first.
But when used successfully, a paint sprayer is a good option for a flat finish.
The Techniques For How to Paint Furniture Without Leaving Brush Marks
There’s skill involved in learning how to paint furniture without leaving brush marks. Sometimes it’s trial and error. Other times it’s learning from our mistakes.
Here are the tips to jumpstart your success!
7
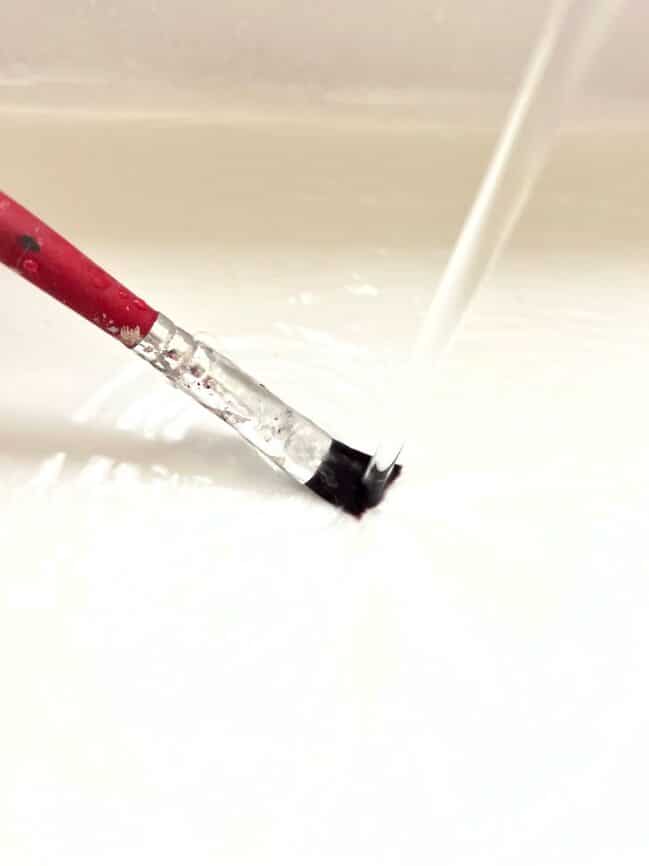
Add Water to the Surface or Brush
Just as with an extender, you can add water to help thin a paint’s consistency. Thinner paint flows more smoothly and easily levels out on the surface, making brush strokes less visible.
Paints such as chalk paint benefit from being able to use additional water. This is not the case for oil paints which repel water.
But you don’t just simply add water to the paint. There are a couple of ways to use water when furniture painting.
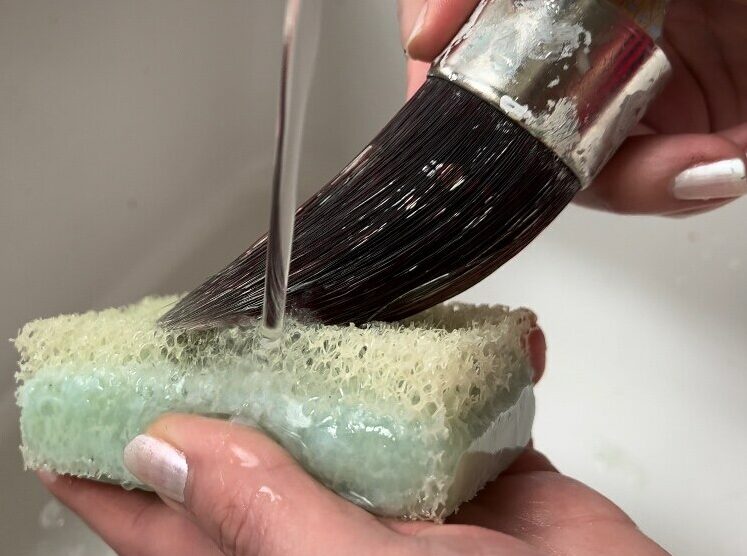
The first step to add water is to use a fine mister bottle and lightly spray the surface of the furniture. A little water allows the paint to glide over the wood. As it removes some of the resistance.
Similarly, you can also lightly spray the paintbrush before applying the paint. This is the easiest way to not add too much water into the process.
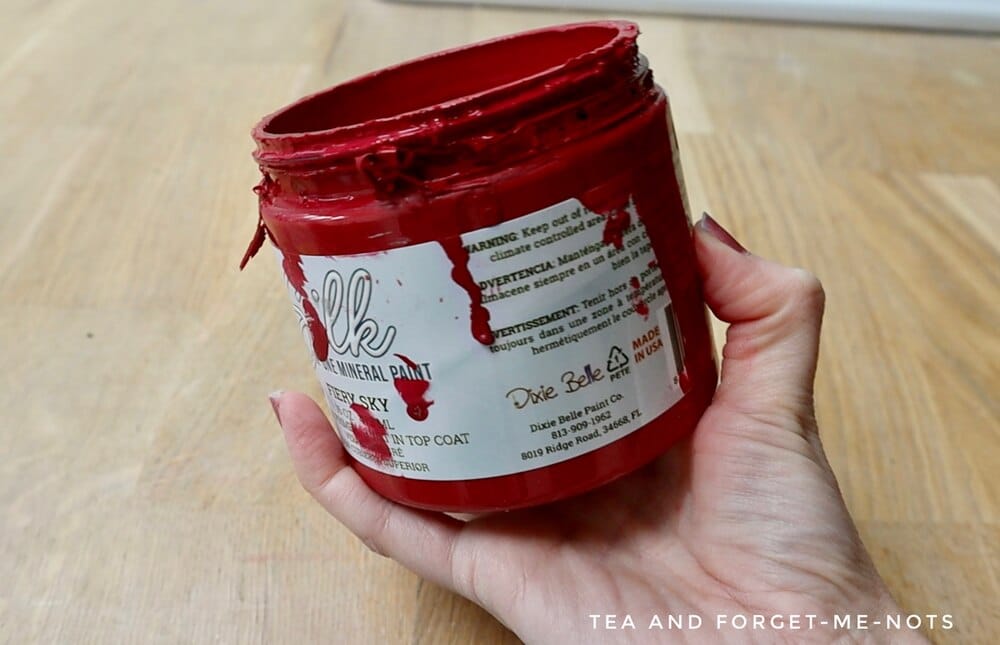
Just because a paint is a water-based paint, doesn’t mean that you can add water to it. It’s not recommended to add water to a mineral paint like Dixie Belle’s Silk.
8
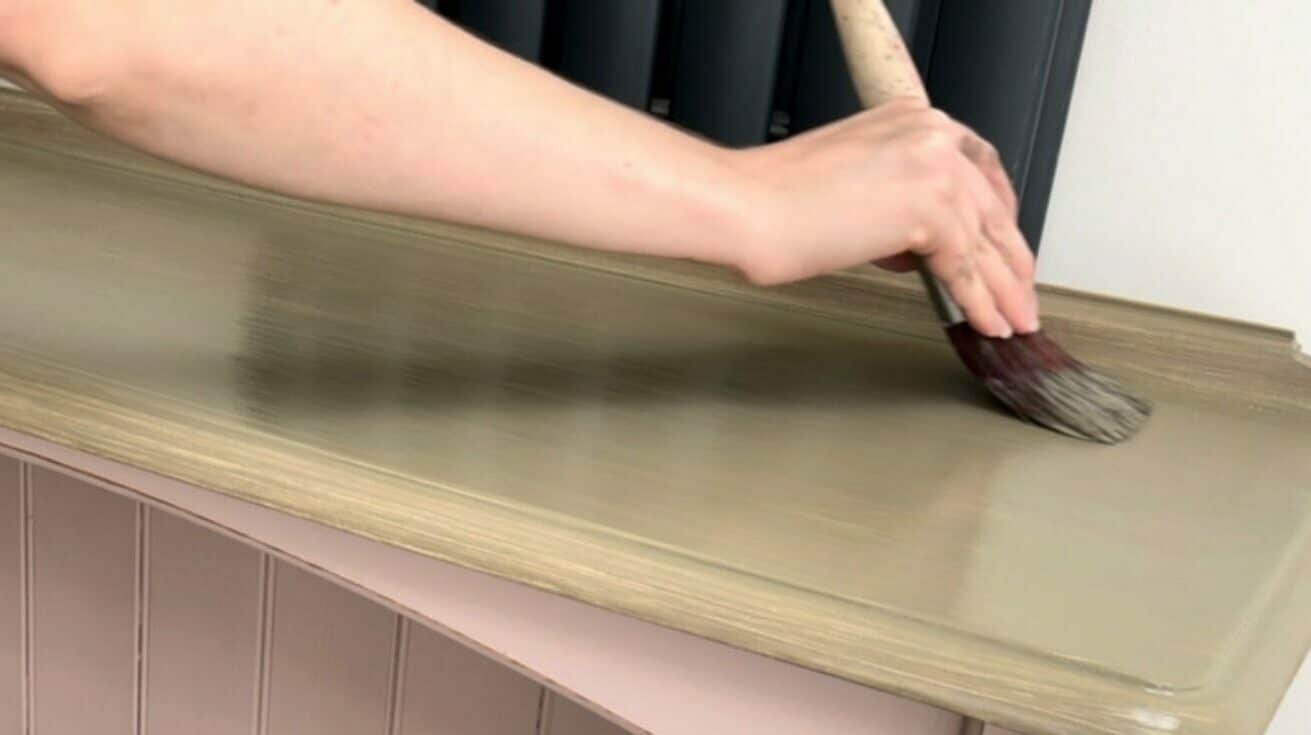
Hold the Brush at an Angle
The best way to hold a brush is at a slight angle to the surface. In many cases, a 45-degree angle works well.
Holding a paintbrush properly can significantly impact the quality of your painting. It also makes it more comfortable, which is important when painting a large piece of furniture.
9
Apply Gentle Pressure
A good brush can only help you so much if you don’t use it carefully. You need to avoid excessive pressure and paint with a gentle hand.
If the bristles start to fan out, it means you’re pressing too hard.
The brush should maintain its shape and the bristles should only lightly bend under pressure.
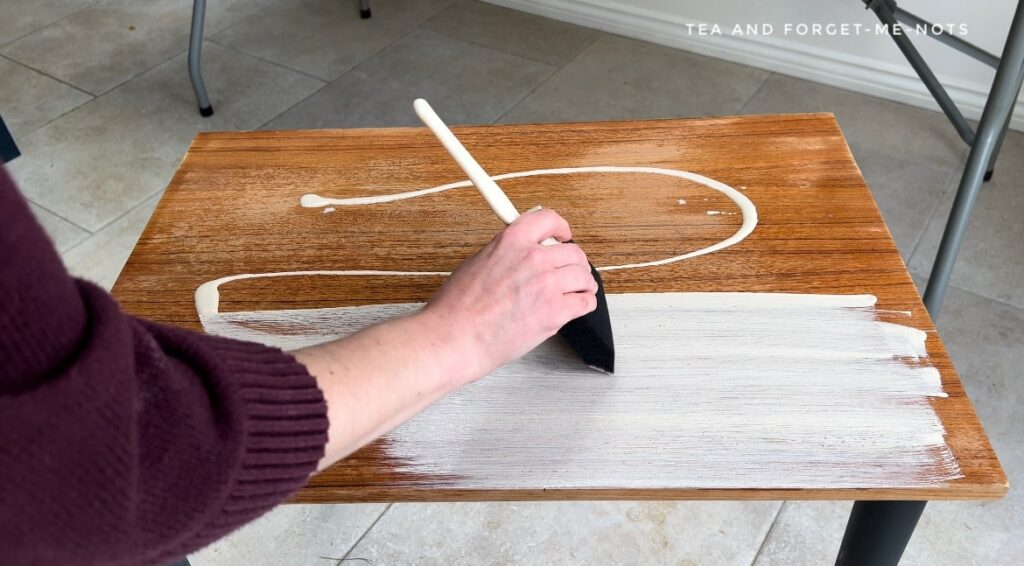
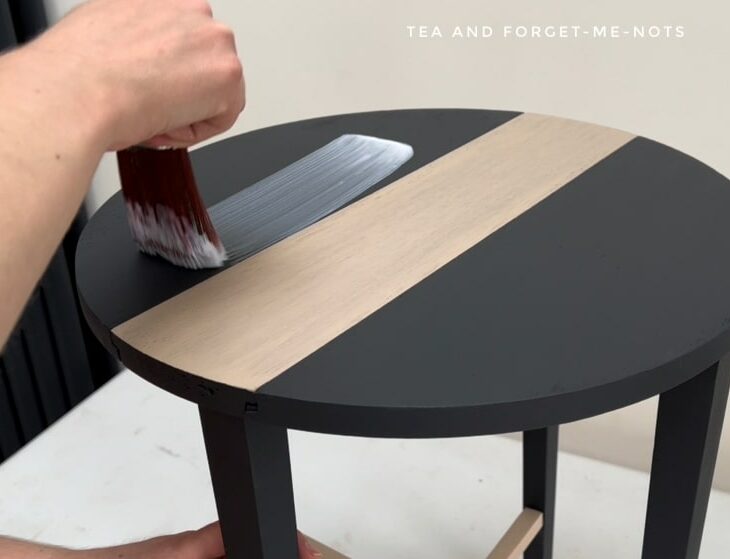
10
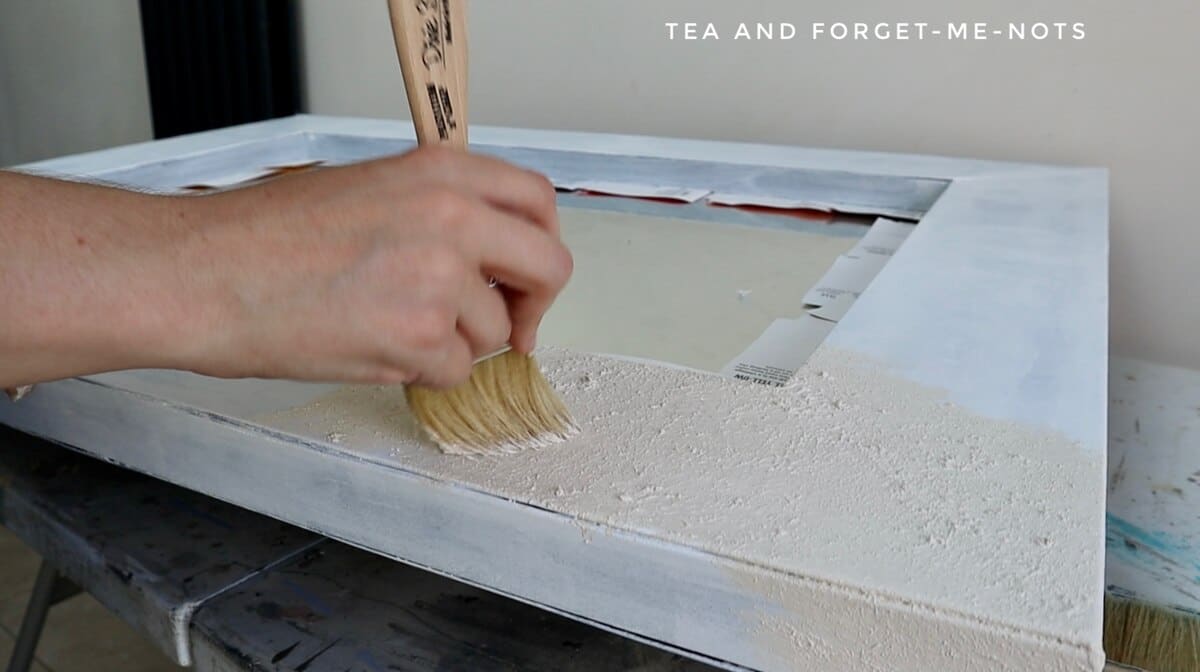
Do Thin Coats
An important step is to apply thin coats of paint instead of thick ones. There are lots of good reasons for applying thin coats, such as saving paint and better adhesion to the surface.
But for avoiding brush marks, thin layers of paint is easier to control and spread smoothly.
The right amount of paint is also less likely to have drips and crack over time.
A thin second coat of paint will not mask brush strokes left by a thick coat or one with tons of brush strokes created by the first coat of paint.
How do you know if you have enough paint on the brush?
When you apply the paint to the surface, it should provide even coverage without leaving any bare spots. Conversely, if the paint is dripping a lot, you have too much paint on it.
In general, a thin, full-coverage coat, gives better control and enhances the overall quality of your painting project.
11
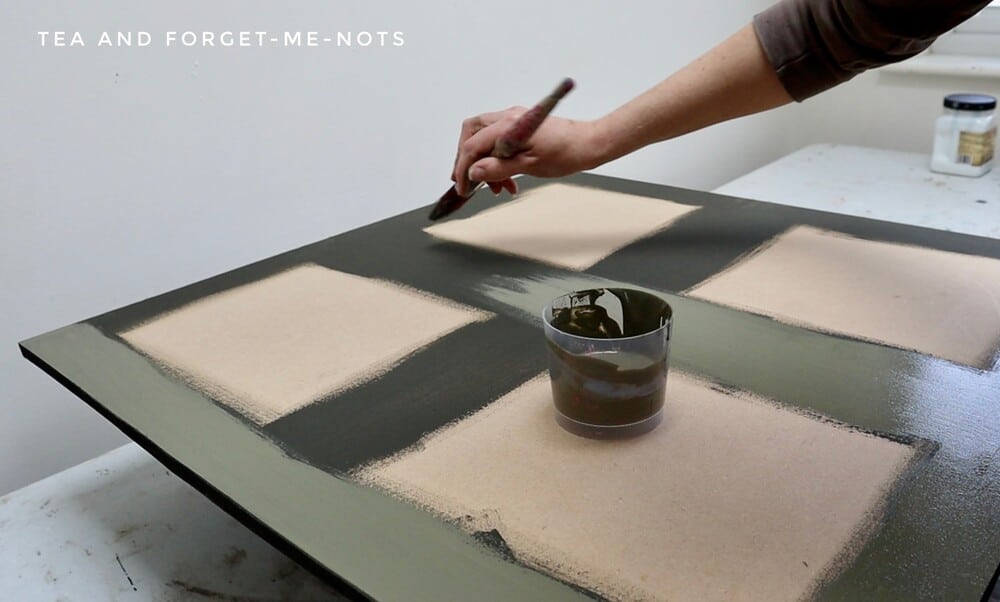
Do the Laying-Off Method
The laying-off method is used after applying the initial coat of paint. It’s a great way to level out the paint and remove brush or roller marks.
After applying a coat of paint, immediately use long and light strokes in the same direction to remove excess paint. The strokes should be gentle and smooth, allowing the paint to level out across the entire piece.
This is best done with a flat brush at a 45-degree angle. You should slightly overlap each stroke with the previous one to ensure a seamless finish.
When working on larger flat surfaces, it’s important to maintain a wet edge. This means working quickly and avoiding the paint drying before you can blend in the next stroke.
This technique is especially helpful when working with paints that aren’t self-levelling, such as some latex paint.
12
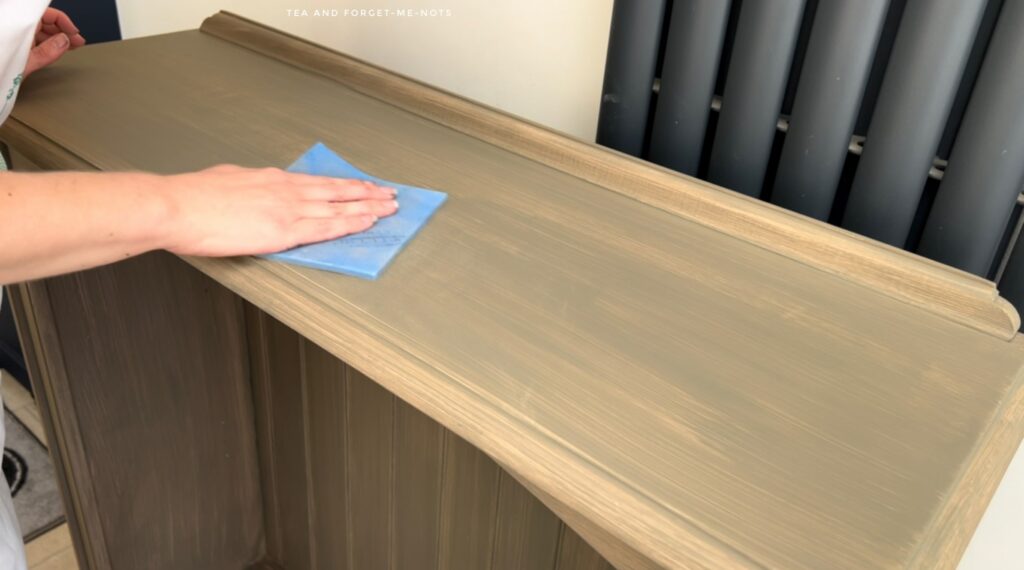
Sand Between Coats
Lightly sand the painted surface between coats with fine grit sandpaper. This helps smooth out any imperfections and improves the paint’s adhesion for the next coat.
You can use 220-grit or higher sandpaper or a sanding sponge for this. The purpose isn’t to remove any of the previous coat of paint. Simply remove any high points for a smoother finish by the final coat.
13
Let the Paint Dry Between Coats
It’s important to let a coat of paint fully dry between coats. If some areas are slightly tacky, leave it longer. It might be tempting to fix mistakes or brush marks while it’s still wet.
Don’t!
Firstly, let the paint dry. Then sand the problem area and clean up the sanding residue. Then finally add the touch-up paint.
Similarly, don’t paint too much at once.
Once the paint starts to dry in one area, leave it alone. Painting over drying paint is a fast way to a poorly finished surface. Let one area dry first rather than painting too much at once.
14
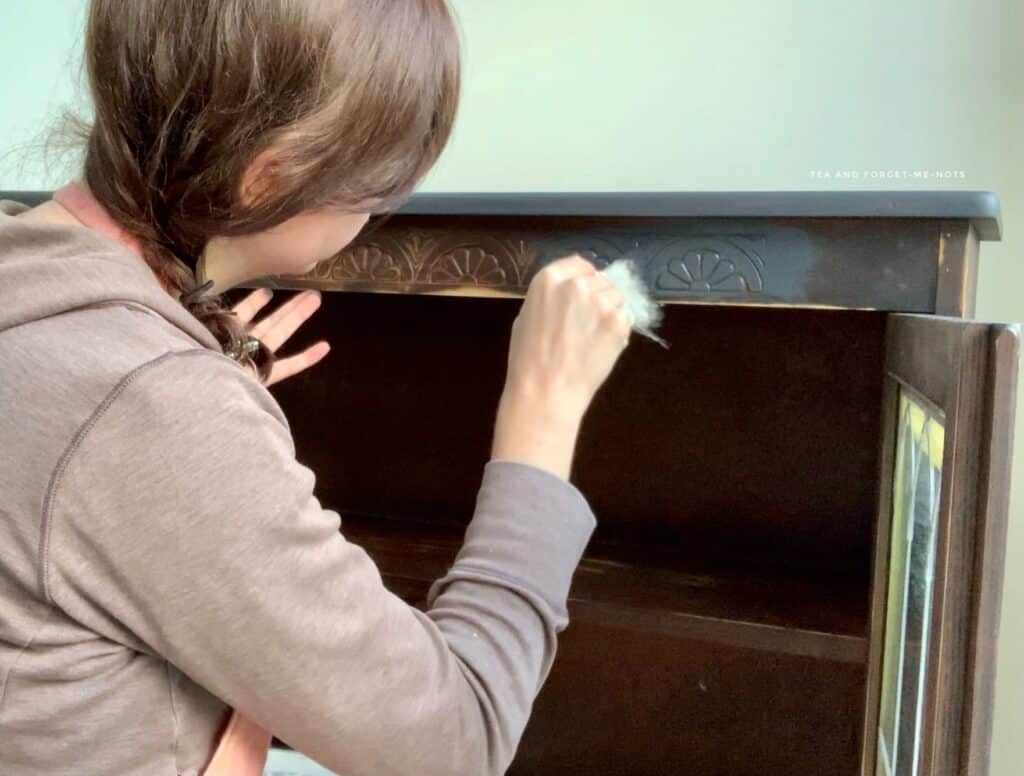
Paint the Details First
Furniture often has details, such as carvings and decorative elements. It’s a good idea to paint the details first. So that you can achieve greater neatness and accuracy in these areas.
This is the same for cutting in when painting walls. It establishes the borders of the painted area and prevents unintentional overlapping and overworking of the paint.
By painting the details first, there’s less risk of a messy finish. It creates smooth transitions between the painted details or edges and the larger painted areas.
15
Work in the Right Conditions
An ideal work area is where the paint can dry evenly in moderate temperatures. It’s important to avoid painting in direct sunlight, which can cause the paint to dry too quickly.
When possible, aim for moderate room temperature and humidity levels. Extreme temperatures can affect paint drying times and adhesion, leading to potential issues like cracking, bubbling, or slow drying.
Additionally, choose a space with minimal dust to avoid things landing in the wet paint or brush bristles.
Achieving a brush mark-free finish requires a combination of different techniques, and the right materials and tools.
Take your time, and follow these steps to ensure the best results for your painting projects.
Good luck finding the right ways for you on how to paint furniture without leaving brush marks!
For more guides, tips and inspiration, check out the YouTube channel.
If you found this info useful, you’ll love these posts too:
Pin it For Later – How to Paint Furniture Without Brush Marks

Hi there! I'm Rachel Bowyer, a passionate DIY enthusiast with a knack for transforming the old into something beautifully new. With a deep love for furniture painting, refinishing, and the art of crafting. I've been documenting my DIY projects and restoration journey since 2018. I specialise in techniques like decoupage, stencilling, and decor transfers. Join me as we explore the world of creativity and home improvement, one project at a time.