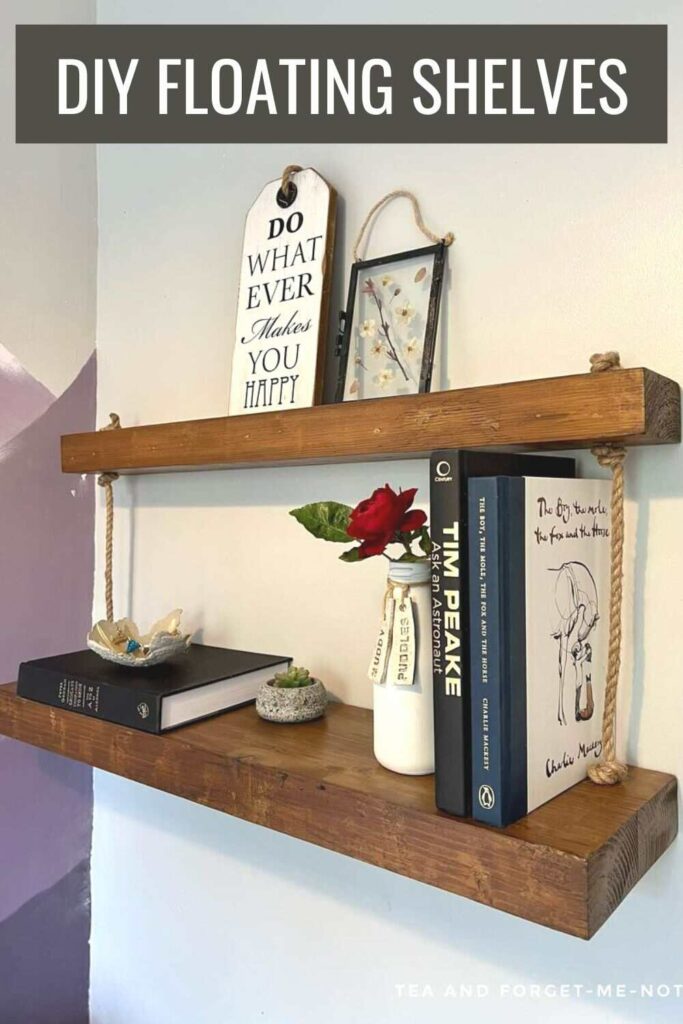
How To Build Easy DIY Wooden Floating Shelves
These floating shelves are rustic, charming and add character to a plain space. I increased the usefulness of the scrap wood by combining two which allows for larger items to be stored on them.
It’s an easy project to take on. Especially if you have a piece of wood that’s already the right size to start with. The most difficult part was lining up the bracket hardware precisely with the holes. But with a little time, this makes for a lovely addition to a living room or bedroom.
Like the look of DIY wood floating shelves but not sure how to make them? This easy tutorial will show you the steps using scrap wood and basic tools.
Floating shelves are shelves where you can’t see the brackets holding the shelf up. The brackets or supports are hidden behind the front piece of the shelf so that they appear to be floating.
They’re a great way to add a clean and tidy look to home decor.
How to Make DIY Wooden Floating Shelves Step by Step
Materials Needed
International Bloggers Club
This month’s International Bloggers Club (IBC) challenge is Rugged Ropes & Twisted Twine.
The IBC is a group of creators from all over the world. We challenge each other to make something using a common theme.
You’ll find my blogger friends and their rope projects at the end of this post.

Step by Step Instructions
Step 1: Choose Wood To Make Floating Shelves
I used three pieces of scrap solid wood for this two-level shelf.

If you prefer the look of shelves that are equal depths then you could create three individual shelves. The shelves would be quite shallow in depth so would be better for holding photos or flowers rather than books.
The pieces of wood that I started with were already a good width to be shelves. However, if you want to cut down longer pieces of scrap wood, you could use a mitre saw for a straight cut.
Or if you don’t have power tools at home, or don’t want to cut them yourself, you can take a cut list to a shop and ask them to do it for you.
You need thick boards to make chunky shelves. Otherwise, the shelves won’t be tall enough to hide the bracket or wooden dowel inside them.
You want to ensure that your wood is safe to touch. So the first thing is to sand off any rough edges so that it is smooth to the touch.
Step 2: Attach Planks With Wood Glue
If, like me, you want to combine two bits of wood together to make a larger shelf, then you’ll need to attach them. You can do this with pocket holes and a Kreg jig.
But as this is the easy way to build floating shelves, I used wood glue.
Wood glue is still a sturdy option. You just have to be aware that it will hold less weight than if they were drilled together.
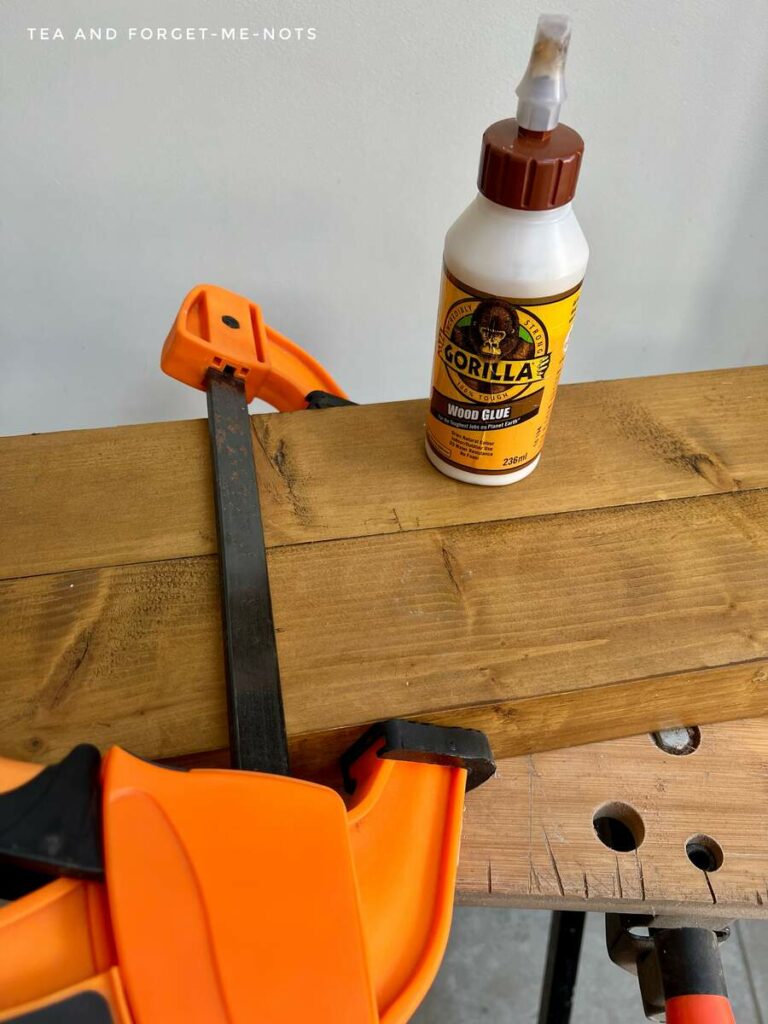
To attach the two pieces of wood together, I used Gorilla Wood Glue. This is a really strong wood glue and I use it for all of my wood glueing projects. It holds up really well.
You apply a good amount and then spread it out evenly across the surface of the side you’re attaching. If you have a little bit of glue leaking out of the edges, then you’ve got the right amount.
Too little and it might not be secure enough. Too much and it’s wasteful and makes a mess.
You can wipe up any spillage with a damp cloth, ideally before it starts drying. If it dries before you see it, then you can gently sand the glue off.
Step 3: Staining Wood Shelves
I did a first coat of stain before attaching the wooden shelves together. Then I decided to darken the stain. So I did a coat of the gel stain, Golden Ash.
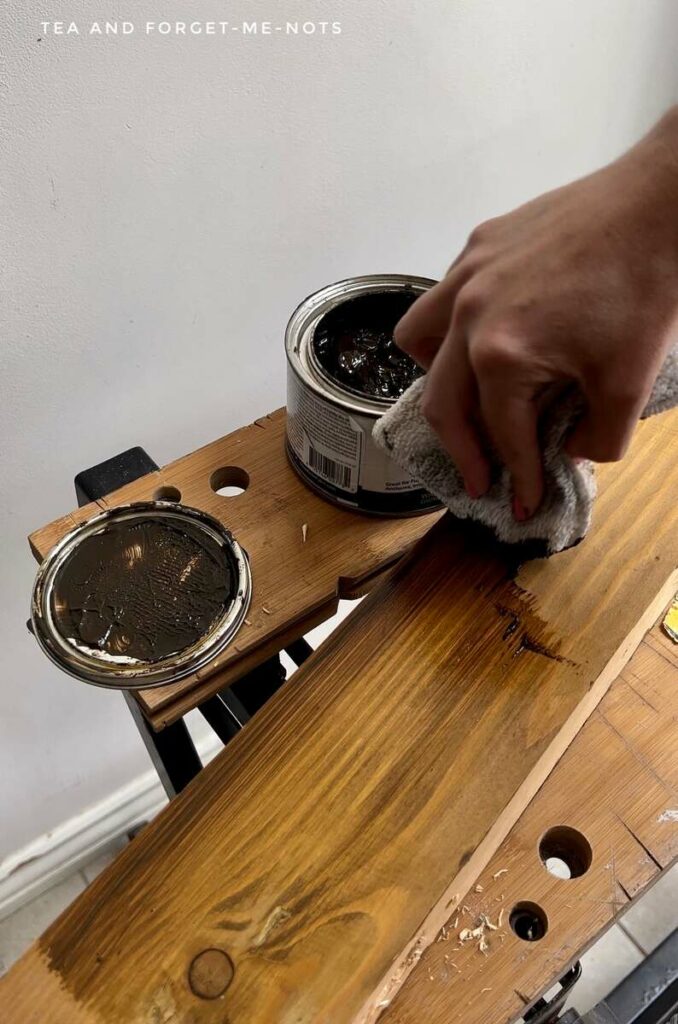
Gel stain is helpful because it doesn’t need to be applied to raw wood. It doesn’t sink into the surface but rather sits on top. This means that you can use gel stain on top of existing stain or paint.
You apply the stain with a lint-free cloth or applicator pad. Wipe off any excess and you can do further coats depending on how dark you want it.
Step 4: Sanding Between Coats of Stain
You don’t need to sand between coats of stain. but it does leave a smoother finish if you do. Just like with coats of paint. you want to be gentle when sanding though so as not to remove the colour of the stain.
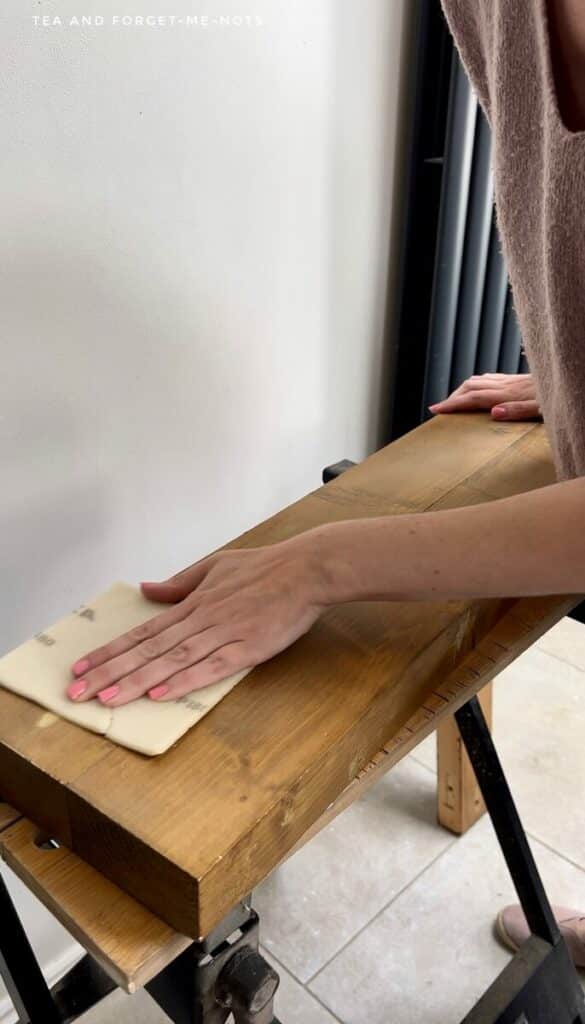
For this, I used 180-grit sandpaper. But you could use even higher such as 220.
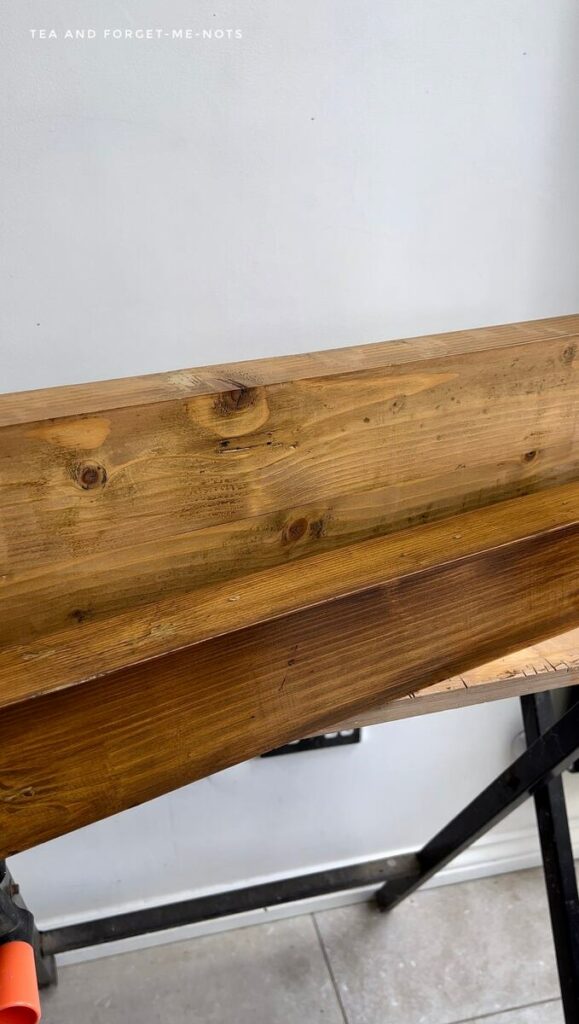
Step 5: Using Gel Stain on Shelves
Gel stain typically takes longer to dry than water-based stain. I left this stain for 24 hours and it was dry to the touch.
If you have holes in your wood and want to use stain? It’s best to use stainable wood filler. Otherwise embrace the holes or visual variation in the wood.
If in doubt about the stain colour. You can test it on a little area on the back board which won’t be visible.
Step 6: How To Get Floating Shelves To Stay on the Wall
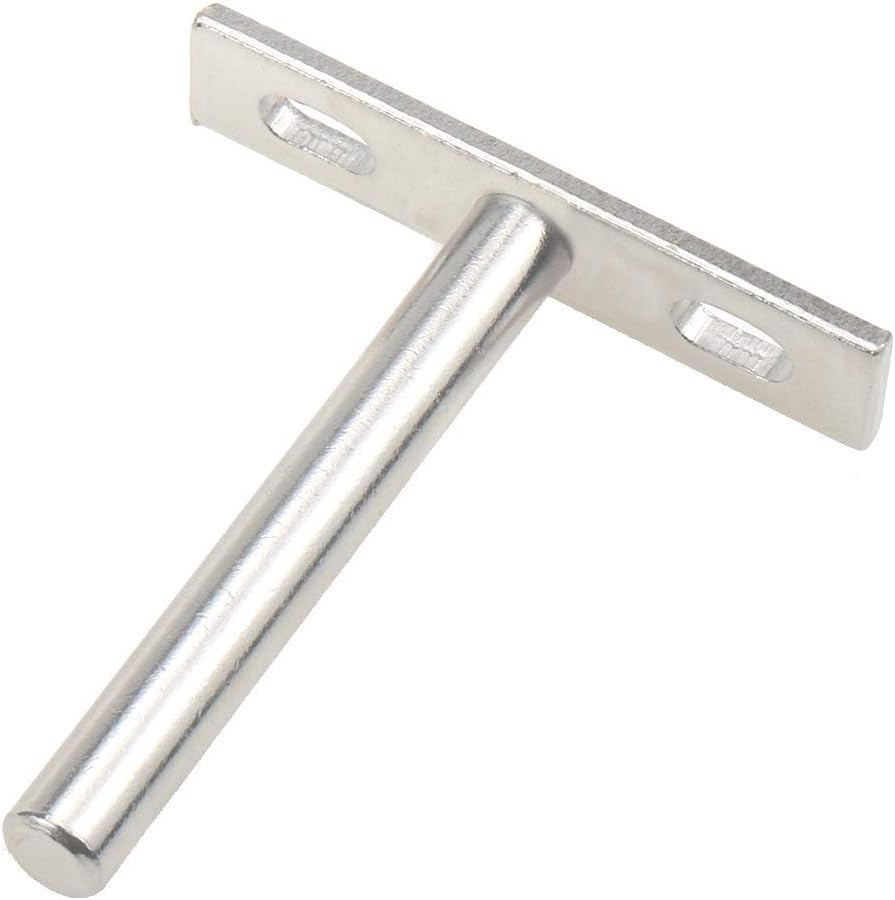
Floating shelves need hidden brackets or wooden dowels to attach to the wall.
The style of floating shelf hardware that you use will depend on the weight of the shelf. Chunky floating shelves work best for this. As this wood is thick enough to allow for the hardware to hide within it.
If you want invisible shelf supports then they need to be hidden behind the entire shelf. This will need to be drilled into the wall and then the shelves slotted onto them.
These open shelves were light enough to need two or three (depending on the shelf) small invisible shelf brackets.
To account for the width of the bracket, I chiselled out a hole for the bracket to sit flush against the back wall. If you don’t carve out a hole for this area, then the shelf will protrude from the wall by this amount.
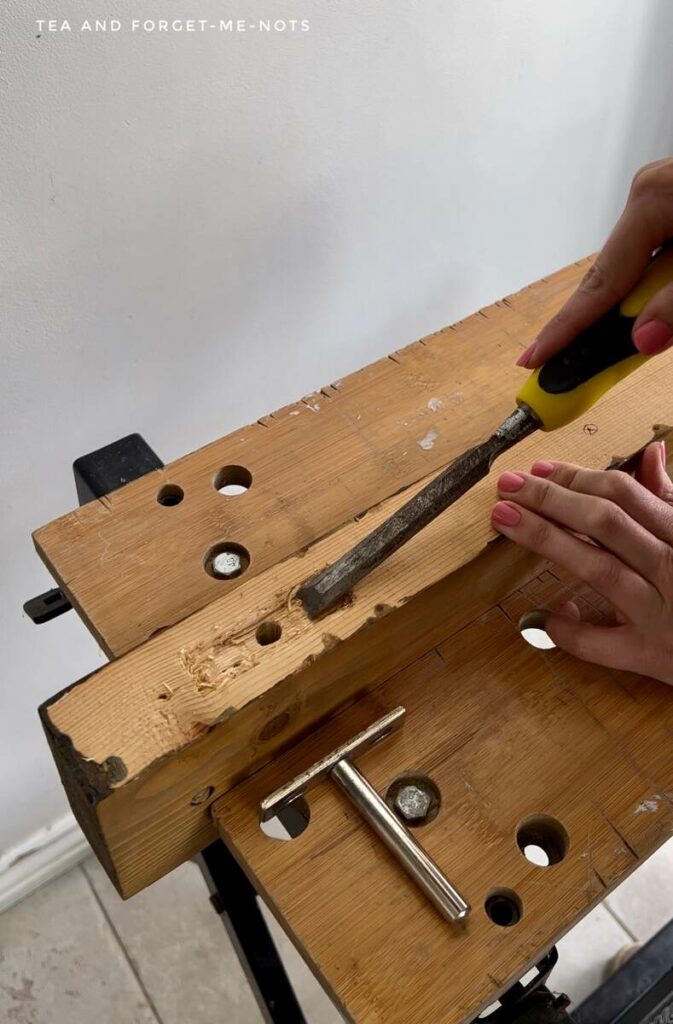
Another option is a heavy-duty floating shelf bracket. This allows for both a heavier weight of wood or a heavier load on the shelf.
To make the hole for the bracket to fit into, you’ll need a drill bit the size of the bracket shaft. Then drill directly down to ensure that the hole is lined up.
If the drill goes off at an angle, the bracket shaft won’t fit on. Especially if you have more than one bracket to line up on the shelf.
You can use a drill guide to help you keep the hole straight into the piece of wood.
Step 7: Where to Attach Floating Shelves to the Wall
Depending on the type of wall you have, you’ll need to attach the shelves to a wall stud or secure them with anchors.
Wall studs are beams behind the drywall that can hold larger weights such as shelves. To find a wall stud you’ll need a stud finder. You’ll also need longer screws to be able to reach into the studs securely.
For me, I needed a wall anchor. Which is a plastic plug (wall plug or rawl plug) to firmly secure the screw into the drywall.
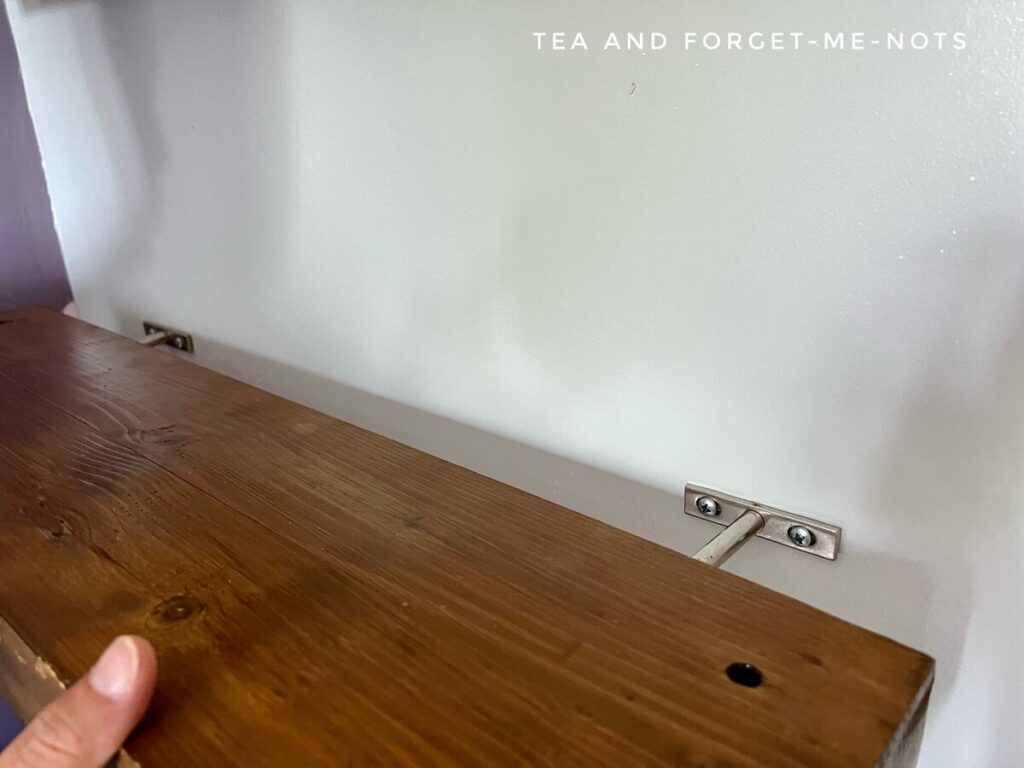
You drill the holes for these anchors first. Then attach the brackets. The brackets I used had wiggle room to move screws slightly horizontally. Which is beneficial when needing to insert two brackets into the holes precisely.
Simple DIY Floating Shelves
Depending on the style of shelf DIY project you want, this could be where you finish. Shelves are stained and hardware is attached and secured to the wall.
Step 8: Attach Rope to Floating Shelves
I wanted one additional step which for me is the best part of this entire shelf project.
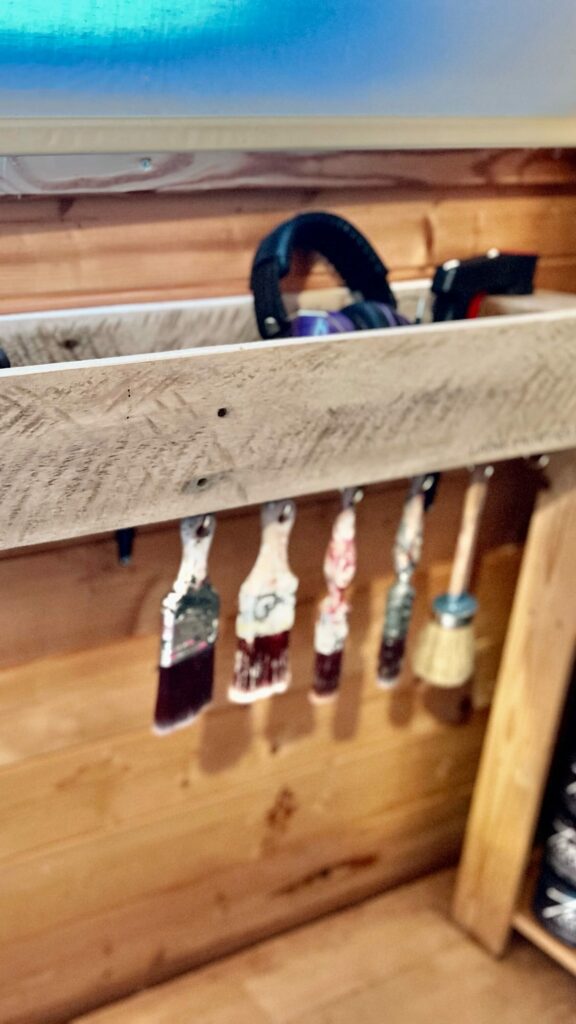
The next step for the finishing touches, I drilled holes through the wood boards and threaded rope through. This doesn’t add any stability to the floating shelves, it’s purely decorative.
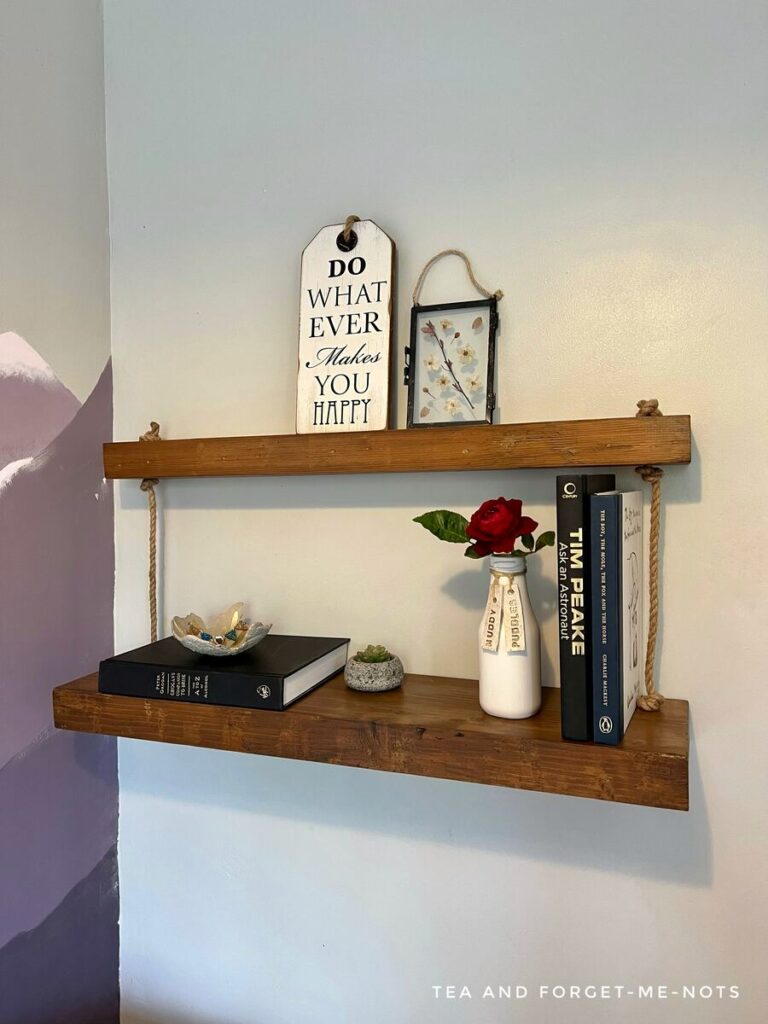
It does add a little extra storage to this small space. These ropes provide helpful support to stop books from falling off.
Ever had shelves where you have to strategically balance a book on the end to avoid them all falling off? This trick makes for great side supports.
For the easiest way to thread the rope, it’s a good idea to add painter’s tape. You attach it to the end to keep them from fraying.
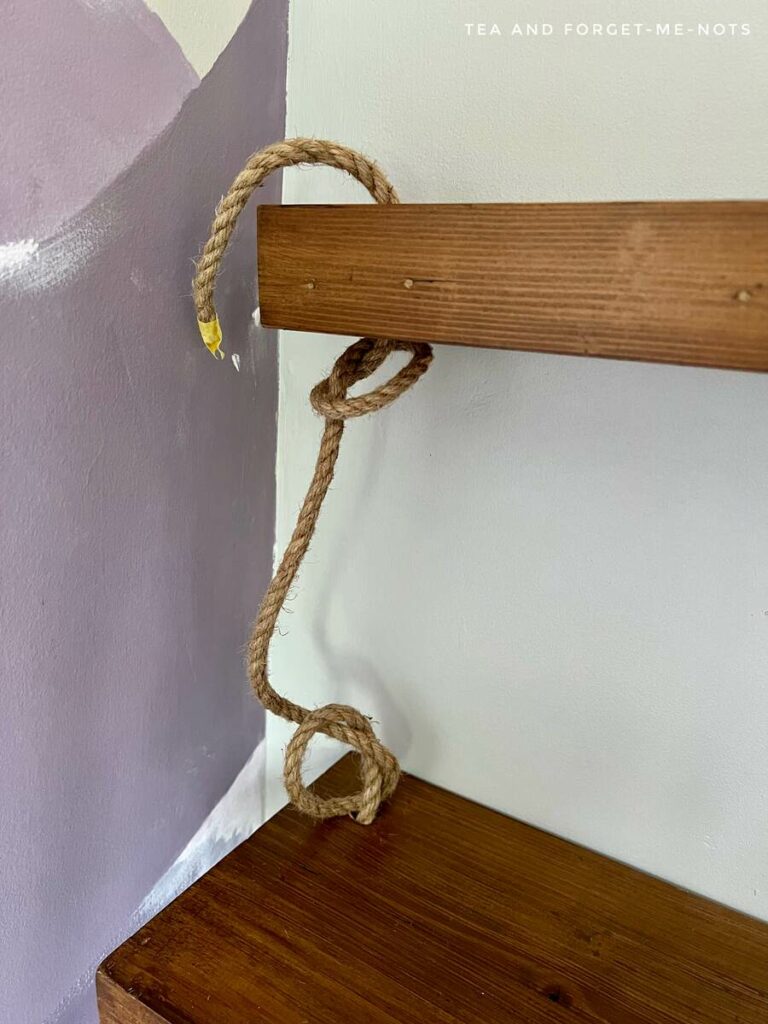
Then you create loose knots between the new shelves. Once secured at the top of the shelf, you can adjust and tighten the rest of the knots.
The best way is to use a longer length of rope than you think you’ll need. Then trim the ends of the rope once it is firm against the top shelf and bottom of the shelf.
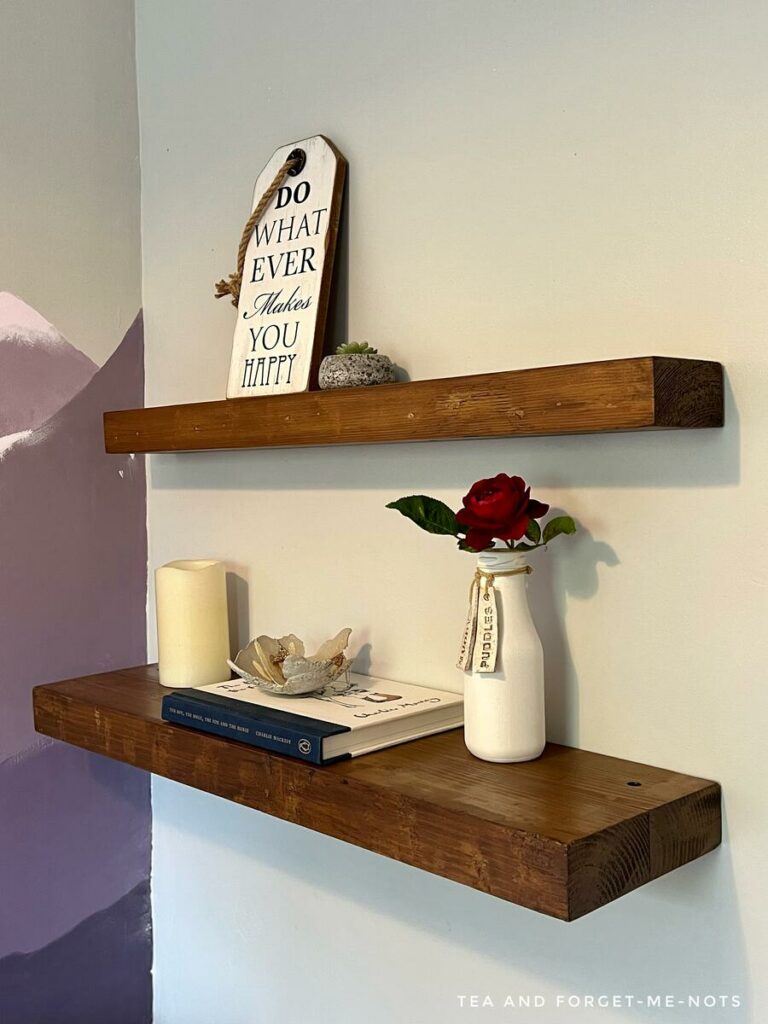
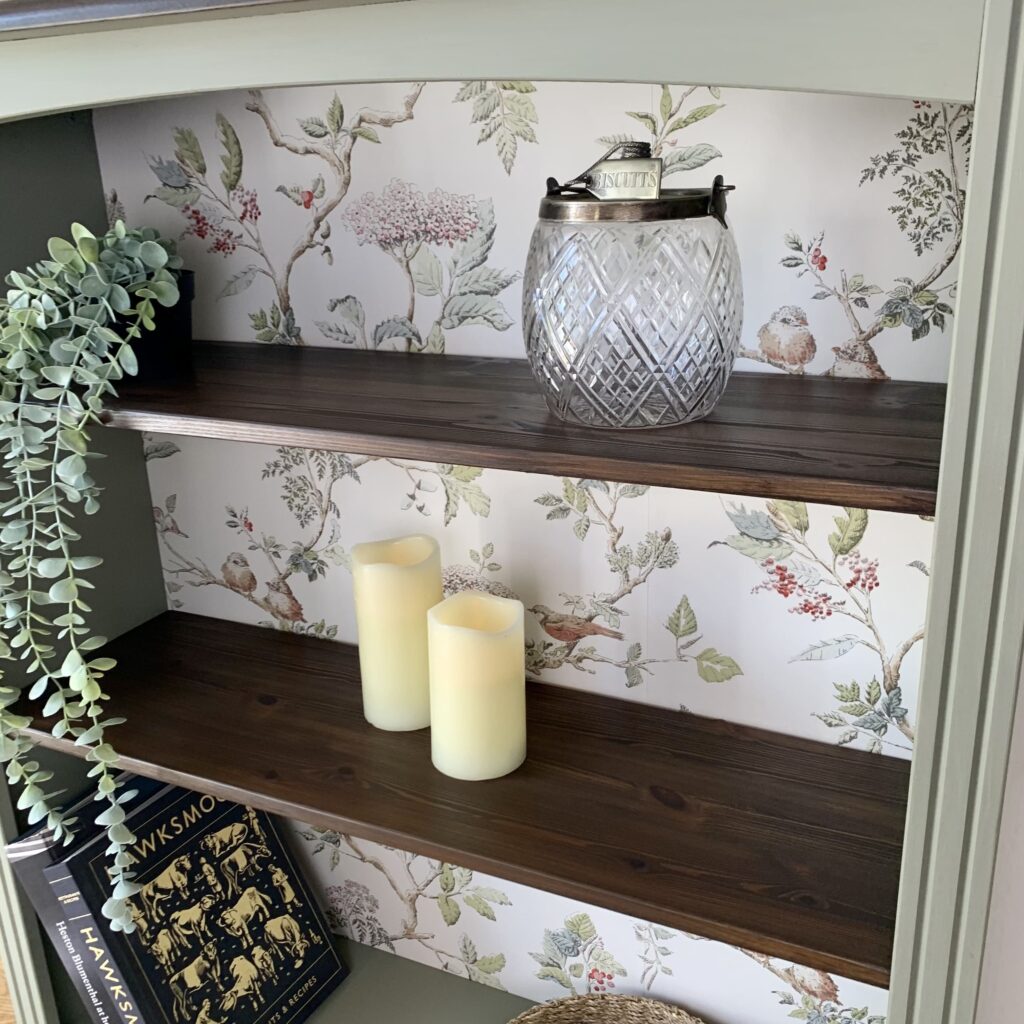
DIY Wooden Floating Shelves with Rope Detail
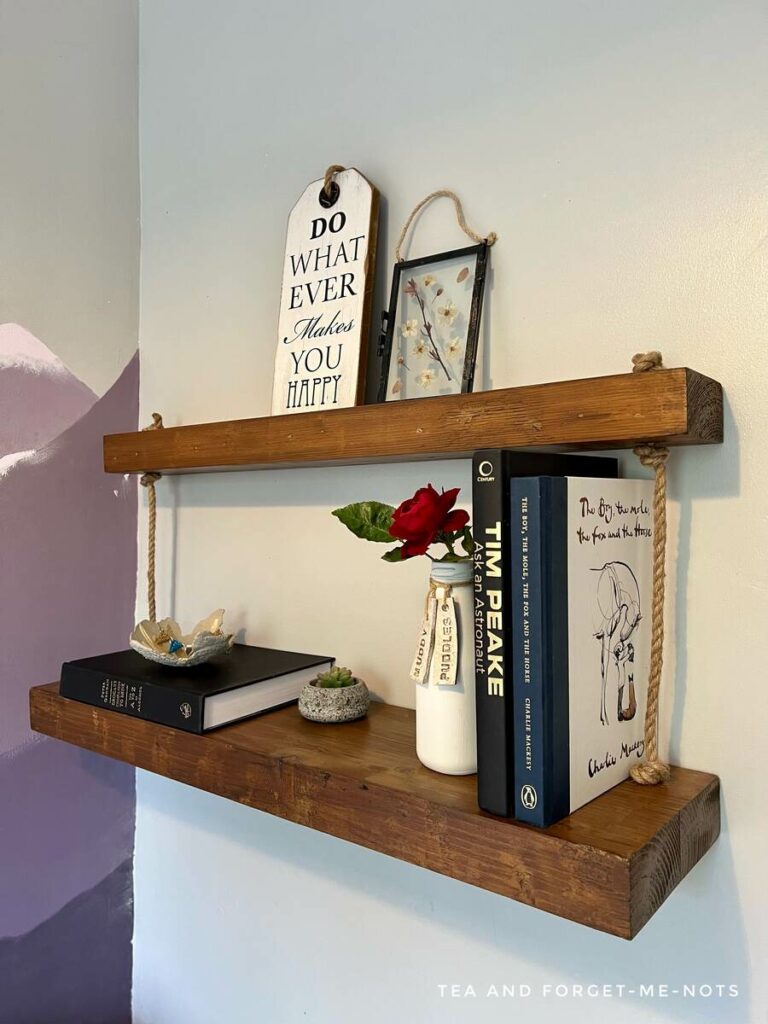
These floating shelves are rustic, charming and add character to a plain space. I increased the usefulness of the scrap wood by combining two which allows for larger items to be stored on them.
It’s an easy project to take on. Especially if you have a piece of wood that’s already the right size to start with. The most difficult part was lining up the bracket hardware precisely with the holes.
But with a little time, this makes for a lovely addition to a living room or bedroom.
My Favourite Supplies
Here are some of the supplies that I used when making this project!
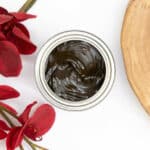
No pain gel stain
An oil-based gel stain that can be applied over an exisiting paint or stained finish.
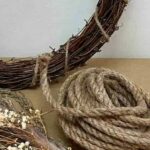
craft rope
For adding rustic, decorative additions to projects.
Floating Shelf bracket
A sturdy bracket for smaller floating shelves.
Answers to your questions about making DIY wooden floating shelves
What tools and materials do I need to install floating shelves?
You should be able to attach floating shelves with basic tools. You will need a spirit level to check that the shelves are straight. A drill and drill bits to make the holes in the shelves and wall. Screws to attach the hardware and a screwdriver to tighten them.
How do I check that the wall shelves are straight?
First drill holes for the hardware. Then do a dry fit by attaching the shelf. Check with a level if it’s straight. If it’s off-centre, the final step is to adjust the screws until the wood shelves are even.
How do you create floating shelves with a wooden dowel?
Another way to create floating shelves is with wooden dowels. This process involves drilling a hole through the back of the shelf large enough to fit a wooden dowel, then cutting the shelf into two pieces lengthways.
Then secure the back part of the shelf to the wall. Finally, insert a wooden dowel into the back piece. Then slot the front of the shelf over the dowel and push the boards together.
This method avoids the need for floating shelf brackets.
If you loved this project, you’ll love these projects too:
Did you make this PROJECT?
I love seeing what you do. Please mention @teaandforgetmenots and share your creations with me!
Pin it for later – DIY Wooden Floating Shelves
International Bloggers Club
For more rope from my blogging friends, check out their DIY projects below.

Hi there! I'm Rachel Bowyer, a passionate DIY enthusiast with a knack for transforming the old into something beautifully new. With a deep love for furniture painting, refinishing, and the art of crafting. I've been documenting my DIY projects and restoration journey since 2018. I specialise in techniques like decoupage, stencilling, and decor transfers. Join me as we explore the world of creativity and home improvement, one project at a time.
I abSooooooLutely love this idea and your tutorial, Rachel. Floating shelves have always been something I’ve wanted to try to make for our home, but I had this mental blog in my head that they were difficult to install. You explained everything so well that I think it’s doable now and the rope “adornments” are genius. It really looks like they support the shelves, which is magical on its own but then they’re functional too. Love it!!
Thanks so much, Michelle. I agree that they do look like they’d be hard but if you have the right hardware, it’s just a case of thinking through the process.
Well aint you the clever one. I was wondering how you kept the shelves straight with the ropes. Very clever.
Thanks, Anita. Purely decorative unless you could find some ropes with steel hidden in them!