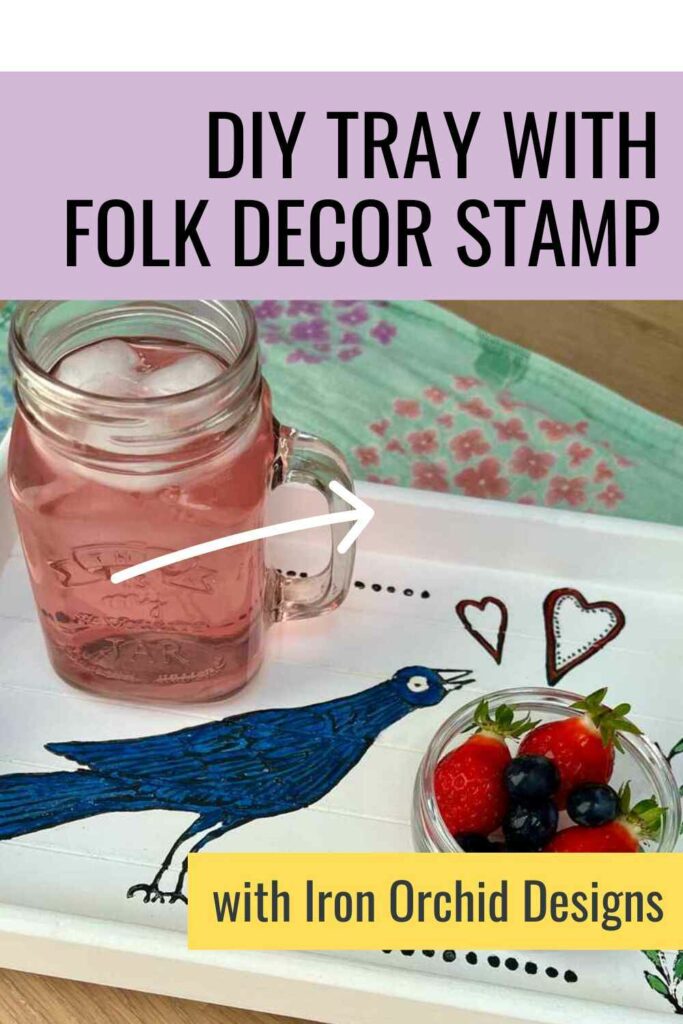
Pretty Breakfast Tray Makeover with Decor Stamp
Have a plain wooden tray that you’d like to give a new life to? Here’s how I used a decor stamp to give a breakfast tray a fun makeover.

Thanks to Iron Orchid Designs for gifting today’s decor stamp.
This post includes gifted products and affiliate links so you can easily find the products I use myself and recommend to friends. If you purchase these products, I may earn a small commission at no extra cost to you.
Materials you’ll need
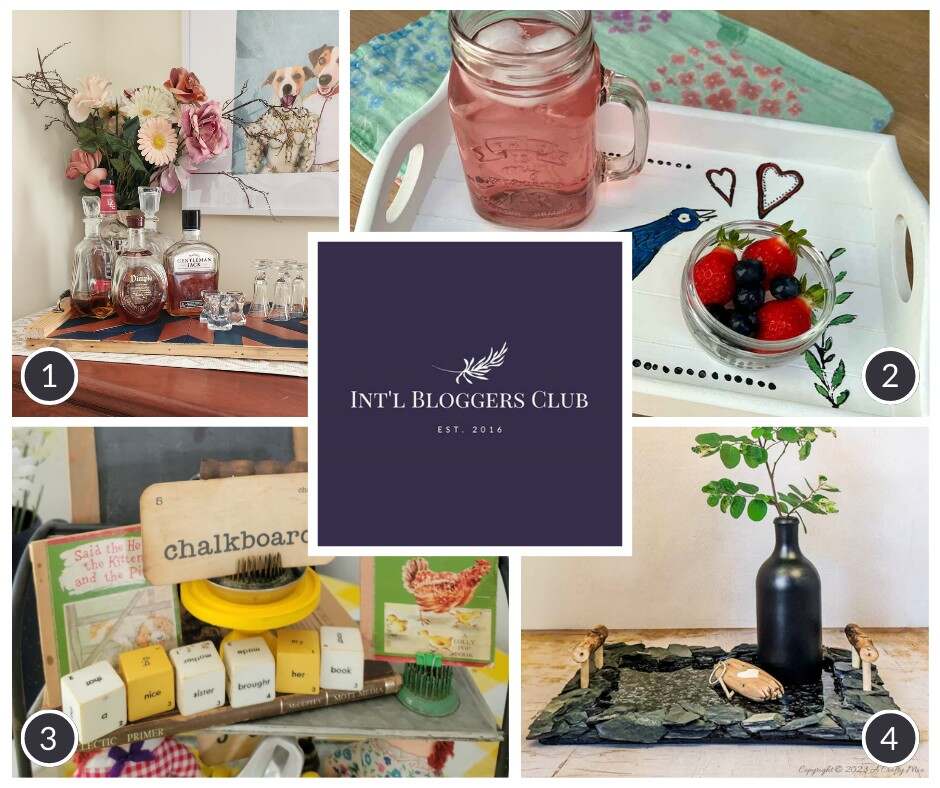
International Bloggers Club
This month’s International Bloggers Club (IBC) challenge is Tray Chic.
The IBC is a group of creators from all over the world. We challenge each other to make something using a common theme.
You’ll find my blogger friends and their tray projects at the end of this post.
How to Decorate a Breakfast Tray Step by Step
Step 1: Clean the Breakfast Tray
This breakfast tray was bought in a charity shop. It was in almost perfect condition but not solid wood.
The legs fold out so you can use it either in bed as a breakfast tray. Or lying flat like a normal display tray.
The white paint had seen better days with a few scuff marks. So, in need of a makeover to freshen it up. And while I was at it, I added a fun decor stamp too.
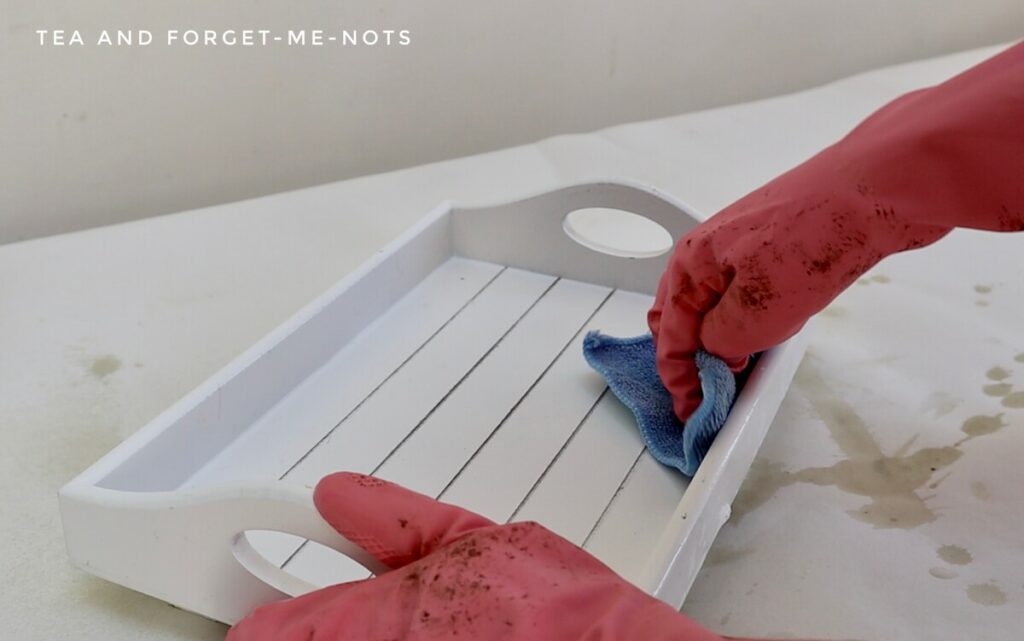
To start, I gave the tray a thorough clean with a TSP cleaner. That or dish detergent are the most reliable ways to get a good cleaning before painting.
Fortunately, as the breakfast tray was only a small space, it was a quick process. Although it’s important to also clean the grooves in the tray surface for the paint to adhere properly.
After I let the tray dry, the next step was a fresh coat of paint.
Step 2: Breakfast Tray Makeover with Paint
I chose Cotton, a pure white. Cotton usually takes a few coats to get full coverage. As is the case with most whites. However as I was painting over a good condition white already, it only took two.
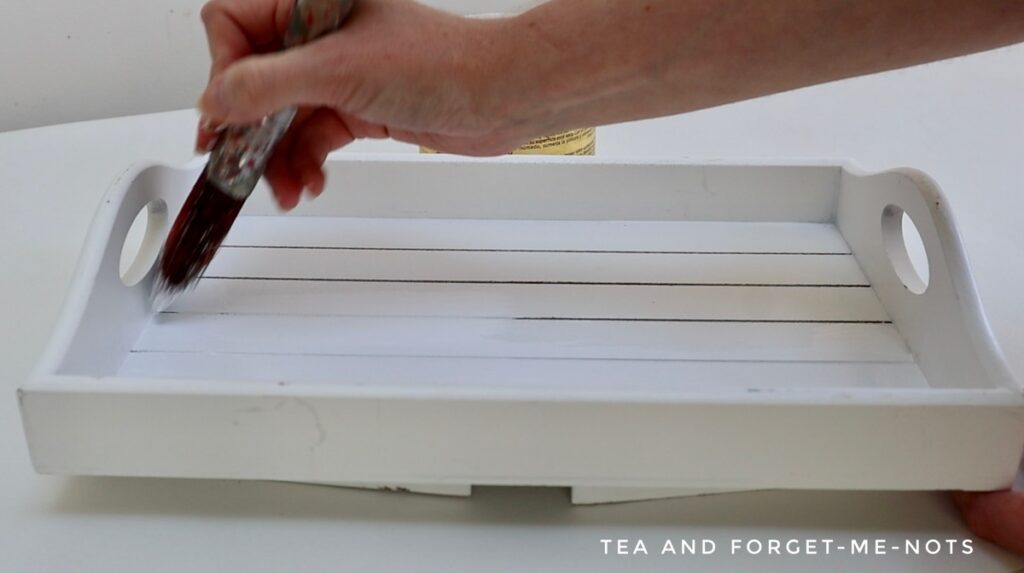
Side note: it’s a good idea to use a flat brush when painting ridges. The bristles reach into the ridges while leaving a flat surface on top.
If you wanted to paint the old tray surface differently to the edges, I’d use painter’s tape to seal off the sides. But as this was all white and staying white, it was a simple process.
Step 3: Iron Orchid Designs Decor Stamp
On to the fun part, adding decoration was an Iron Orchid Designs stamp.
This stamp is called Pennsylvania Folk. It’s a new stamp from the recent release by Iron Orchid Designs. I love this stamp because it has birds and flowers, something you see a lot of in my makeovers.
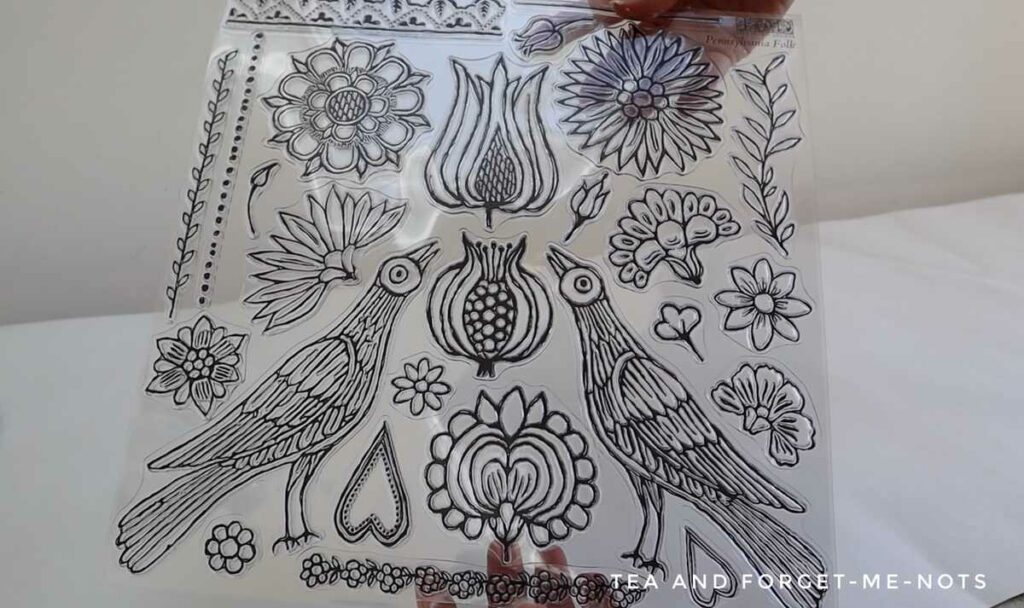
But it’s also a bit different. Folk art just begs to be bright and whimsical. And this being a stamp, you can be as creative as your imagination allows.
If you’re a fan of IOD products, here’s how I used a beautiful Paint Inlay.
Step 4: How to Prep an IOD Decor Stamp
With a new stamp, like this one, you need to prepare the surface first. This is so the medium you use to stamp with has the best definition and is less likely to bleed.
To condition the stamp, you simply use sandpaper and scuff the surface of the stamp. Then turn the stamp and sand again in another direction.
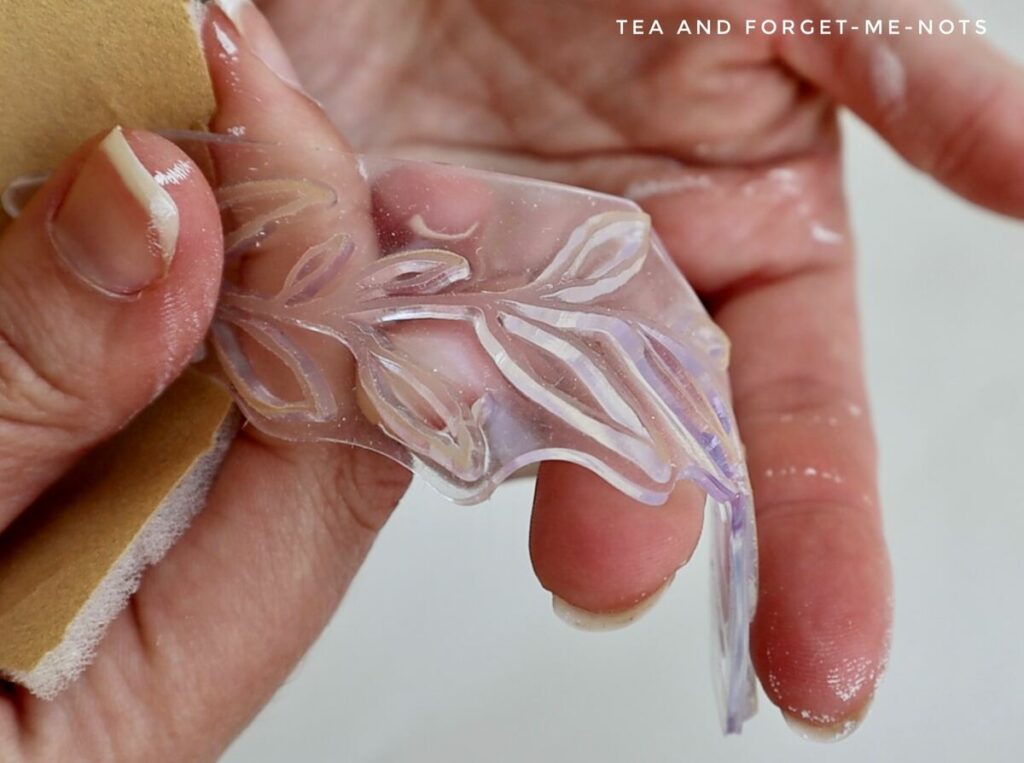
You can see how flexible the stamp is. It’s completely bendy so that you can mould it around curved surfaces.
I took a while to work out which images I wanted on the tray. The layout of the stamp set gives you an idea of how you can plan the design.
I only had space for one of the birds. So I chose to add hearts above its head. Almost like it’s singing a love song.
Step 5: Apply the Decor Stamp
To apply the stamp, you need to choose a medium for the colour.
I used a true black paint, Caviar. To give me a strong outline to work with.
But you can also use ink.
It’s best to apply the paint with a brayer. I have one I love that I use for this, as well as applying decoupage paper.
I made a small pool of paint and rolled the brayer over the stamp. Just enough to coat the image without any excess dripping between the details. You don’t want a dripping or messy stamp as it will likely transfer onto the project.

You can attach the stamps to a mount to help hold the piece flat. That can be a flat surface or anything that is clean so that the stamp clings to it.
I pressed each stamp onto the tray and the black outline was stamped on. Anywhere that didn’t capture the shape perfectly, I simply touched up with a thin artist’s brush.
Depending on the look you’re going for, you might want an imperfect, distressed look.
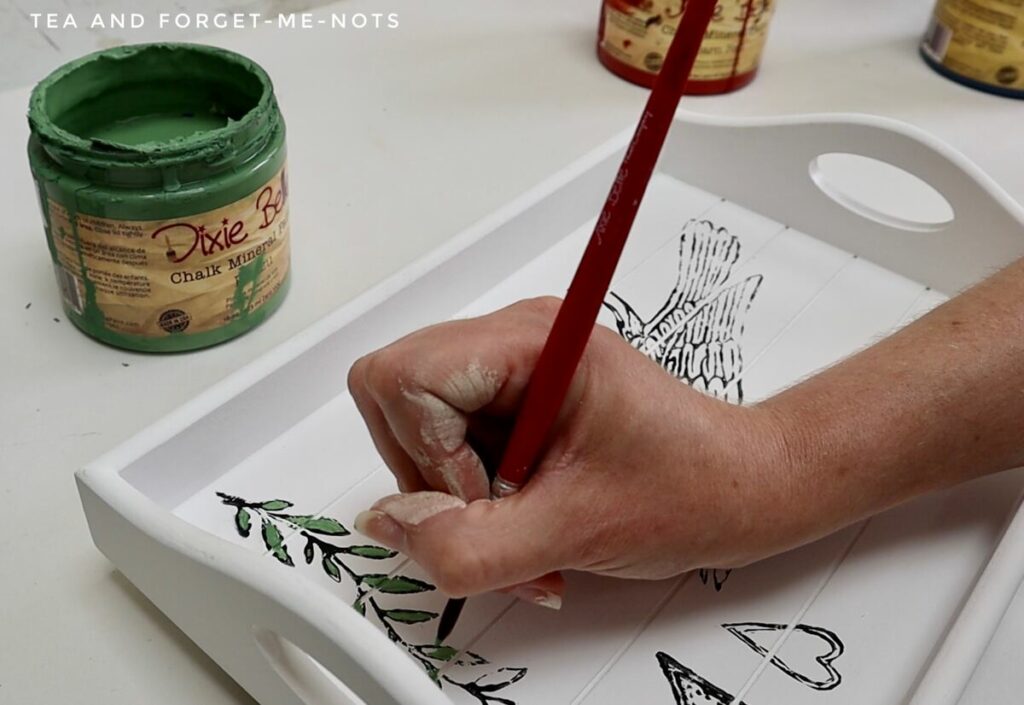
Step 6: Painting an IOD Decor Stamp
Then on to the colour.
The great thing is that there are all sorts of ways you can decorate the stamps. You can of course leave them just as the image of the stamp. Another great way is to stamp using bright colours to incorporate colour without painting in the details.
I chose to use a different colour for each stamp.
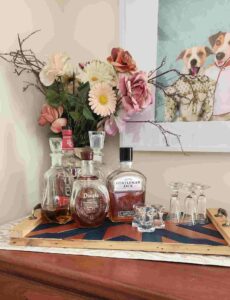
Firstly, I chose a bright green, Kudzu, for the plant. This is such a pretty colour. My favourite on the tray. It’s so vibrant without being garish.
In fact, here’s what it looked like when I used it on a side table.
You have to be strategic about which parts to paint in which order. Otherwise, you may smudge the previous stamps. Unless you wait for each element to dry before doing the next one.
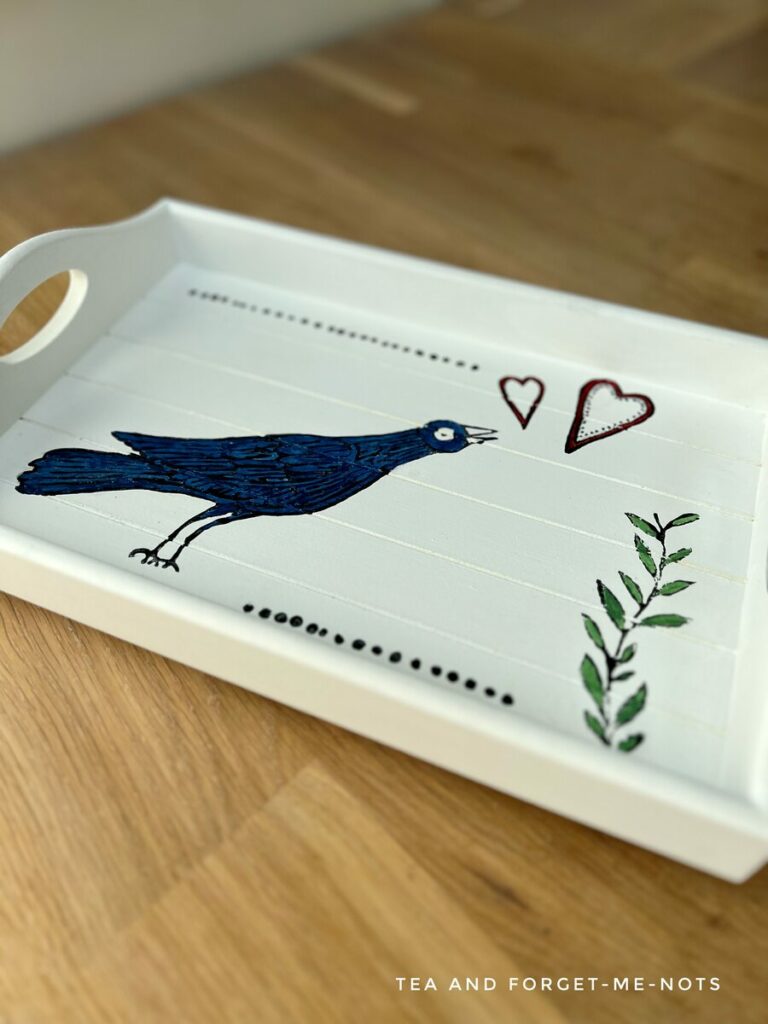
For the little love hearts, I used the chalk paint, Barn Red. It’s a warm red and perfect for bright, happy hearts. The nice thing about the two hearts is that they’re slightly different. One has dots as an additional detail. So, they pair nicely but aren’t the same.
Then for the bird, I used Bunker Hill Blue. This is a dark, indigo blue. If you wanted to go lighter overall, you could also dilute it with water to make it more watercolour and translucent.
Then the final step, I used a row of dots to accent the top and bottom of the tray top. If you were working on table tops or a piece without sides, you could even take the design over the edges of the tray for a different look.
There are so many stamps with the Pennsylvania Folk stamp that you could spend a day coming up with a layout that you like. It’s great to have a set that you can reuse over and over in many different ways. They’re not just for a single project and it’s great to have that versatility.
Finally, to clean the stamps use warm, soapy water and leave them to dry. If the stamps are cleaned and looked after properly, they’ll last you a long time.
Step 7: How to Seal an IOD Stamp
Then to seal the entire tray, I used a coat of polycrylic in Flat. I chose Flat to avoid a sheen on the surface. I applied a second coat once it was dry.
Hemp oil is also an easy way to seal home decor for the kitchen. It’s a good choice for a tray as it’s food safe.
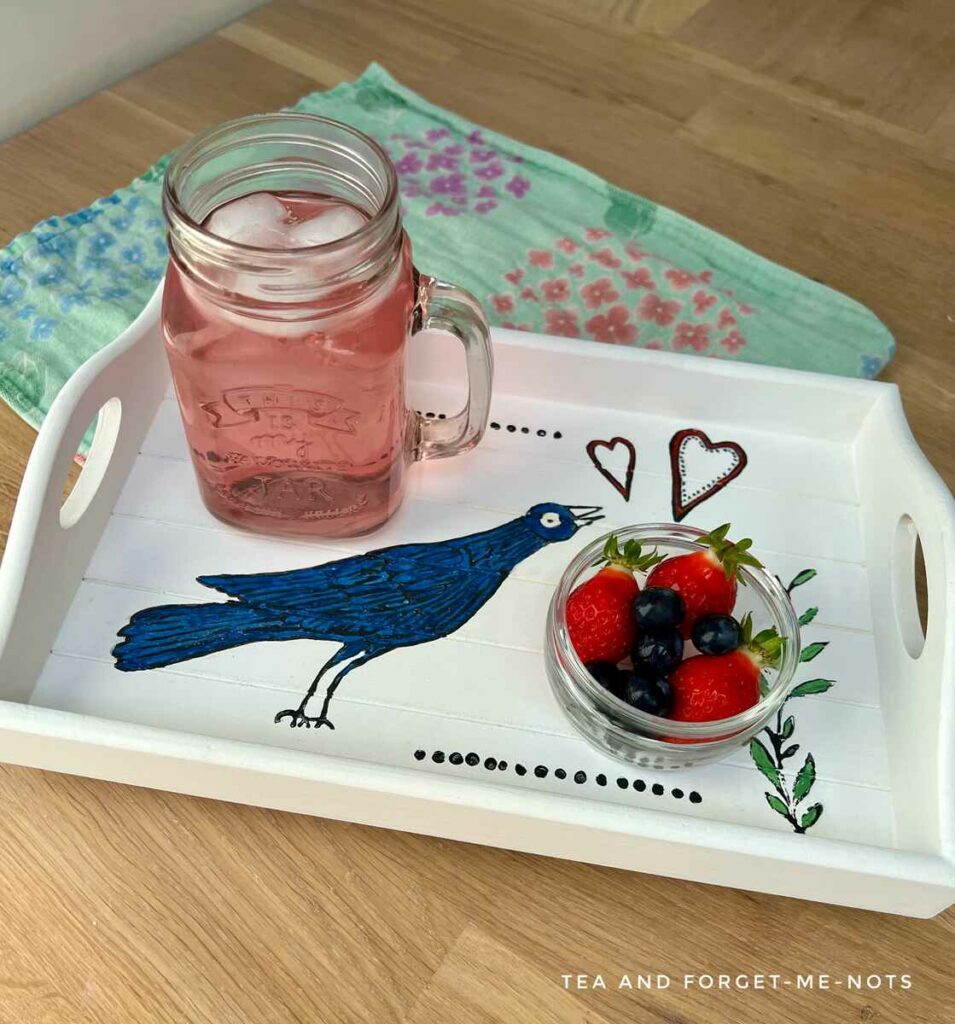
Breakfast Tray Makeover
This tray was a fun project to create. The new look end result adds a splash of colour and whimsy to a plain breakfast tray.
And you could do a lot more stamps and cover the entire surface. I tried to go somewhat minimal because naturally a tray is designed to be covered with objects.
But there are lots of great ideas for your own designs in your own style.
Keen to see more fun DIYs and a step-by-step tutorial? Check out my YouTube channel.
If you loved this project, you’ll love these projects too:
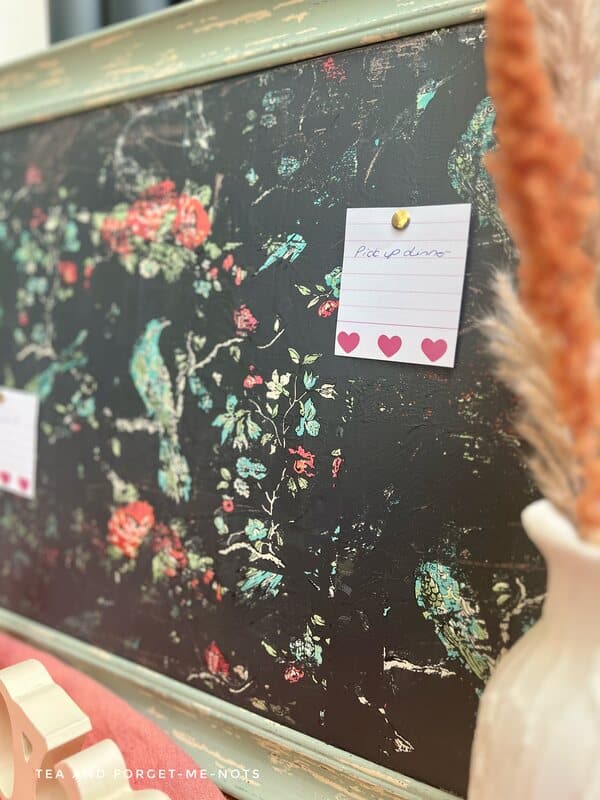
paint inlay noticeboard

diy stamped earrings
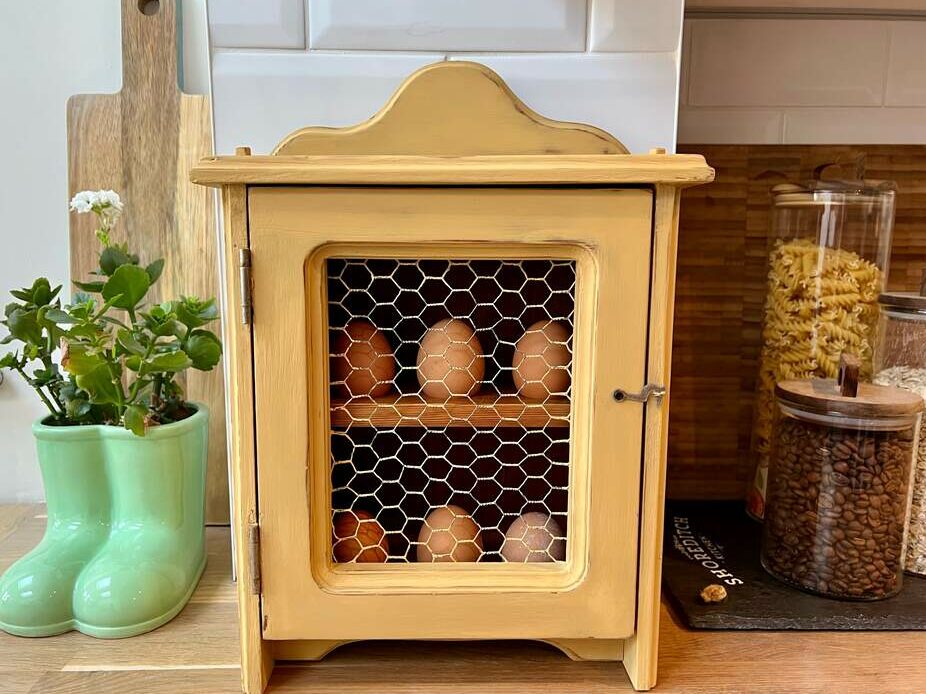
Cute egg house
have you used a decor stamp?
I love to see what you create! Please mention @teaandforgetmenots so I can see your creations.
Pin it for later – Easy Breakfast Tray Makeover
International Bloggers Club
For more upcycled TV trays from my blogging friends, check out their DIY projects below.

Hi there! I'm Rachel Bowyer, a passionate DIY enthusiast with a knack for transforming the old into something beautifully new. With a deep love for furniture painting, refinishing, and the art of crafting. I've been documenting my DIY projects and restoration journey since 2018. I specialise in techniques like decoupage, stencilling, and decor transfers. Join me as we explore the world of creativity and home improvement, one project at a time.
What a fun makeover. I’ve always been a huge fan of folk art but struggle a little to reproduce the innocence (not sure if that’s the right word) of the art form, which is why I’m so happy to see that you can get stamps. That’s going to make my life way easier.
Oh yes, stamps mean you don’t need to be good at drawing, thankfully!
Such a cute makeover. I am so glad I saw this post because I bought my first stamp the other day and had no ides about having to prep the stamp. I did try to use it with ink and found the detail lacking for such an expensive stamp for what it was. I also would never have thought about using paint. Thanks for sharing your great idea.
I’m glad you saw it just in time. I used paint because I don’t have ink but it’s good that there’s the option.
Oh Rachel, as always a beautiful makeover! Thank you especially for sharing how to prep a stamp and using it with paint. I haven’t used stamps yet and this is great info!
Glad it was helpful, Kristin.