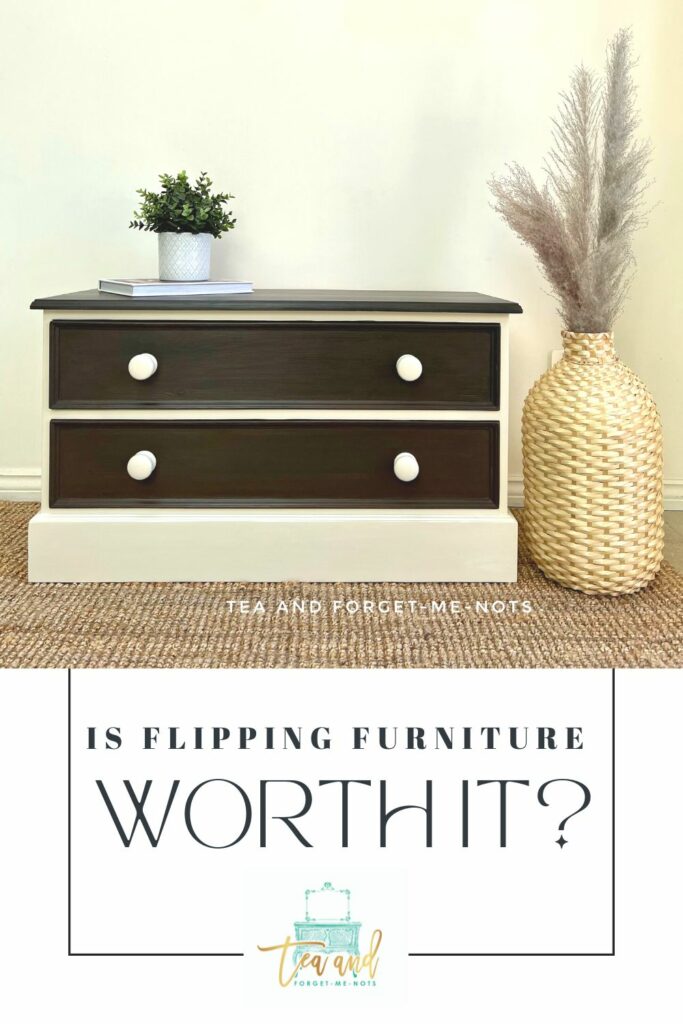
Is furniture flipping worth the effort? Time and money?
Is furniture flipping worth the effort? You can get cheap furniture that has been painted. The downside is that it will be more work for you.
If you’re really lucky you can find bargains that haven’t been painted. If you’re starting from natural wood then you don’t have to undo the work of other people.
It’s just about being efficient with time.
You have to find the balance between the price you pay and the work you will put into it. It might be free but if it takes 5 hours to remove a paint job, that has cost you £50+ in time.
I know a lot of hobbyist furniture painters don’t factor in the time it takes to finish a piece. But if you’re painting professionally, time is as big of a factor as the cost of the paint.
Thank you to Dixie Belle Paint for sponsoring this post.
This post includes gifted products and affiliate links so you can easily find the products I use myself and recommend to friends. If you purchase these products, I may earn a small commission at no extra cost to you.
Is furniture flipping worth the effort? Time and money?
So onto today’s project.
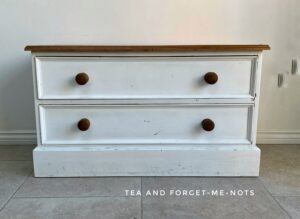
I got this small chest of drawers for £5 from Facebook Marketplace. I thought it was a great deal. It was nice quality wood, with only a few dings and dents in it.
If you’re looking for bargain furniture. Here are my great tips!
It’s always nice when you can find out a little information about the furniture. This piece has a brand stamp on the back.
It was made by Beautiful Wood Reproductions Limited. The company is no longer in business but started in 1974 in Wiltshire, England. So the piece could be up to 50 years old.
Repainting furniture isn’t as simple as adding a new coat of paint on top. Unless the existing paint is perfectly intact, it needs removing to get a flat surface to start from. As it was in this case.
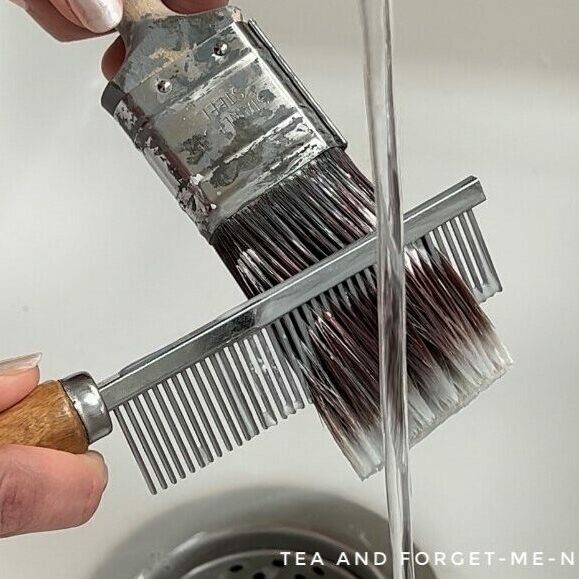
Fortunately, I have a brilliant tool for the job.
This carbide scraper cuts through old paint like nothing else. This was how I started this project. There’s not much point in cleaning a piece first.
It’s so easy to use this scraper. And while some people complain about the scratching noise, I prefer it to the loud, continuous hum of the sander.
I put the piece flat on its side. Then put pressure with one hand on the ball near the blade at the top. With the other handle, I pulled the scraper back.
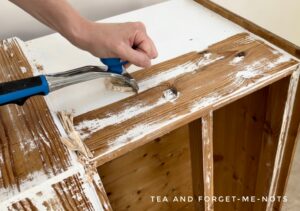
It’s important to apply even pressure and go in the direction of the grain. This takes to get a nice strip of paint off.
Such a great tool.
Unfortunately, the paint removal on this piece didn’t stop there. I used a delta (triangular head) sander to get into the edges where the scraper couldn’t reach. I also used sandpaper and these great rubber shapes to get into the detail on the drawers.
Here are some more tips on sanding!
All in all, removing this old paint took hours and hours.
So, that’s a key question.
Is your time worth more than your money?
There’s always a balance.
Paint removed, I was able to start from the beginning.
I cleaned the piece well with White Lightning. This makes sure that the new paint will adhere to the wood rather than dirt or grime.
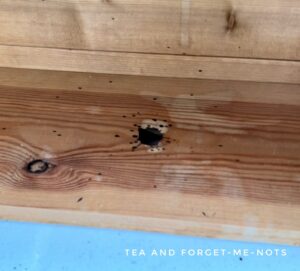
I had some beautiful handles with a floral inlay that I hoped to use. But the original handles proved difficult to remove. I eventually needed a hammer!
And what I discovered was a pretty huge hole left behind. Rather than a screw-sized hole, the handles were shaped like plugs.
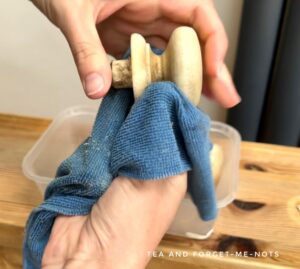
Now, I could have filled these holes and moved the new handles more centrally. However, I didn’t think that it would look right. So, I kept the handles that came with it. They’re plain but, of course, suited the piece.
The best colours to flip furniture
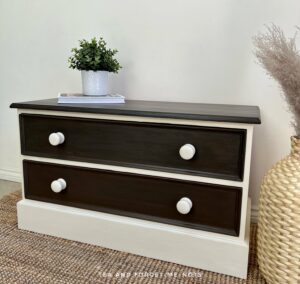
My chosen paint scheme was the classic combination of brown and white. A nice warm brown for the coming, colder months.
I wanted to use a wood stain. But coats of stain should be applied 24 hours apart. I didn’t want to take several days to get to the level of darkness I was hoping for.
So I did a shortcut!
Here’s when I took a whole week to stain a cabinet door!
I painted a base coat of Coffee Bean chalk paint. A brown paint to quickly get a dark base on the piece.
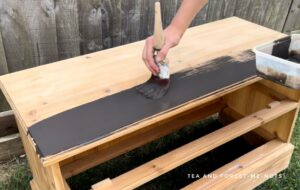
Then from there, I added the wood stain. To add some dimension and depth to the colour. This would also look more interesting when catching the light.
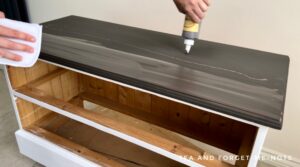
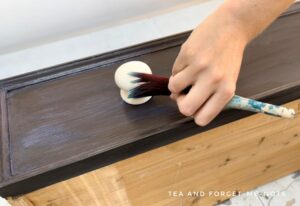
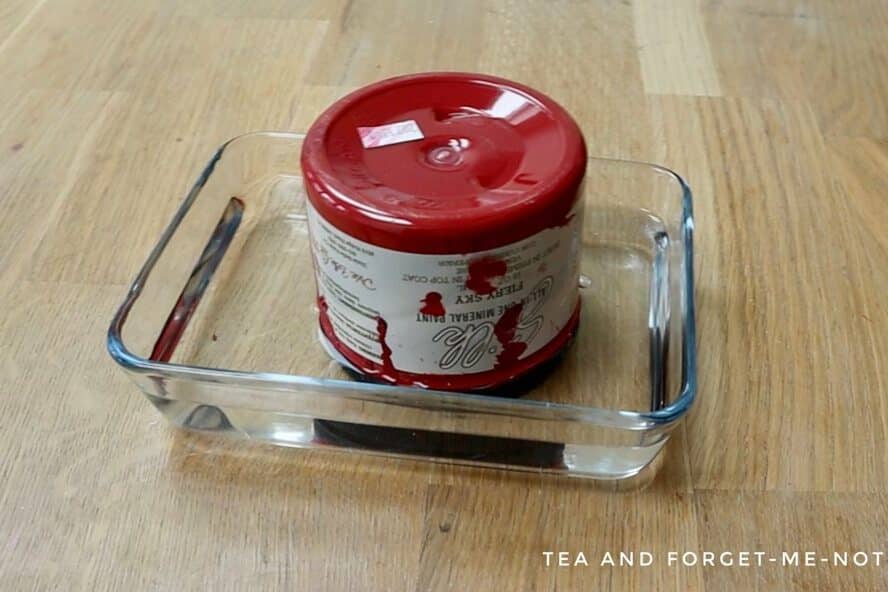
For the stain, I used Voodoo Gel Stain in Tobacco Road. I applied it to the top with an applicator pad.
I got the applicator pad wet first, so it blended out the stain nicely across the top. As the stain is water-based, it’s very flexible to move around. I used brown paint and stain for both the top of the piece and the drawer fronts.
And you know I don’t mind sharing my mistakes and mishaps with you…
If you happen to have a handle with particularly large holes in them. Make sure you cover them with tape before painting otherwise you might end up with paint in places you don’t expect!
Here’s one of my even bigger mistakes! Doh.
How to paint dovetail joints
I recently heard a tip on how to paint dovetail joints.
Firstly, you apply frog tape over the joints. Then cut out the shape with a knife. You can then paint in the shape of the joints without needing to be careful using a small brush.
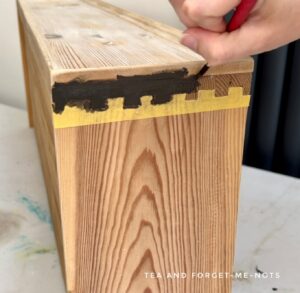
To test this tip, I used tape on one side of the drawer. Then painted the other side with no tape and a small brush.
I have to say in this case it probably wasn’t worth the time to add the tape.
If you’re a messy painter or don’t have a quality, detailed brush. Then the tape is a good trick. However, I spent longer cutting out the tape and got a similar result on the paint finish.
Still, I may use the tip on other pieces. It’s always great to learn a new way to try things.
How stop stop bleed-through on raw wood
For the base of the chest of drawers, I wanted to paint them white. A classic colour scheme.
And as the piece had knots in the wood, I used a primer to protect the paint first. Especially important as I was going to use light paint.
There’s a risk with wood knots that they’ll show up as stains in the wood. Sometimes they won’t appear until months down the line. By which time you may not even own the piece anymore!
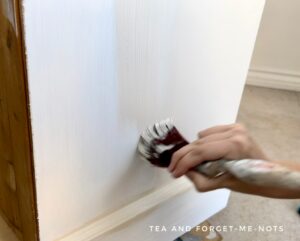
So I prepped the base with two coats of BOSS primer in white.
I swatched two colours to see which looked nicest against the stained wood. I tested Drop Cloth which is a creamy white. And Oyster which is a grey white.
I chose Drop Cloth. Which is in Dixie Belle’s chalk paint line. Again a good option as it is water-based.
As I could use a mister bottle to move the paint around more easily. Particularly important when painting in these warm, summer months.
I did two coats of Drop Cloth using a flat synthetic brush.
Naturally, I was hesitant to add the handles back to the drawers as they had been difficult to remove. I didn’t want to seal the handles first and then struggle to reattach them. Especially as the paint and sealer would be delicate for a few weeks until it had cured fully.
So I decided to attach the handles first. I then sealed the drawer front and handles at the same time.
I sealed the entire piece with two coats of Clear Coat in Satin. The Satin gives it all a nice sheen. And enhances the colour depth of the stained pieces.
Is furniture flipping worth the effort?
So, is furniture flipping worth the effort? Is it worth buying a painted piece of furniture for a bargain? That depends on where your priorities lie.
And of course, you might not realise the amount of work something will take until you’re doing it. Plenty of pieces require unexpected repairs.

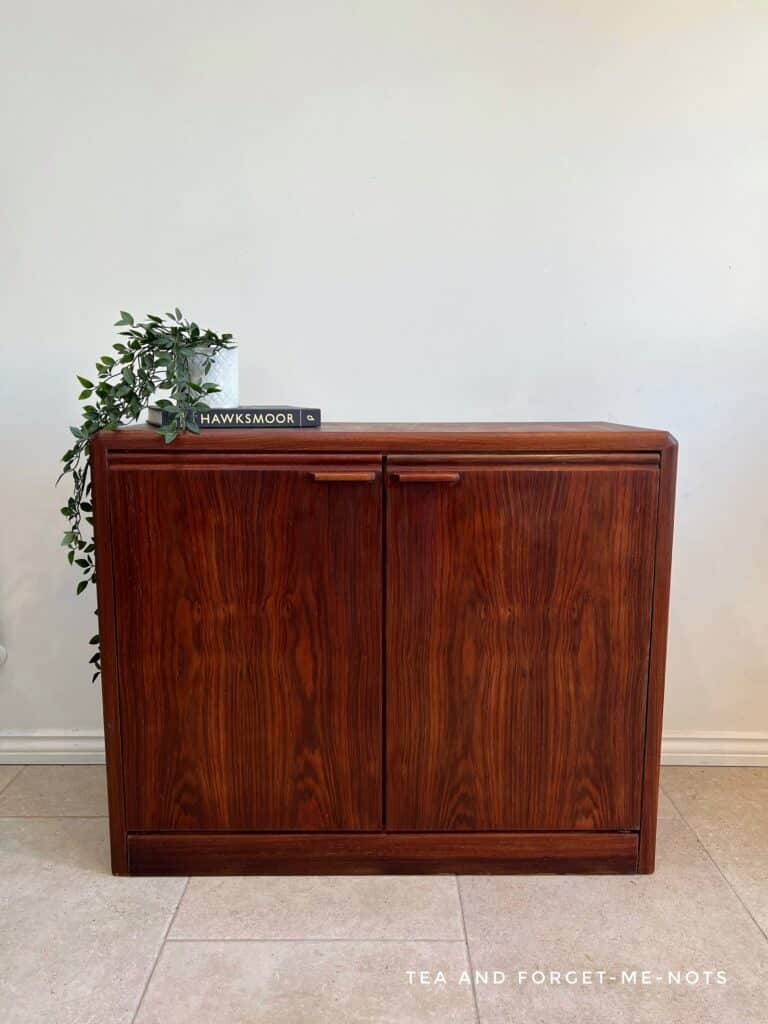
In this case, I’m happy that I did this piece. It looks much cleaner and fresher.
Would I do it again?
It probably would have been worth £50 not to do the level of work on it. But then maybe using a chemical stripper would have saved some time too. There are always different ways to achieve the same goal.
But I always learn something. Try new things out and have fun doing it. Watch it here on YouTube!
If you enjoyed this post, you might also like to see how I painted black successfully. It’s a tricky colour!
Pin it for later – is furniture flipping worth the effort?
If you loved this project, you’ll love these projects too:

Hi there! I'm Rachel Bowyer, a passionate DIY enthusiast with a knack for transforming the old into something beautifully new. With a deep love for furniture painting, refinishing, and the art of crafting. I've been documenting my DIY projects and restoration journey since 2018. I specialise in techniques like decoupage, stencilling, and decor transfers. Join me as we explore the world of creativity and home improvement, one project at a time.
As a fellow furniture “flipper” – I can SO relate to the advice you give in this post. People don’t understand the amount of time and work that goes into saving an old piece of furniture. It truly is a tradeoff between time and money. Thanks for such a good post and for educating folks on how “it really works”.
Thank you, Anna, that’s kind of you to say. It makes sense that if you don’t do it, you don’t know the work that goes into it. But sometimes people are quick to judge based on whether they like something or not.