How To Tape Curved Lines For Painting a Rainbow
Want to tape curved lines for painting? To find out the best way to do it, you’ve come to the right place.
Painting curves can be tricky, but with the right tools and steps, it’s actually quite simple.
Whether you’re looking to create a rainbow design, geometric circles, wall arches or waves, you’ll find that you can achieve smooth, crisp curves easily.
The key to taping off curves successfully is to use a flexible masking tape. This type of tape can be stretched to follow the curve of the lines. Making it much easier to achieve flowing curves than with traditional painter’s tape that has straight edges.
In addition, it’s important to seal the edges of the tape before applying the paint. This creates a barrier to prevent any bleeding under the tape.
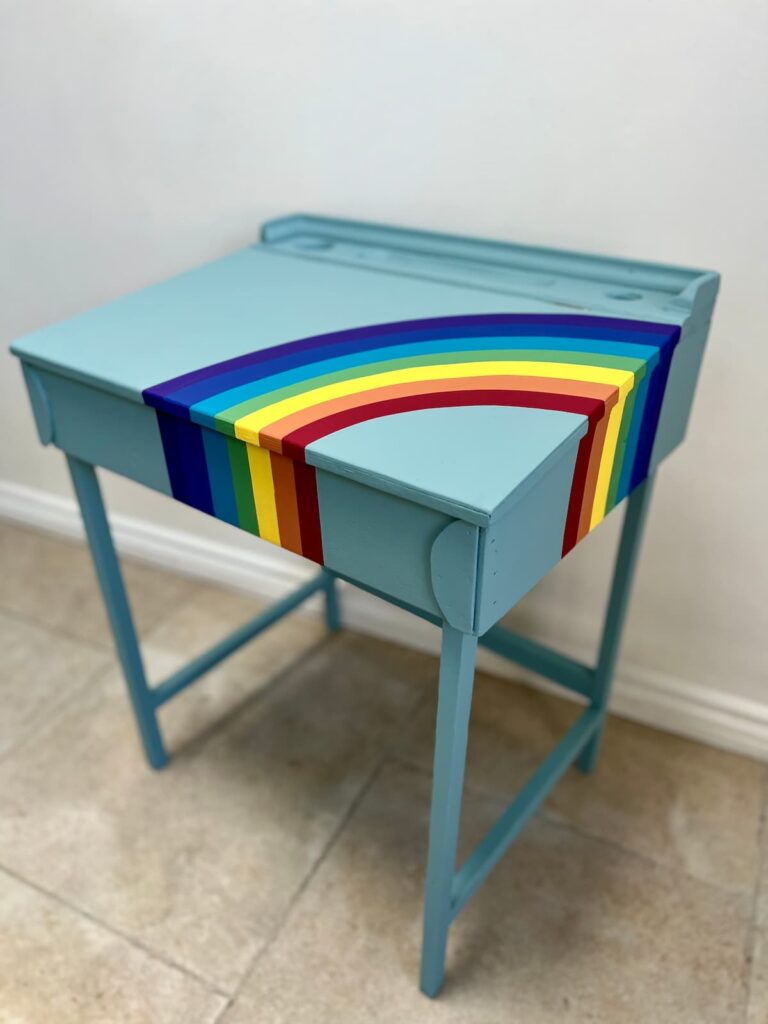
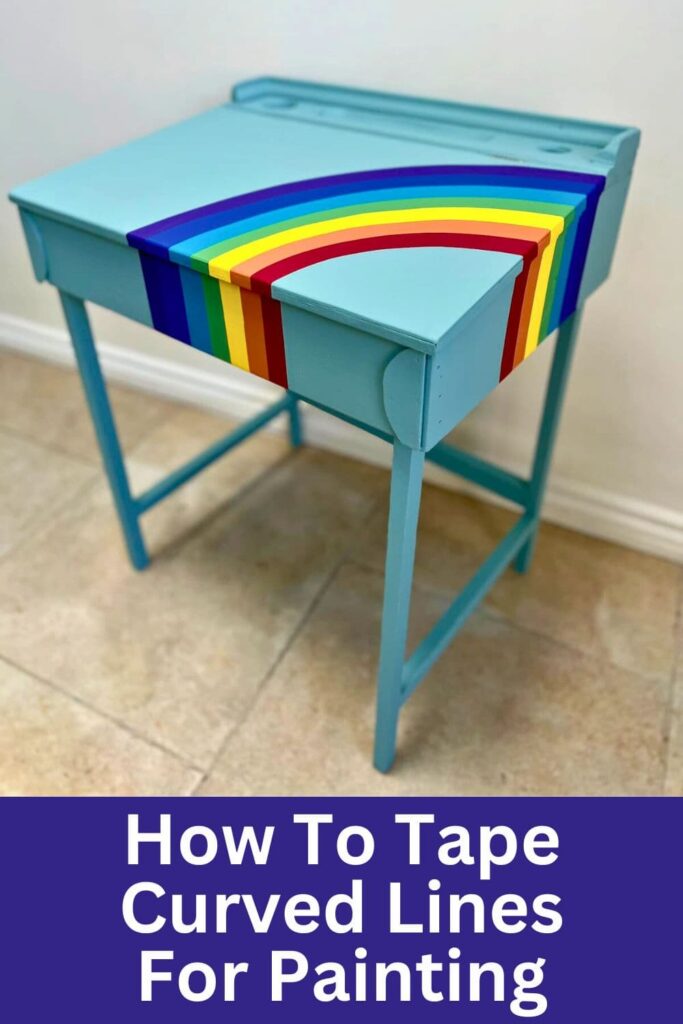
By following these simple steps, you’ll be able to easily paint beautiful curves. Check out my example on this vintage desk to see how it all comes together.
How to Tape Curved Lines for Painting Instruction Video
You can find more video tutorials on the Youtube Channel
This post includes gifted products and affiliate links so you can easily find the products I use myself and recommend to friends. If you purchase these products, I may earn a small commission at no extra cost to you.
Using Painters Tape Around Curves Step by Step
Materials Needed
Step by Step Instructions
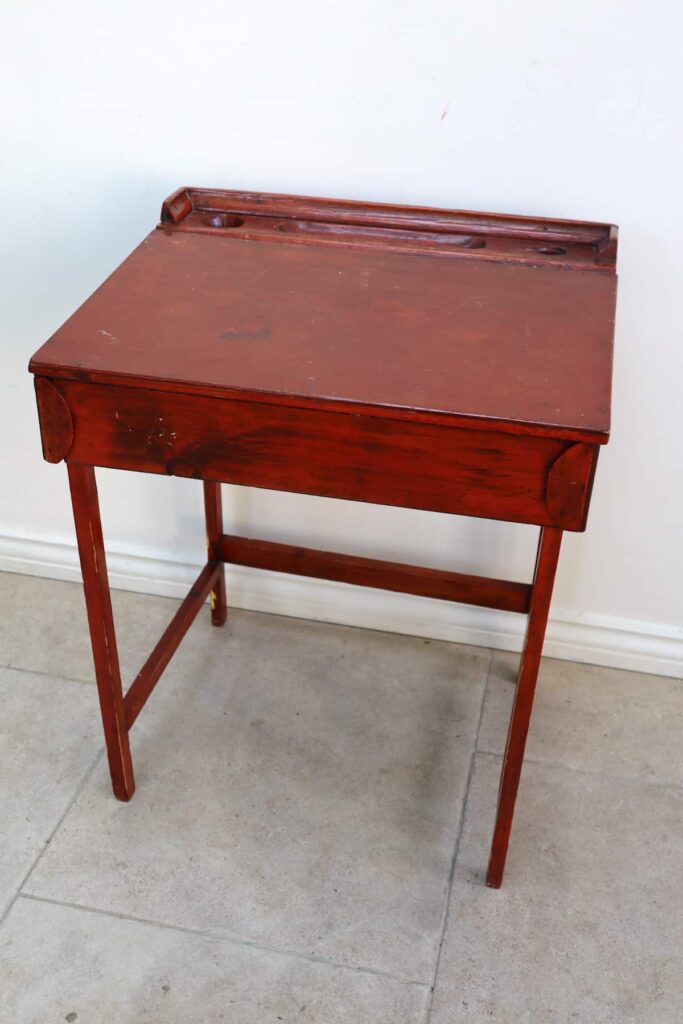
Step 1: Prep the Surface Before Painting
Before applying tape and paint, it’s important to prepare the entire surface, whether it’s natural wood or a painted surface. This means ensuring that the surface is both clean and dry.
In this post, I didn’t cover the process of painting the desk before applying the rainbow design. If you have any questions about that, including the best paint to paint a desk, please check out the video tutorial or leave a comment below.
Step 2: Measure Out the Curves
When creating curves, the first step is to decide on the thickness of the stripes and the number of stripes you want.
This is especially important when working with a smaller surface, as you may not want to use all seven colours for a rainbow.
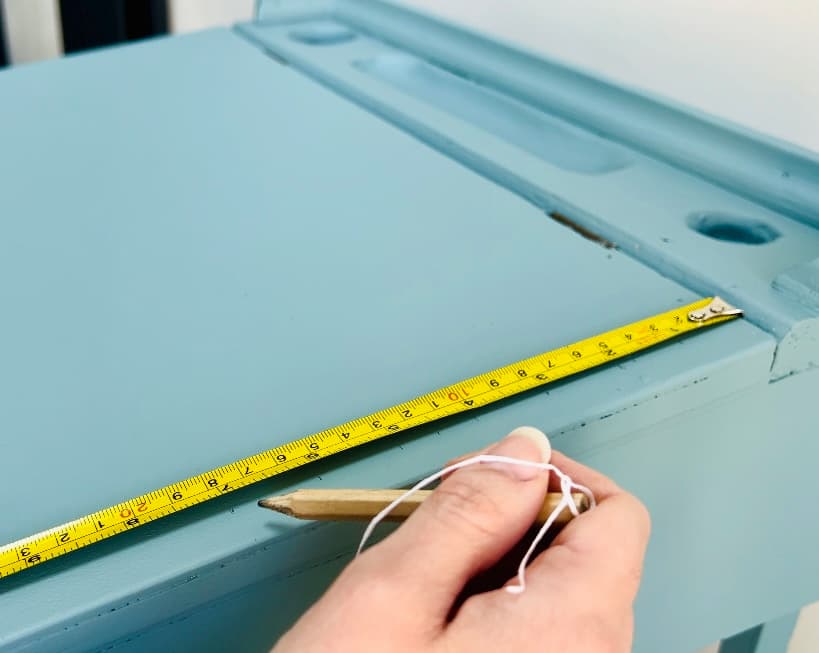
To determine the size and placement of the stripes, use a ruler or measuring tape.
For this rainbow, the stripes were 1 inch thick and started at the top of the desk lid. This resulted in the rainbow finishing roughly in the middle of the desk.
Step 3: How to Draw Curved Lines with a Pencil
To create curved lines, the best thing to use is a pencil and a string.
First, tie the string around the pencil. Then, select a fixed starting point, like a nail or the corner of a desk. Place the pencil at the point you have already measured and keep it vertical.
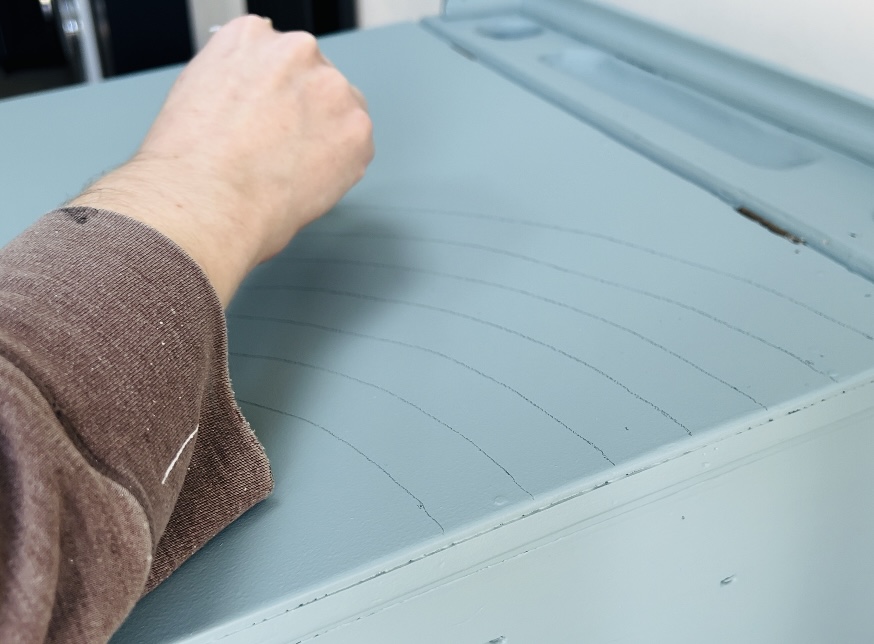
Lastly, pull the string taut and draw the curve of the line. By using this method, it avoids needing a steady hand to draw the lines precisely.
Step 4: Best Masking Tape for Curved Lines
The best tape for curved lines is precision masking tape or modelling tape. Tamiya tape and Modelcraft both do good flexible tapes.
This type of tape is stretchy, allowing you to wrap it around the curve of the rainbow for more precise lines. Also as it is low tack, you can remove and readjust it until you are satisfied with the shape you have created.
To achieve a crisp edge with your painting, smooth out the tape as much as possible to remove any air bubbles.

To apply the tape, attach it to the outer edges of the coloured lines you’re painting. Not on top of the lines. This will ensure that the lines remain visible.
After the tape is in place, use an eraser to remove any pencil marks if they are too dark. As they will still be visible under lighter colours of paint. Make sure to do this before applying the coat of sealer.
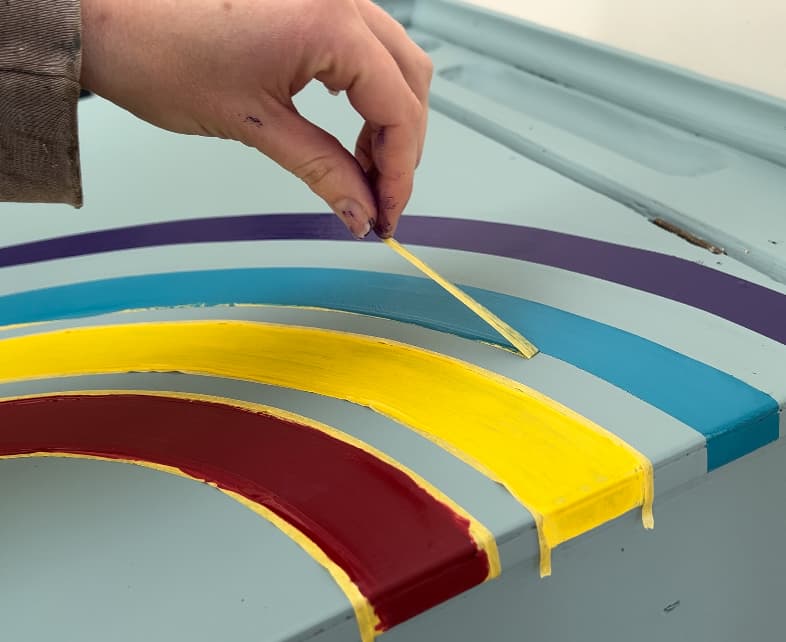
Step 5: Seal the Edges of the Masking Tape
When painting curved lines, using flexible fine line tape and sealing the tape is equally important.
Applying a thin coat of sealer to the edge of the tape creates a barrier that prevents the paint from seeping under it.

This base coat is the key to achieving a nice sharp line when painting.
Allow the sealer to dry before moving on to the painting coat.
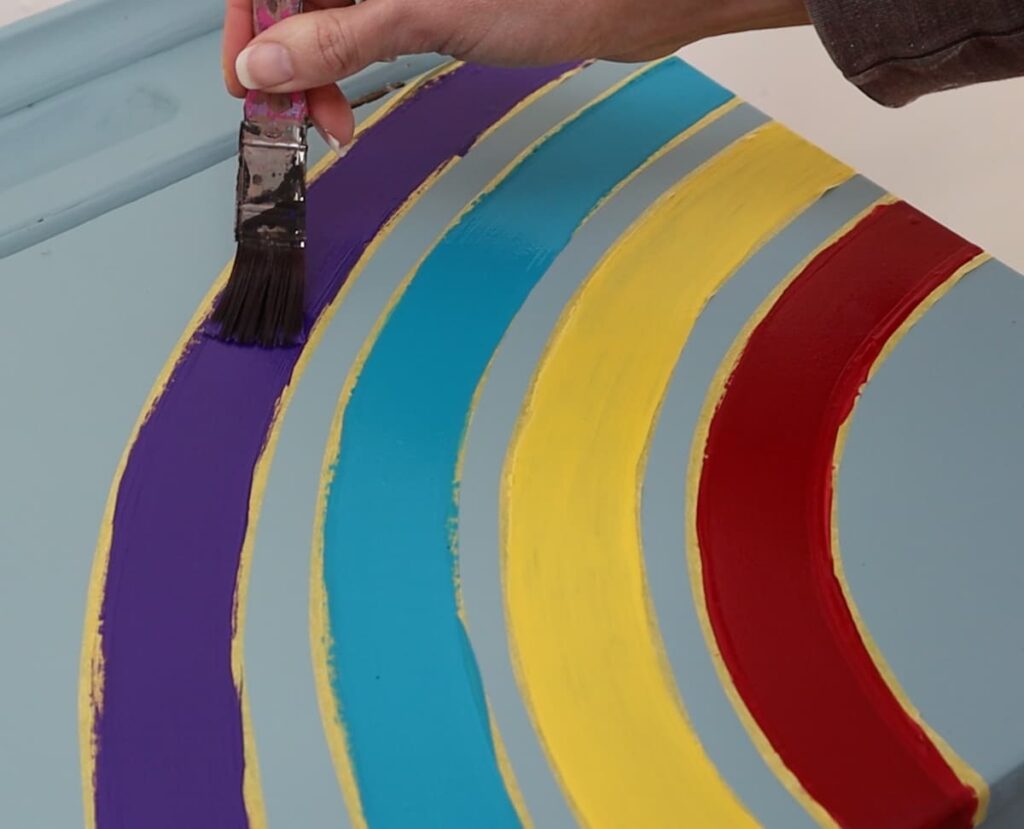
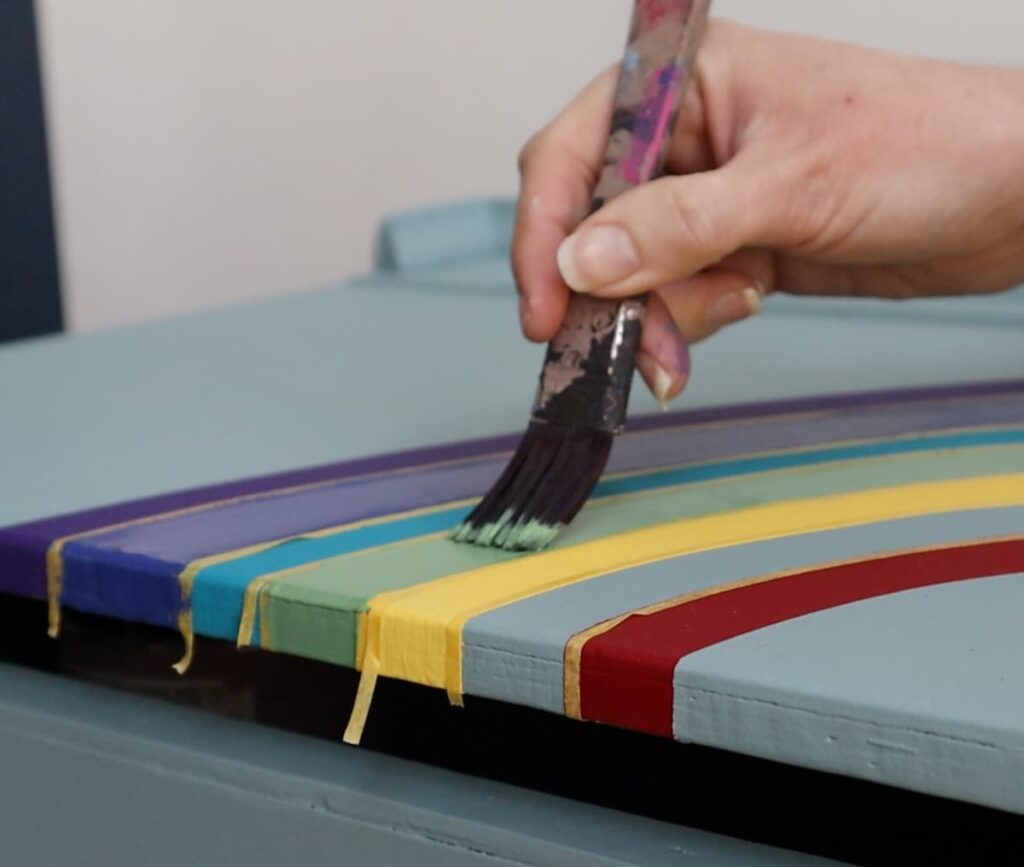
Step 6: Paint the First Set of Curves
When painting multiple stripes alongside each other, like in a rainbow, it’s important to paint them in two stages. Begin by painting the outer edge colour and then each alternate stripe.
Make sure to finish painting these stripes with as many coats of paint as needed before moving on to the in-between stripes. All the paints used here needed two coats, except for the yellow which required four.
This fine line masking tape is flexible, and it comes in different widths ranging from 2mm to 10mm. The piece of tape here is 3mm wide.
It’s essential to be careful while using narrower tape as you have to ensure that you don’t paint over the edges. If you’re using narrower tape, you can double-tape the curved line to give yourself more margin for error.
But if you accidentally paint beyond the outer edge of the tape, try to remove the paint with a wet wipe quickly. If left to dry, you can paint over it with the colour that it should be.
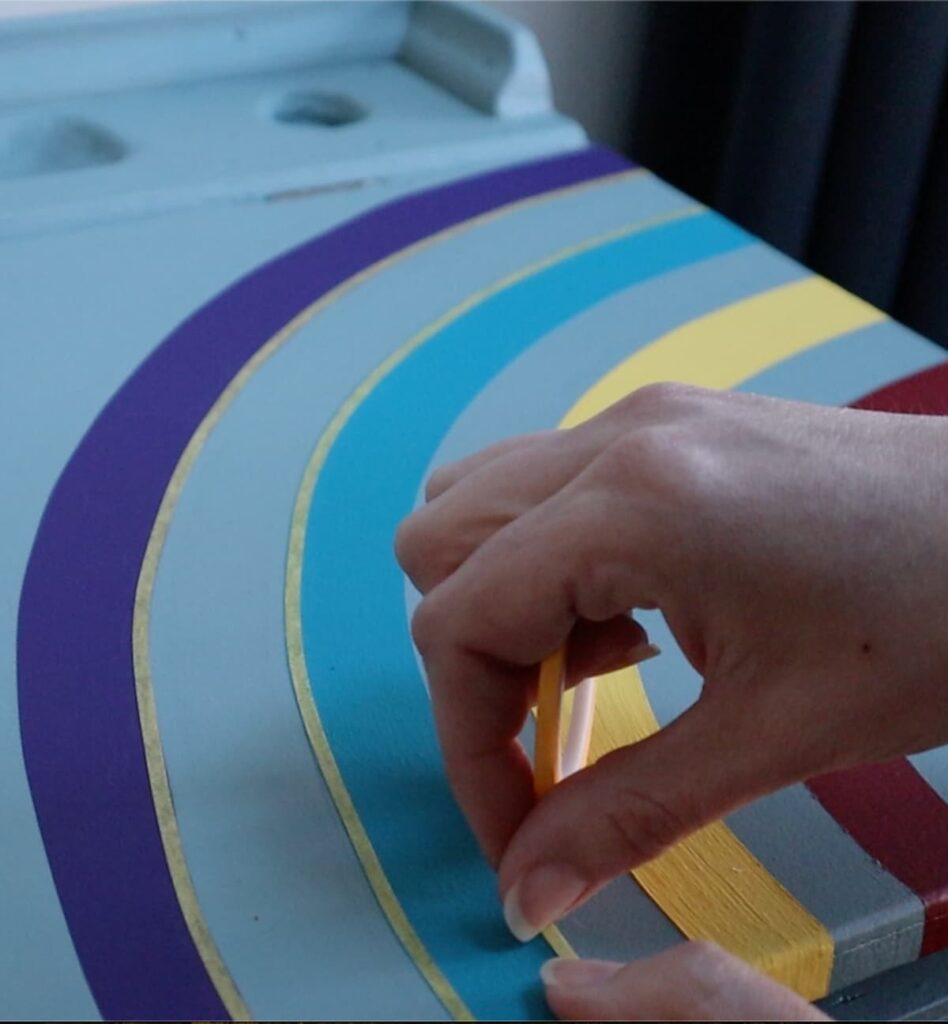
Step 7: Remove the Masking Tape
When you remove the tape, the paint should be dry to the touch which usually takes about an hour.
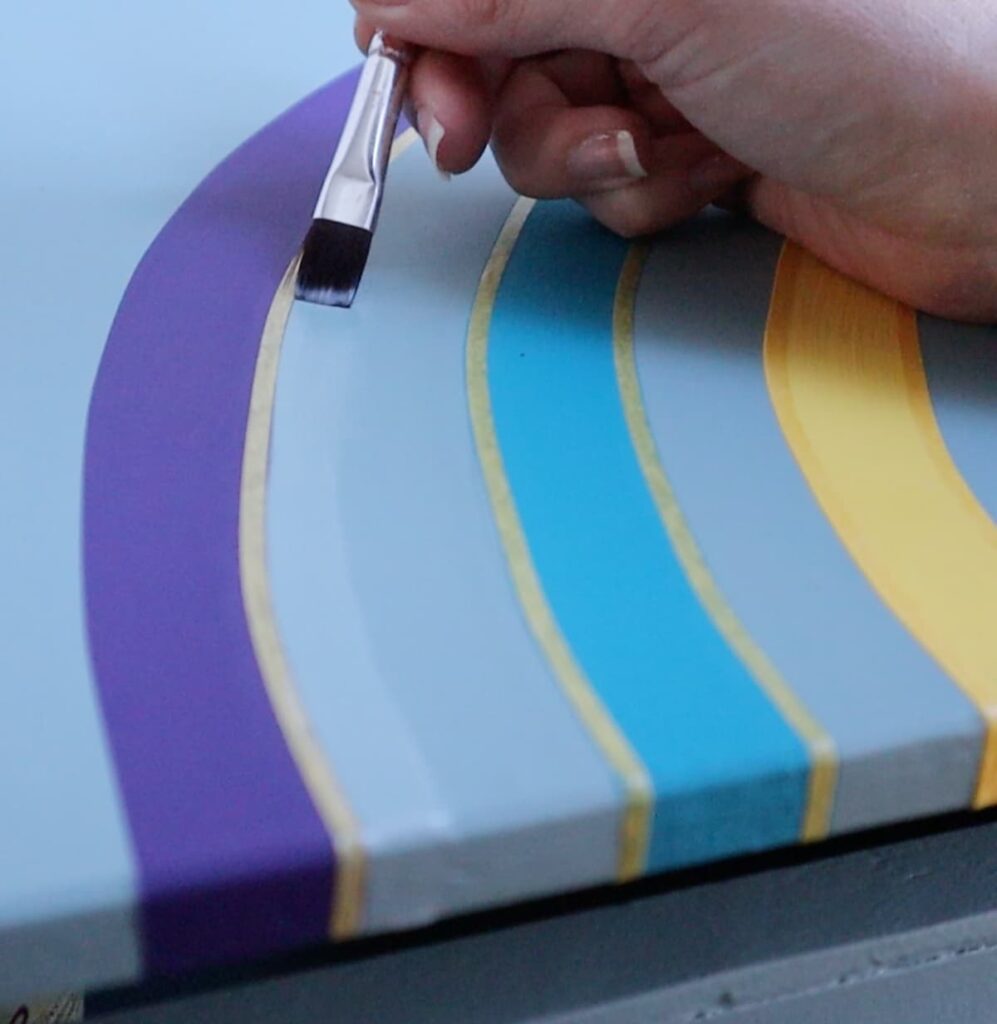
And if you do get any bits of paint in the wrong places, or you didn’t get perfectly crisp lines. You can simply use a small detailed brush to touch up those areas.
You don’t want to wait too long between each step. Taping, sealing, painting, and repeating with the other colours, takes a while to make progress.
Step 8: Tape and Seal the Second Set of Curved Lines
To paint the in-between curves, follow the same process as the first set. Ensure that the paint is completely dry as the tape will be applied on top of the painted curves.
Apply the tape so that a small edge of the painted colour is visible.
Then, seal each line of tape before painting the next set of colours.
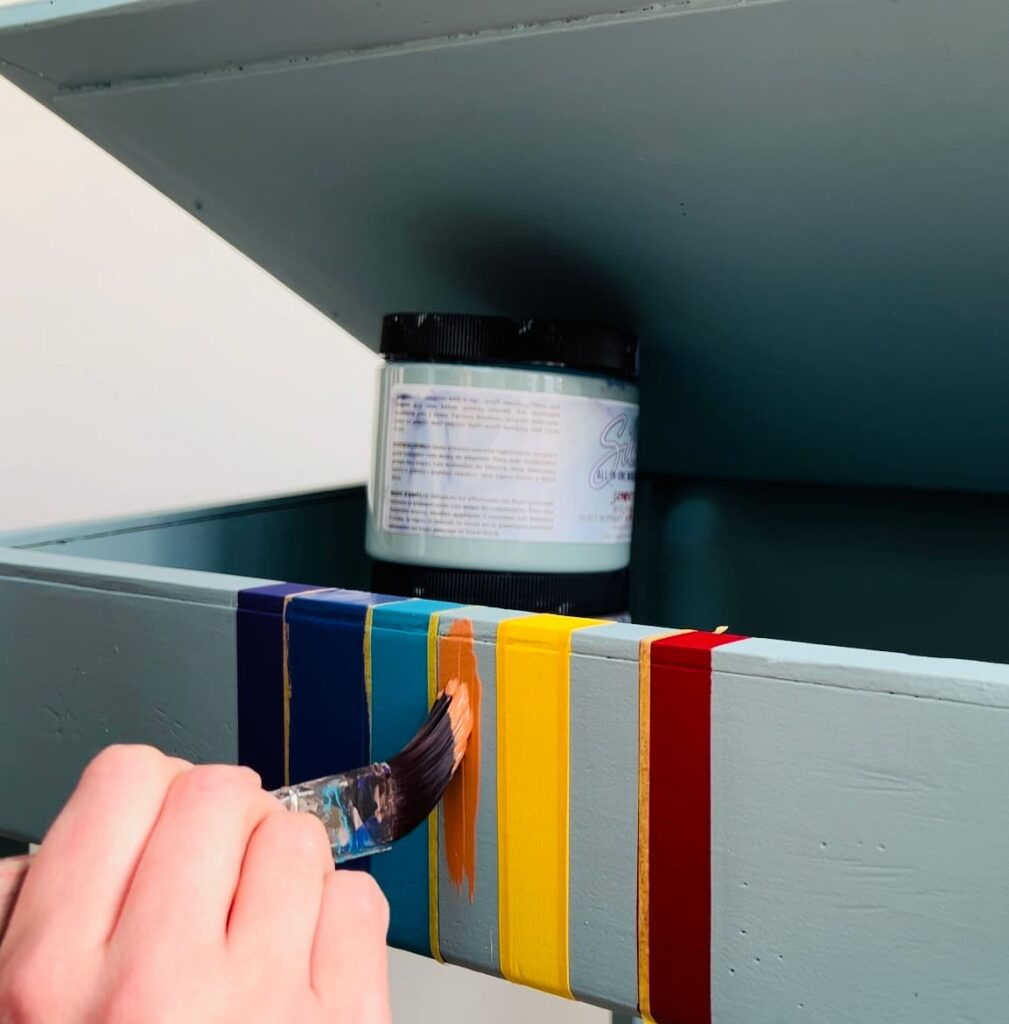
Step 9: Paint the Inner Stripes of the Rainbow
Then finally, repeat the painting process with the inner stripes of the rainbow.
The only paint colour that required mixing was indigo.
To create it, you can combine the purple and blue paints to achieve a natural midpoint colour. Make sure to mix enough paint to account for multiple coats. As it may be challenging to match the exact colour if you don’t make enough the first time.
Does Flexible Masking Tape Work for Straight Lines?
Finally, I continued the rainbow pattern down the sides of the desk to give it more dimension.
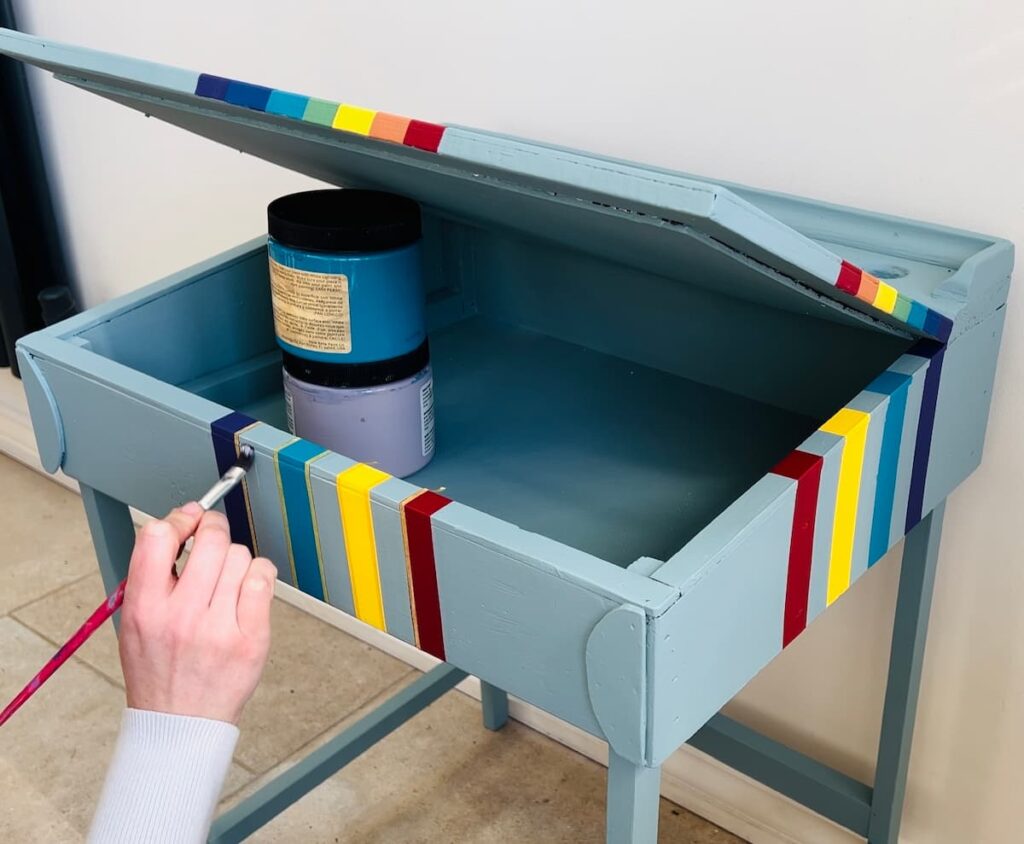
You could use Frog Tape to mask the straight lines. However, this flexible masking tape still works well for a straight edge.
This type of tape is perfect for getting clean lines on both curved and straight edges.
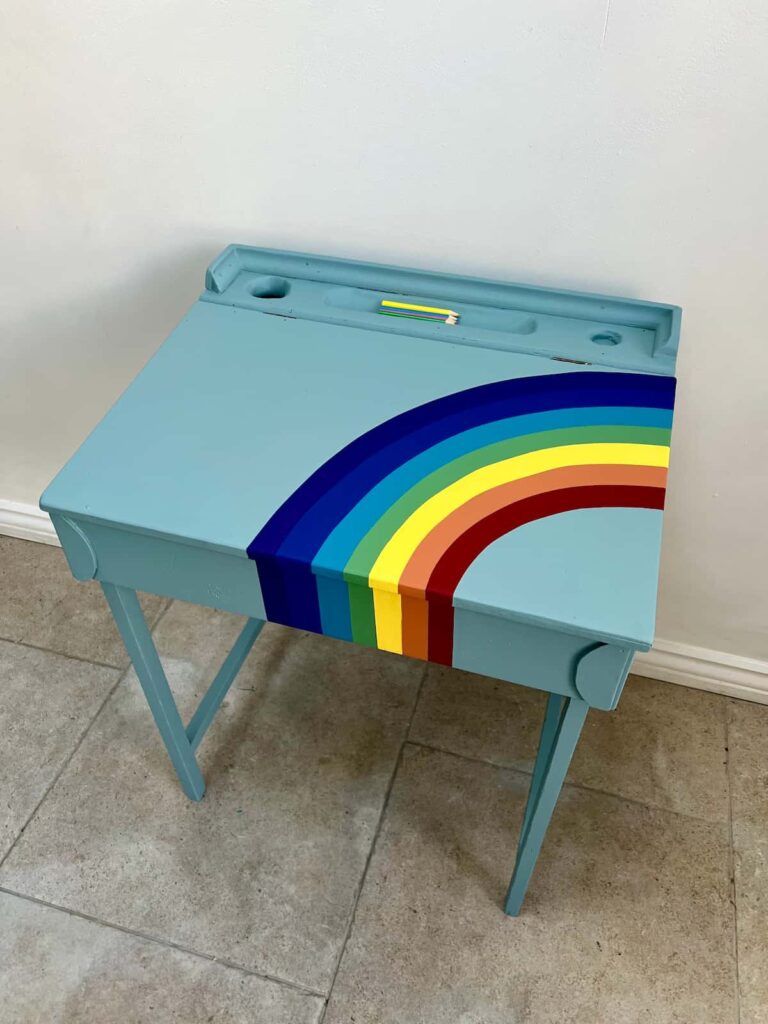
Desk Makeover with Painted Curved Lines
Painting curves with tape is a straightforward process. It requires a few simple steps and a bit of patience to let each layer dry.
Each part doesn’t take a long time to do. But it does take time over many hours.
This technique can be used to get clean paint lines on both furniture and walls.

The extra straight lines on the edges of the desk create an interesting dimension that enhances the painted rainbow effect.
If you don’t feel confident in creating curved lines by hand, this is a great way to achieve professional-looking results.
Using these bright colours, you can transform plain furniture into fun and vibrant pieces.
Answers to Your Questions About Painting Curves
how do you paint even curved lines?
The easiest method is to tape off curved lines with flexible tape. That way you can check the evenness of the curves before painting.
how to tape curved lines for painting?
Mark out the curves with a measuring tape, pencil and string before applying the tape. Then you can erase the lines after adding the tape to them.
How can I paint lines and shapes on canvas?
Thin, flexible masking tape allows you to create both crisp lines and curved shapes on a canvas, wall or piece of furniture.
If you loved this project, you’ll love these projects too:
Did you make this project?
I love seeing what you do. Please mention @teaandforgetmenots and share your creations with me!
Pin it for later – How to Tape Curved Lines for Painting

Hi there! I'm Rachel Bowyer, a passionate DIY enthusiast with a knack for transforming the old into something beautifully new. With a deep love for furniture painting, refinishing, and the art of crafting. I've been documenting my DIY projects and restoration journey since 2018. I specialise in techniques like decoupage, stencilling, and decor transfers. Join me as we explore the world of creativity and home improvement, one project at a time.
Awesome project Rachel! I definitely want to do more tape projects after seeing this!
Thanks Sara, I can’t wait to see what you make.