How To Organize Paint Supplies and Tools to Save Time
Knowing how to organize paint supplies and materials saves time. If you have a lot of paint supplies, you need to organize them effectively.
Whether you have a dedicated art studio or a small space for painting, you’ll find the perfect solution to store painting supplies.
So here are my tips on different ways to organize paint supplies.

Organize Paint Supplies For Easy Access
The best way to organize paint supplies is for easy access.
Easy access means that your supplies are easy to see and easy to reach. So, the first step when you store paints is to be clever with your storage space.
Just like supermarkets do with branded products, you should place your most-used paint or craft supplies at eye height.
This saves you time looking over the shelves for it. If it’s something you reach for regularly, make it within as easy reach as possible.
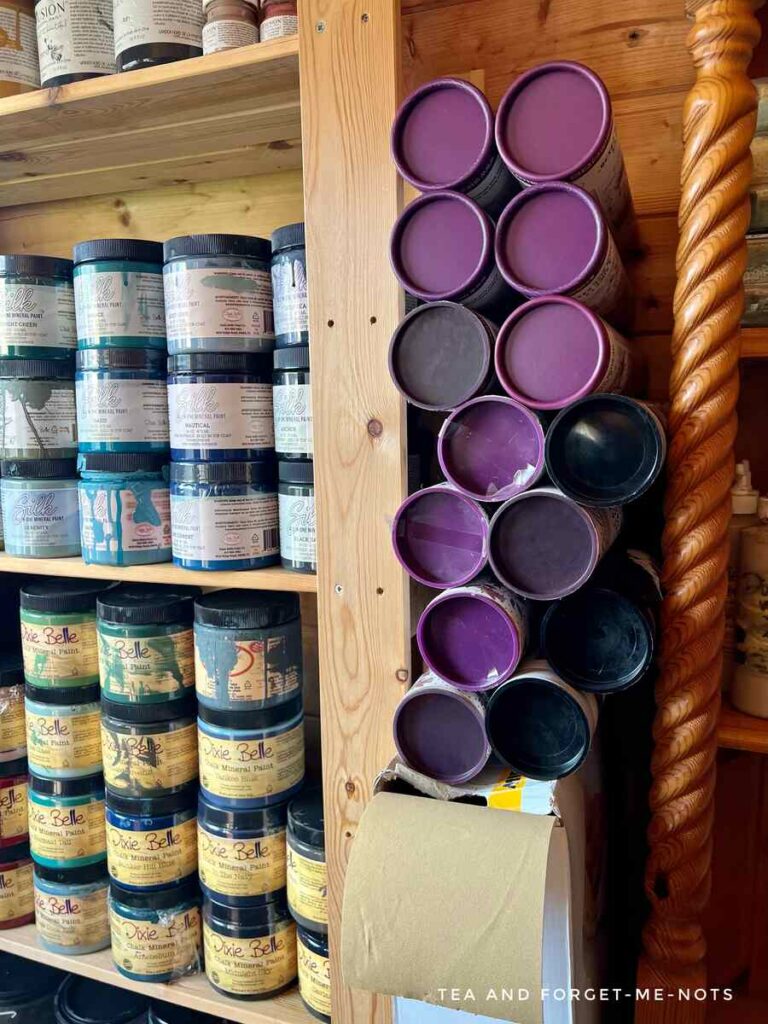
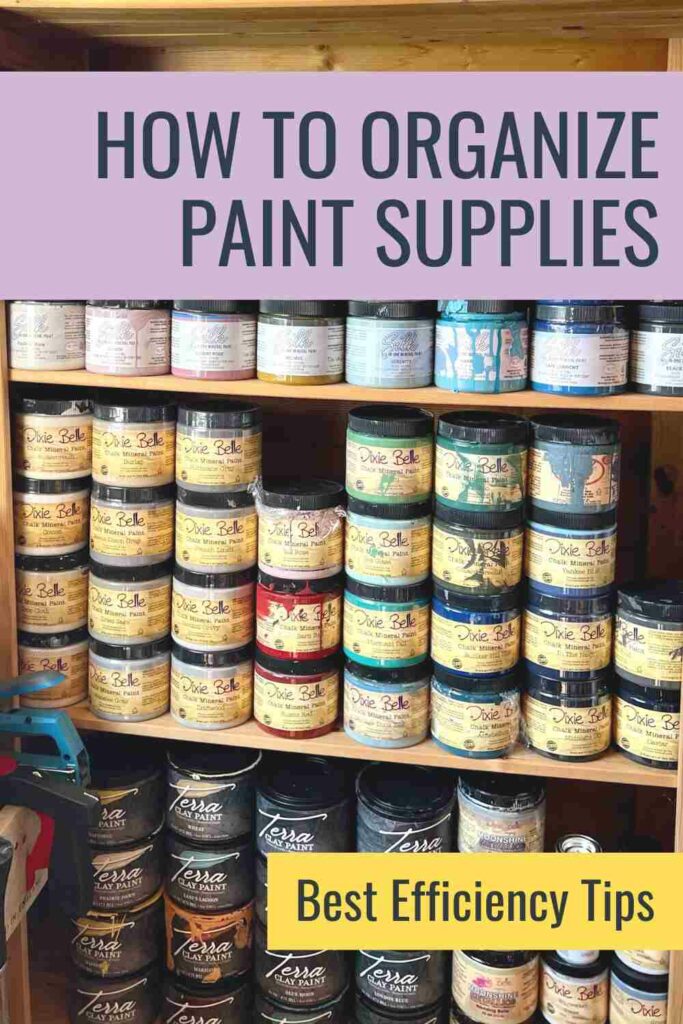
A great way to display pots of paint is on a sturdy shelving unit or built-in shelves. This doesn’t have to be costly. I got my paint shelf for free.
The good thing about open shelving is that you can see everything you’ve got. If you have a lot of paint then it helps to have a clear view of your inventory.
Whatever storage system you use, it will get heavy. You may need to secure it to the wall
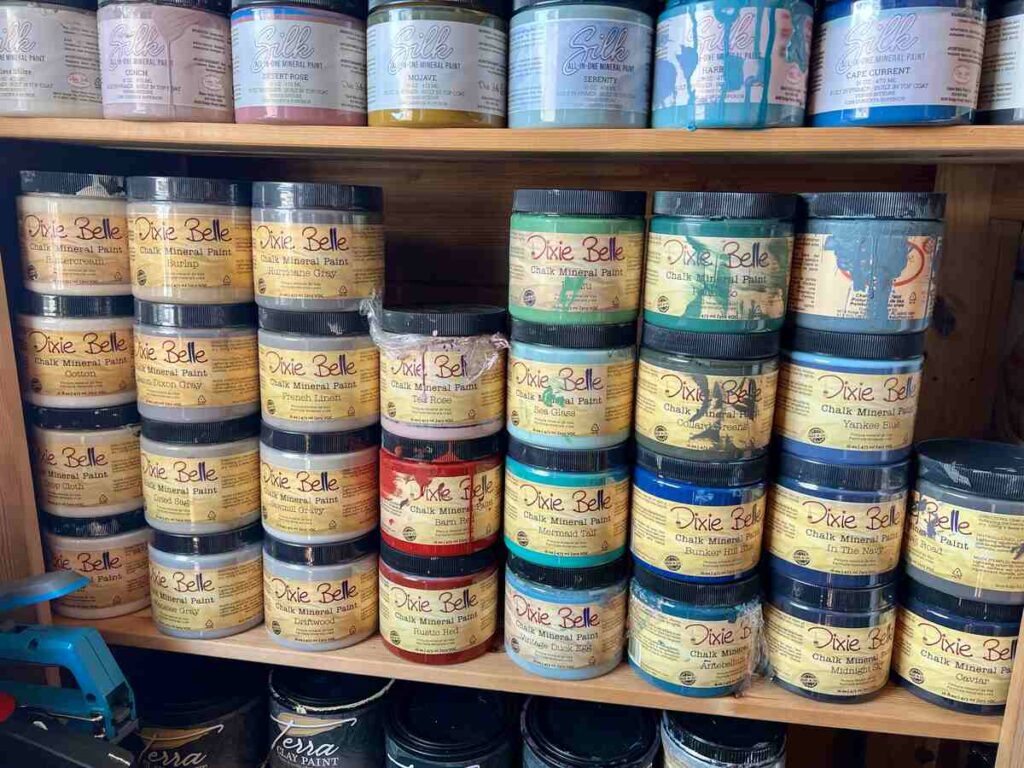
Put Paint In Colour Order
It’s helpful to put paint in colour order. From light to dark in each colour. Then if you’re searching for a specific paint, it’s easy to find within a group.
If you want to choose a green, for example, you have your options easily comparable to each other.
Likewise, you can group paints by type. For example, a shelf for chalk paint, another for mineral paint, and then one for clay paint. These types of paint have different methods and products that work with them.
Instead of having an entire shelf of all green paints to choose from. You’re choosing from the greens within the type of paint range you want to use.
It removes a step and saves time by not having to think about each paint’s requirements, in addition to the colour you want.
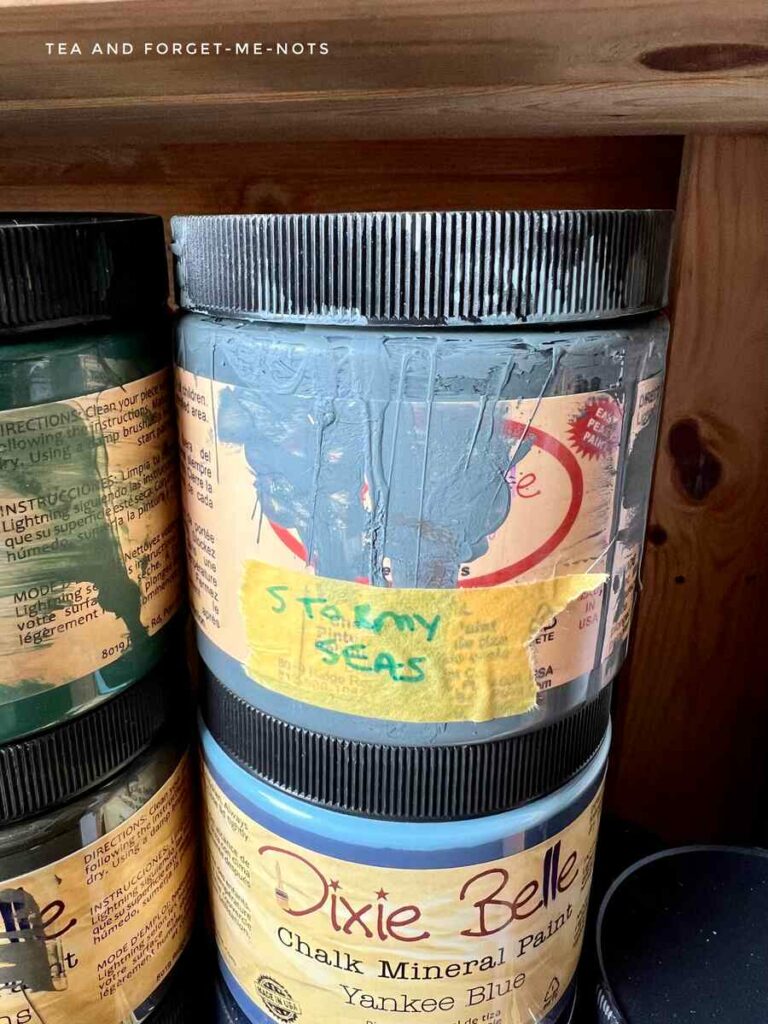
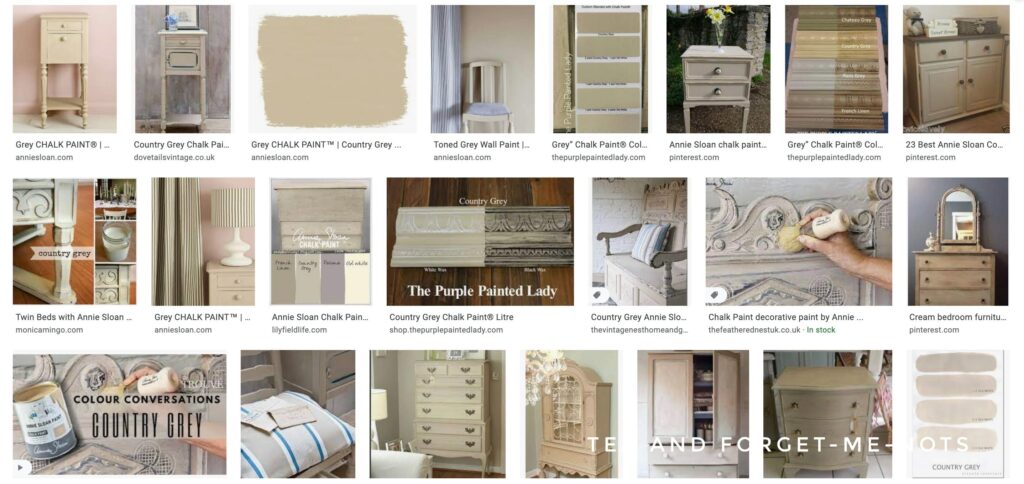
Label and Swatch Paints
Some paints look different in real life than on the paint rack. It’s helpful to paint a sample of each colour next to it so you spend even less time debating between similar options.
You can even do a swatch of the paint colour on the front or lid of the can. Particularly useful when you can no longer read the name of the paint if drips have covered it.
If everything has a place, you’re much more likely to put it back there when you’re finished with it. Making for a tidier storage area.
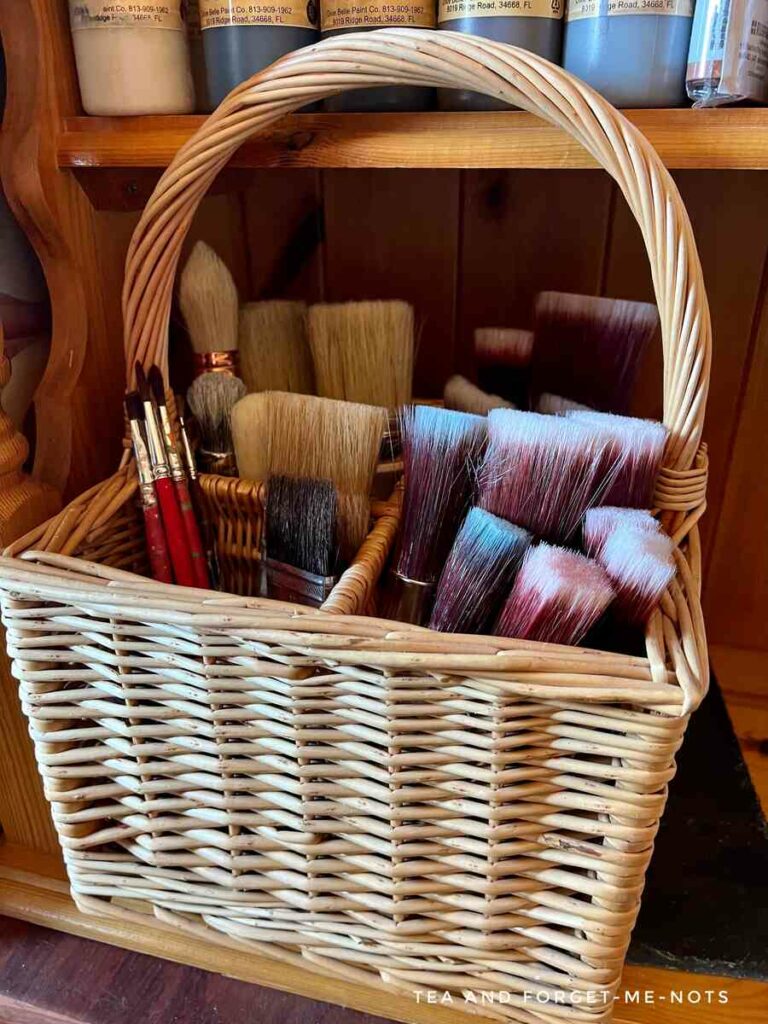
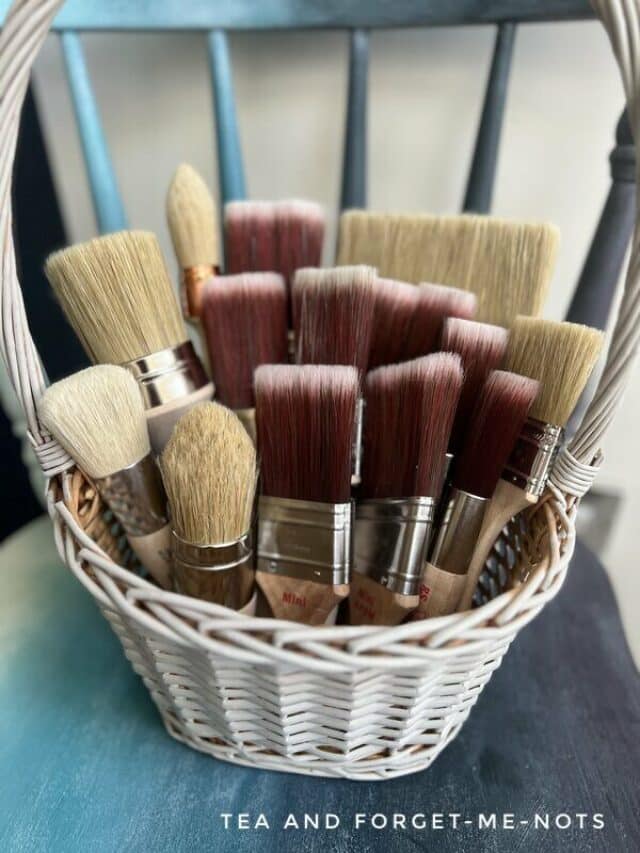
The Best Way to Store Paint Brushes
Depending on the type of painting you do, will determine how different the brushes you have are. If you have a large variety then you might want to also separate them out.
You can divide your brushes into shape and purpose. Flat brushes and round brushes of all sizes in each section of a basket. A basket with low enough sides that you can see and reach everything.
Then have sections for wax brushes, fine detail brushes and chip brushes. Each brush type having a designated area means that you save time looking.
This basket was from a charity shop. But almost anything could work as brush holders. Such as old paint bottles, coffee cans or food storage containers.
In addition, have hooks to dry wet paintbrushes on. This is so that the bristles can completely dry before being stored bristles up.
It’s a good use of space under a DIY tool storage.
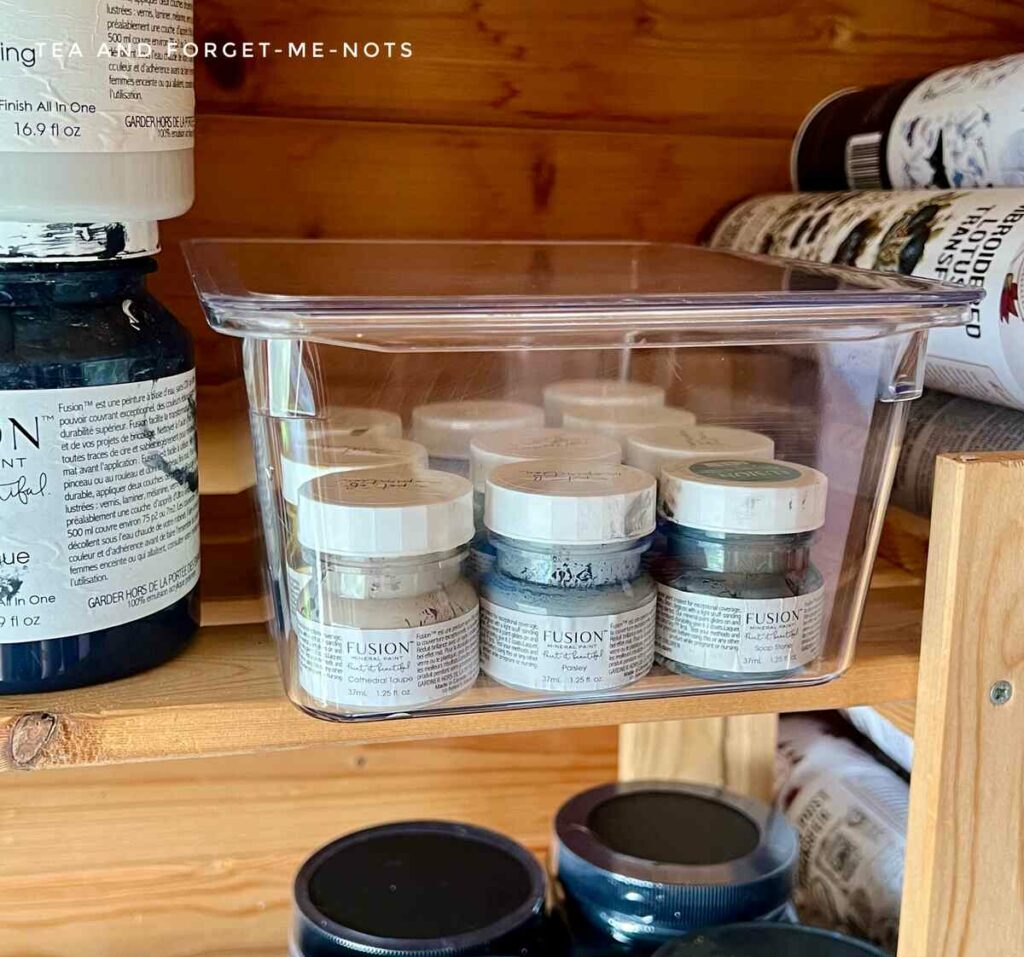
Storing Smaller Paint Supplies
If the paint you work with is tube paints like oil paints, smaller items are best kept together in clear plastic bins or clear containers.
Clear storage helps you to see exactly what’s inside. Or if they’re coloured plastic storage bins, it’s a great option to label the outside with the products.
You could create vinyl labels with a Cricut or simply write on them with Sharpies.
Also if you have less space you can put a lot of art supplies on a lazy Susan. Then with a smaller amount of space, you can reach different products.
Organize Paint Supplies By Type
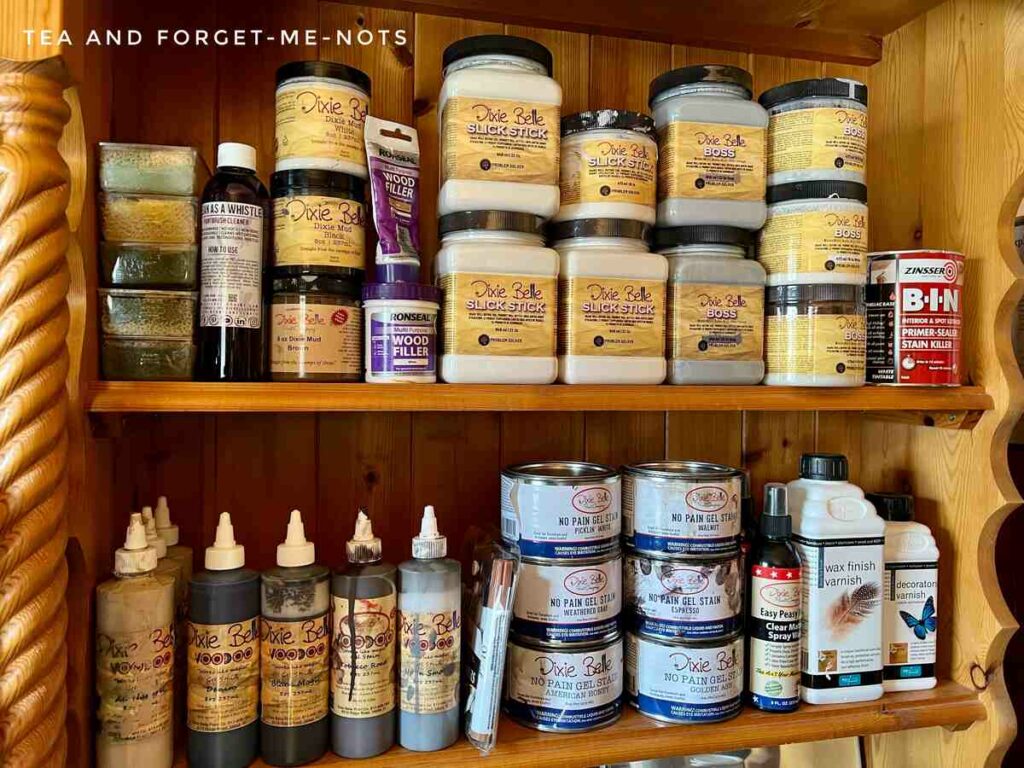
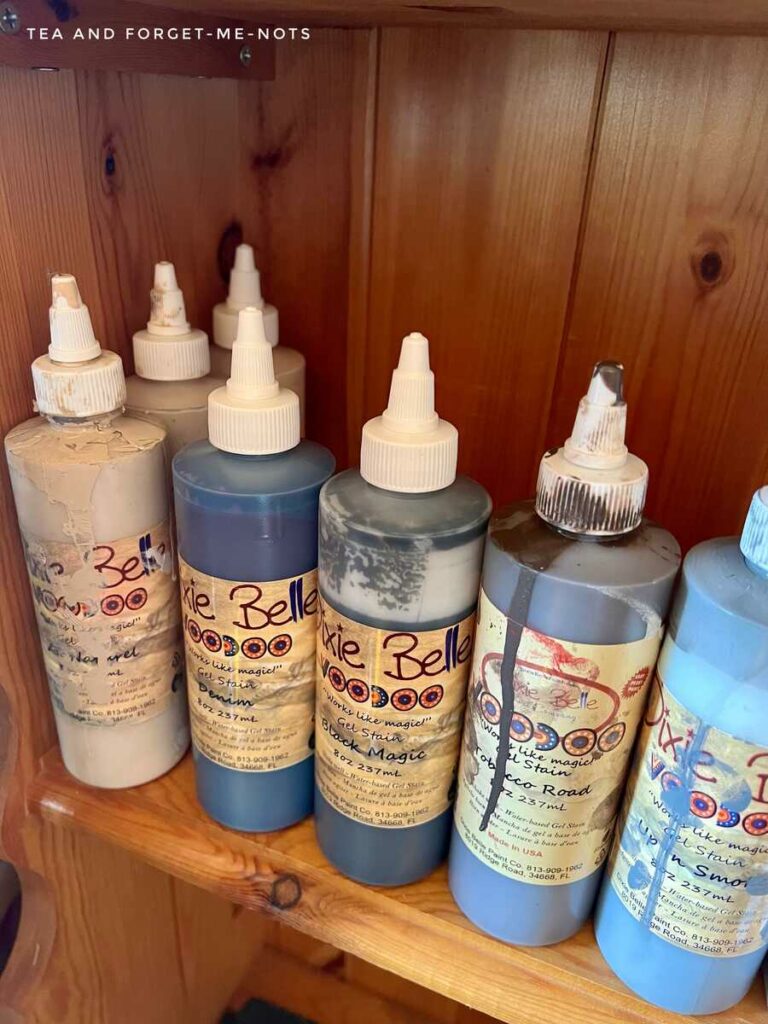
In addition to types of paint, it saves time to group like items together. You can do this for spray paint cans, wood stains, and waxes. Then when you’re at the shop or looking at an online store you know exactly what you have of each.
It’s easier to be realistic about what you do and don’t need when it’s all in front of you.
This space is for furniture transfers. They fill a gap between two bookshelves. It”s not a designated space just for them but an efficient use of extra space.
The perfect places are sometimes the bonus ones that show themselves.
Organize Paint Supplies in the Order You Need Them
One of the best things you can do is to store art supplies in the order that you will use them. This second storage shelf has cleaning products first, then problem solvers like wood filler then primer.
It means that you can easily grab one of each product in your painting process as you start.
You can put one of each of the products you’re going to use in cardboard boxes. Day 1 would be all the prep materials. Maybe cleaning products, then sandpaper and primer.
Setting out the products you need on a work table gives a target stage to finish that day. And also reduces trips back to the paint storage area.
Store Extras of Paint Supplies Together
If you have enough space, put extras of your supplies with them. This gives you a true inventory of what you have and what you might need.
Use the same top coat for all your projects? Knowing when you’re down to the last can of paint is essential. Then you can order in time to stay in stock.
Likewise, you may want to label (if you can’t tell from the messy paint pot) that it has been opened. A nearly empty craft paint is very different from the full pot that it might look like.
You could even have a chalkboard or bulletin board of what you have open and quantities. That way you have a better idea of what projects you’re able to take on without needing to buy more.

Where To Store Tools For Painting
You may have lots of tools to go with painting to store too. Such as painter’s tape, stirring sticks, and palette knives. These small items are also great to group together for easy access.
But only the regularly used ones. A dedicated space by the door is the best place to store these popular items.
They’re actually in the DIY pallet shelf where I hang my brushes to dry. A multi-purpose area which helps save space.

Cut Out Supplies You Don’t Need
Be realistic about what painting supplies to keep.
As you learn more about what paint supplies you like, you may find yourself with more than you actually use. Maybe you’ve moved onto a better brand but kept the old paint to not waste it. Or you were gifted cans of paint that you know you’ll never realistically use.
While it’s nice to have a paint collection that gives you choice, you might be finding ways to store paint that you’ll never use. Maybe you don’t need that extra wire shelf if you carefully consider what’s in your stash.
And for those with less space, this is essential to avoiding overwhelm.
Know the trick about putting clothes in your wardrobe with the hanger facing a certain way? Then when you use it you flip it around. After a set time you see what clothes you didn’t wear and can get rid of them.
Paint is the same.
A good option is to move the paint from the bottom shelf up every time you use it. The paints that never leave the bottom shelf you should consider getting rid of.
How To Get Rid of Unused Paint
Getting rid of paint you don’t use doesn’t have to be wasteful. If it’s full you can sell it. Or if there’s a decent amount of it left you can donate it.
Don’t get swamped with gallons of paint you don’t need.
Similarly, don’t keep leftover paint or finished paint cans.
Have a small bit left but not enough to use for painting projects? You can combine several nearly finished colours into one new colour. Then get rid of the extra pots.
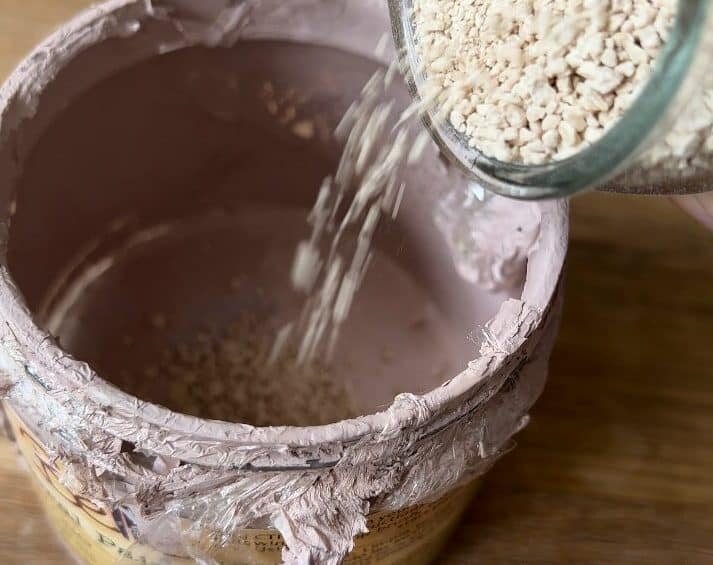
Alternatively, you can dry up old paint using kitty litter. Then dispose of it carefully.
The best paint storage ideas are the ones that save you time and energy.
An organized space allows you to get to work faster. If everything has a place, it’s likely it will be returned to it.
If you loved these ideas, you’ll love these tips too:
best brushes for furniture
how to choose paint colours

how to open stuck paint lids

Hi there! I'm Rachel Bowyer, a passionate DIY enthusiast with a knack for transforming the old into something beautifully new. With a deep love for furniture painting, refinishing, and the art of crafting. I've been documenting my DIY projects and restoration journey since 2018. I specialise in techniques like decoupage, stencilling, and decor transfers. Join me as we explore the world of creativity and home improvement, one project at a time.