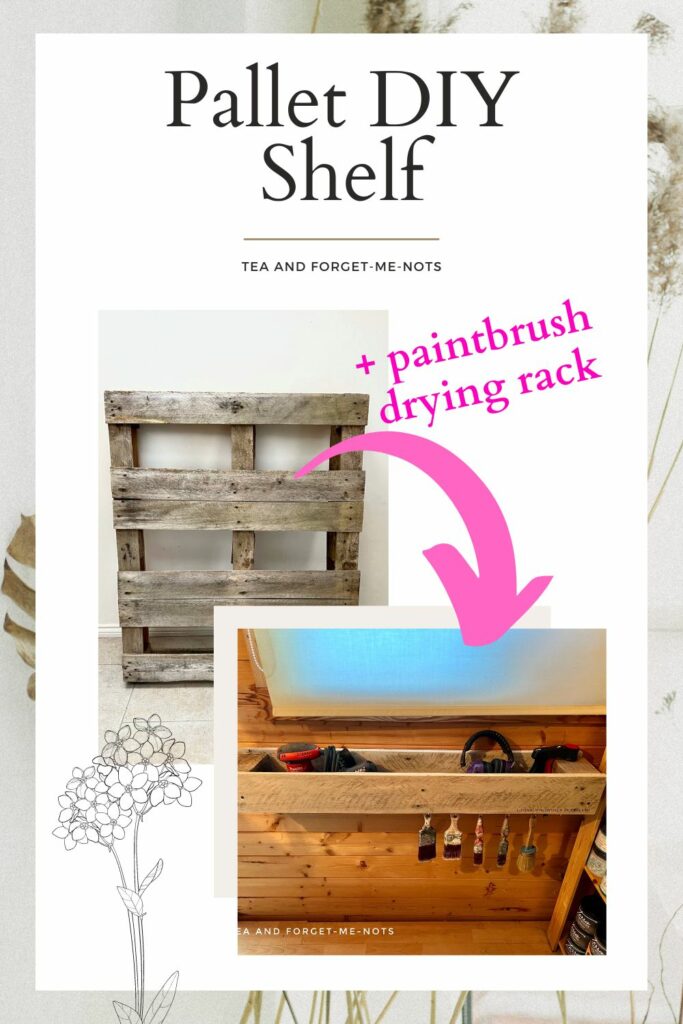
How to make an easy rustic pallet DIY shelf
DIY pallet projects are the best repurposing projects. Here’s how to make an easy rustic pallet DIY shelf for home decor and storage.
You start with something essentially scrap and can create something useful, quirky and sometimes even beautiful.
The best thing is that it’s easy to get free pallets. Which takes the cost and therefore the risk out of it. A project with a low-risk starting point is a great way for beginners to dip their toes in.
This post includes affiliate links so you can easily find the products I love and use myself. If you purchase these products, I may earn a small commission at no extra cost to you.
I knew what I wanted to create. Something easy to make, useful and with storage. The actual result I wanted was a place to dry my paintbrushes.
You might picture paintbrushes drying in a glass jar with brushes pointed upwards. It’s not the best way to dry brushes. The water can get into the the metal band and loosen the glue of the bristles. Making them more likely to fall out.
So, I wanted a DIY pallet wall shelf with hooks to hang my brushes on. A great project. Simple.
If you like this idea, you might also enjoy what I did with this old CD rack!
How To Create a DIY Pallet Shelf Video
International Bloggers Club
This month’s International Bloggers Club (IBC) challenge is Pallet Parade.
The IBC is a group of creators from all over the world. We challenge each other every last Monday of the month to make something using a common theme.
You’ll find my friends’ ideas at the bottom of the post. Please check them out before you go.

How to make an easy rustic pallet DIY shelf
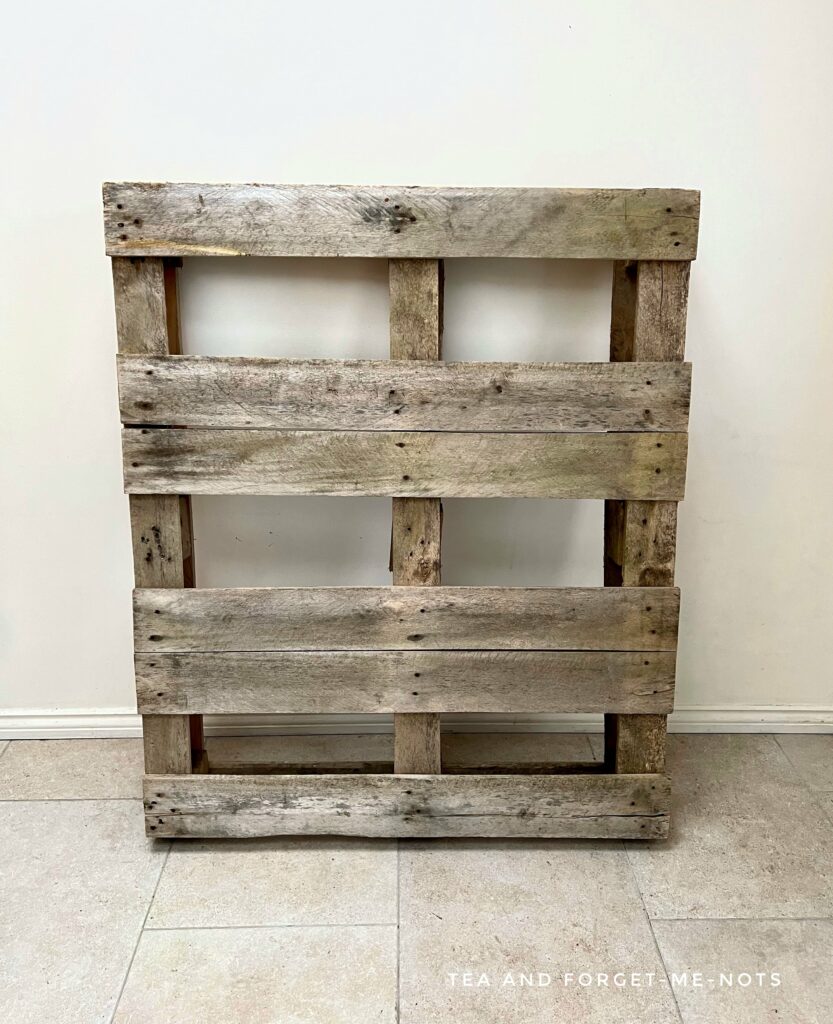
I got this pallet rack for free from family members who didn’t need it. Perfect. It helped them dispose of it while giving me pallet planks to play with.
It’s a good idea to clean the pallet boards before working on them. But I chose to dismantle this one first so I would be able to clean both sides at the same time.
The first thing I did was pry up the boards from the pallet rack with a hammer. A crowbar would have worked more easily but I didn’t have one to hand.

Some of the pallet pieces had cracks in them. So while I only needed 3 pallet wood slats to make my design, I had enough extra boards to choose from.
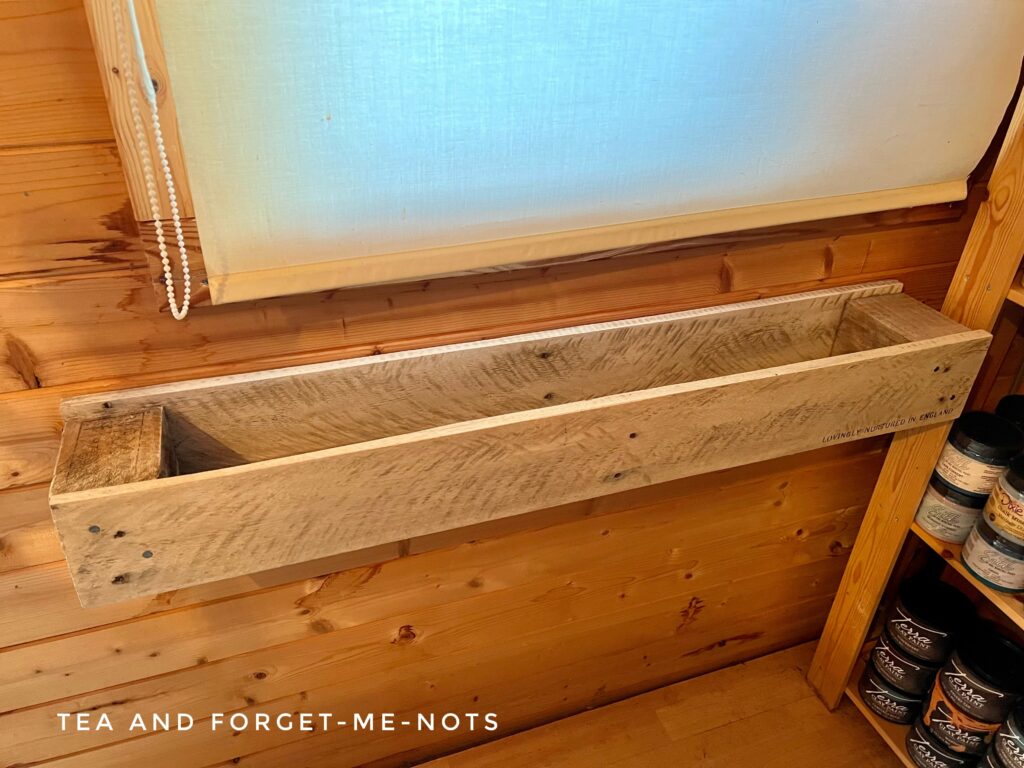
I planned to create a simple rectangular box, without a lid. That would create a shelving unit with space for hooks underneath.
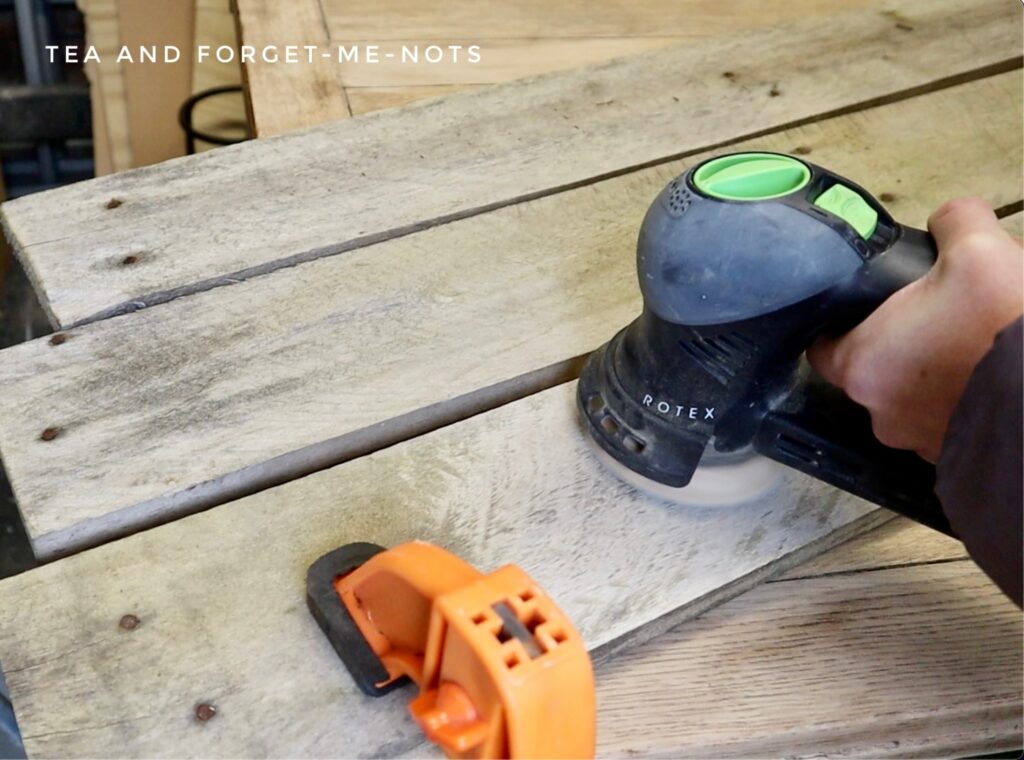
Do you need to sand pallet wood?
While reclaimed wood has character, it’s not safe to use as is. It needs sanding to ensure that you don’t get splinters from the rough edges.
Like the rustic look? Here’s what I did with concrete!
So the next step was to use my electric sander with 120 grit sandpaper to smooth out the wood. I chose to sand it just enough so that it was smooth to the touch. Not enough so that it lost the shape of the uneven surface.
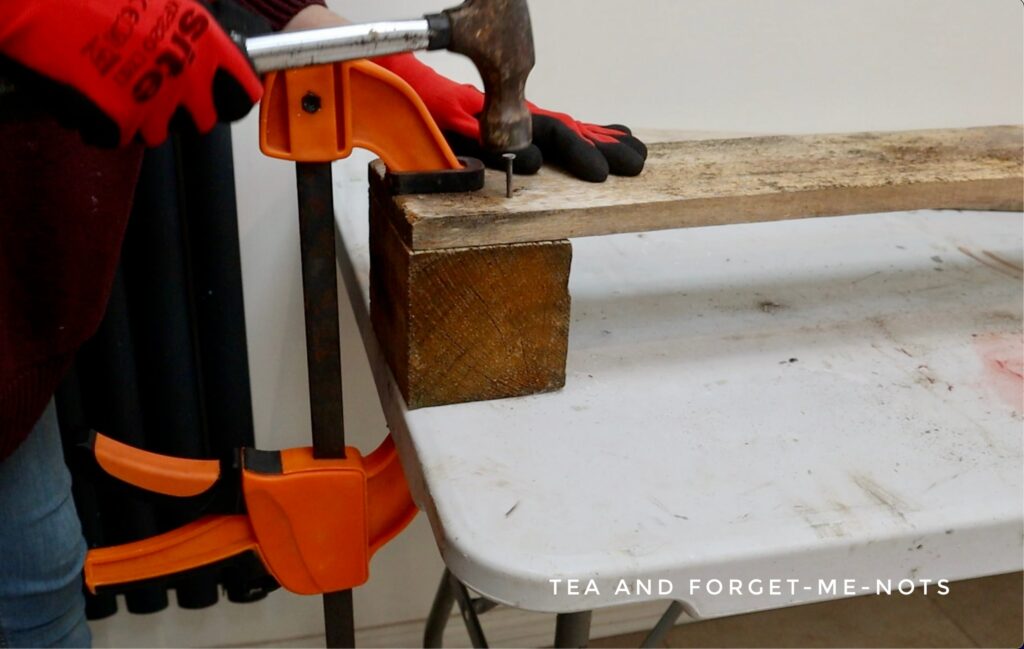
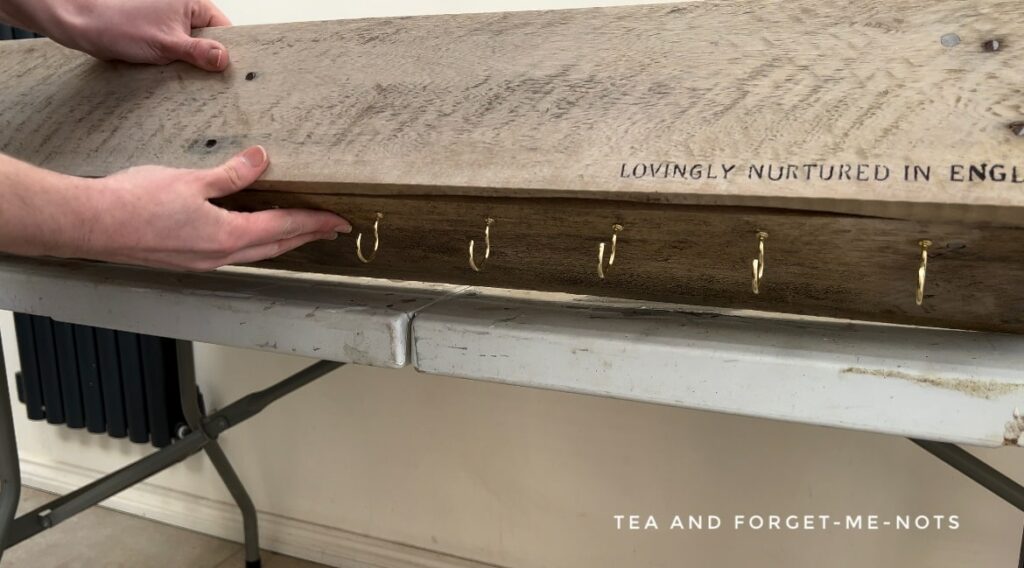
To create the box I used three wooden boards and two blocks from the old pallet wood. I started by attaching the two wooden blocks to the bottom piece of wood.
I clamped the block to the end of each piece of wood and nailed them secure. Then I repeated this with the front and back panels to create the box shape.
After it was assembled, I thoroughly cleaned the piece. I used dish soap and water and an old cloth. Then I left it to dry before the next steps.
A great addition to the wood board was the old nails. I didn’t want to remove them because it gave them a more rustic look. But if left as they were, the back of your shelf won’t lay flat against a wall.
So, I used a file to make the pointed end flat against the boards. This was a quick process but I did wear ear defenders because it made such a horrible noise!
Want to know 23 great DIY tools? Get the list!
Then for the final decorative element. I have a cute stencil about English Lavender. Even though this tool storage is more for DIY than gardening.
I used the words ‘lovingly nurtured in England’ and stencilled them in the corner. I used a sponge dabber and black paint, called Anchor.
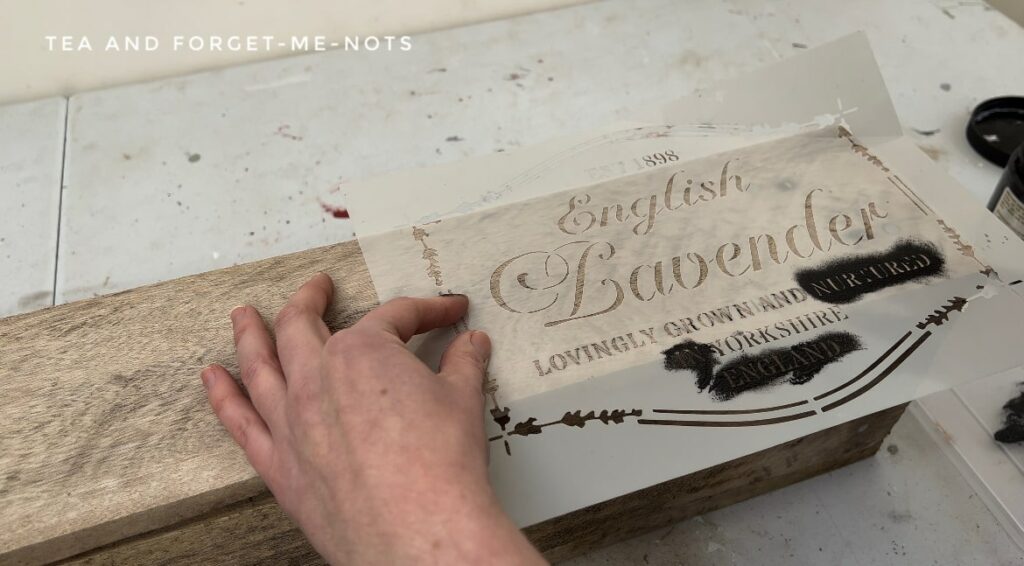
Normally I would use stencil spray to secure the stencil but as this was a rustic look, I held it in place by hand.
Did you know that you can stencil mirrors? Here’s how…
So, on to make this DIY pallet shelf fit for purpose.
How to store paintbrushes to dry
I needed to add hooks to create space for the paintbrushes to dry. I used a tape measure to evenly space 6 hooks along the underside of the bottom board.
These were the same hooks that I used in the DIY coat rack made from a ladder. So they hold up well with heavy coats.
I chose the 1- 1/2 inch size hooks due to the tight spaces beneath as they gave the most room to hang the brushes on. As I needed to allow enough space where the brush handle extends above the hole. Otherwise, the different sizes of brushes wouldn’t be able to hang freely.
So, the simple pallet shelf was complete. Now to attach it to the wall of my shed. I chose the location next to the front door of the shed, under a window. Easy to access so a great option for tool storage.
You will probably need another pair of hands to help with the installation. I put the shelf against the bare walls and checked it was in line with a spirit level.
To hold the DIY pallet shelves underneath, I bought three basic brackets.
The best tool for marking drill holes
I don’t think I’ve shown this great addition to my toolbox before. It’s called a Marxman. When pushed against something, it shoots chalk out, giving you the place to drill the hole. One of the best little handy tools.
Here are 7 more tools that make my life easier!

So with the brackets lined up, I used the Marxman to create the dots for where to drill. I drilled a small pilot hole first. Then with the brackets in place, I drilled in screws until it was a tight fit.
With the brackets secured to the shed wall, I then used the tool again to create the marks for where to drill upwards into the bottom of the shelf.
With that in place, the wood pallet shelf was secured and sturdy.
Finished DIY pallet shelf
Immediately I put my paintbrushes on it, even though they weren’t currently wet. It’s such a great place to have them rather than drying over towels on a random surface.
I filled up the shelf with power tools, my ear defenders, and my favourite tool in the world.
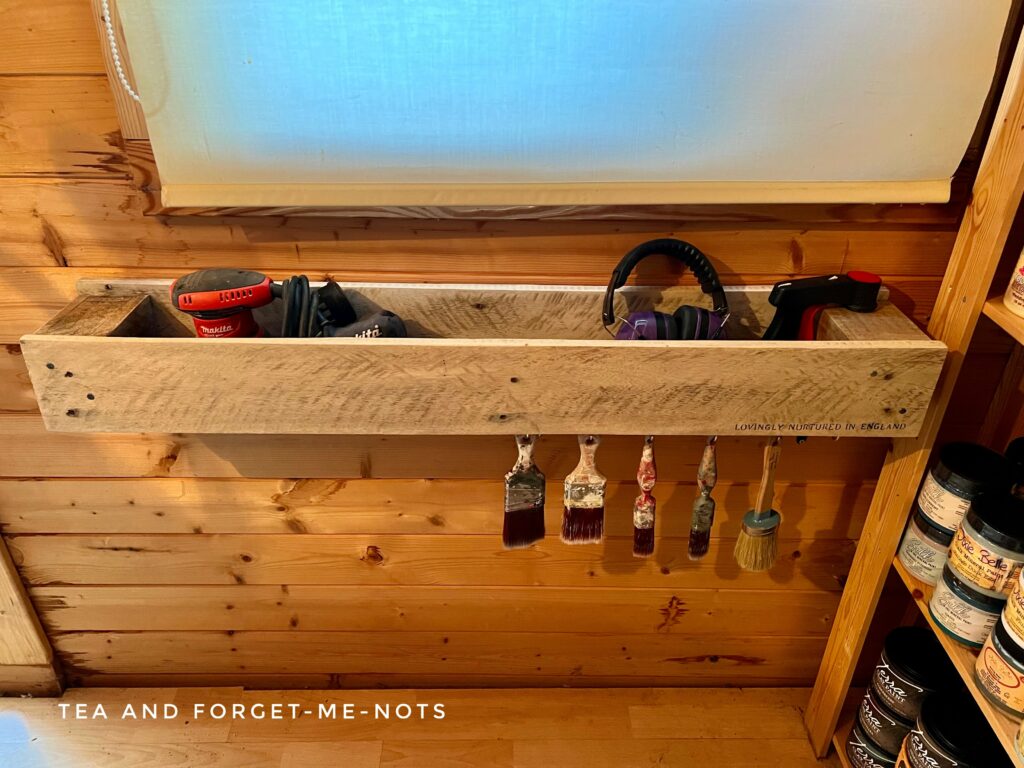
And essentially kept playing with what to store in it. I’m going to give it time to see what naturally works best. As it has a prime location so it needs to be the most-used items there.
I’m delighted with how these pallet wood shelves turned out. They’re an easy DIY project, exactly made for purpose and have a rustic charm.
This could just as easily be used as simple pallet bookshelves, or to hold coffee mugs or be a wine rack. The possibilities are endless.
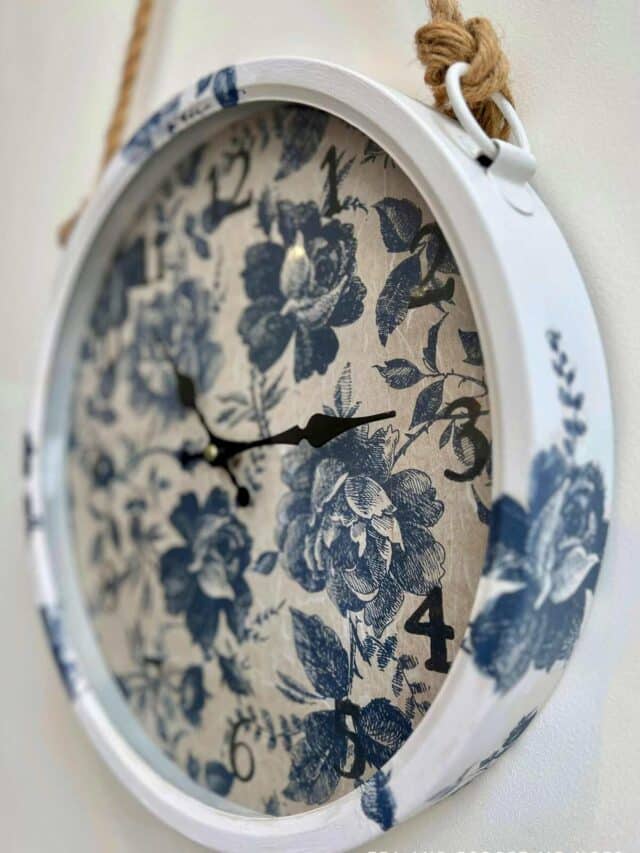
Prefer the rustic look to have a prettier feel? This decoupaged clock is a beauty!
More ideas for DIY projects with pallets…
There are a lot of wonderful things you can do with a repurposed pallet. And my friends at the International Bloggers Club share just a few of them here.
Here you’ll find a wooden pallets idea to create picture frames, adorable wall art and colourful vertical shelving units. There are great projects and a little bit for everyone.
Pallet Wood Heart – Unique Creations By Anita
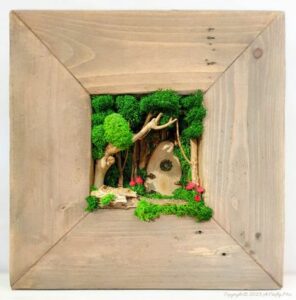
Magical Fairy Forest – A Crafty Mix
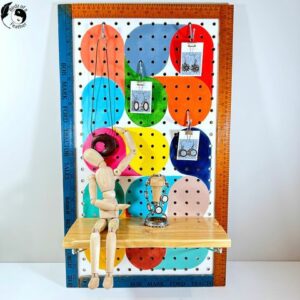
Pallet Shelves DIY – Birdz of a Feather
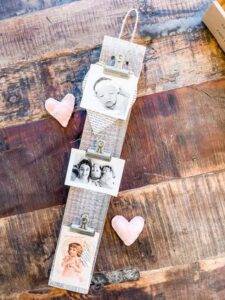
Photo DIY Holder by Saved from Salvage
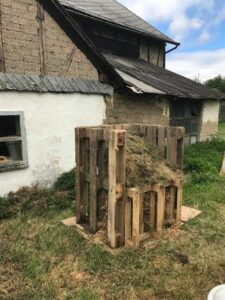
Easy DIY Compost Bin by Song Bird Blog
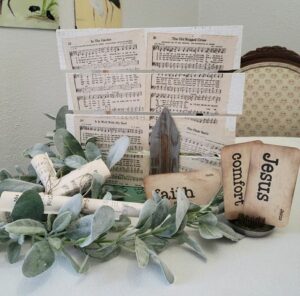
Upcycle Old Hymnals by Fifth Sparrow No More
Would you like to make a rustic pallet bookshelf or quirky home decor for your living room? The hardest part is choosing what to create.
But when you have a great idea, just go for it. It’s low risk, you’ll learn new ways of DIYing something and may end up with a rustic piece that you love.
Enjoyed this project? Check out this upgraded noticeboard for a beautiful office!
Pin it for later – How to make a Pallet DIY Shelf
If you loved this project, you’ll love these projects too:
Did you make this craft?
I love seeing what you do. Please mention @teaandforgetmenots and share your creations with me!

Hi there! I'm Rachel Bowyer, a passionate DIY enthusiast with a knack for transforming the old into something beautifully new. With a deep love for furniture painting, refinishing, and the art of crafting. I've been documenting my DIY projects and restoration journey since 2018. I specialise in techniques like decoupage, stencilling, and decor transfers. Join me as we explore the world of creativity and home improvement, one project at a time.
Such as useful and practical project Rachel! Once the weather warms up, I’m sure I’ll be trying this out!
Thanks, Sara, I recommend it!
Okay, I’ve just decided I need a rustic pallet shelf like yours and one of those Marxman thingamabobs. They’re both genius. I wonder if you could use a few of those slotted keyhole hangers instead of brackets?
I’m sure you could. The wooden blocks in particular were quite heavy which is why I went with the stability of the brackets.
Of course, this makes for very helpful shelving! I love the usefulness you found with this project and the repurposing you accomplished Rachel.
Thanks, Maria
What a great way to store paintbrushes! I’m amazed at all the items people make out of pallets! Enjoy your new organized storage! Great job!
Thanks, Donna. I am!
Great job on this Rachel!
FABULOUS upcycle, Rachel!
I’d love for you to join us over at the Creative Crafts Linky Party every Wednesday through Sunday
https://creativelybeth.com/creative-crafts-linky-party/
Followed and Pinned!
Creatively, Beth
So nice to see you in the Int’l Bloggers Club, Rachel! Oh boy, could my workshop use one of these and I have pallets. Thanks for the idea!
You’re welcome. It is very useful.