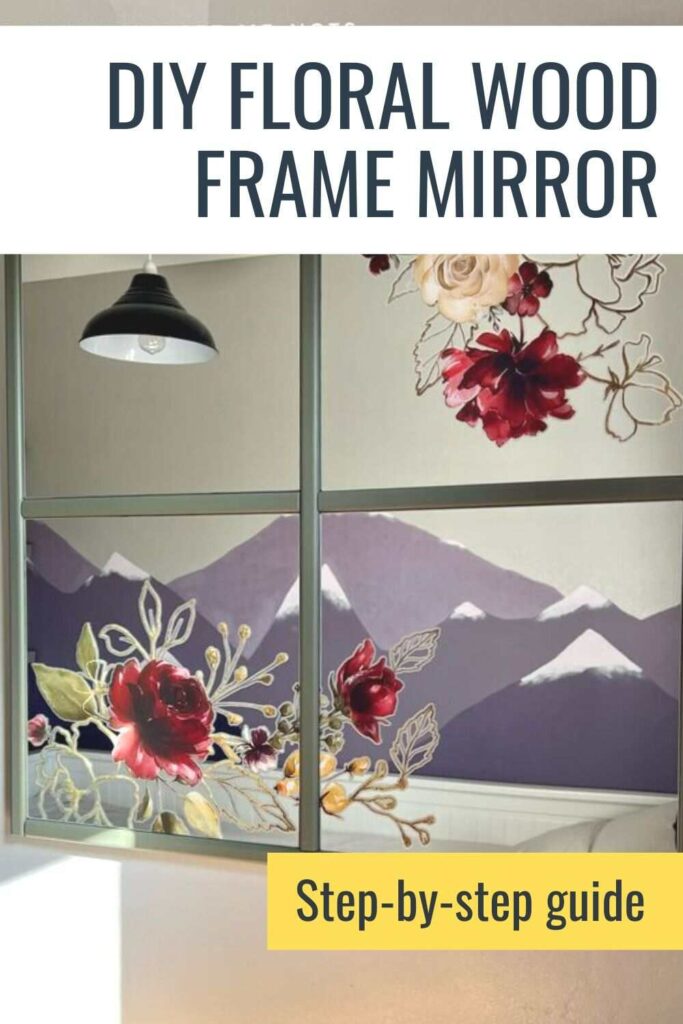
How to Make a DIY Wood Frame Mirror with Ikea Mirrors
Want to make a DIY wood frame mirror? Here are the easy steps to make it yourself using IKEA mirror tiles.
You can make a beautiful DIY wood frame mirror with a few supplies: IKEA mirror tiles, wood trim and an MDF board. Here’s how you create it…
This post includes gifted products and affiliate links so you can easily find the products I use myself and recommend to friends. If you purchase these products, I may earn a small commission at no extra cost to you.
DIY Wood Mirror Frame
The first thing to do is measure the size of the mirror tiles that you have. This is so you can work out the size of the back of the frame.
I used four LOTS mirrors from IKEA.
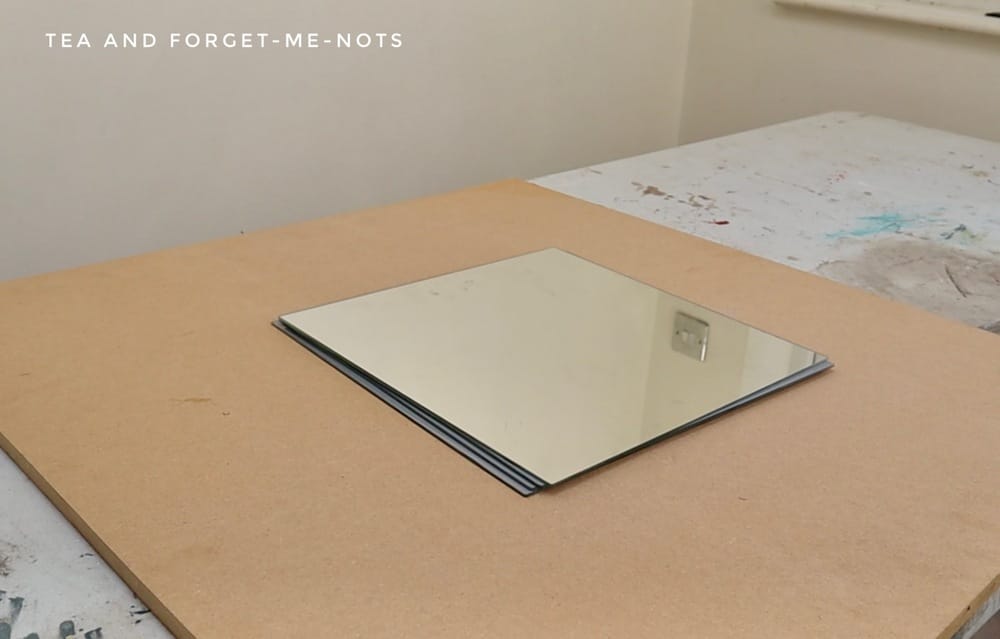
IKEA also sell Blodlonn mirror tiles which are very similar tiles to LOTS mirrors. They’re more easily available in some countries and are slightly different materials. But are interchangeable as far as this design goes.
How do you frame a mirror for cheap?
You need wood trim for the DIY mirror frame. This is to create a window frame look surrounding the mirror tiles.
I chose two pieces of wood from my local hardware store. These are D-shaped mouldings so have a slight curve to them. And are pine wood pieces.
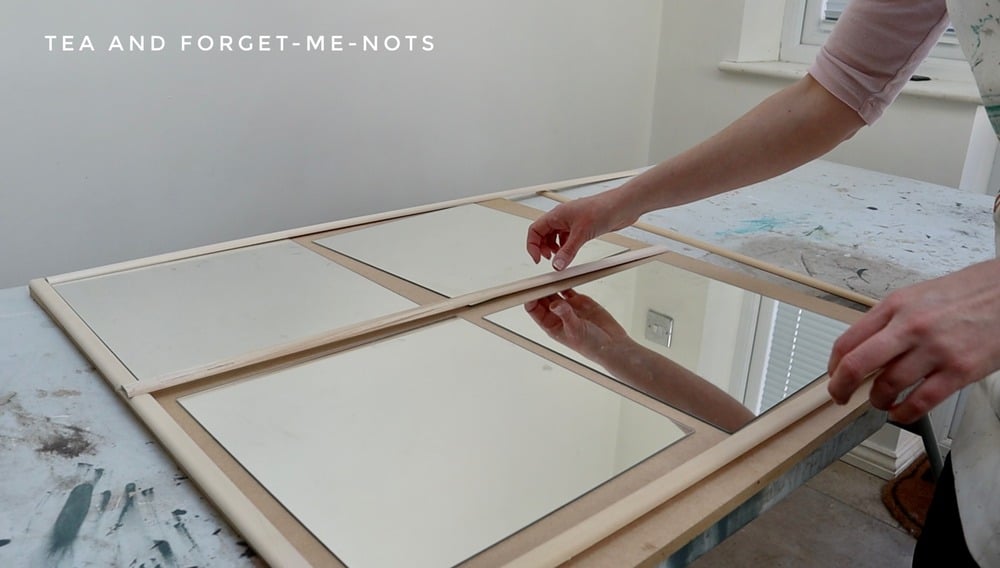
I did a rough cut to size for each of the frame pieces. By doing a test cut I had the length and width of the backing board.
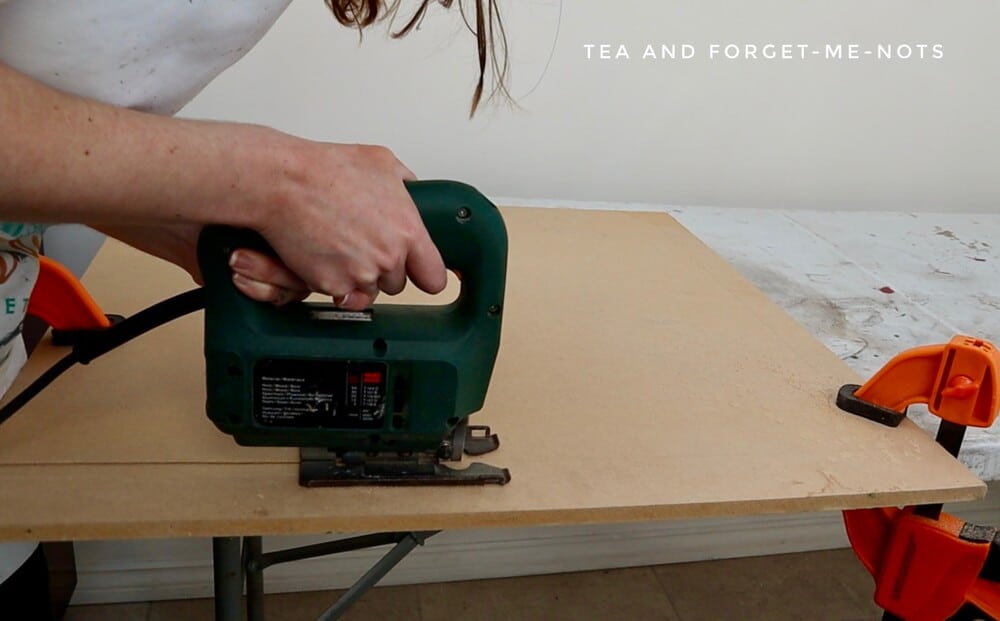
For the back of the mirror, I used a scrap piece of MDF board. MDF is a sturdy and cheap material. And as this was scrap board leftover from another DIY project, even better as it was free.
MDF is not suited as a material for somewhere like a master bathroom because it is not water-resistant. So I do not recommend MDF for a DIY bathroom mirror frame.
I had my test cuts from laying out the mirror tiles and the trim. Then I used a tape measure to ensure that it made a square. And cut the MDF to size with a jigsaw.
It was then time to perfect the woodcuts around the edge of the mirror. I sanded them smooth and butted them up against each together. You could also cut the ends at a 45-degree angle for them to slot together.
While the wood trim pieces looked nice with their natural appearance for a rustic frame. The MDF needed disguising. So I painted both to make it look like it was all part of one piece.
DIY Wood Frame Mirror Video
Can you paint MDF?
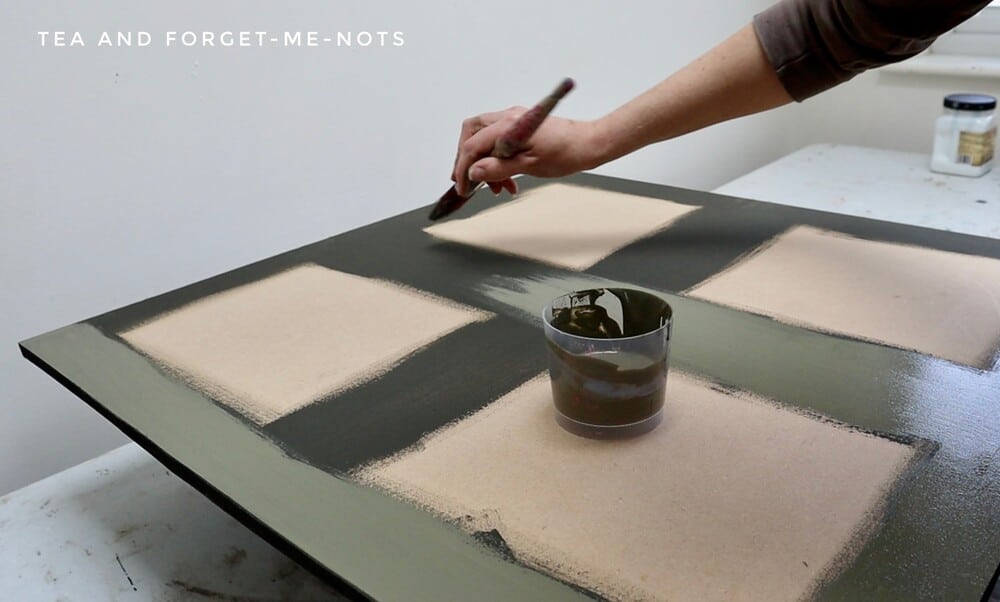
I chose a dark green chalk paint called Collard Greens. I painted two coats on the wood frame. For the MDF board, I painted the entire back to hide the unattractive back.
For the mirror-covered front, I painted the grid pattern to cover any small gap between the mirror and trim.

However, after the dark green had dried, I wasn’t convinced.
I chose green to complement the colour of the furniture transfer. But it was too dark. It’s one of those interesting colours that look completely different depending on the light.
So, I then went over the Collard Greens with two coats of Cactus. A lighter, camouflage-coloured green.
Cactus is a Silk paint so has a built-in top coat. And I also mixed in some Clear Coat to give it extra durability.
A mirror is a low-traffic area so doesn’t need heavy-duty protection. So, between the in-built top coat and extra top coat mixed in, that was how I sealed the paint.
How to apply a furniture transfer to a mirror
The transfer I used is called Midnight Floral by Redesign with Prima. It’s a beautiful transfer made of reds, greens and gold.
I used it on a popular desk makeover I did last year.
Just as with the scrap MDF, I had parts of this transfer left over. I love when I can reuse parts for several projects. It keeps the cost and waste down.
Furniture transfers can be a perfect addition to a plain old mirror. As long as the transfer does not cover too much of the surface of the mirror, it is still functional and even prettier kind of look.
While with painted surfaces, you have to wait 48 hours to apply a transfer. There are no such problems with applying a transfer over a mirror or glass.
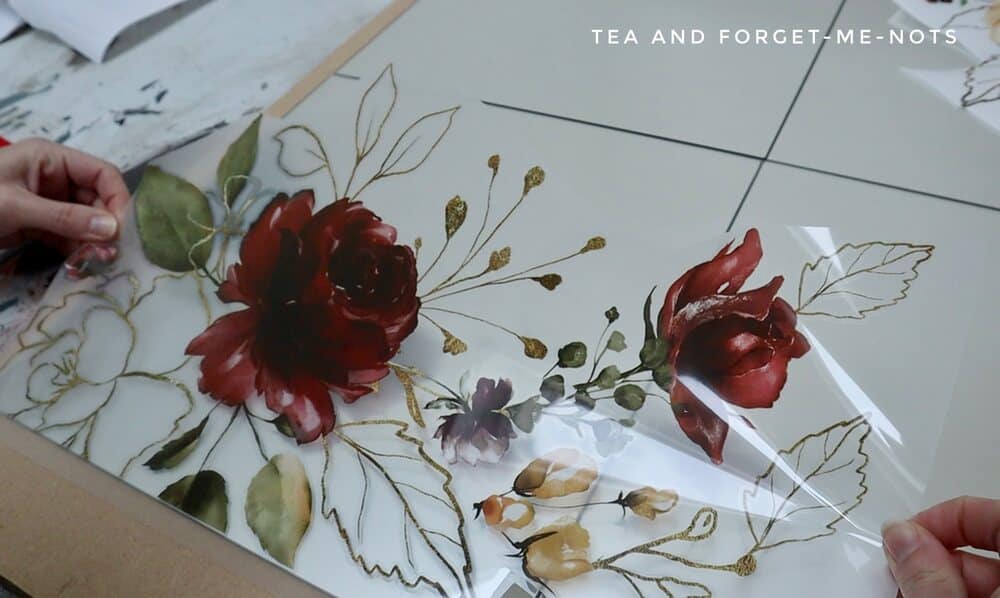
I chose two parts of the floral transfer to apply over three of the mirror tiles. Normally a transfer comes with a wooden tool to apply it to the surface. But as I wanted to be careful to not scratch the mirror, I used a felt-edged tool instead.
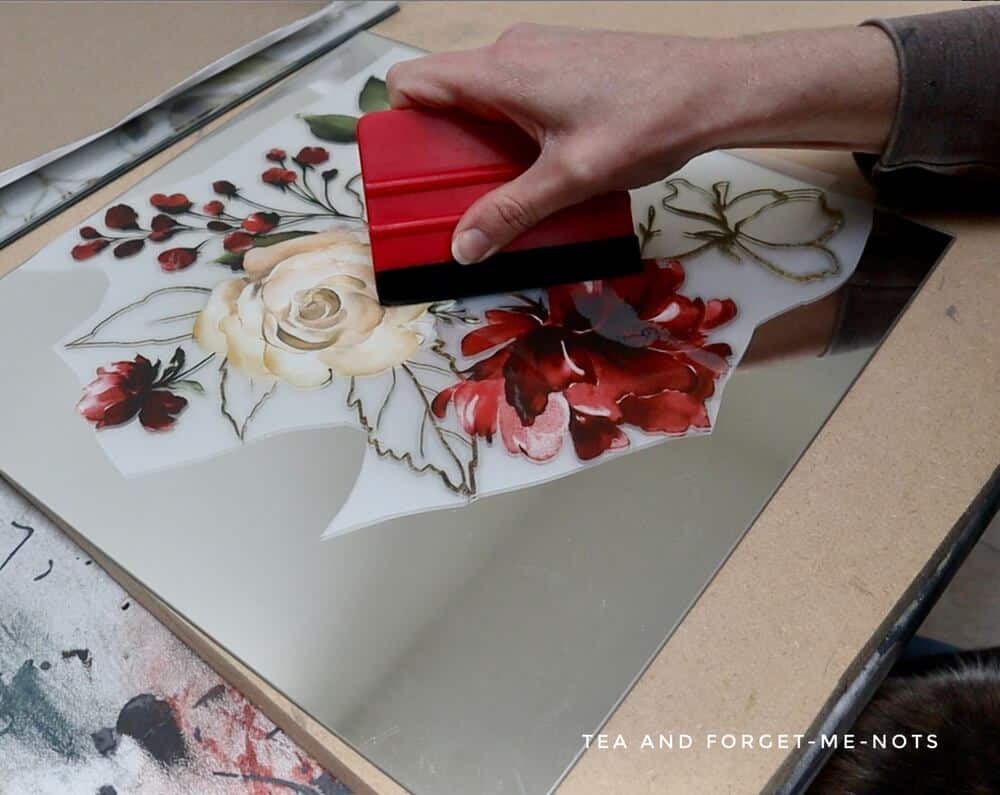
I didn’t want the dividing frame in the middle of the mirror tiles to have a transfer on it. So I chose to apply the transfer before each piece of mirror tile was in place. Then I could cleanly cut the transfer between the two tiles.
You don’t need to seal a transfer on a mirror. Although you can carefully use wax if you want to.
And for cleaning it’s a good idea to only use a dry cloth and no chemicals.
How do you stick mirror tiles to wood?
The next step was to attach the mirror tiles and wood trim to the MDF board.
I started with the top of the mirror and used wood glue on the first piece of trim. I secured it while it dried with painter’s tape. Painter’s tape is a good choice as its low adhesiveness is unlikely to pull up the fresh paint.
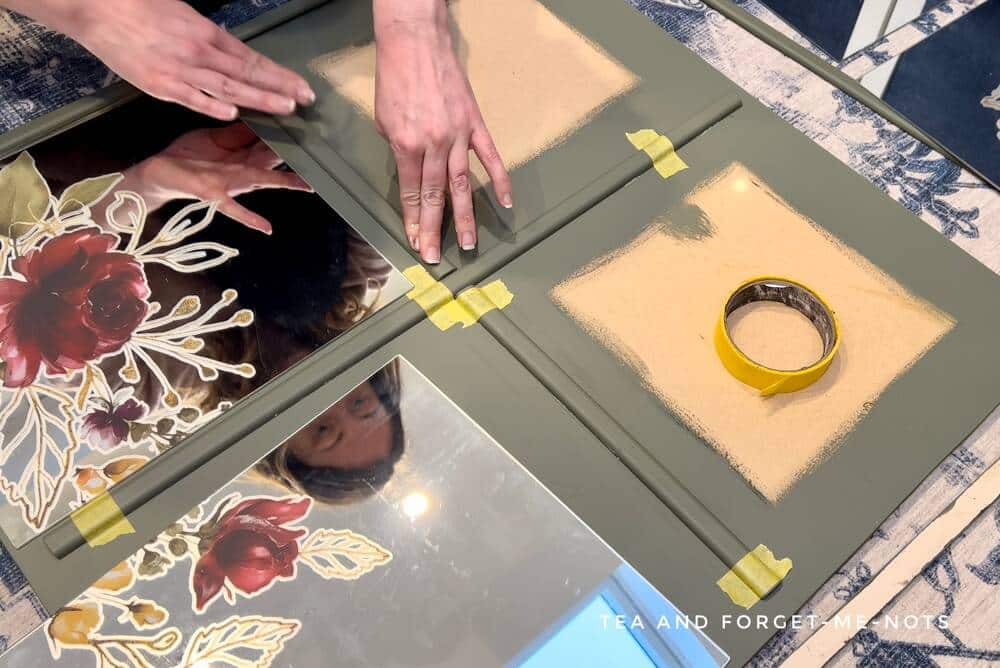
I then worked my way methodically along the width of the mirror, ensuring that every piece was closely joined.
Where there was excess glue, I cleaned it off with a damp cloth.
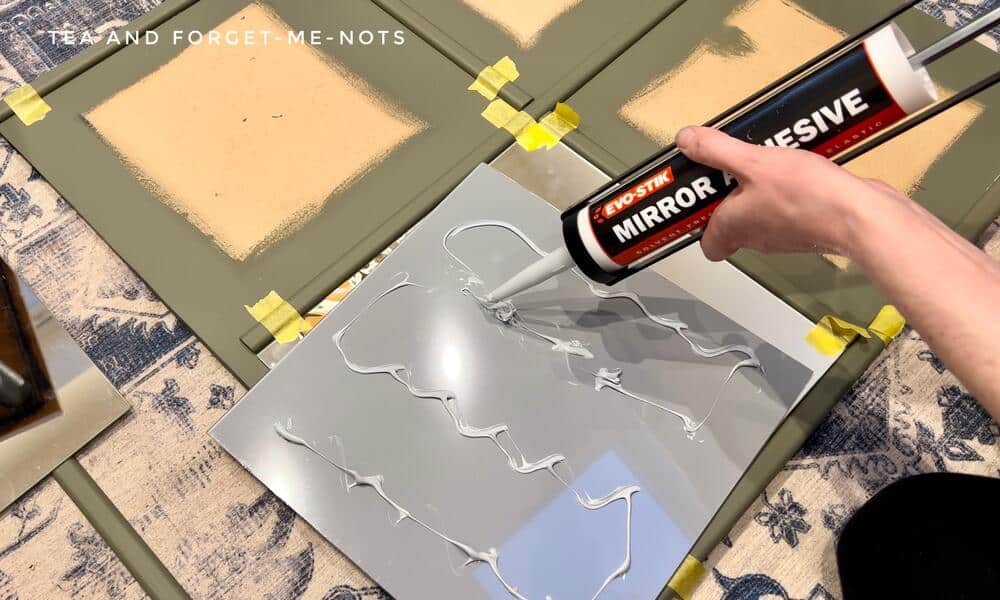
IKEA LOTS mirrors come with double-sided tape to secure them in place. However, I used mirror glue to attach these mirror tiles to the MDF board. Mirror glue is effective because if the mirror breaks, it doesn’t fall off, it shatters in place. So it’s less dangerous.
With the bottom piece in place, the edges of the mirror were complete.
I used a mirror glue like Liquid Nails. Depending on how thick the mirror is, is how much glue you need to apply. I put lines of glue about 10cm/4in apart.
What’s the best way to hang a heavy mirror?
To attach the mirror to the wall, you can use a very sturdy Z-bar attachment. This is a two-part system. One half is attached to the mirror and the other half to the wall.
D-rings are used for hanging a picture frame or mirror. However as MDF is heavy, a Z-bar (also known as French Cleat) gives extra security.
I made the holes for half that were attached to the mirror before assembling the mirror and frame. This was so that I had a flat surface to work on when attaching the mirrors.
How to make a DIY wood frame mirror
I’m so glad about how this wooden mirror frame and floral transfer combination turned out. It’s an easy way to turn smaller existing mirror tiles into a statement, large mirror.
I can see this mirror getting a lot of use. It’s so pretty and the colour is bright and complementary.
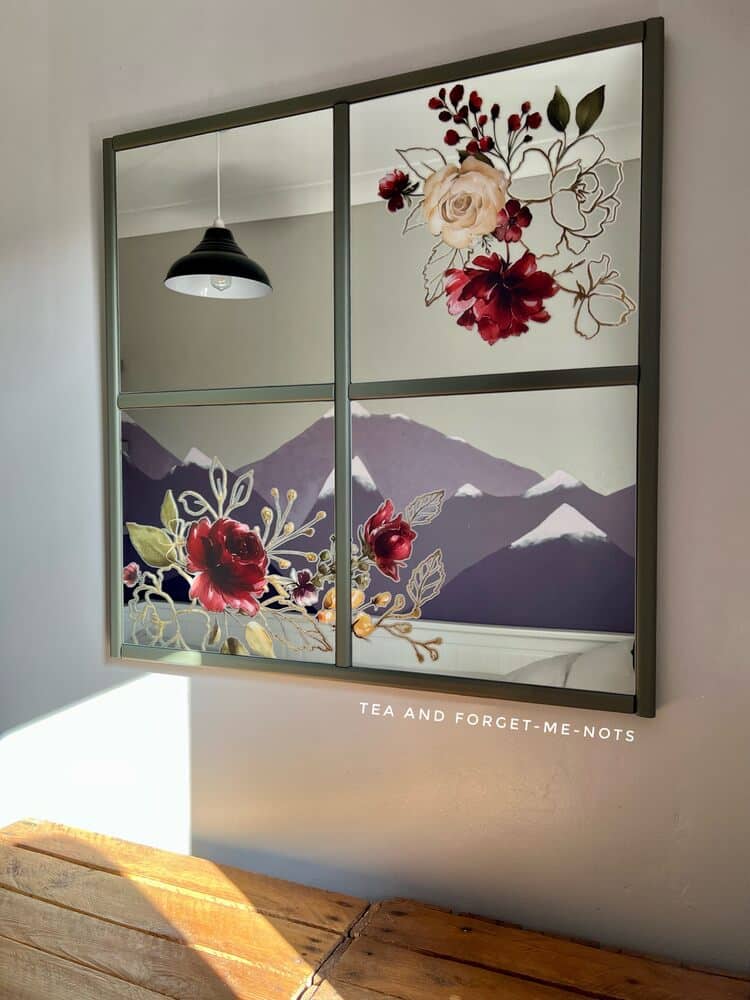
Of course, the LOTS tiles could be left as unframed mirrors. However, I think it makes them look more sophisticated with a DIY wood frame.
If you had a solid wood backing then you could also leave the wood grain exposed for a rustic mirror frame look. Changing the frame style would create a whole new look.
This is quite an easy DIY project but makes a big difference.
If you aren’t comfortable using a power tool, a home improvement store like Home Depot will cut it to size for you. I had a DIY store do that for me on this industrial grid mirror frame DIY.
For more mirror makeovers, check out these previous transformations.
Like to see the mirror come to life? Watch the YouTube video.
Supplies to build your own mirror frame:
- Square mirror tiles
- Midnight Floral Transfer
- Z-bar
- Furniture Dolly
- Painter’s Pyramids
- Marxman Hole Marker
- Collard Greens Paint
- Cactus Paint
- Satin Clear Coat
- Brush
- Wood Glue
Pin it for later – DIY wood frame mirror

Hi there! I'm Rachel Bowyer, a passionate DIY enthusiast with a knack for transforming the old into something beautifully new. With a deep love for furniture painting, refinishing, and the art of crafting. I've been documenting my DIY projects and restoration journey since 2018. I specialise in techniques like decoupage, stencilling, and decor transfers. Join me as we explore the world of creativity and home improvement, one project at a time.
Rachel, this mirror has a lovely personalized touch, and the green compliments the transfer very well, nice work!