Add a Splash of Colour to Farmhouse Kitchen Decor
Like the rustic wooden look of a country kitchen? Add a splash of colour to farmhouse decor with paint to add interest and still keep the modern farmhouse style feel.
I made a mistake on this one. So it didn’t turn out exactly how I imagined. But the general feeling was still there.
It perfectly captures one of the best things about clay paint That it is easy to distress or remove completely until it is sealed.
But when that paint comes off when you don’t expect it. Well, that’s when the benefit of clay paint becomes the challenge.
This post includes gifted products and affiliate links so you can easily find the products I use myself and recommend to friends. If you purchase these products, I may earn a small commission at no extra cost to you.

Do It Over Designers
Do It Over’ Designers is a group of talented bloggers who love to recycle, upcycle and DIY. It’s about taking something old or unused and ‘doing it over’ into something new.
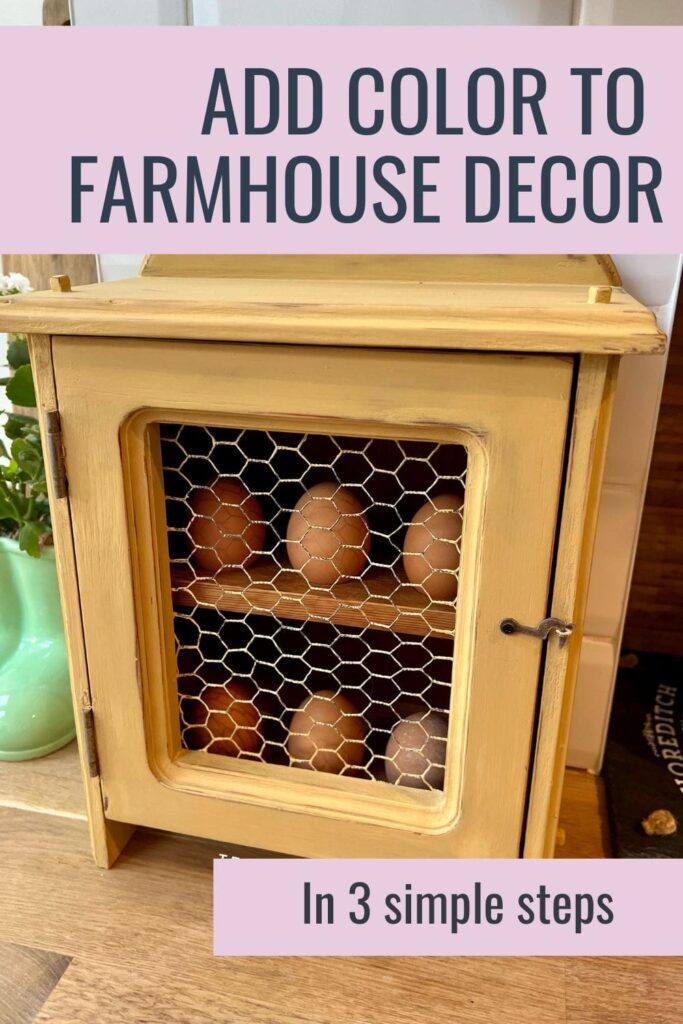
How to Paint an Egg House Step by Step
Materials Needed
Step by Step Instructions
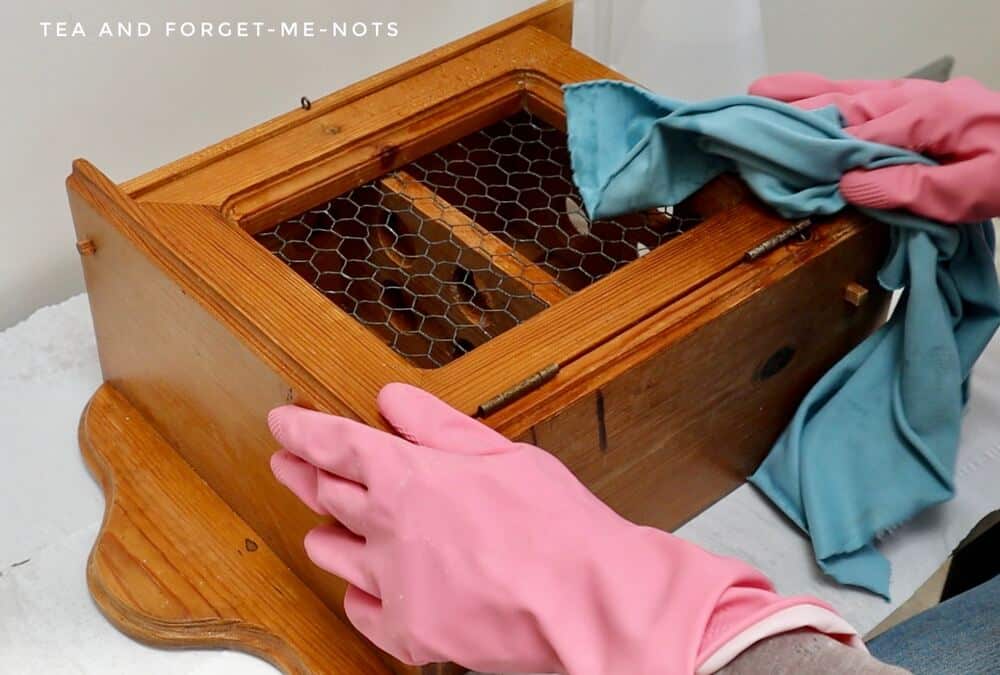
Step 1: Prepping the egg house for paint
I started with a cute egg house.
It cost £3 from a charity shop. A plain, farmhouse piece with a sticker saying that it had been made in Cambridgeshire, England. Probably not very old.
As with all things where you don’t know its history. Cleaning is the way to start.
This not only makes them something that you’d want to have in your house. But also means that paint or stain will stick better to it.
Fortunately, as it’s just a small egg house, I was able to clean it quickly. Firstly spray it with White Lightning and wipe over it with a cloth. Then removing the cleaner with some fresh water.
Cleaning, as with sanding, is one of those boring but necessary steps. The sneaky thing about them is that you don’t always know if you’ve done a good (or bad!) job until it’s too late.
If the paint doesn’t adhere well or flakes off easily, it’s likely due to inadequate cleaning or sanding. But by the time you know that you may well have finished and be using the piece.
So, best to start by doing a thorough job.
Scuff-sanding wooden decor
As this egg house had a finish on it already, I needed to scuff sand it. Which is gently roughing up the existing finish to help the paint to grip it. If the old finish is flakey then it will all need removing to be able to get a nice, smooth finish.
I scuff sanded the egg house with 180 grit sandpaper. You always want to finish with 180-grit sandpaper or higher to have a surface that is smooth to the touch.
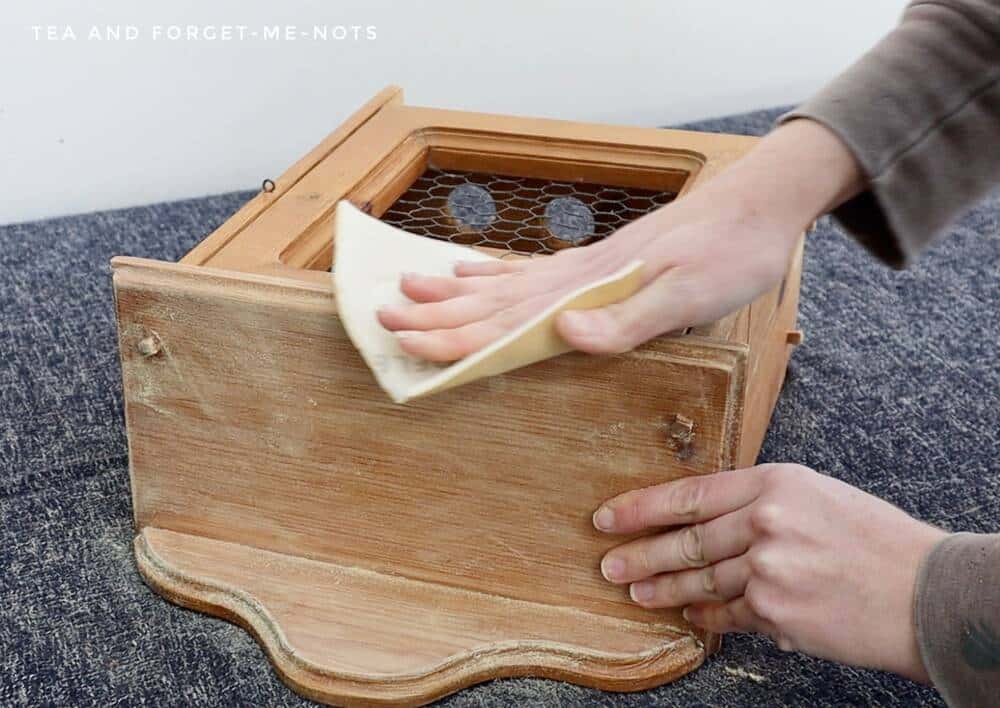
80-grit sandpaper, for example, is rougher so removes finishes quickly. But also leaves a rough surface so isn’t suitable for finishing.
Before painting, I removed one piece of hardware. A small hook for the door. Which I stored in a little pot. Alternatively, you could use Frog Tape to secure it to the inside or back to keep it safe.
I scuff sanded the egg house with 180 grit sandpaper.
You always want to finish with 180-grit sandpaper or higher to have a surface that is smooth to the touch. 80-grit sandpaper, for example, is rougher so removes finishes quickly. But also leaves a rough surface so isn’t suitable for finishing.
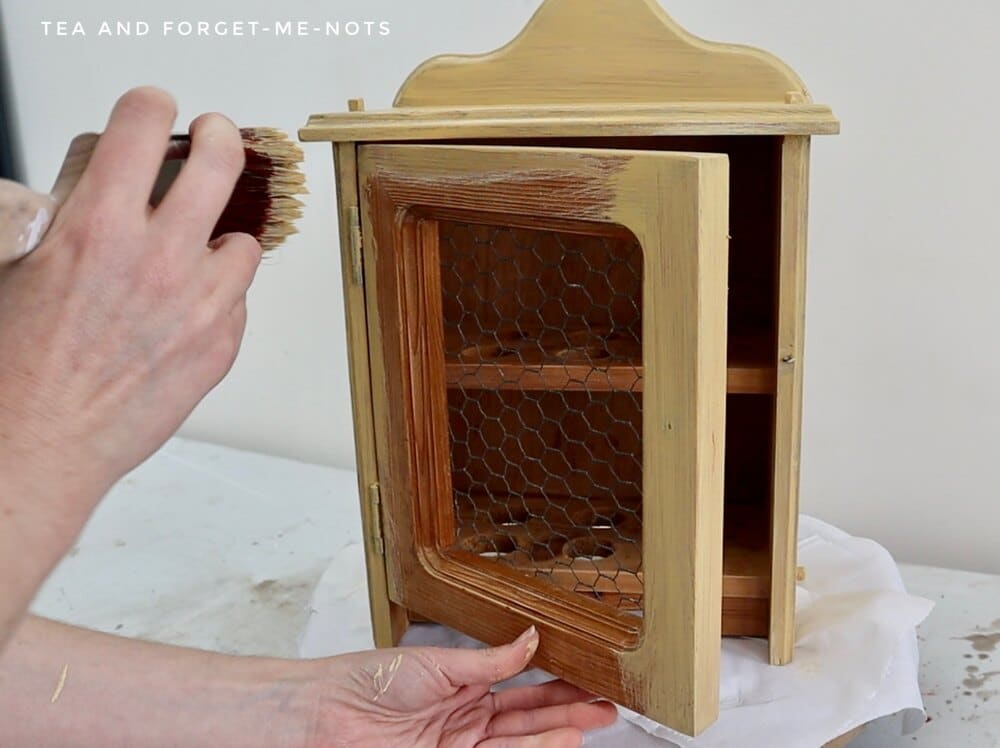
Step 2: Painting farmhouse decor with Clay Paint
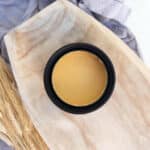
I wanted to keep the paint subtle and in keeping with the farmhouse look. So, I chose a pale yellow called Wheat. Wheat is a clay-based paint from the Terra line.
You’ll see why that’s important later when I make a mistake with it!
I’m no stranger to clay paint. I painted this ombre chair with it which held up perfectly.
Not all farmhouse interiors need to have white cabinets or stone walls. You can add rustic charm in different ways with farmhouse decor ideas too.
For a buttery smooth finish, it’s best to sand between coats of paint. This helps avoid brush strokes and removes nibs of paint.
I did two coats of Wheat. It’s such a lovely, calming yellow. Perfect for a soft touch of colour for home decor in a farmhouse kitchen.
It works especially well to add a sunny colour if you don’t get much natural light. Or as a bright pop of colour against white walls.
Then, came my mistake.
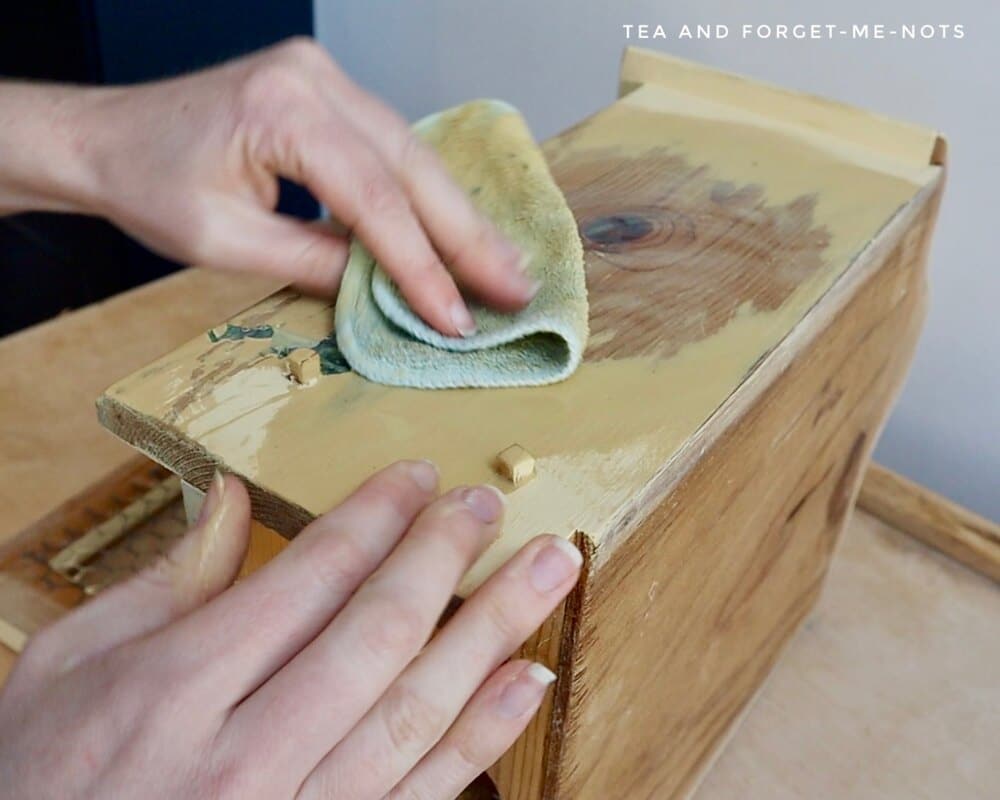
How to remove paint by wet distressing
I wanted a lightly distressed look to help with the rustic feel.
You can do this with sandpaper. Or you can wet distress. Wet distressing is when you use a wet cloth to rub off the new (but dry) paint.
I used a wet cloth as I was working with clay paint. The beauty and flexibility of clay paint is that it’s easy to blend and move around. Even once dry.
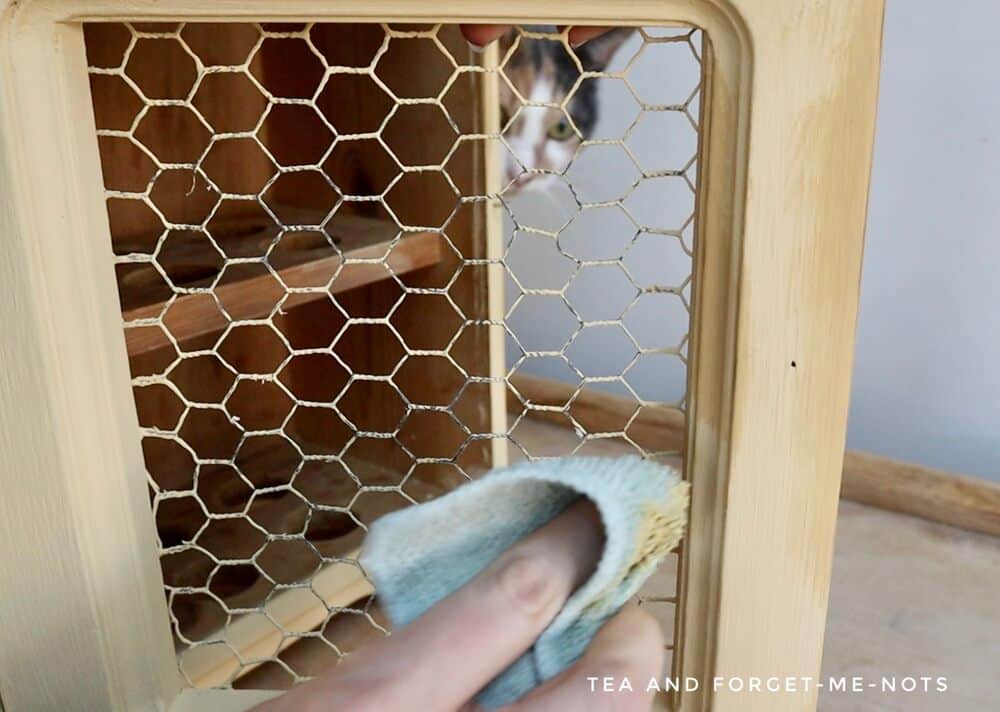
It’s a great artistic paint to create interesting colour schemes with.
So, I wet distressed around the edges of the egg house. In the places that would naturally wear the finish off with regular use.
But this was where I caused myself a problem.
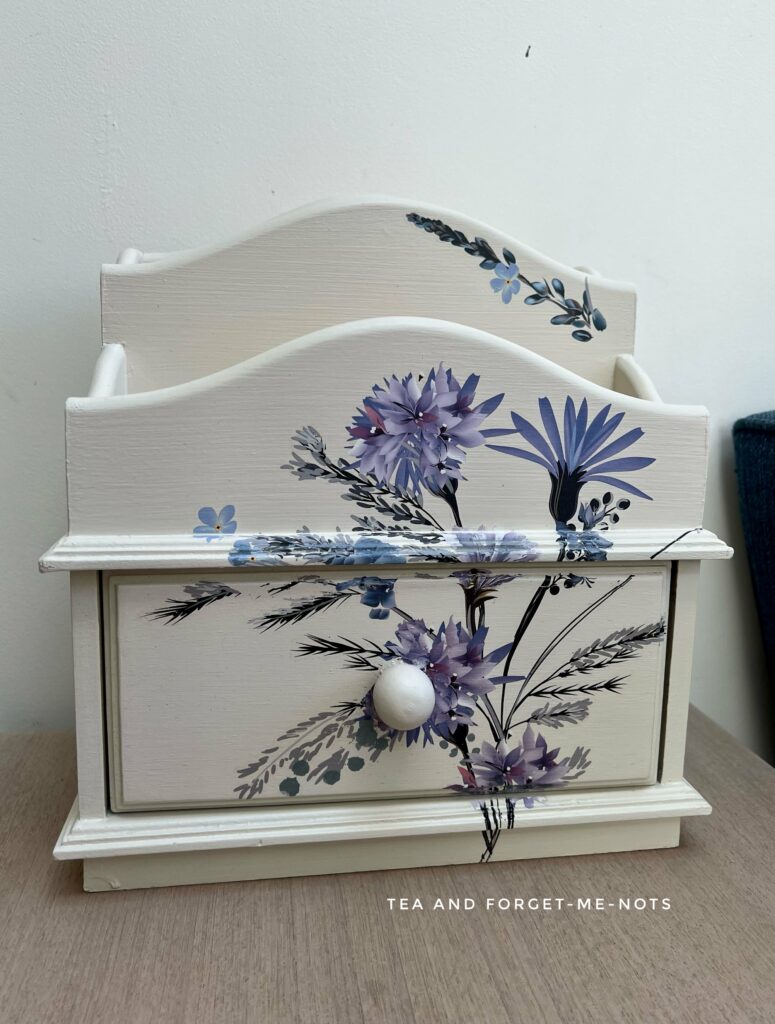
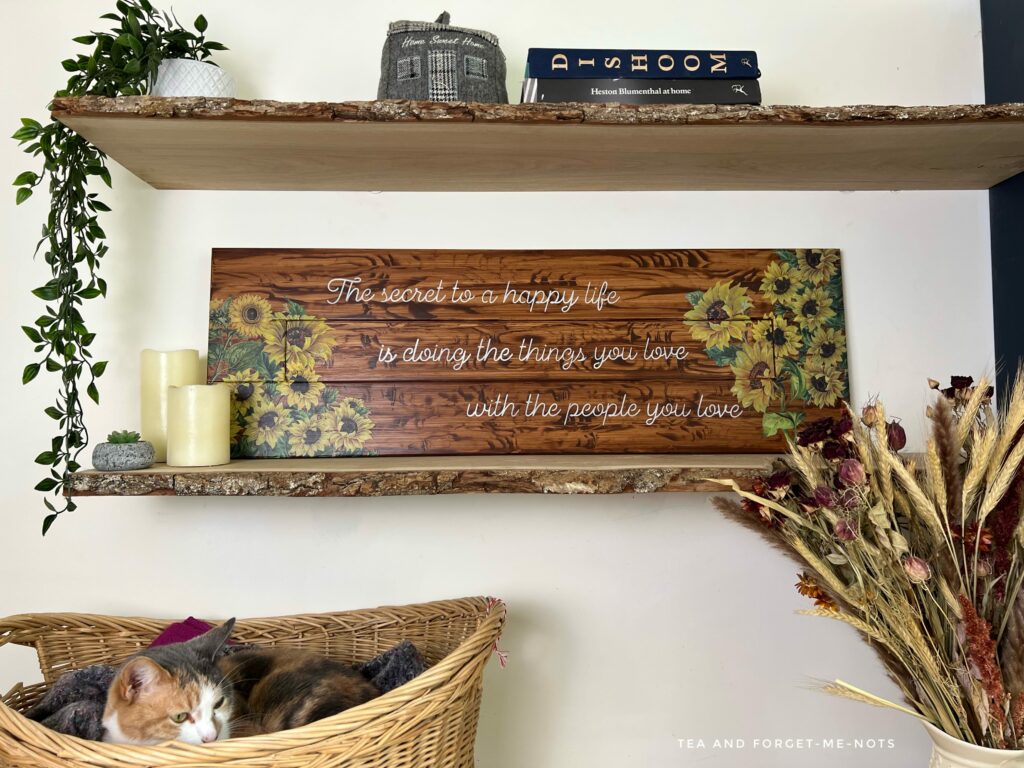
The next step was to apply a transfer. I chose a lovely sunflower transfer. I had some spare from when I turned a cabinet door into a beautiful sign.
A piece of art is sometimes the easiest way to add natural elements to a room.
For the first time, the transfer was difficult to apply. It didn’t want to adhere to the paint. Then when I had some of it attached, I removed the plastic backing paper. And it pulled up chunks of paint with it too.
Not ideal.
But thankfully the paint was easy enough to remove to start again.
I assume that I accidentally got the area where I applied the transfer damp when I wet distressed. I didn’t think that I had, but that would make sense.
Clay paint needs to be completely dry before adding anything to it. Even though the paint had been dry for a few days, the distressing wasn’t.
I could have tried again but decided I liked the simpler look anyway. Sometimes the biggest challenges are the ones we create for ourselves!
So, I repainted the side and got it to look the same as the rest. Then it was time to seal it.
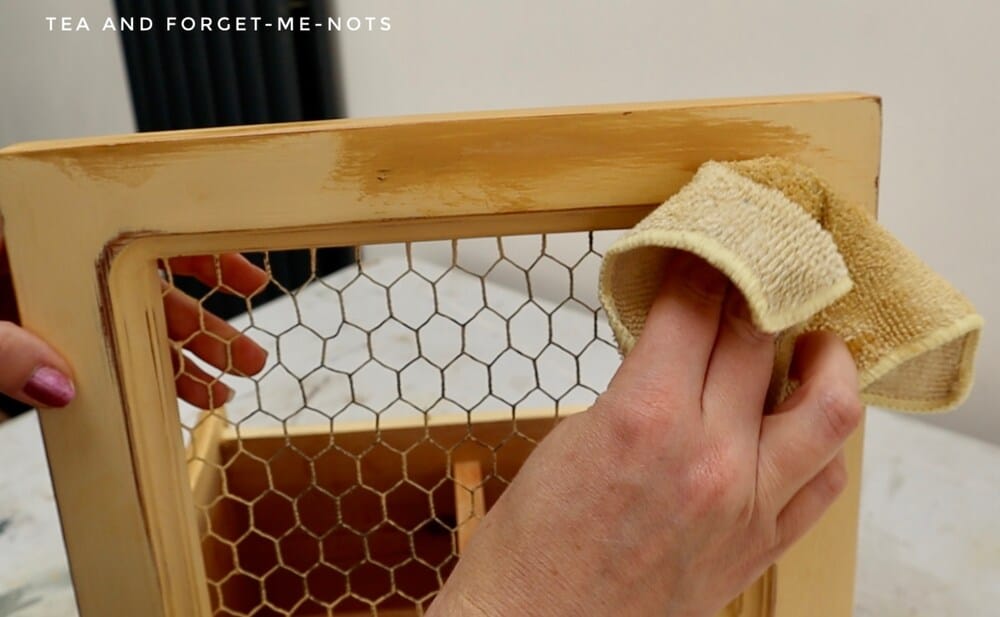
Step 3: How to Seal Clay Paint
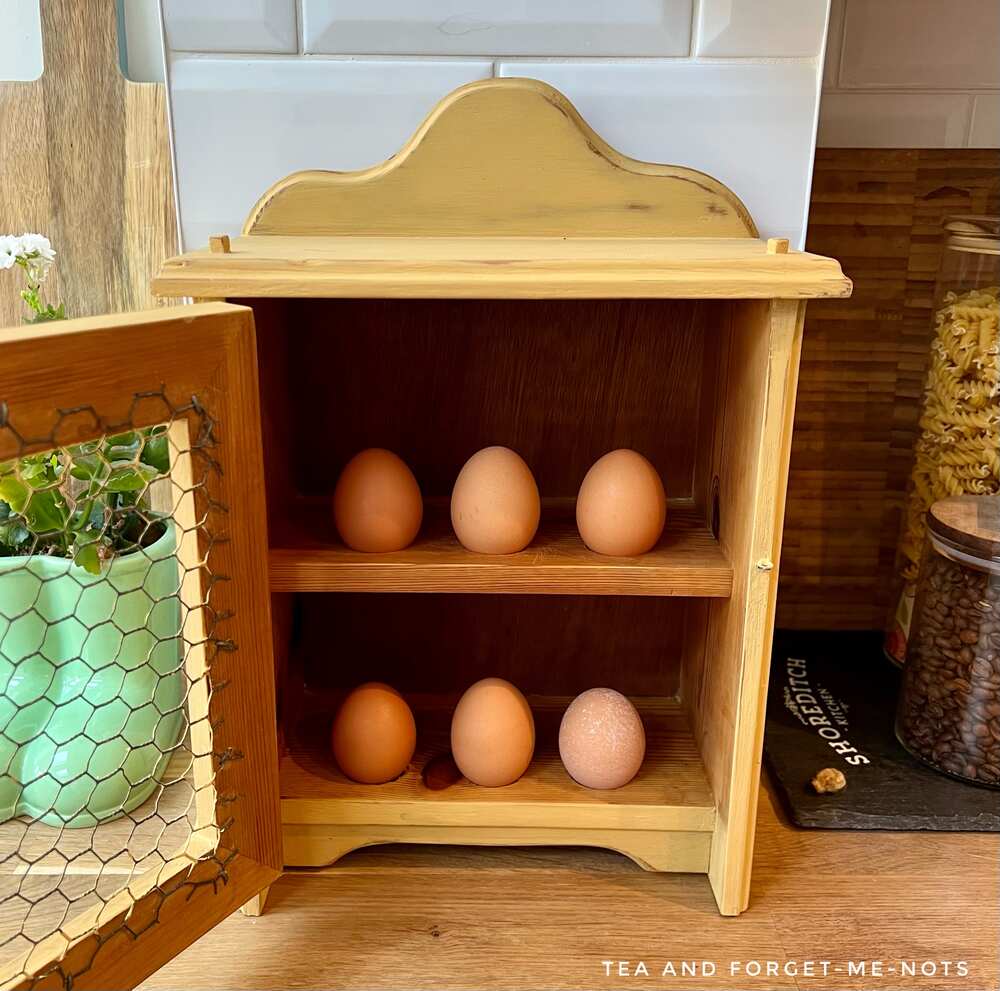
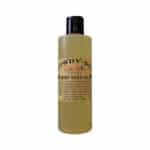
I left the inside of the egg house unpainted to add contrast to the yellow outside. I simply refreshed the warm wood tones with hemp oil.
Which is also what I used to seal the paint.
Hemp seed oil is a good choice because it’s food safe. It also has a medium level of durability and protection. Which is fine for a low-usage piece like this egg house.
You wipe it on with a lint-free cloth or an old T-shirt. Then wait until the next day to wipe off anything that hasn’t been absorbed into the paint or wood.
You can reapply after this for extra protection if you need it. It’s such an easy way to add protection without needing a brush or roller.
It darkened the yellow quite a bit. Into more of a sunny yellow rather than pale. Still a pretty colour and perfect for a modern farmhouse kitchen look.
How to Add Colour to a Farmhouse Style White Kitchen
It has a happy little look to it. A simple makeover but with a lovely result.
This would work especially well on open shelving to free up counter space.
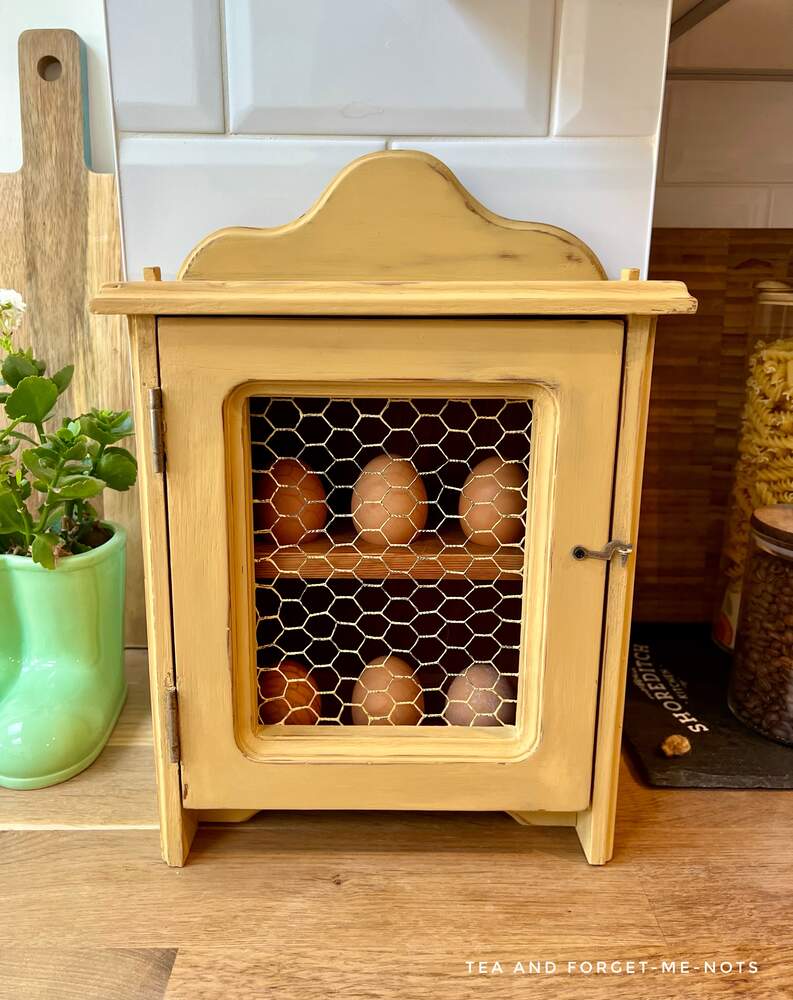
It adds some interest in front of the subway tiles on the kitchen walls. But it would equally stand out against brick walls.
This works well for me against my navy blue cabinets. Complementary colours are some of the best ways to make an entire room look cohesive.
The great thing about painting decor is that it’s a small investment in both time and money to add some character to your own home. Whether that’s a traditional farmhouse style or more modern.
And you can easily take it with you to a new home. It’s always fun coming up with creative ways to get new looks to suit the design style of your home.
The neutral tones are easy to pair with natural wood and vintage pieces. It’s the small touches that can create the modern farmhouse look with both painted and wooden elements.
My favourite supplies
Here are some of the supplies that I used when making this project!
Terra Clay paint
The lovely pale yellow clay paint. Great when blended with other paints too.
Hemp seed oil
The easiest top coat you’ll ever find and safe for food items too.

Sunflower Transfer
A pretty sunflower transfer to brighten up any project.
Answers to your questions about painting the egg house
how would you fix the transfer issue?
If I applied the transfer again, I would seal the clay paint first with a top coat. Then apply the transfer once dry.
If you loved this project, you’ll love these projects too:
Upgrade plain decor
repurposed Cabinet Door
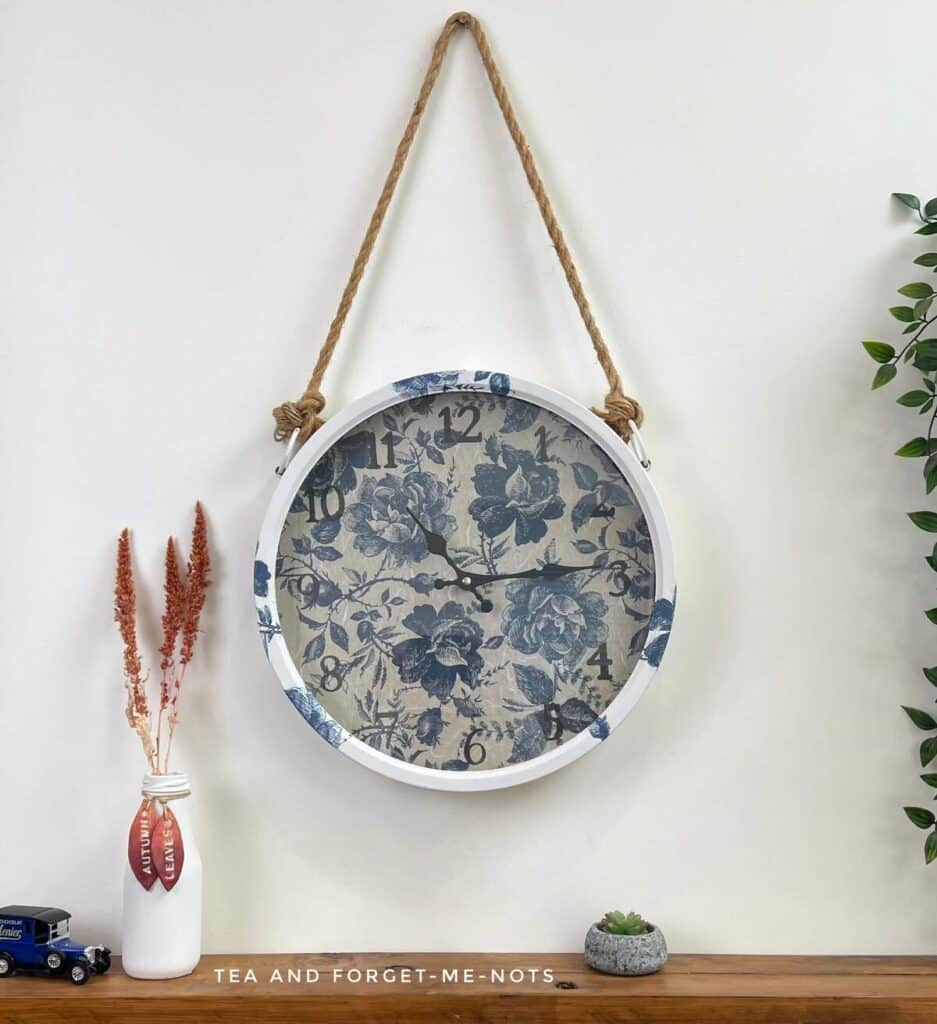
Decoupaged Clock
Pin it for later – Add Colour to Farmhouse Decor

Do It Over’ Designers is a group of talented bloggers who love to recycle, upcycle and DIY. It’s about taking something old or unused and ‘doing it over’ into something new.
Check out all the ‘Do It Over Designers’ lovely do-overs too!

Hi there! I'm Rachel Bowyer, a passionate DIY enthusiast with a knack for transforming the old into something beautifully new. With a deep love for furniture painting, refinishing, and the art of crafting. I've been documenting my DIY projects and restoration journey since 2018. I specialise in techniques like decoupage, stencilling, and decor transfers. Join me as we explore the world of creativity and home improvement, one project at a time.
Oh my goodness, you had me at egg house!! How darling and I adore the color you chose. Very farmhouse indeed!!
Thanks, Kim. Egg houses are adorable.
What a pretty sunny yellow Rachel; the hemp oil really make it look rich! Sometimes simple is best and I think your mistake was a happy accident. So glad you shared this because it’s a learning experience for all of us; I’ll keep this in mind next time I use Terra paint and want to add a transfer.
I’ve never seen an egg house before; it’s a beautiful little decor piece and addition to your kitchen.
It’s so interesting discovering something that is quite normal to me is unheard of elsewhere!
I’ve sure had my share of projects that didn’t go according to plan, but you worked this one out beautifully! I’ve never seen an egg house before and it is absolutely adorable. Great makeover!
Thanks, Ann. Egg houses are quite common here, certainly in farmhouses.
Love the transformation, Rachel! Your egg house (which I had never heard of before) is a lovely and unique addition to any kitchen! It certainly can be quite the conversation starter! Thanks for sharing!
Thanks, Gail. I think egg houses must be more common in countries where eggs don’t need to be stored in the fridge.
I’ve never tried clay paint so it’s good to hear it’s good (and not so good) features. You really brightened and freshened up this tired looking egg house.
Thanks, Julie. It fooled me this time but works wonders for the right things.
What a great transformation! I love the color you chose for your egg house. It ‘s totally adorable.
Thanks so much, Tuula.
I really love this group you always learn something new. I have never heard of a egg house but I love the ideas. I have also never heard of clay paint. Both will be saved for future projects.
Lots of new things today, I love that there are always things to learn.
I have never heard of an egg house before, but it certainly is a charming little cabinet. I am also unfamiliar with clay paint so that is something I am going to have to read more about. Either way, your project is so adorable and I’m glad you joined in the blog hop this month.
Thanks, Donna. I would never have guessed that egg houses were so unusual.
The pretty color you chose and your painting techniques make you egg house makeover look amazing!
Thank you very much