How To Stain a Basket for Easy Neutral Decor Makeover
If you’ve ever spotted a basket or bag in a charity shop and loved the shape but not the colour, don’t walk away! With just a bit of paint or stain, it’s easy to transform something bold and bright into a neutral piece that suits your style and home.
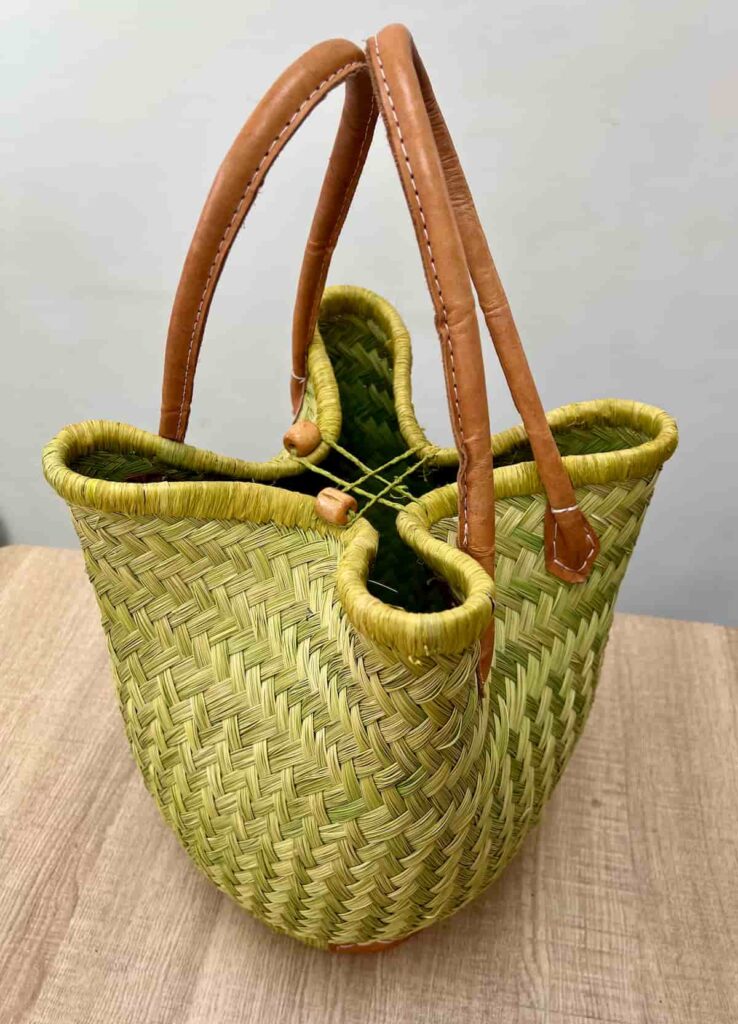
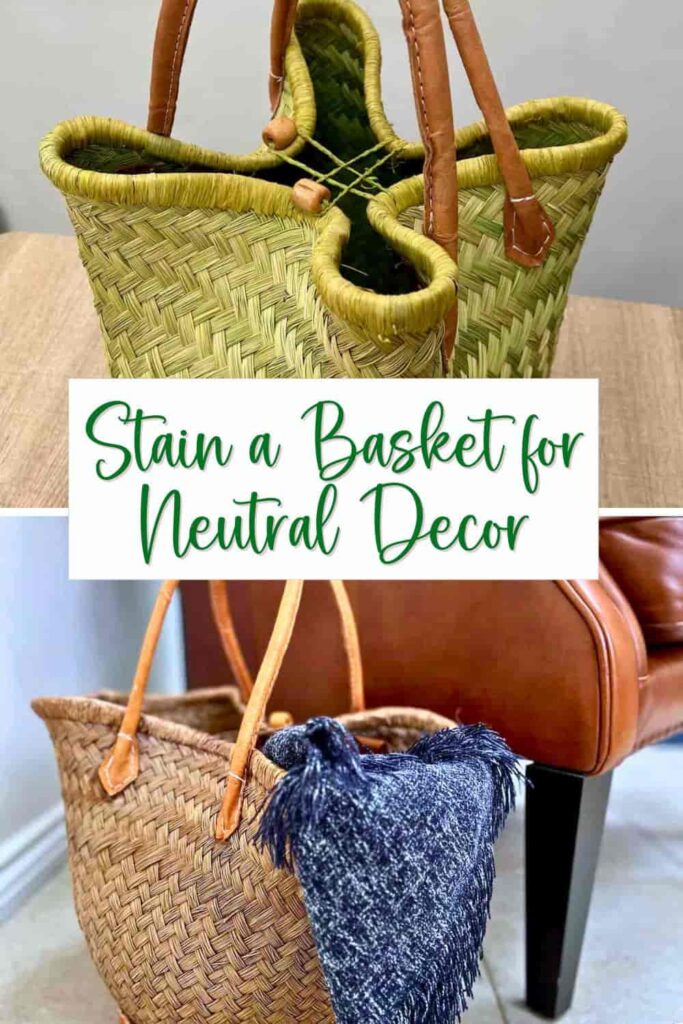
This basket bag was £7 in a charity shop. It had such an unusual shape but not a colour I loved. But that’s the beauty of upcycling, the colour can always be changed!
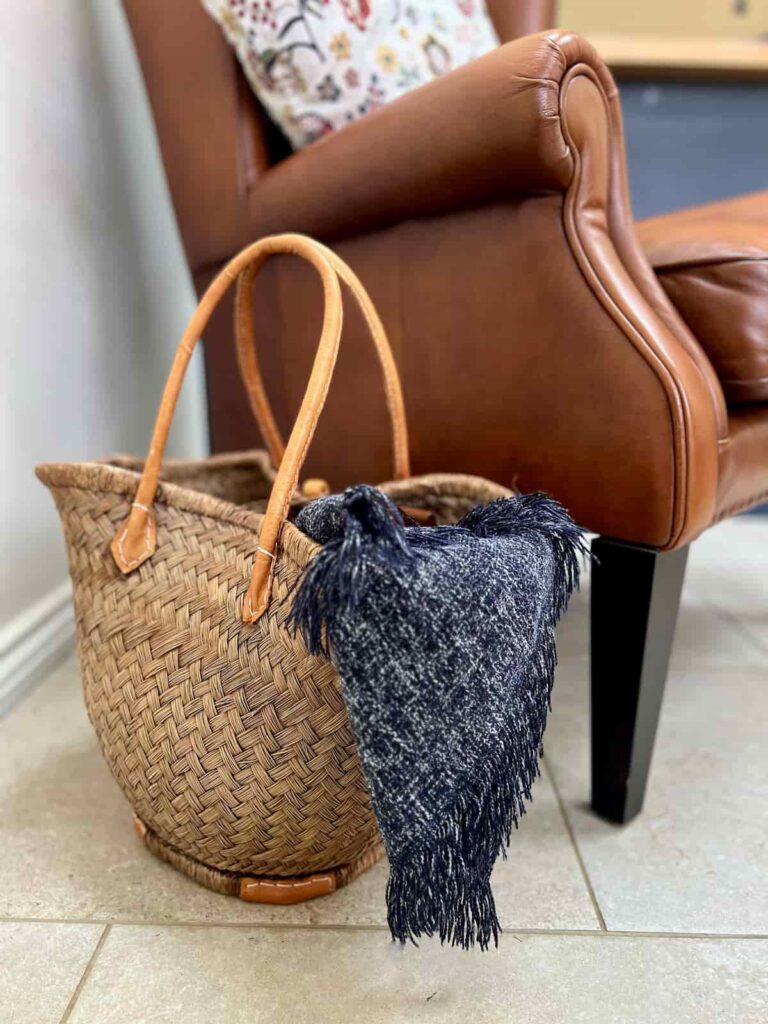
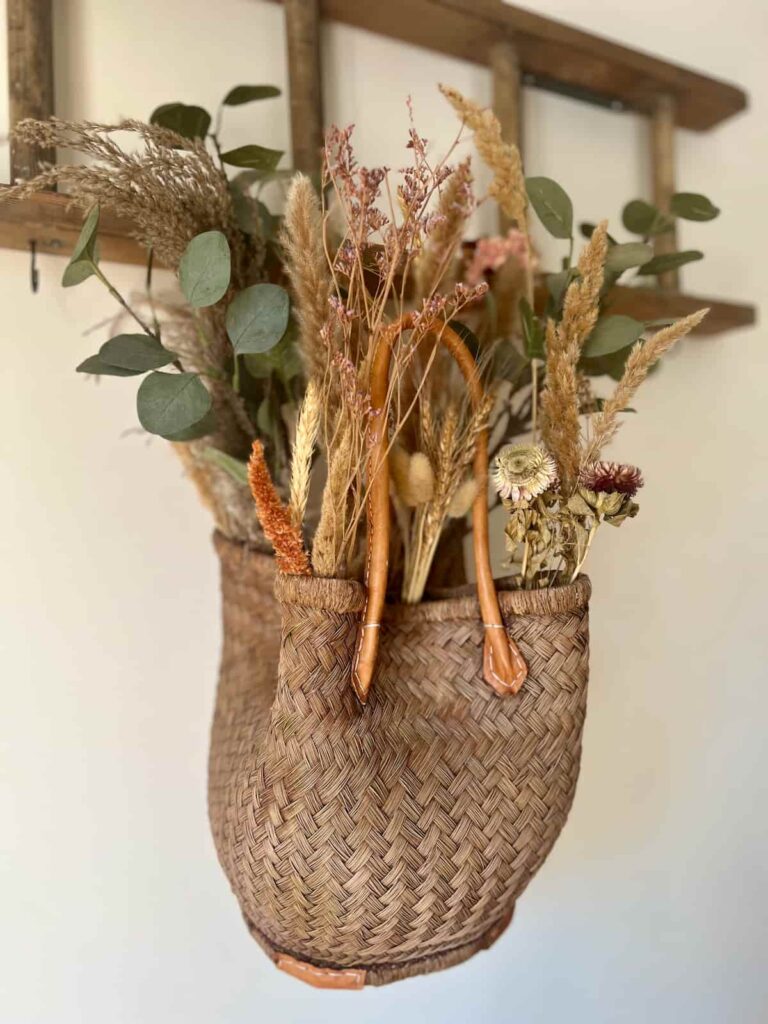
Here’s how I gave it a fresh, earthy makeover using stain (though you can also use paint if you prefer). The result works beautifully as a home decor piece, either displayed with dried flowers or filled with rolled-up blankets.
And of course, it’s still functional as a basket bag too.
See the full step by step video tutorial
How to Stain a Basket Step by Step
This post includes affiliate links so you can easily find the products I use myself and recommend to friends. If you purchase these products, I may earn a small commission at no extra cost to you.
Materials you’ll need
Step by Step Instructions
This bag has a lovely shape and was in great condition. It could be used as a normal bag, especially for a picnic or at the beach. But it would also work as home decor.
Believe it or not, green is actually my favourite colour. But this was a bit too bright even for me. Bright green is naturally more challenging to design around than something neutral.
With just a little bit of effort, this basket bag turned into something I absolutely love.
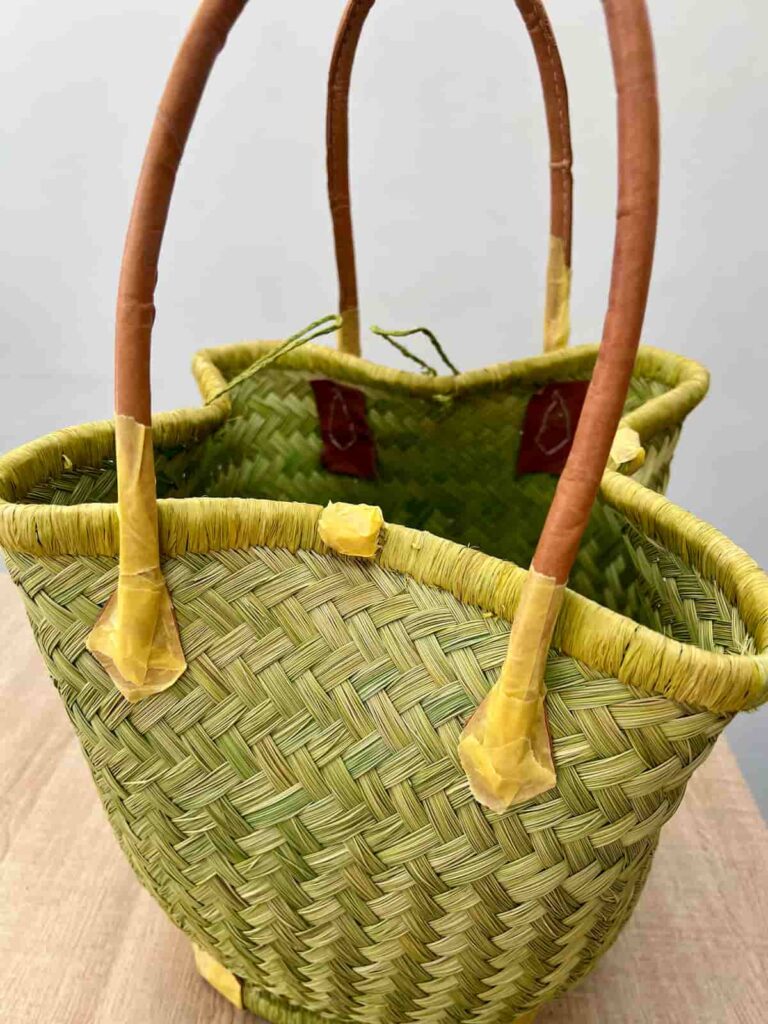
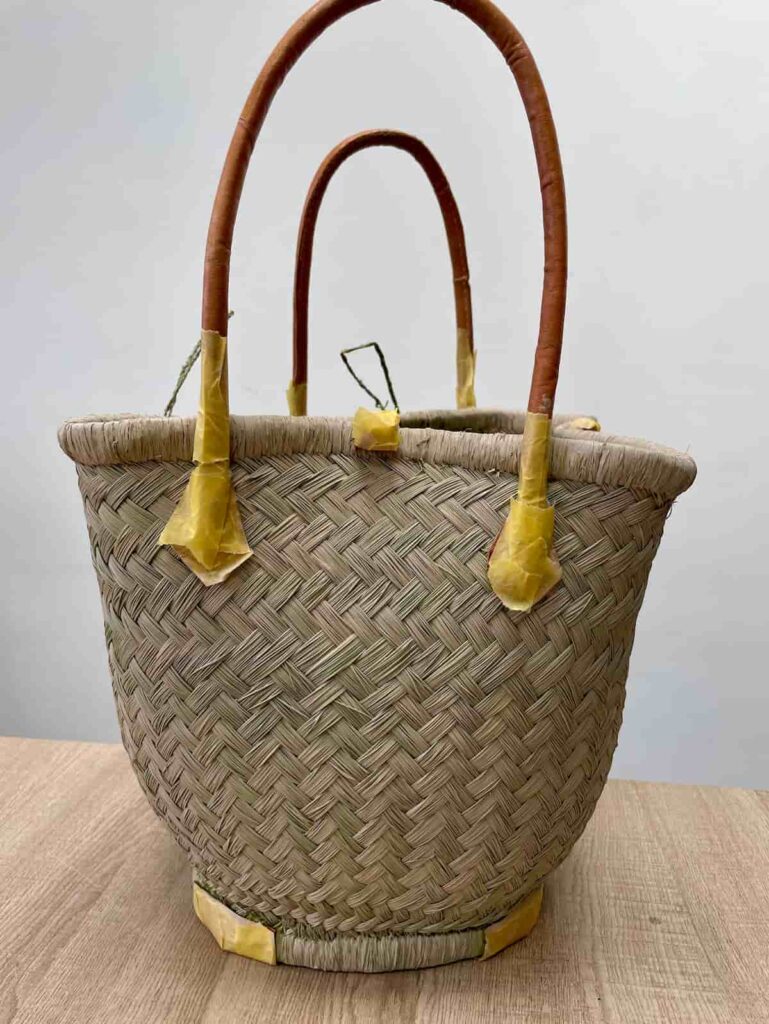
Step 1: Tape Off the Handles
Start your basket makeover by using masking tape to cover any areas you don’t want to stain or paint such as the handles or trim.
It’s better to tape up slightly more than you need to and do touch-ups later rather than get stain or paint in the wrong place.
Step 2: Neutralise the Original Basket Colour
If your basket is a bright or dark colour like mine, you’ll want to tone it down before applying your final stain. As the stain is somewhat translucent, depending on how many coats you do, this helps the final colour appear more accurate.
You don’t want hints of green peaking through!
Paint that isn’t watered-down will mask the base colour more thoroughly. But it will also remove any variation in tones that might make it interesting.
Use a light-coloured wood stain or a watered-down white or beige paint to give the surface a more neutral base.
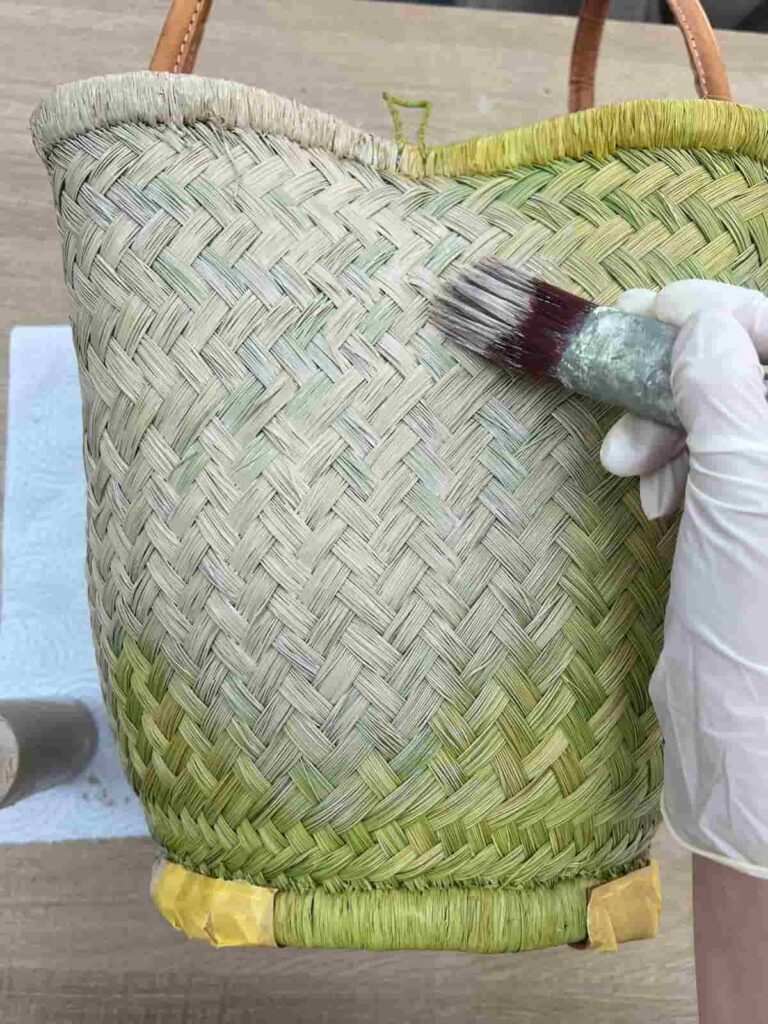
Woven materials like this basket are a little fiddly to paint. Simply brush the paint on diagonally in both directions. This helps to get into all the little nooks and crannies of the basket.
Apply the base coat evenly and allow it to dry completely.
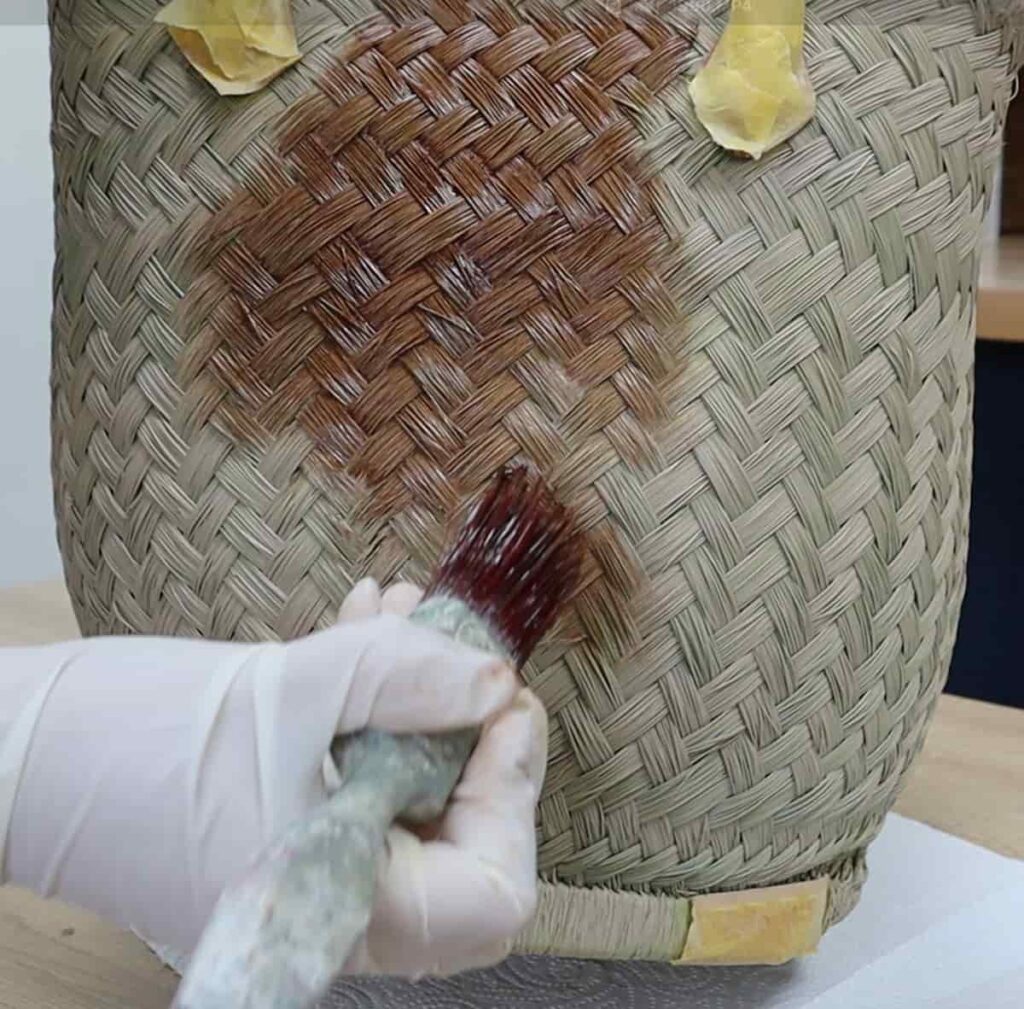
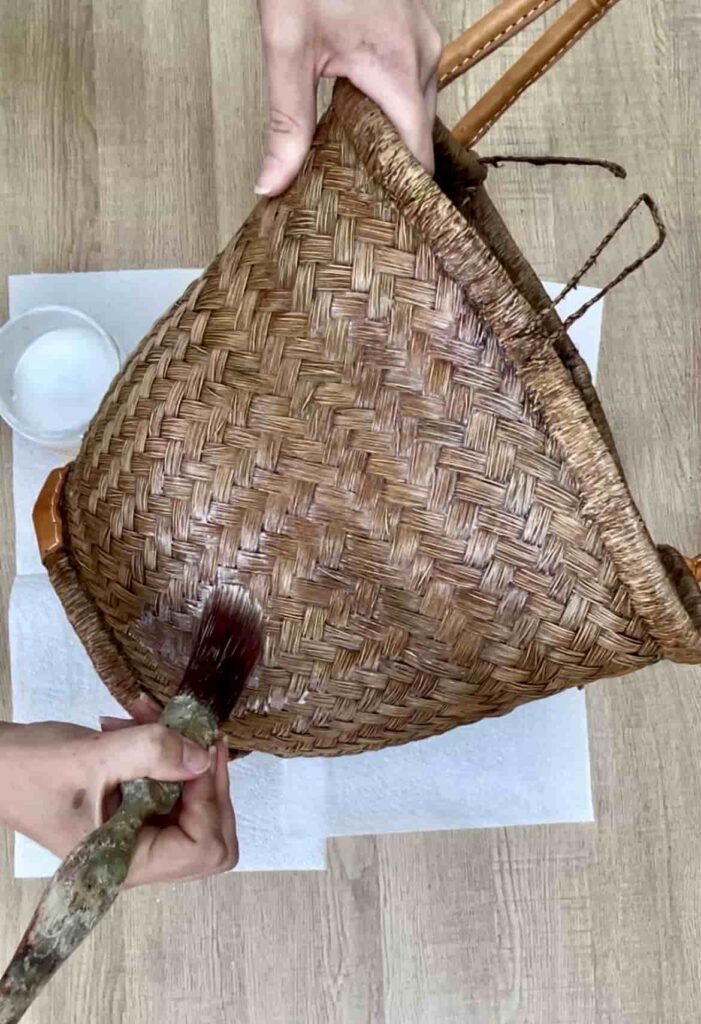
Step 3: Apply the Final Basket Colour
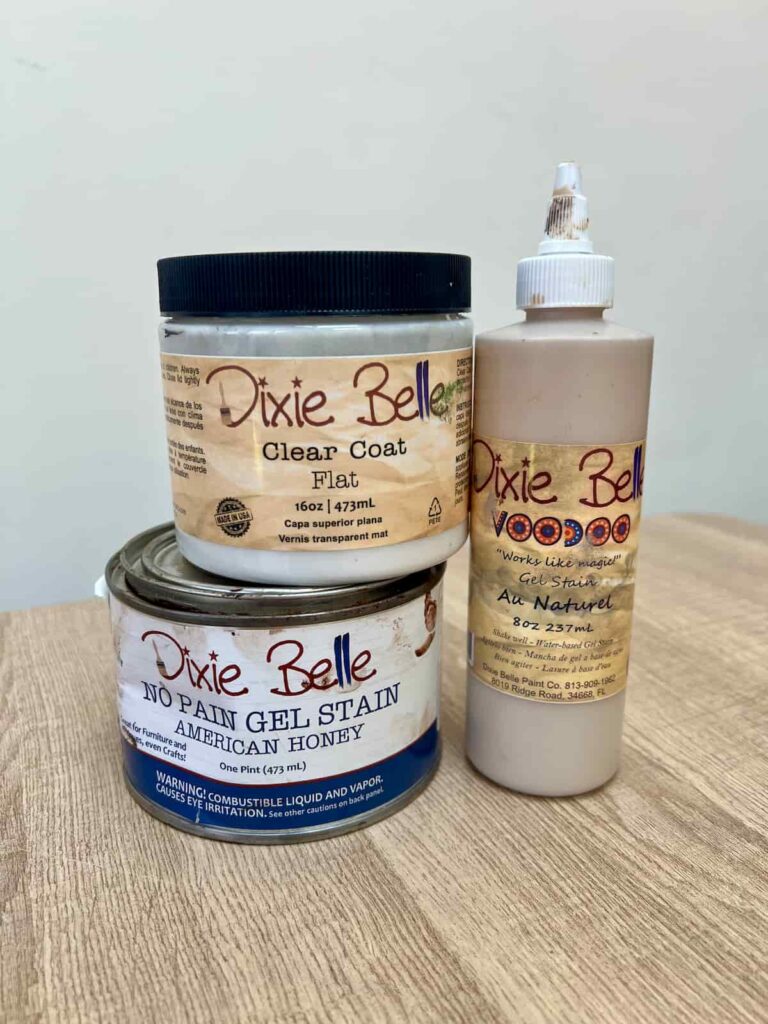
Next, go over the basket with your chosen stain colour. I used a warm brown that adds a rich, natural feel. Depending on the original colour and the look you’re going for, you may need one or two coats.
I used two types of gel stains for this project. Unlike traditional stains that soak into the material, gel stain tends to sit on the surface, more like paint. This makes it perfect for wicker baskets because it gives you full coverage and control over the colour.
If you don’t have gel stain, you can use paint instead, especially chalk paint or even a can of spray paint. Since both gel stain and paint coat the surface rather than soaking in, they behave similarly and will give you nearly the same result.
Be sure to stain both the bottom and inside, if the original colour shows through, especially if your basket has gaps between the weave.
If you’re unsure of the colour you want to choose, test it first on a well-hidden spot such as the bottom or the inside. This is even more important when layering different stains or paints.
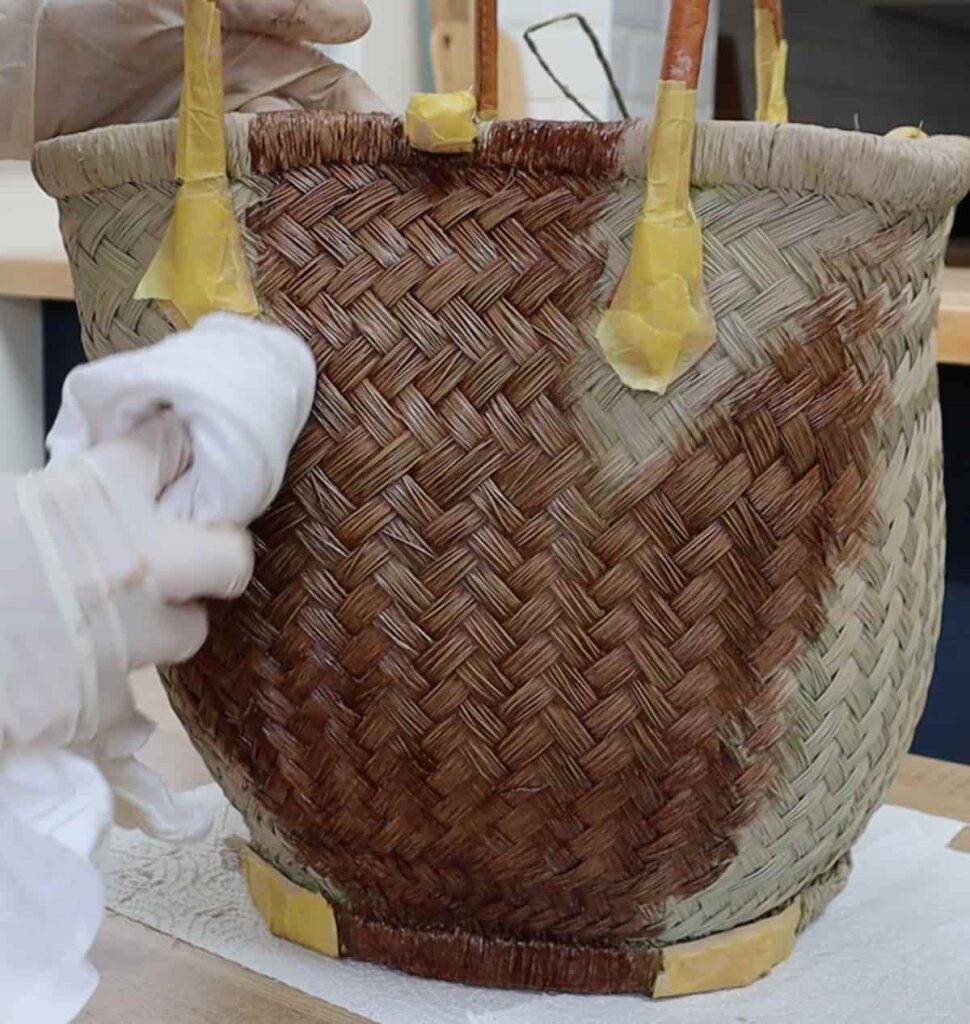
Leave the coat of stain on for a few minutes and then wipe off the excess stain with a cloth or rag.
If you leave the stain for too long it will be harder to remove and may stay tacky. If this happens, you’ll need to remove the stain with mineral spirits and try again.
This gel stain took 36 hours to thoroughly dry.
Once everything is dry, peel off the tape carefully. Check for any spots you might have missed and touch them up with a small brush. This is especially important when the end colour is quite different to the original colour.
With this interesting basket design, the strands of fibre that were visible changed when the basket was pulled taut. So it required a few touch-ups in the closed-up state.

You can use paint instead of stain at every stage if you prefer a more opaque finish. Both options work beautifully, it just depends on your preference or what you have in your supplies.
Step 4: Seal the Stained Basket
If the stain or paint doesn’t have a built-in top coat, you also need to seal it. This will help the stain look good for longer and protect the items you keep in the basket too.
I chose a matte clear coat to keep the natural look, but you could go with satin or gloss depending on your style.
If you’re using the basket as a picnic basket, make sure the sealer you use is food-safe. Something like hemp oil would work well, such as on this chopping board.
Stain a Basket for Neutral Decor
This is such a fun way to upcycle something that might not catch your eye at first glance. So next time you’re browsing your local charity shop, look at the shape of an item rather than the colour.
A bold green or bright red basket might not suit your aesthetic, but with a little effort, you can turn it into something beautifully neutral and completely your own.
For just £7 and a few supplies I already had at home, I ended up with a unique decorative piece that fits seamlessly into my space. Plus, there’s something satisfying about giving a second-hand find a whole new life.
This tutorial also works for wicker furniture too, you just need to scale it up!
This is a great way to experiment with colour and breathe life into old pieces. You can customise it to suit your style whether that’s neutral, bold, or modern.
If you loved this project, you’ll love these projects too:
cd tower makeover
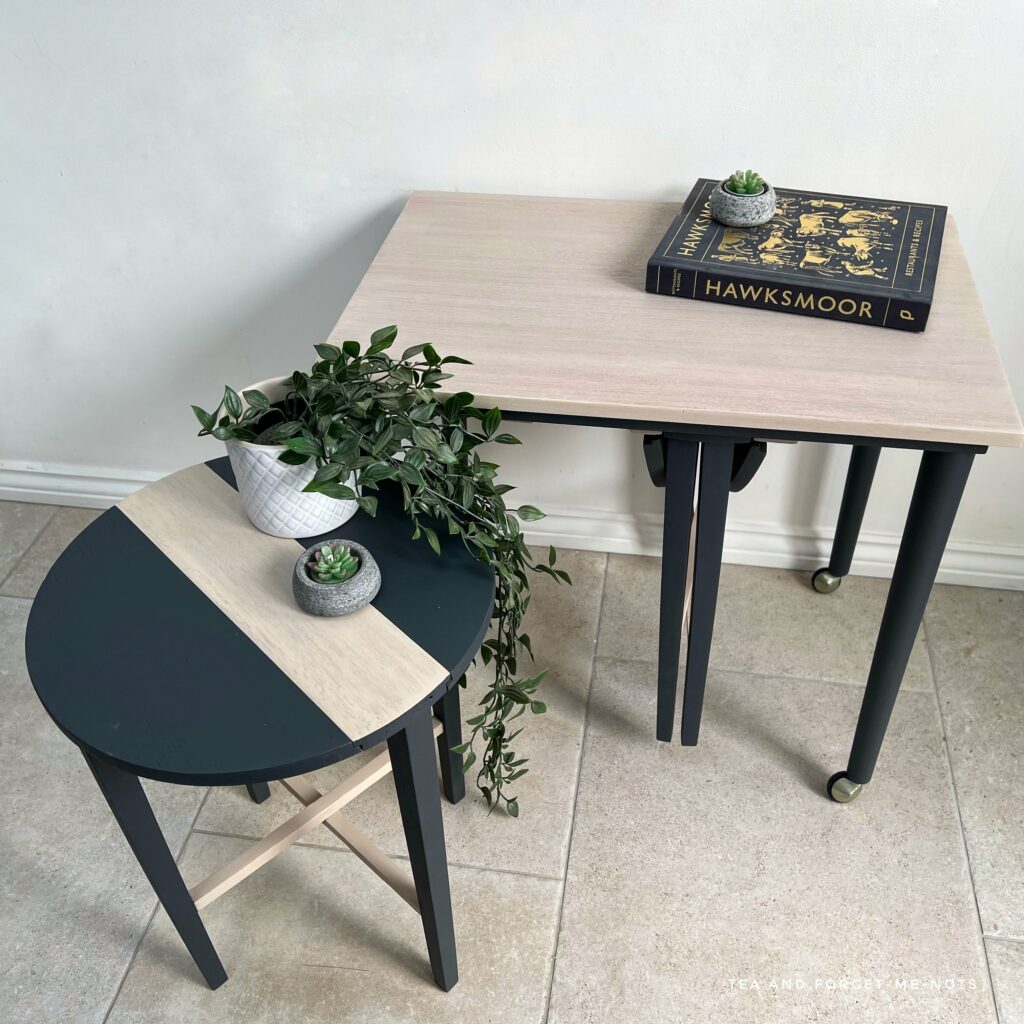
stained modern look table set
upcycled door into sign
Pin it for later -stain a basket for neutral decor

Hi there! I'm Rachel Bowyer, a passionate DIY enthusiast with a knack for transforming the old into something beautifully new. With a deep love for furniture painting, refinishing, and the art of crafting. I've been documenting my DIY projects and restoration journey since 2018. I specialise in techniques like decoupage, stencilling, and decor transfers. Join me as we explore the world of creativity and home improvement, one project at a time.
What a fabulous fix, Rachel! I’m a fan of color indoors, but realize that I am the exception rather than the rule.
I normally like colour too but this green just wasn’t quite right for me. Thanks, Liz.